Handmade Crochet JellyCat Coconut Keychain Amigurumi Pattern
What Is This Crochet Project About?
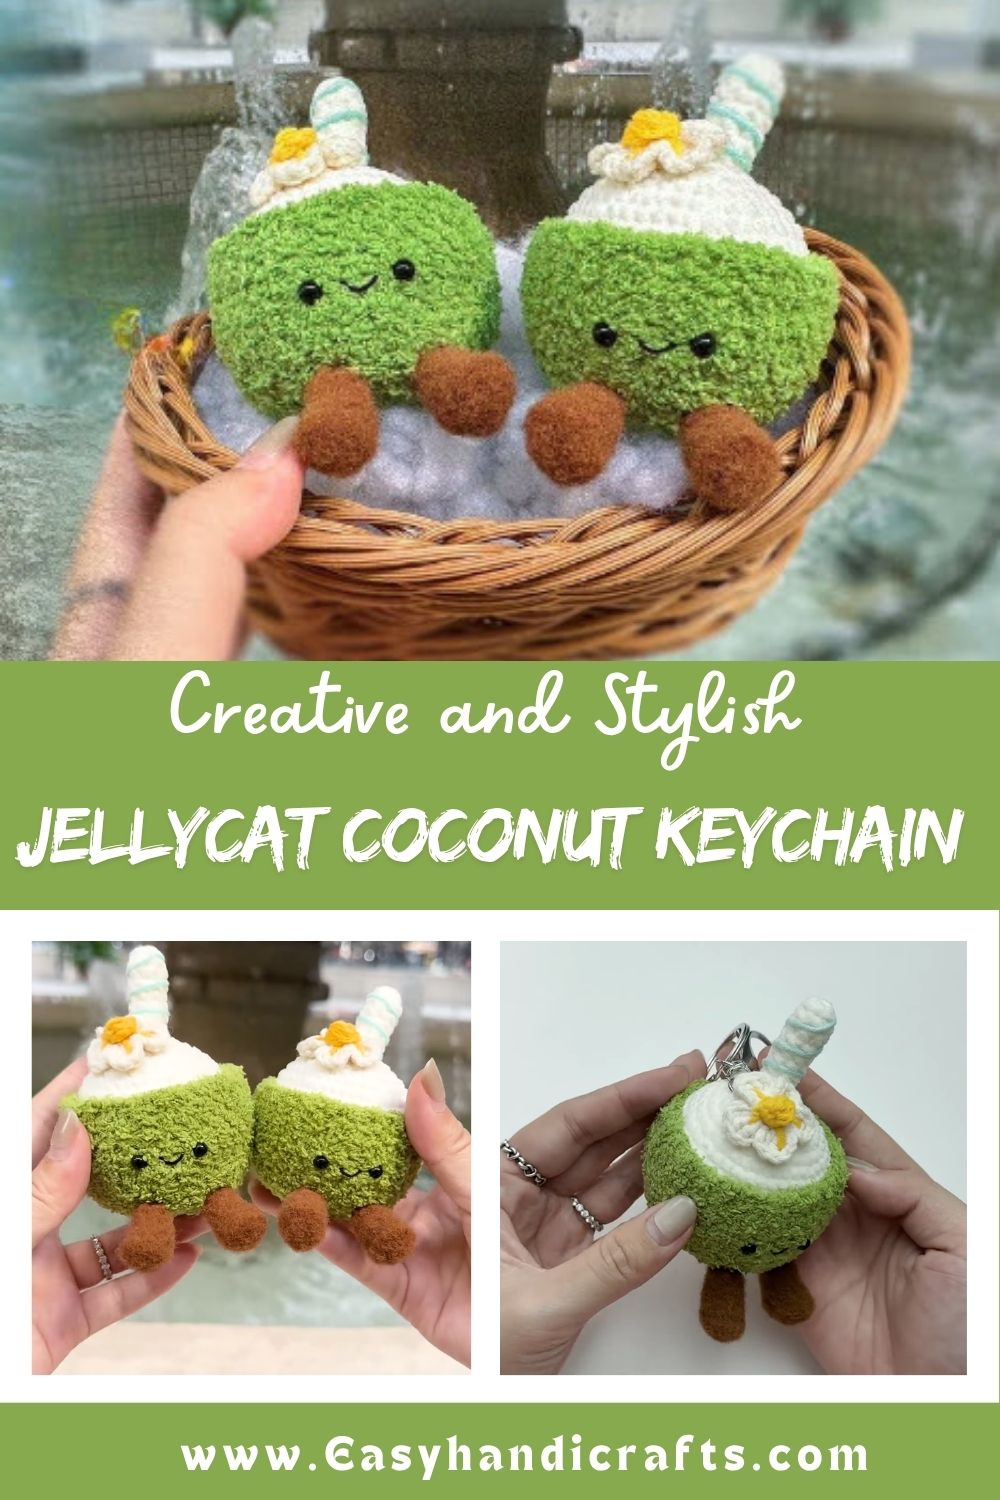
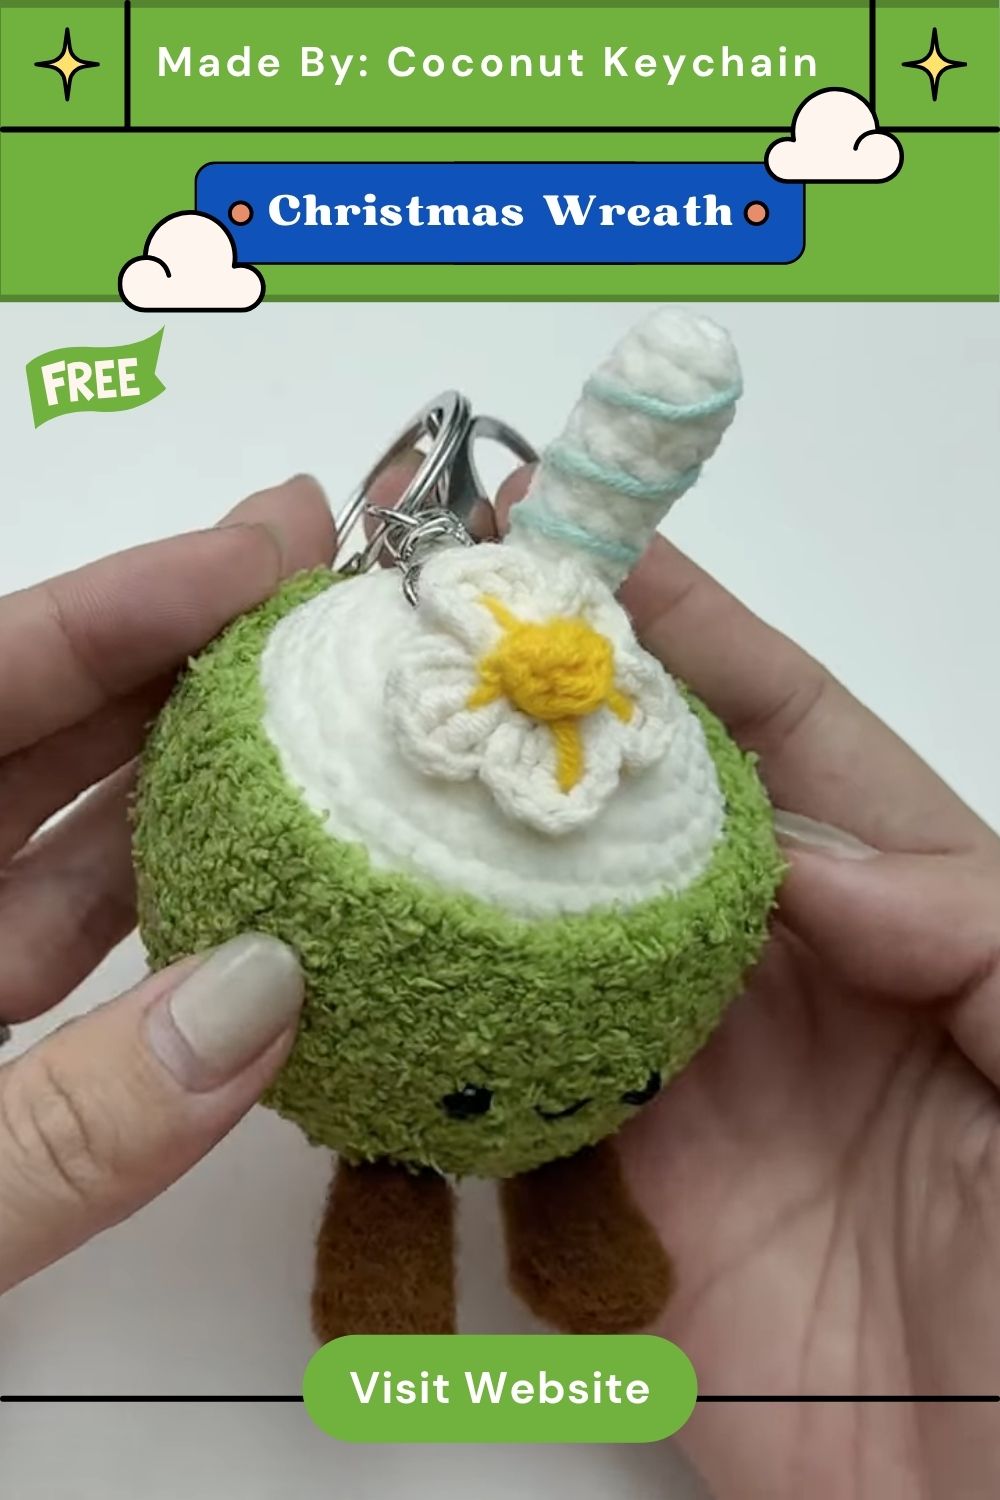
This pattern walks you through making a small amigurumi coconut shaped like a JellyCat-inspired plushie, finished off as a keychain. The body is worked in rounds using basic amigurumi shaping, then stuffed lightly, closed up, and fitted with a keyring or clasp. A simple face gives it personality, and the two-tone shading (brown shell with a lighter inner rim) is what makes it instantly recognizable as a coconut.
Because the piece is small, most makers finish it in a single sitting or across two short crochet sessions. It’s a project built for practicing consistent tension, tapestry needle finishing, and neat color changes, all skills that carry over into bigger amigurumi builds later.
Skill Level
Beginner to Intermediate.
Anyone who already knows how to single crochet in continuous rounds, increase, and decrease will manage this pattern comfortably. Total beginners can also attempt it, though a little prior amigurumi practice makes the shaping rounds and the color change between the brown shell and lighter center go much more smoothly.
Required Materials and Supplies
Before you pick up your hook, gather the following:
Yarn
- Worsted weight cotton or acrylic yarn in two shades: a warm brown for the outer shell and a soft cream or off-white for the inner coconut flesh
- A tiny scrap of black or dark brown for the facial features (optional, if embroidering the face)
Hook Size
- A 2.5mm to 3mm crochet hook, sized slightly smaller than the yarn label suggests, so your stitches stay tight enough to hold the stuffing in
Extra Tools
- Polyester fiberfill stuffing
- A tapestry needle for sewing pieces together and closing gaps
- Stitch markers (a scrap of contrasting yarn works fine)
- Small scissors
- A metal keyring, lobster clasp, or lanyard clip
- Safety eyes or black embroidery thread for the face
- A pen or fabric marker to lightly sketch face placement before stitching (optional)
Crochet Stitches and Abbreviations Used
- MR – Magic Ring
- ch – Chain
- sc – Single Crochet
- inc – Increase (2 sc in one stitch)
- dec – Decrease (invisible decrease recommended)
- st(s) – Stitch(es)
- rnd – Round
- sl st – Slip Stitch
- FO – Fasten Off
Step-by-Step Crochet Instructions
Step 1: Start the Base
Begin with a magic ring using your brown yarn. Work 6 sc into the ring and pull it closed. This forms the starting point for your coconut shell.
Step 2: Shape the Outer Shell
Continue in continuous rounds, increasing evenly to grow the circle into a dome shape. A typical shaping sequence looks like this:
- Round 1: 6 sc into MR (6 sts)
- Round 2: inc around (12 sts)
- Round 3: (sc, inc) around (18 sts)
- Round 4: (sc 2, inc) around (24 sts)
- Round 5: (sc 3, inc) around (30 sts)
- Round 6 to 8: sc around, no increases (30 sts)
Place a stitch marker at the start of each round so you never lose track of where a round begins.
Step 3: Switch to the Inner Coconut Color
When the shell reaches its widest point, switch to your cream or off-white yarn. This color change is what gives the coconut its signature two-tone look, so take your time and keep the join neat by pulling the new color through on the last pull of the final brown stitch.
Step 4: Stuff and Begin Closing
Once you reach the halfway mark of the piece, add stuffing gradually as you work, rather than all at once at the end. This keeps the shape rounded instead of lumpy.
Step 5: Decrease to Close the Top
Reverse your increase pattern to shape the top of the coconut:
- (sc 3, dec) around
- (sc 2, dec) around
- (sc 1, dec) around
- dec around until the opening is small
Add the last bit of stuffing here, then fasten off and close the remaining gap using the tapestry needle.
Step 6: Add the Face
Attach safety eyes before the piece is fully stuffed, or embroider a simple smiling mouth and small dot eyes once the shape is complete. JellyCat-style faces tend to sit low and close together, which gives that recognizable sleepy, friendly expression.
Step 7: Attach the Keychain Hardware
Thread a small loop of yarn or a jump ring through the top of the coconut, then clip on your keyring or lobster clasp. Reinforce the attachment point with a few extra stitches so it holds up to daily use.
Helpful Beginner Tips
- Count your stitches at the end of every round until counting becomes second nature.
- Use a hook one size smaller than usual so stitches stay tight and stuffing doesn’t peek through.
- Stuff firmly but not so tightly that the shape loses its rounded softness.
- Keep a small notebook or note on your phone to track which round you stopped on if you’re working across multiple sittings.
- Practice the color change on a scrap swatch first if this is your first time switching yarn mid-round.
Common Mistakes and Solutions
Mistake: Visible gaps between color changes. Solution: Always change colors on the last yarn-over of the previous stitch, not at the start of a new one.
Mistake: Lopsided shape. Solution: Double-check your increase and decrease counts at the end of each round rather than waiting until the piece is finished.
Mistake: Stuffing shows through the stitches. Solution: Switch to a smaller hook size or add an extra strand of yarn for denser stitches.
Mistake: Keyring hardware pulls loose over time. Solution: Reinforce the attachment point with several passes of yarn or a small fabric loop sewn firmly into the closing stitches.
Pattern Customization Ideas
- Swap the brown and cream palette for pink and white to make a strawberry-style charm using the same base shape
- Add tiny crochet leaves or a stem for a more decorative fruit-inspired keychain
- Make a mini version using thread-weight yarn and a steel hook for a charm bracelet piece
- Felt small rosy cheeks onto the face for extra cuteness
- Turn it into a bag charm instead of a keychain by attaching a longer cord or ribbon
Size and Color Suggestions
A finished coconut keychain typically measures around 5 to 7 cm across when made with worsted weight yarn, which is the ideal size for keys, bags, or backpacks without feeling bulky. Switching to a chunkier yarn and larger hook produces a bigger plush version suited for shelf display rather than a keychain.
For color choices, classic brown and cream stays closest to a real coconut look, but pastel versions in lavender, mint, or blush pink give the same silhouette a softer, more whimsical feel that fits nicely into a JellyCat-inspired collection.
FAQ Section
Is this pattern good for absolute beginners?
Yes, as long as you already know basic single crochet, increasing, and decreasing. If those are new to you, practicing a simple ball shape first will help.
How much yarn do I need?
Very little. A small ball or even leftover scraps in two colors is usually enough for one coconut keychain.
Can I make this without safety eyes?
Yes, embroidered eyes with black thread work just as well and are often easier for beginners to control.
How long does this project take?
Most makers finish it in one to two hours, making it a great quick gift or craft fair item.
Can I sell items made from this Crochet JellyCat Coconut Keychain pattern?
Many crochet patterns allow small-batch selling of finished items, though it’s worth checking specific pattern terms if you plan to sell in larger quantities.
Conclusion
This little Crochet JellyCat Coconut Keychain proves that big charm can come from a small ball of yarn. It’s quick enough for a weekend project, simple enough for a beginner, and cute enough that you’ll probably end up making a handful more once friends and family spot the first one. Keep your hook moving, stay patient with the color change, and you’ll have a tropical little companion clipped to your keys before you know it.