Free Crochet Meowl Amigurumi Pattern Toy
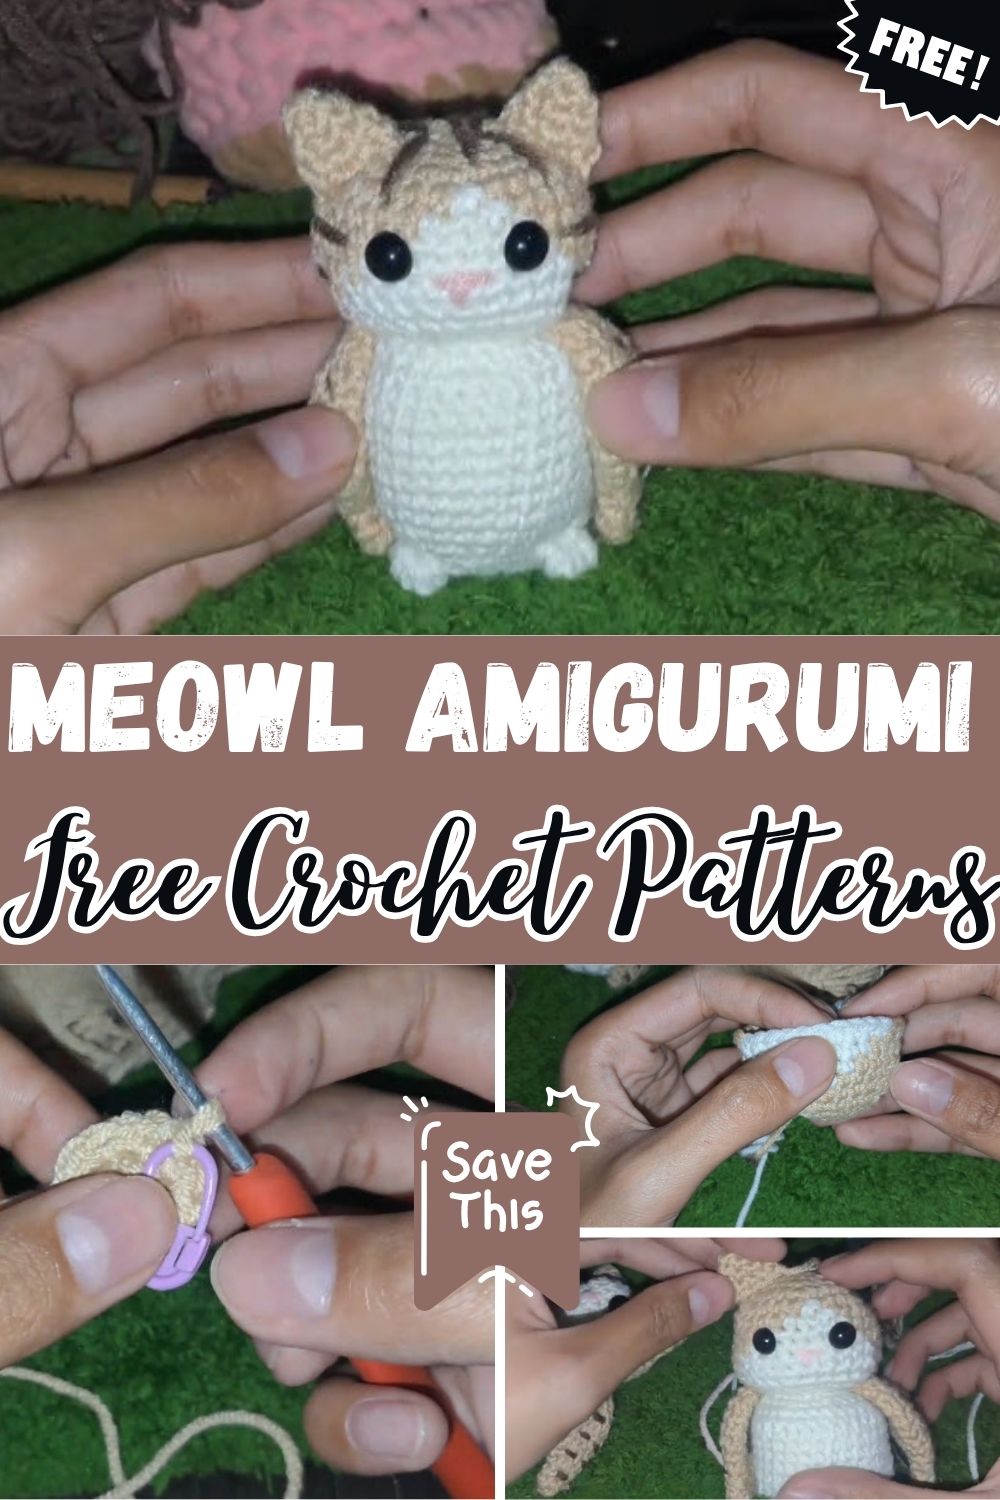
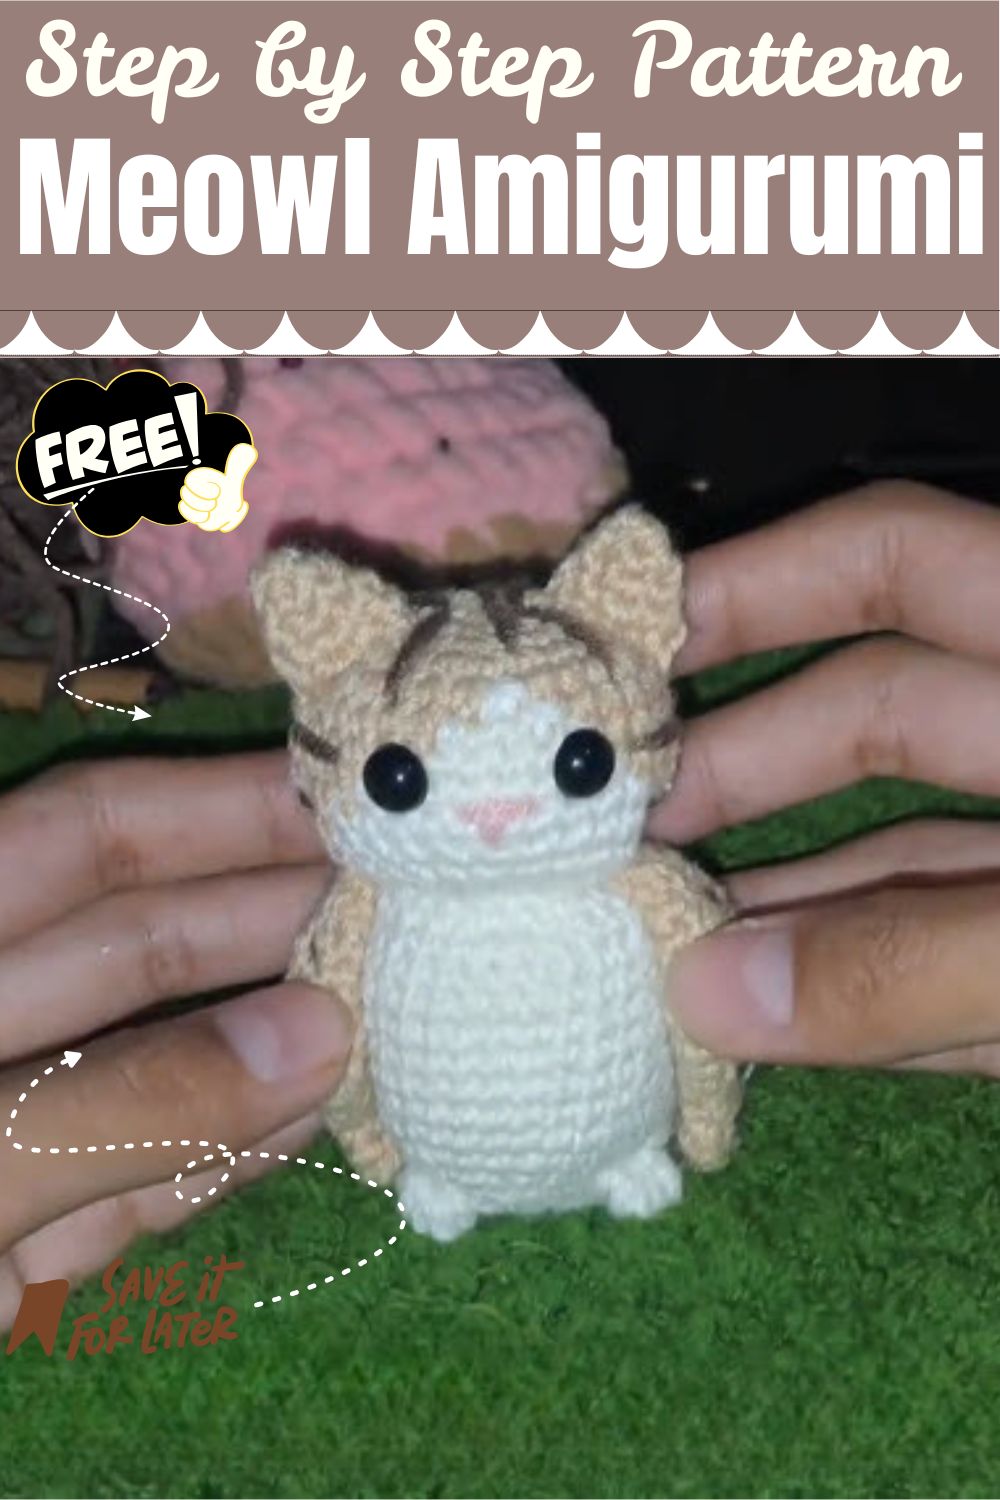
The Free Crochet Meowl Amigurumi Pattern Toy blends a cat-like face with an owl-like body. A white yarn pyramid rises between khaki sides on the head, and the figure sits on a rounded white body with flat wings at each side. Best of all, the face shape comes from colour blocking worked right into the rounds, so there are no sewn-on patches to line up.
This pattern suits crocheters who already feel comfortable working in continuous rounds. It involves colourwork, several separate pieces, and a hands-on assembly stage. Moreover, the pattern calls for 4-ply milk cotton and a small hook, which creates a dense fabric that holds its shape around stuffing.
Below, you will find the supplies, the construction of each piece, assembly, and the small details that shape the finished look.
What Makes This Free Crochet Meowl Amigurumi Pattern Toy Special
A Meowl is a playful mix of cat and owl features. In this design, the cat side shows up in the pointed head shape and the small embroidered snout. Meanwhile, the owl side comes through in the rounded body and the wings pressed flat against its sides.
The toy is built from four parts: a head, a body, two wings, and small puff-stitch paws. Because the head and body are worked separately and joined at the end, the pattern is easy to follow in stages. In other words, you can finish one piece, set it aside, and attach it later.
Skill Level for the Crochet Meowl Pattern
The pattern is rated intermediate. It assumes you already know how to work in a continuous spiral and can handle basic amigurumi joins.
However, a few techniques raise the difficulty:
- Switching yarn colours mid-round to form the face pyramid
- Working invisible decreases on the body
- Flattening and closing the wings with a multi-stitch edge
- Making a 4-loop puff stitch for the paws
- Embroidering the snout and the wing lines
Even so, someone newer to amigurumi can still try this Free Crochet Meowl Amigurumi Pattern Toy. For best results, practice the magic circle and the invisible decrease on a small scrap piece first.
Materials and Yarn for the Meowl Amigurumi Toy
Supplies List
The materials list is short and clear:
- Yarn: 4-ply milk cotton in white, pink, khaki, and dark brown
- Hook: 3 mm crochet hook
- Eyes: 8 mm safety eyes
- Notions: stitch markers, a tapestry needle, and stuffing
The pattern does not specify yardage or ball counts for each colour. Since the pieces are small, leftover yarn from other toys may be enough. White will be used the most, because it covers most of the head, the whole lower body, and part of the face. In contrast, pink and dark brown are needed only for small embroidered details.
Choosing and Substituting Yarn
The pattern specifies 4-ply milk cotton. This fibre has a soft hand and a slight sheen, and it gives clear stitch definition at small sizes. Cotton also tends to hold its shape well around stuffing, although that is general guidance rather than a claim from the pattern.
If you substitute yarn, keep the weight close to 4-ply and choose a smooth, tightly spun option. Fuzzy yarns can hide the colour transitions on the face, and the pyramid depends on a crisp boundary between white and khaki. Likewise, a thicker yarn would change the finished size, so the 8 mm eyes might look too small on it.
Finished Size and Gauge
The Free Crochet Meowl Amigurumi Pattern Toy does not list a finished height or width, and it does not give a gauge measurement. Still, since the toy is worked in the round with a 3 mm hook and fairly fine cotton, it will likely come out small. Therefore, if you need an exact size, measure the head and body as you work.
Gauge matters here for fit, not for sizing. The head opening and the body opening must both reach 18 stitches so they match at assembly. A very loose or very tight tension will still allow this, but it can change how firmly the stuffing sits.
Tips Before You Start the Crochet Meowl
A little preparation helps this particular pattern go smoothly.
Mark the start of every round. Both the head and the body have long runs of rounds with no shaping. For that reason, a stitch marker keeps the count accurate, especially during the eight straight rounds at 30 stitches on the body.
Keep the yarn tension firm. Stuffing can show through loose stitches. In addition, a tighter tension keeps the colour change clean.
Prepare the white yarn early. The head uses colour blocking from round 5 onward, so have the white yarn ready before you reach that point. Carrying the yarn neatly also makes the face cleaner.
Count at the end of each shaping round. Stitch counts are the main way to confirm progress: 6, 12, 18, 24, and then 30 on the head. If a count is off, fixing it right away is easier than after several rounds.
Leave long tails. The body needs a long tail for sewing, and the wings need enough tail for attachment.
Step-by-Step Free Crochet Meowl Amigurumi Pattern Toy Instructions
Crochet the Meowl Head
Begin with a magic circle worked in khaki, with 6 single crochet stitches in a continuous round. After that, the increases follow a steady pattern:
- Round 2: Increase in every stitch to reach 12 stitches.
- Round 3: (1 single crochet, 1 increase) repeated 6 times, for 18 stitches.
- Round 4: (2 single crochet, 1 increase) repeated 6 times, for 24 stitches.
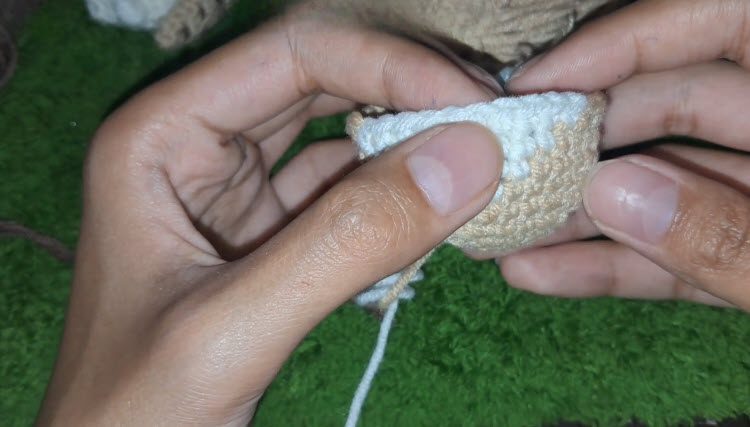
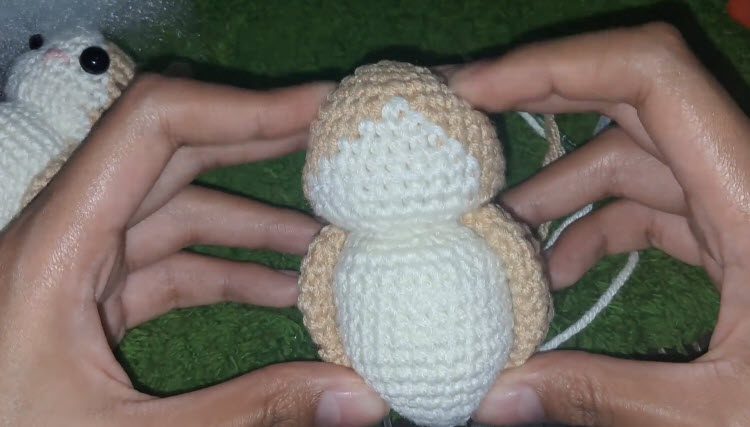
- Rounds 5–10: Work increases up to 30 stitches while introducing white yarn colour blocks. This forms the pyramid shape on the face.
- Rounds 11–13: Switch fully to white yarn and decrease down to 18 stitches.
Stuff the head firmly before closing it. A firm fill helps the pointed top keep its form.
Crochet the Meowl Body
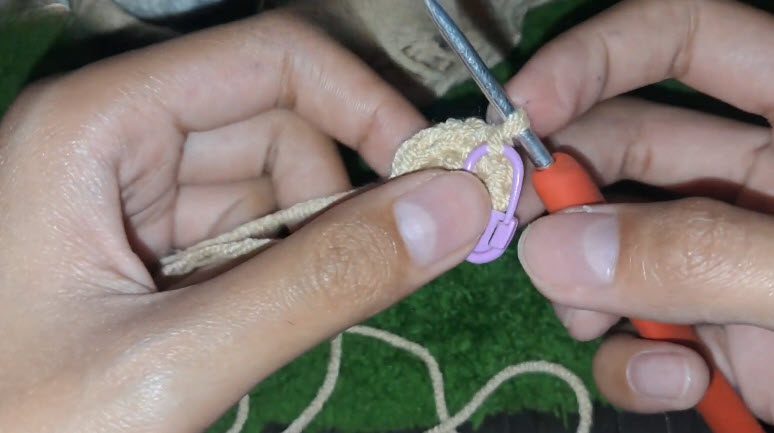
The body starts the same way, with a magic ring and 6 single crochet stitches.
- Round 2: Increase in every stitch to reach 12 stitches.
- Rounds 3–6: Use structured increases to expand to between 24 and 30 stitches.
- Rounds 7–14: Work 8 straight rounds at 30 stitches.
- Rounds 15–16: Use invisible decreases to reach 18 stitches, matching the head opening.
Finally, leave a long tail for sewing before you cut the yarn.
Make the Two Meowl Wings
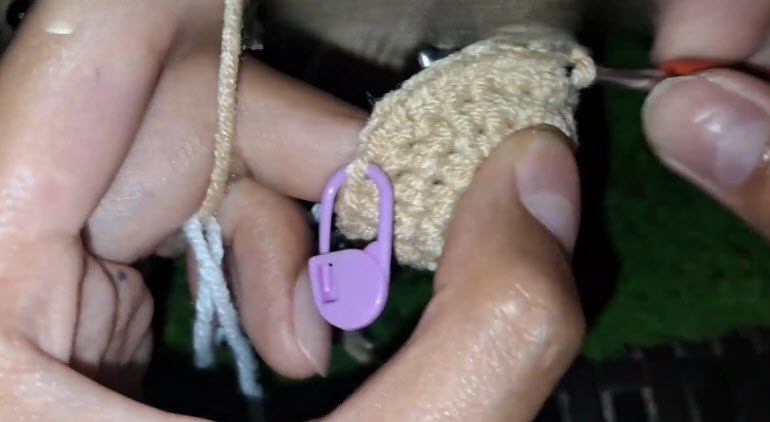
Two wings are needed. Each one begins with a magic ring of 3 single crochet stitches.
- Rounds 1–5: Increase outward to 9 stitches.
- Rounds 6–8: Shape the wing out to 12 stitches and then 18 stitches.
- Rounds 9–11: Work 18 stitches straight.
- Round 12: Decrease to 12 stitches, fold the piece flat, and close it with a multi-stitch edge.
To finish each wing, embroider surface lines with dark brown yarn. These lines give the wings a feathered look.
Assemble the Meowl and Add Face Details
Assembly is where the separate pieces become one figure.
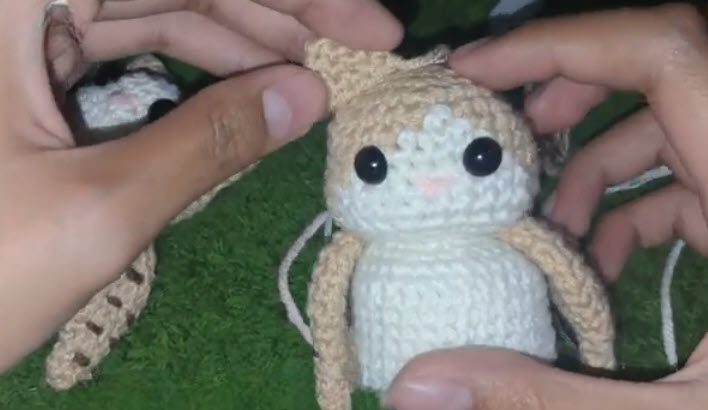
Join the head and body. Line up the 18 stitches of the head with the 18 stitches of the body, then whip-stitch around the opening.
Attach the wings. Next, sew the flattened wings at the neckline, one on each side.
Place the eyes. The 8 mm safety eyes sit about 5 stitches apart, just below round 7 near the colour transition. Check the placement before locking the backs in place.
Embroider the snout. Work it with loose tension over two stitches. A loose hold keeps the snout from puckering the face.
Add the paws. Lastly, make puff-stitch paws on the lower body rounds, using a 4-loop puff stitch.
Color Blocking the Meowl Face Pyramid
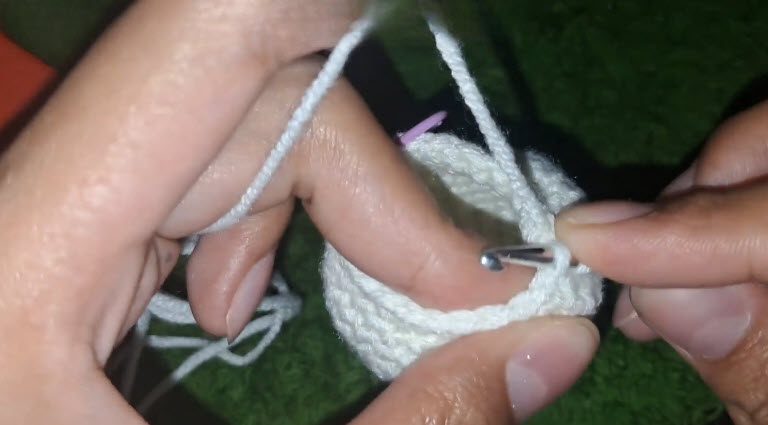
The white pyramid is the feature that makes this ttoy recognisable so it deserves extra attention. It forms between rounds 5 and 10, while the head grows from 24 to 30 stitches.
Since increases and colour changes happen in the same rounds, it helps to mark where each colour begins. Switching the yarn at the same stitch in each round keeps the pyramid edges straight. On the other hand, drifting even one stitch can tilt the shape.
Pulling the new colour through on the last yarn-over of the previous stitch gives a cleaner join. Also, keep the unused yarn loose inside the head, away from the front, so it does not show through the stitches.
Customisingng Your Crochet Meowl Amigurumi Toy
The design allows a few safe changes. Colour swaps are the easiest, since a grey and white version or a soft brown and cream version would still match the structure. Whatever palette you pick, keep a clear contrast between the two head colours, because the pyramid depends on it.
Eye size can also be adjusted. The pattern uses 8 mm eyes, but a different size changes the personality of the toy. Therefore, test the position with pins before locking anything in.
Changing the hook or yarn weight will alter the overall size. In that case, check that both 18-stitch openings still line up.
Common Mistakes When Crocheting the Meowl Toy
The pyramid looks crooked. This usually happens when colours change at different stitches in different rounds. Placing a stitch marker at the colour-change point helps.
The head and body do not match. Recount both openings. Each one should have exactly 18 stitches before sewing.
Stuffing shows through the fabric. Your stitches may be too loose. Going down a hook size or tightening the tension usually fixes this.
The wings will not lie flat. Make sure the final decrease reaches 12 stitches before folding. Then close the edge evenly across both layers.
The snout looks tight. Embroider with loose tension, and keep the stitches spread over two stitches, as the pattern directs.
The eyes look uneven. Count the 5-stitch gap on both sides, and measure from the same round.
Finishing and Care Tips
Weave in every yarn end with the tapestry needle, and tuck the ends inside the body so nothing shows. After that, check that the wings are attached firmly at the neckline and that the paws sit securely on the lower body.
For care, cotton generally tolerates gentle cleaning, so spot cleaning with a damp cloth is the safest approach for a toy with embroidered details and safety eyes. If a full wash is needed, a mesh bag and a gentle cycle are the common recommendation, though the pattern itself does not list care instructions. In any case, let the toy dry completely before storing it.
Because the toy has safety eyes, it may not suit very young children. Check the eyes and seams regularly.
Bonus: Display and Gift Ideas for Your Meowl
Once finished, this Free Crochet Meowl Amigurumi Pattern Toy makes a cheerful shelf or desk companion. Its flat-sitting rounded body helps it rest steadily on a surface, and the white pyramid face stands out against darker backgrounds.
It can also work as a handmade gift for cat lovers or owl fans. For example, you could make a few in different colour pairs and give each one its own personality. Still, remember the safety eye note above before gifting it to a young child.
Crochet Meowl Pattern FAQs
Is this Free Crochet Meowl Amigurumi Pattern Toy really free?
Yes. The pattern is offered as a free video tutorial, and the written breakdown in this guide follows its construction.
What hook size does the Meowl use?
The pattern uses a 3 mm hook with 4-ply milk cotton.
Can a beginner make the Meowl?
It is listed as intermediate. A beginner who already knows the magic circle and basic decreases may manage it, but the colourwork and assembly can feel challenging at first.
How big is the finished toy?
The finished dimensions are not supplied. For that reason, measuring while you work is the best way to confirm the size.
Which colours are required?
You need white, pink, khaki, and dark brown. White covers most of the toy, while pink and dark brown are used for small details.
One Small Owl-Cat, Plenty of Charm
This Free Crochet Meowl Amigurumi Pattern Toy gets its personality from simple choices: a colour-blocked face, flat wings, and a small embroidered snout. Each piece is manageable on its own, and assembly then pulls them together into one friendly figure. So if you are comfortable working in rounds, take it one piece at a time and enjoy watching the character appear.