Natural Crochet Sunshine Face Amigurumi Pattern with Instructions
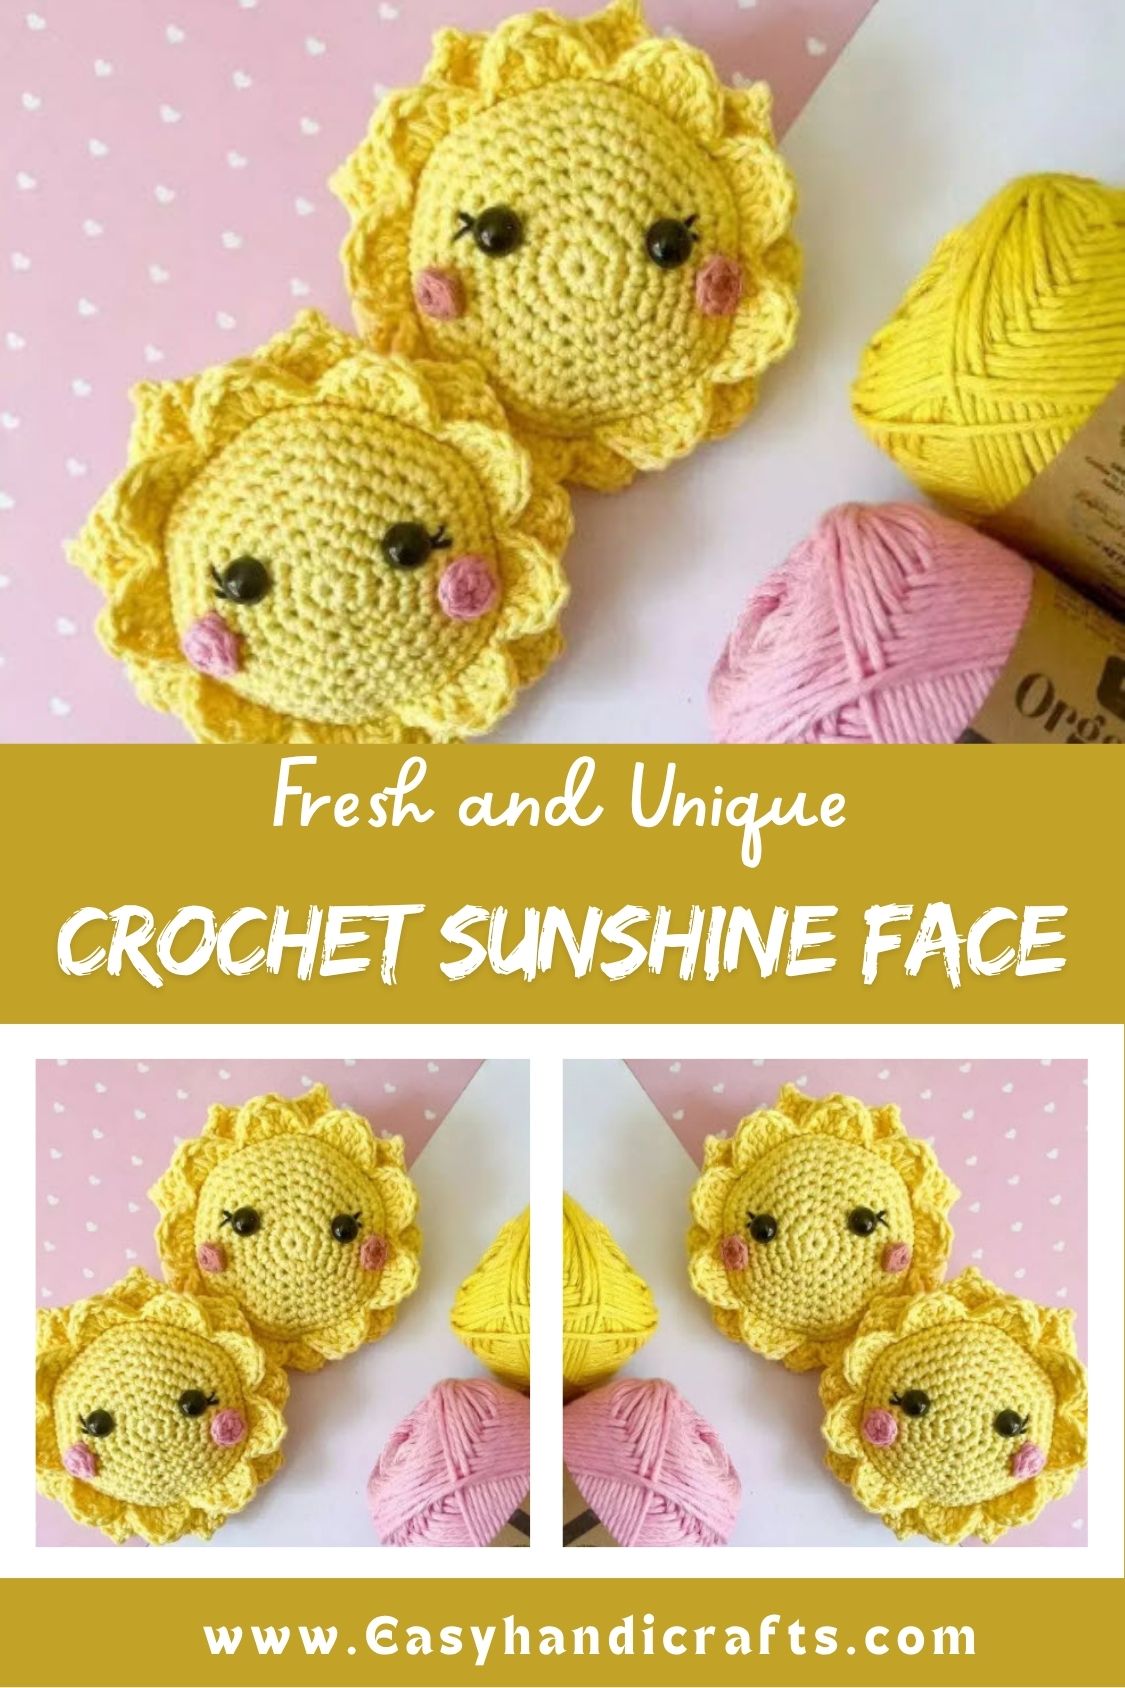
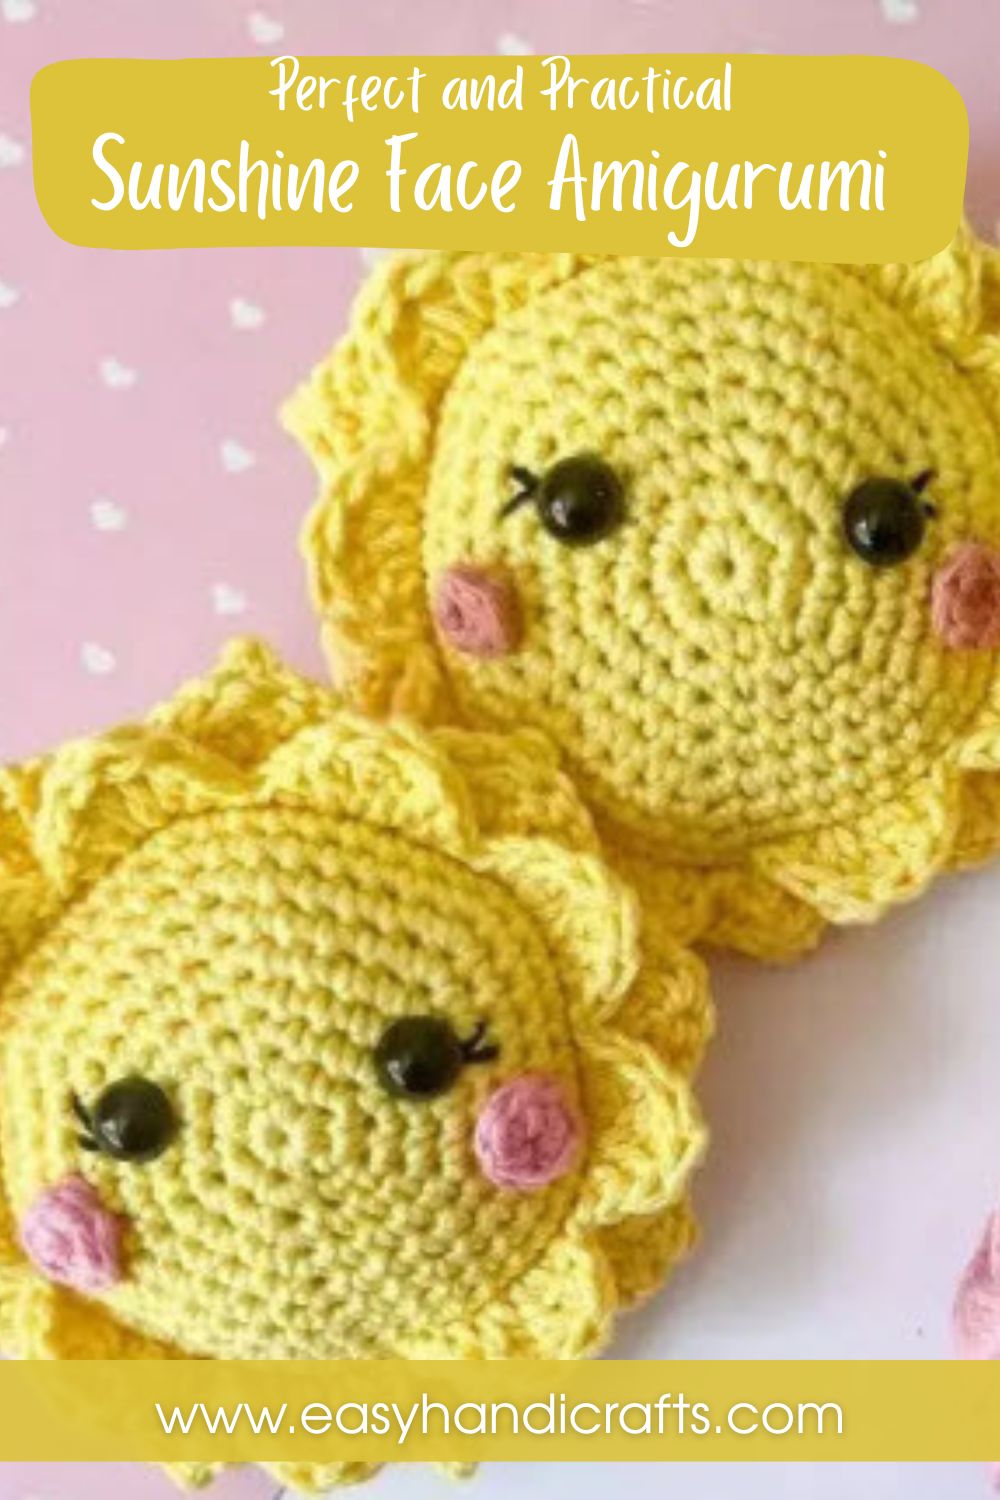
Yellow yarn rays and a rosy-cheeked face combine into this natural Crochet Sunshine Face Amigurumi , radiating warmth from every stitch. Safety eyes, soft eyelashes, and double-layered rays give this sunny face plenty of personality for shelves, nurseries, or cheerful sweet handmade gifts.
Sunshine-themed amigurumi rely on clever stitch combinations rather than complicated construction, and this pattern proves the point well. Front and back ray layers use dctr and trdc combination stitches to create dimension without extra pieces. Real talk, matching eyelash placement and cheek positioning takes noticeably more patience than the actual stitching itself. Two hook sizes keep the rays firm while the rounded face stays soft enough for cuddling comfortably indoors.
Skill Level
Intermediate stitchers get the most out of this Crochet Sunshine Face Amigurumi pattern thanks to combination stitches like dctr and trdc. Two hook sizes and layered rays add complexity beyond beginner amigurumi projects.
Pattern Overview
- A rounded yellow face worked in continuous increase rounds, shaped through the back loop only for a defined edge.
- Two separate ray layers, front and back, built directly into the loops left from the face rounds.
- Combination stitches (dctr and trdc) that create pointed, dimensional sunburst rays without extra sewing.
- Pink cheek circles stitched separately, then attached over specific rounds on the face.
- Safety eyes placed precisely between designated rounds, with embroidered eyelashes added for expression.
- A smaller hook size for the finishing ray round, keeping the tips neat and defined.
Materials
- Yarn: 8-ply yellow and pink (Lincraft Ficio Organic Cotton used here)
- Hook: 3mm and 2.5mm
- Safety eyes
- Embroidery thread
- Tapestry needle
- Stuffing
Abbreviations
MR – Magic Ring | Sc – Single Crochet | Ch – Chain | Sl – Slip | Dc – Double Crochet | Tr – Treble Crochet | Hdc – Half Double Crochet | BLO – Back Loop Only | Dec – Decrease | Inc – Increase | Dctr – Dc and Tr in the same stitch | Trdc – Tr and Dc in the same stitch
Special Techniques
- Back loop only (BLO) rounds: Working through the back loop on rounds 10 and 11 leaves the front loops open for attaching the ray layers later.
- Combination stitches (dctr/trdc): Stacking a double and treble crochet into a single stitch builds a pointed, dimensional ray tip in one motion.
- Layered ray construction: Front rays attach into round 10’s open loops, while back rays attach into round 11, giving the sun a full 360-degree ray effect.
- Hook size switching: Moving to the smaller 2.5mm hook for the ray-tip round keeps those stitches tighter and more defined.
Common Mistakes
- Attaching both ray layers into the same round loop flattens the layered effect the pattern is designed to create.
- Placing the safety eyes without checking that the round’s start sits at the bottom skews the whole face.
- Skipping the hook size change for the ray tips leaves them loose and poorly defined.
- Rushing the dctr and trdc stitches without counting legs carefully distorts the sunburst shape.
Instructions
Body Part 1 (Face, using yellow yarn)
- Round 1: 6sc in MR (6st)
- Round 2: Inc in each stitch (12st)
- Round 3: (Sc, inc) x6 (18st)
- Round 4: (2sc, inc) x6 (24st)
- Round 5: (3sc, inc) x6 (30st)
- Round 6: (4sc, inc) x6 (36st)
- Round 7: (5sc, inc) x6 (42st)
- Round 8: (6sc, inc) x6 (48st)
- Round 9: (7sc, inc) x6 (54st)
- Round 10: 54sc through BLO (54st)
- Round 11: Repeat round 10 (54st)
Insert the safety eyes through rounds 4 and 5, keeping the round’s start and end at the bottom. Add eyelashes with embroidery thread. Sew the cheeks over rounds 6 and 7.
Cheeks (using pink yarn)
- Round 1: 6sc in a MR (6st)
Fasten off and set aside.
Body Part 2 (Face taper)
- Round 12: (7sc, dec) x6 (48st)
- Round 13: (6sc, dec) x6 (42st)
- Round 14: (5sc, dec) x6 (36st)
- Round 15: (4sc, dec) x6 (30st)
- Round 16: (3sc, dec) x6 (24st)
- Round 17: (2sc, dec) x6 (18st)
- Round 18: (Sc, dec) x6 (12st)
- Round 19: Dec x6 (6st)
Fasten off, close the hole by running the tail through the front loops of round 19, and sew in the end.
Rays at Front
With the front of the sun facing you, rejoin yarn to the first front loop of round 10.
- Round 1: (Sl, hdc, dctr, trdc, hdc, sl) x9
Rays at Back
With the back of the sun facing you, continue into the first front loop of round 11.
- Round 1: (Trdc, hdc, 2sl, hdc, dctr) x9
- Round 2: Ch2, sl in the second ch from hook, 8sl in the front loops only. Repeat around.
Fasten off and sew in ends.
Assembly
- Stuff the face firmly before closing round 19, working the filling evenly toward the edges first.
- Insert the safety eyes between rounds 4 and 5, then attach the pink cheeks over rounds 6 and 7.
- Work the front ray layer into round 10’s open loops, then the back ray layer into round 11.
- Switch to the smaller 2.5mm hook for the final ray round to keep the tips crisp.
- Weave in every loose end and gently shape the rays outward by hand.
Important Remarks
This sunshine amigurumi pattern is shared for personal crochet use, made with Lincraft Ficio Organic Cotton in the original version. No designer name or watermark accompanied the source material, so no additional credit line applies here. Substitute any 8-ply yarn of similar weight, and keep the hook size change in mind for crisp, well-defined ray tips.
Conclusion
This Crochet Sunshine Face Amigurumi turns a simple rounded body into something genuinely eye-catching through its layered ray technique. The combination stitches take a bit of practice, but the payoff is a plush, dimensional sunburst unlike a typical amigurumi shape. Displayed on a shelf or tucked into a nursery, this cheerful little sun brings warmth to any handmade collection.