Crochet Granny Squares With Simple Step By Step
Crochet granny squares embody timeless charm and versatility, making them a beloved choice for crochet enthusiasts. Their simple geometric patterns can be transformed into vibrant blankets, stylish bags, or cozy cushions, showcasing both classic and contemporary designs. These squares appeal to both beginners and experienced crafters due to their straightforward construction and the endless possibilities for creativity.
Step-by-step instructions simplify the process significantly, breaking down each stage into manageable tasks. Starting with basic stitches like chain and double crochet, even newcomers can achieve impressive results quickly. The beauty lies in building up from a foundational square, allowing crafters to practice and perfect their technique steadily. Furthermore, the repetitive nature of the patterns encourages relaxation and mindfulness, making it a therapeutic activity. By following clear and concise instructions, anyone can join the world of crocheting colorful granny squares, transforming basic yarn into stunning, heartfelt creations.
How To Crochet Granny Animal Squares
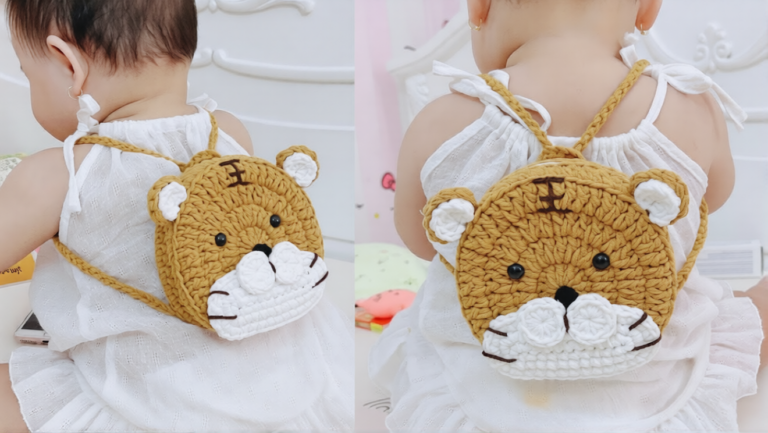
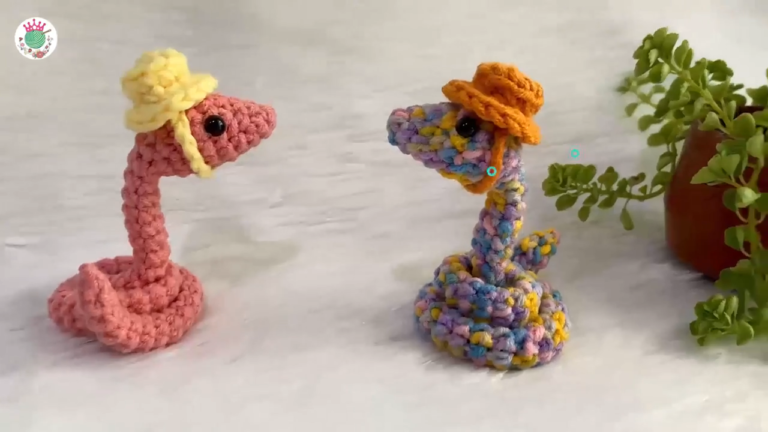
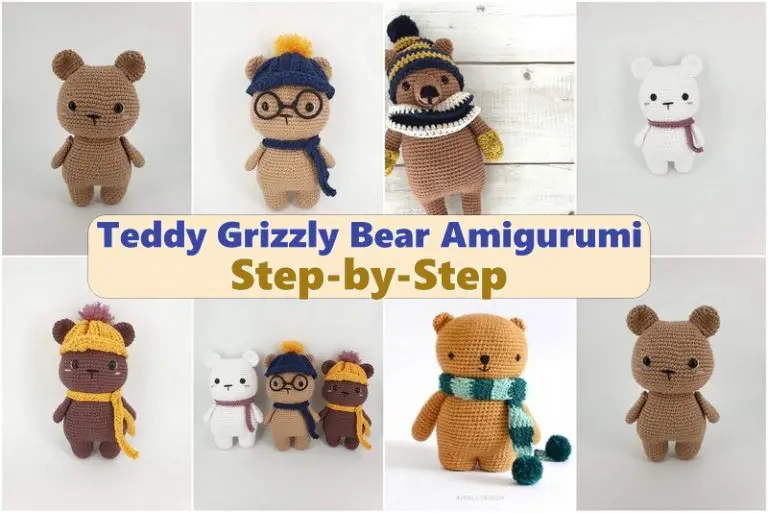
Crocheting granny animal squares combines the timeless appeal of granny squares with the whimsical charm of animal designs, offering endless creative possibilities for any project. These unique squares captivate both beginners and experienced crocheters, providing an enjoyable and rewarding experience.
Beginners find these squares particularly accessible, as step-by-step instructions guide them through the process of creating each intricate detail. From forming the basic granny square foundation to adding charming animal features like ears, eyes, and noses, every stage is broken down into manageable steps. This method not only ensures a smoother learning curve but also builds confidence with each completed piece. Embracing various colors and textures brings these adorable animals to life, making each square a delightful work of art. Whether used individually or combined into larger projects, these granny animal squares are sure to add a touch of personality and joy to any crochet endeavor.

Step By Step Crochet Granny Heart Square
To crochet granny heart squares, the materials needed include a 3.5 mm crochet hook and medium weight (4) 100% acrylic yarn. Recommended colors are blue, pink, and green to create vibrant heart designs.
Essential Crochet Stitches
- Chain Stitch (ch): Start with a slip knot, yarn over, and pull through the loop. This is essential for creating the foundation chain.
- Slip Stitch (sl st): Used to join stitches. Insert the hook into the stitch, yarn over, and pull through all loops on the hook.
- Double Crochet (dc): Yarn over, insert the hook into the stitch, pull up a loop, yarn over, pull through two loops, and repeat to pull through the last two loops.
For making the granny heart square, begin with chaining four and joining to form a ring. Chain three to start the first double crochet round, then work 11 more double crochets into the ring. Form the heart shape by working treble crochets and double crochets into specific stitches, ensuring the pattern creates the desired heart outline within the square. Use slip stitches to join rounds and change colors as needed.

Create A Crochet Granny Sun Square
To create crochet granny sun squares, start with essential materials: medium-weight yarn in vibrant colors, a size H (5.0 mm) crochet hook, scissors, and a tapestry needle. Opt for bright and contrasting colors like yellow for the sun and blue for the sky to enhance the design.
Essential Crochet Stitches:
- Chain Stitch (ch): Begin projects by forming a foundation row.
- Slip Stitch (sl st): Join rounds and create a smooth edge in patterns.
- Double Crochet (dc): A versatile stitch for creating the body of the square. Yarn over, insert the hook into the stitch, yarn over, pull through, yarn over and pull through two loops, repeat.
Making the Granny Sun Square
Begin with a magic circle and chain 3, which counts as the first double crochet. Follow by making 11 additional double crochets into the circle and join with a slip stitch to form a round base. Change colors, if desired, to maintain a vibrant pattern. Continue constructing rounds, increasing as needed to complete the square. Keep tension consistent for an even look.

Crochet Granny Moon Square For Beginners
To complete a Granny Moon Square, finish the final round by slip stitching into the beginning stitch, then fasten off the yarn securely. Use a tapestry needle to weave in the ends, ensuring they are hidden within the stitches for a neat look.
Blocking the square is essential for achieving a uniform shape and enhancing the design. Dampen the square slightly, then pin it to a blocking mat, ensuring all sides are even. Allow it to dry completely to set the shape.
Some common mistakes include inconsistent tension, gaps between stitches, or uneven edges. To address these, maintain a steady hand and consistent pressure on the yarn, ensuring even stitches throughout. If gaps appear, slightly tighten the surrounding stitches. Correct uneven edges by carefully adjusting the placement and tension of each stitch during blocking.