Crochet Dino Keychain Amigurumi Pattern for Beginners
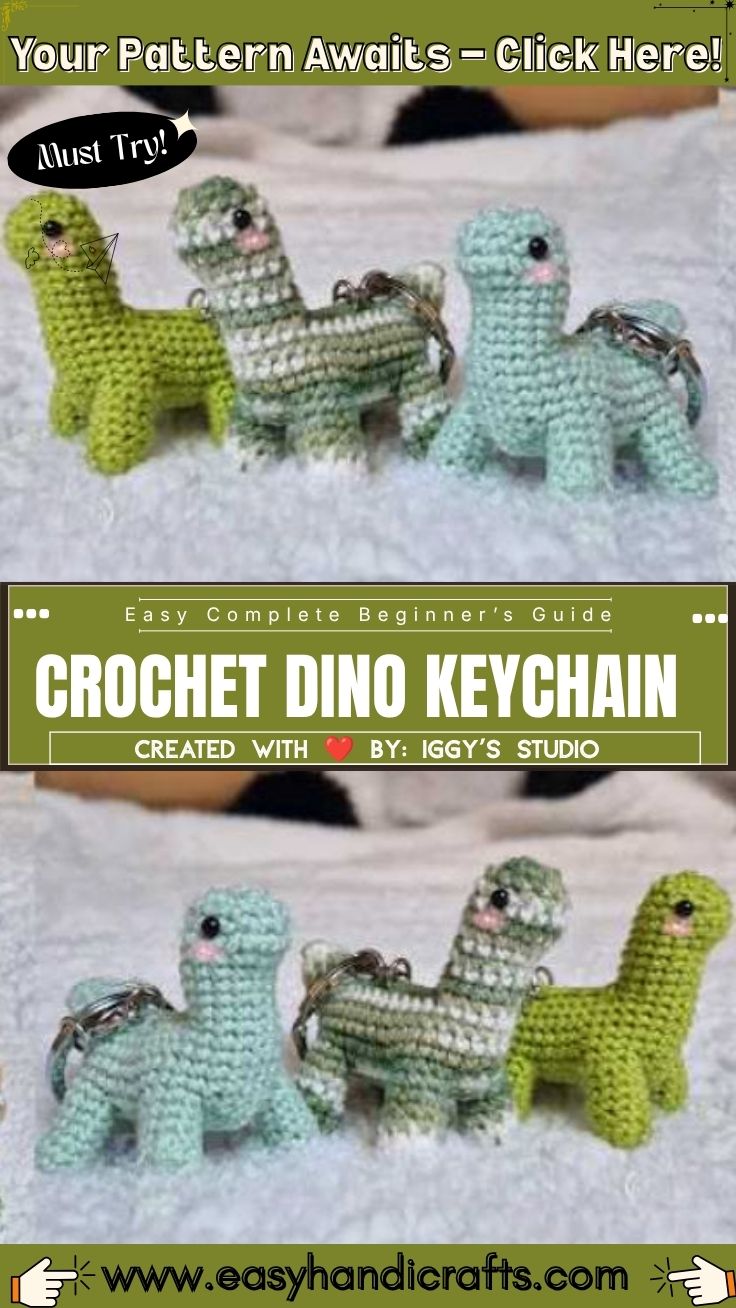
A curl of green yarn tightens into a tiny snout, and just like that, the Crochet Dino Keychain Amigurumi Pattern for Beginners starts taking shape. Clip the finished dinosaur to a backpack, bag, or keyring for a handmade dose of personality wherever you go.
Small enough to finish in a single relaxed evening, the amigurumi dino keychain pattern turns a handful of stitches into a charming little companion for a bag or set of keys. What makes the project special is a clever legs-first construction: four tiny limbs form separately, then join into one round before the body grows upward, keeping the whole crochet keychain pattern compact, sturdy, and friendly for a first-time maker.
Pattern Overview
A dino keychain starts from the ground up, literally. Four miniature legs are crocheted one at a time around a magic ring, then linked together in a single continuous round so the body can be worked as one piece. From there, simple increases and decreases carve out a rounded back, a curved neck, and a small pointed snout.
No separate seams hold the legs on, and no complicated color changes are needed. A single skein of yarn, a few basic stitches, and about an hour of stitching produce a sturdy little charm ready for a clasp.
Skill Level and Time Box
Skill level: Beginner-friendly comfort with a magic ring and basic single crochet is all that’s required.
Rather than a vague difficulty label, here’s how the time actually breaks down:
- Prep time: 5 minutes (choosing yarn, gathering tools)
- Stitching time: 45–60 minutes (legs, body, head, and tail)
- Finishing time: 10–15 minutes (stuffing, eyes, and clasp)
- Total time: roughly 1 to 1.5 hours in one sitting
Materials You’ll Need
- A 2.5–3mm crochet hook (sized to grip a sport or DK weight yarn snugly for tight, stuffing-proof stitches)
- Small amount of green DK or sport weight yarn (under 10g is plenty for a keychain-sized dino)
- A small scrap of a contrast shade if you’d like a lighter belly or spine detail
- Polyester fiberfill stuffing
- One pair of 6mm black safety eyes
- A yarn or tapestry needle for weaving in ends
- A stitch marker or scrap of yarn to mark rounds
- Sharp scissors
- A keyring, lobster clasp, or jump ring for attaching the finished piece
Key Techniques Used in This Pattern
- Magic ring (adjustable ring): the adjustable loop every leg and the body start from, letting the center pull closed with no gap
- Single crochet (sc): the only stitch used throughout, which keeps the fabric dense enough to hold stuffing without gaps
- Joining separate pieces into one round: the technique that turns four individual legs into a single continuous round for the body
- Invisible decrease: used to taper the snout and tail so the shaping stays smooth instead of pointy or lumpy
- Safety eye placement: eyes are inserted before stuffing, while the fabric is still open enough to reach the washer from inside
Step-by-Step Dino Keychain Pattern
Step 1: Prepare Your Supplies
Wind off a small length of yarn, thread a needle in advance, and lay out the hook, stuffing, and safety eyes within reach. Working a project this small goes quickly, so having everything ready avoids stopping mid-round to search for a tool.
Step 2: Crochet the Four Legs
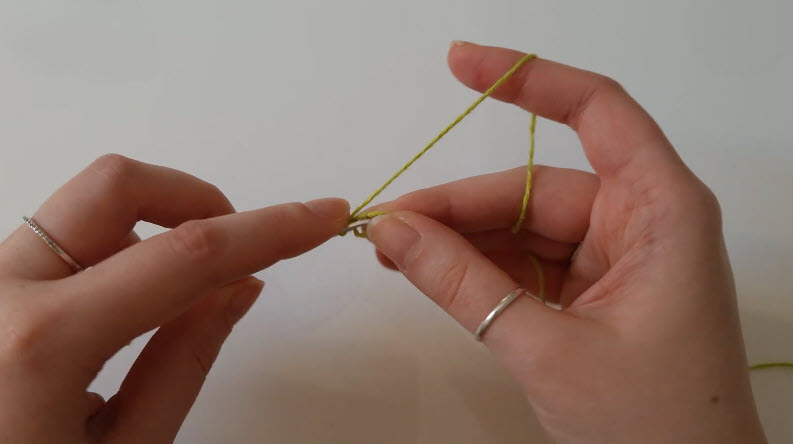
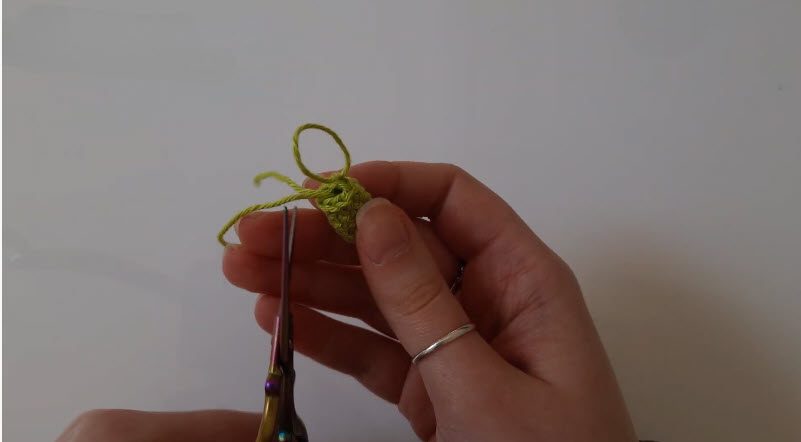
Form a magic ring and work 6 single crochets into it, then pull the tail to close the loop. Work one more round of single crochet without increasing, then fasten off, leaving a long tail for joining later. Repeat the same two rounds three more times, so four identical short, stubby legs are sitting ready.
Pro tip: Leave noticeably longer tails on the legs than usual they’ll double as the joining yarn in the next step, saving a separate strand later.
Step 3: Join the Legs Into One Round
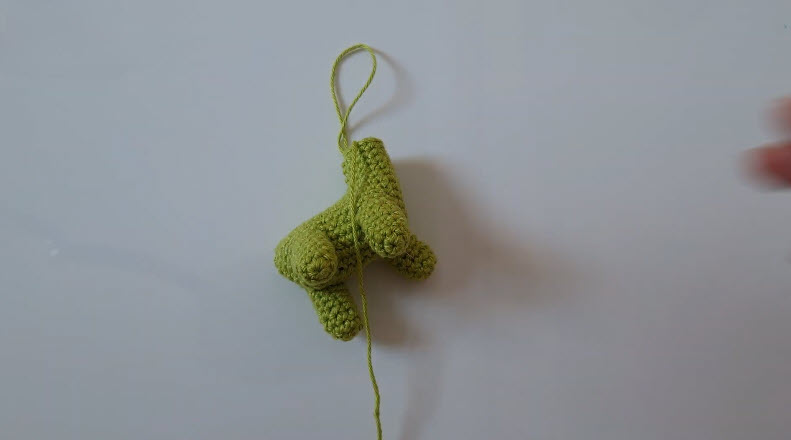
With the last leg still on the hook, insert the hook through the top loops of the next leg and single crochet across, continuing in the same direction around each remaining leg in turn. This links all four legs into one wide round that becomes the base of the body, and it’s the step that gives this construction its signature efficiency.
Stitch check: count the total stitches around the joined round before continuing; four legs of six stitches each should land at 24 stitches total.
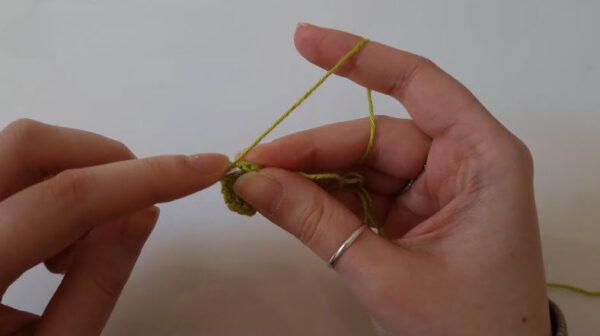
Step 4: Build the Body
Work several rounds even (no increasing or decreasing) directly on top of the joined legs to build up the belly and back. Once the body reaches the desired height, begin gradually decreasing every other round to round the shape inward, narrowing toward where the neck will sit.
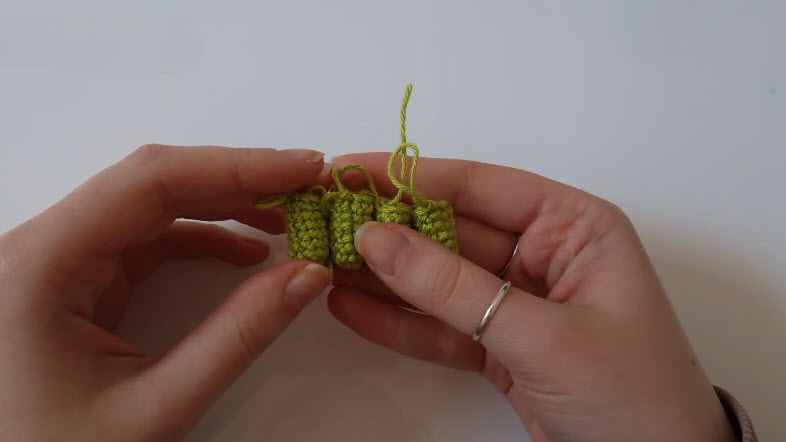
Step 5: Shape the Neck and Head
Continue decreasing gently to form a slimmer neck, then switch back to working even for a few rounds to build a small rounded head. A dinosaur head stays fairly compact compared to the body, so only a handful of rounds are needed before shaping begins again.
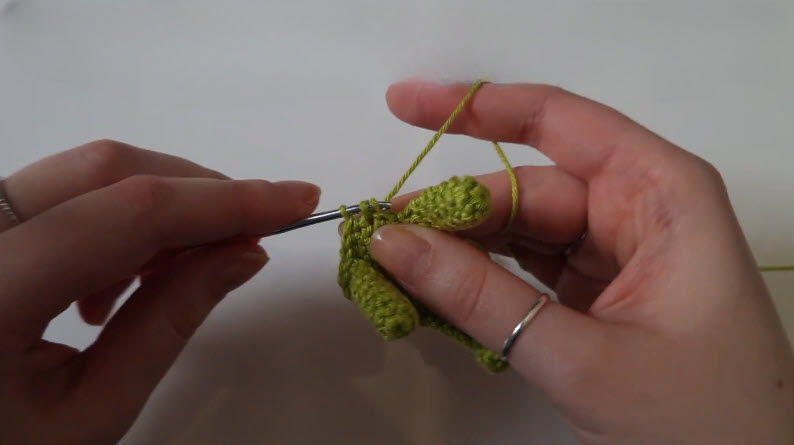
Step 6: Add the Snout and Face
Decrease steadily to taper the head into a short, rounded snout, mimicking the gentle curve seen on a long-necked dinosaur. Stuff the head lightly as the opening narrows, since it becomes harder to reach once the snout closes almost completely.
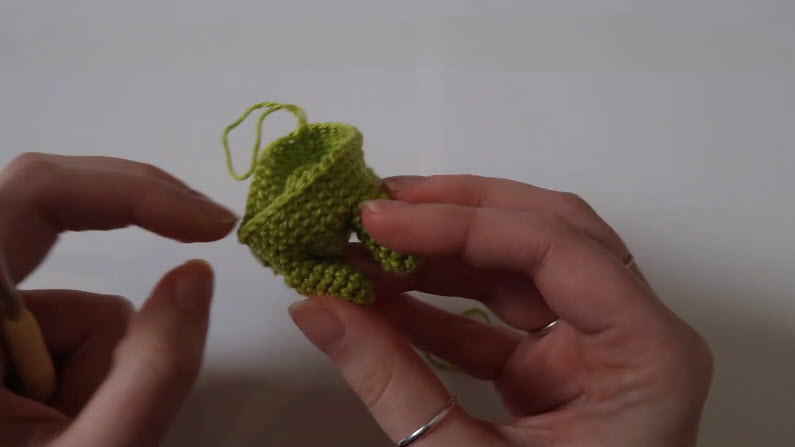
Step 7: Attach the Safety Eyes
Before the head closes fully, push the safety eye posts through from the outside, spacing them evenly on either side of the snout. Secure the washers firmly on the inside this is easiest to do while there’s still a small opening to reach through with your fingers.
Step 8: Stuff the Body
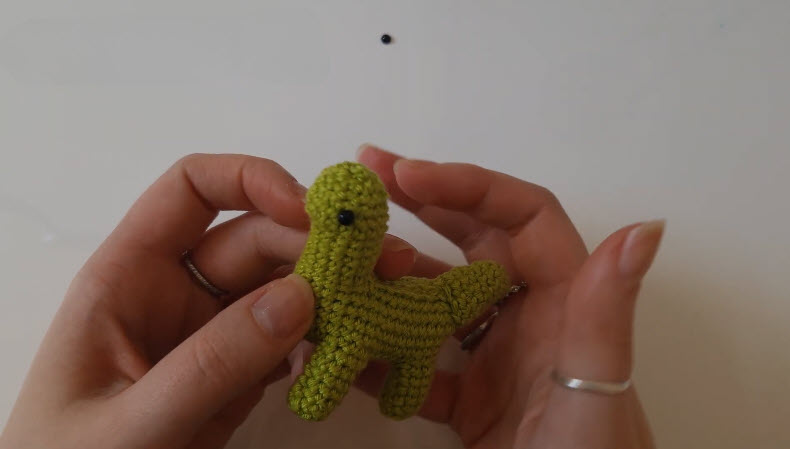
Fill the body and legs firmly but not tightly, pushing small pieces of stuffing into each leg individually so they hold their shape and stand rather than flop. A firm, even fill keeps the finished keychain from feeling floppy after repeated handling.
Step 9: Crochet the Tail
Separately, form a small magic ring and work a short tapering tube, decreasing gradually toward the tip so the tail comes to a gentle point rather than a blunt end. Stuff it lightly, just enough to keep some shape without stiffness.
Step 10: Close and Finish
Decrease the last few stitches of the head and body closed, then fasten off and weave the tail through the remaining stitches to cinch it shut invisibly. Attach the separately made tail to the back of the body with a few whip stitches, hiding the join along the seam.
Step 11: Attach the Keychain Clasp
Thread a jump ring or clasp through a sturdy stitch at the top of the back, reinforcing the spot with a few extra stitches if the yarn feels thin there. Once secure, the little dino is ready to dangle from a keyring or clip onto a bag strap.
Beginner Tips
- Keep tension consistent across all four legs so the finished dino doesn’t lean to one side
- Use stitch markers on every round with a piece this small, it’s easy to lose track after just a few rounds
- Stuff a little at a time rather than all at once, checking the shape as you go
- Choose a yarn with good stitch definition; fuzzy or very stretchy yarns make tiny stitches harder to count
Common Mistakes to Avoid
- Skipping the stitch count check after joining the legs, which throws off the whole body shape
- Overstuffing the head before the safety eyes are washered in place, making it hard to reach the back of the eye posts
- Leaving leg tails too short to use for joining, forcing an extra strand to be added later
- Rushing the tapering rounds on the snout, which can leave the face looking pointed instead of gently curved
- Attaching the clasp to a single loose stitch instead of reinforcing the spot first
Customization Ideas
Color Variations
Swap the green for a soft yellow, blue, or speckled yarn to create a small collection of different dino colors.
Spike or Scale Details
Add a row of small picots or surface slip stitches down the spine for a stegosaurus-style silhouette.
Size Adjustments
Add one extra round to the body and legs for a slightly larger charm, or drop a round for an even more miniature version to tuck into a pencil case.
Personalized Extras
Embroider tiny freckles or a smiling mouth for a friendlier look, or attach a small bead in place of the tail tip for a stylized finish.
Care and Storage Tips for Your Amigurumi Keychain
Because a keychain travels in pockets, bags, and on key rings, a light hand-wash in cool water keeps the yarn from matting over time. Lay it flat to dry rather than wringing it, since twisting can distort the stuffed shape. If the yarn is acrylic, a gentle wipe with a damp cloth between wears is usually enough, and storing it away from direct sunlight helps the color stay vivid for longer.
Frequently Asked Questions
How big will the finished dino keychain be?
Using a sport or DK weight yarn with a small hook, the finished piece typically measures around 2 to 3 inches long from snout to tail, small enough to hang comfortably from a keyring.
Can I use a thicker yarn instead?
Yes, though switching to a worsted weight yarn will produce a noticeably larger charm and may call for a slightly bigger hook to match the gauge.
What can I use instead of safety eyes?
Small black beads sewn on securely, or embroidered French knots, both work well as a substitute, especially for anyone gifting the piece to a young child.
How long does the whole pattern take to finish?
Most beginners finish the entire dino, from the first magic ring to the attached clasp, in about an hour to an hour and a half.
Do I need prior amigurumi experience to attempt this?
Comfort with a magic ring and single crochet is enough; the joining technique in Step 3 is the only slightly unfamiliar move, and it becomes clear after the first round.
Why is my Crochet Dino Keychain Amigurumi leaning to one side?
Uneven tension across the four legs is the most common cause; working all four with the same hook grip and stitch tightness keeps the base level.
To Wrap Up
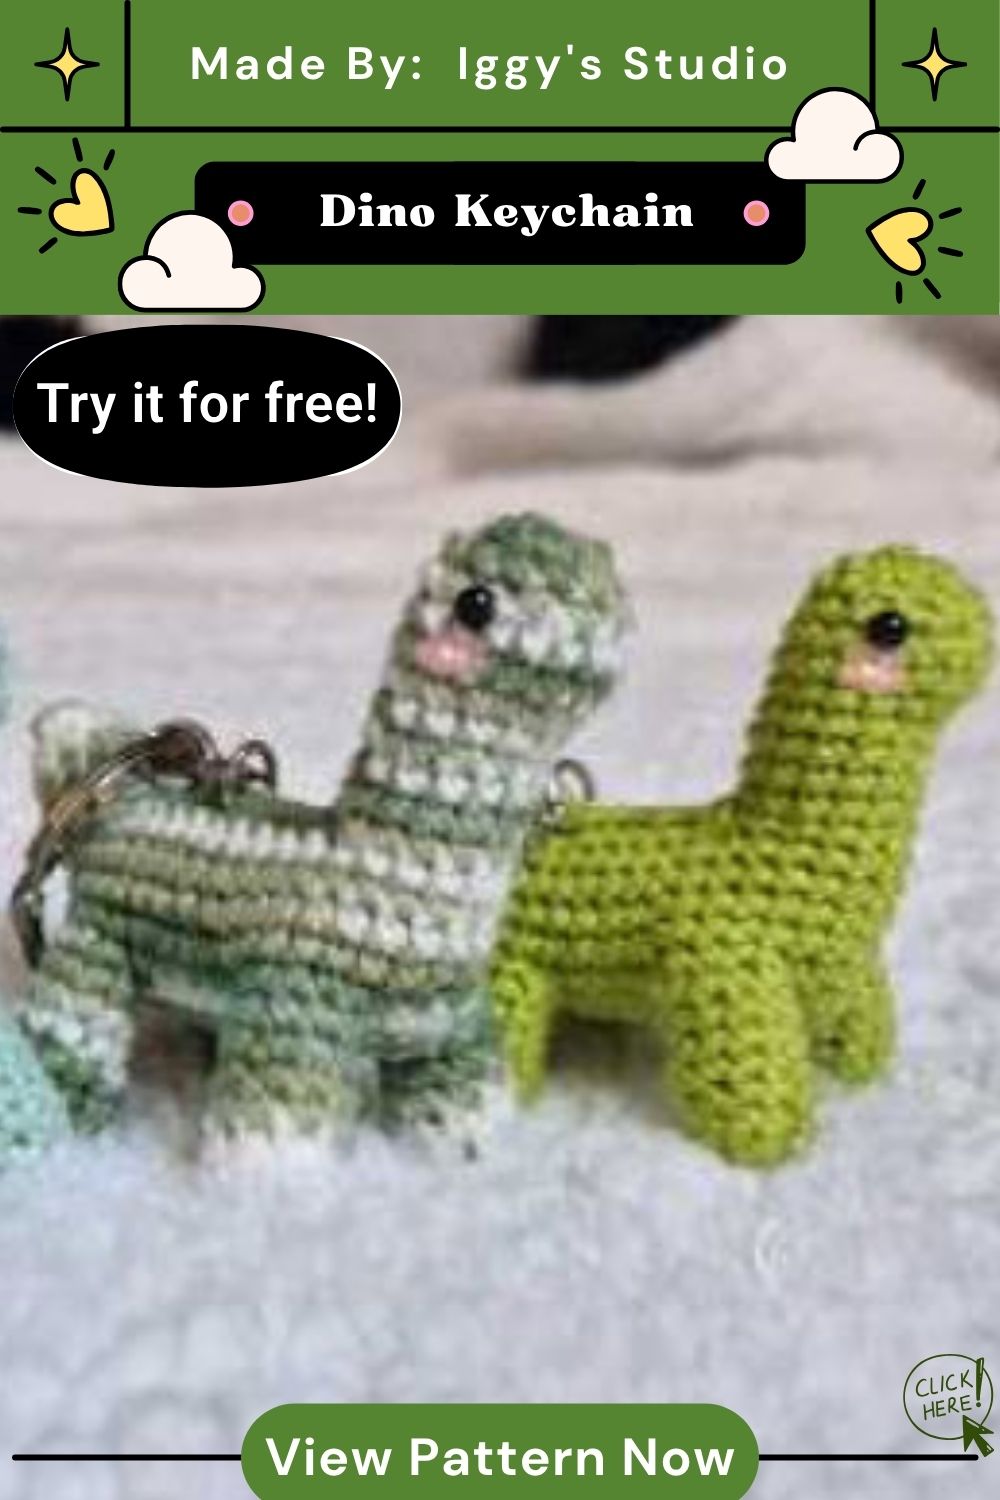
A tiny magic ring, four small legs, and a handful of single Crochet Dino Keychain Amigurumi rounds are really all it takes to turn a scrap of yarn into a dino keychain worth showing off. The joined-leg construction makes the build faster than it looks, and the finishing touches safety eyes, a curved tail, and a sturdy clasp give it real personality for something so small. Whether it ends up clipped to a backpack, dangling from a set of keys, or tucked into a gift bag for a fellow crafter, this little dinosaur proves that beginner-level stitches can still produce something genuinely charming. Grab a hook and a small ball of yarn, and give the pattern a try.