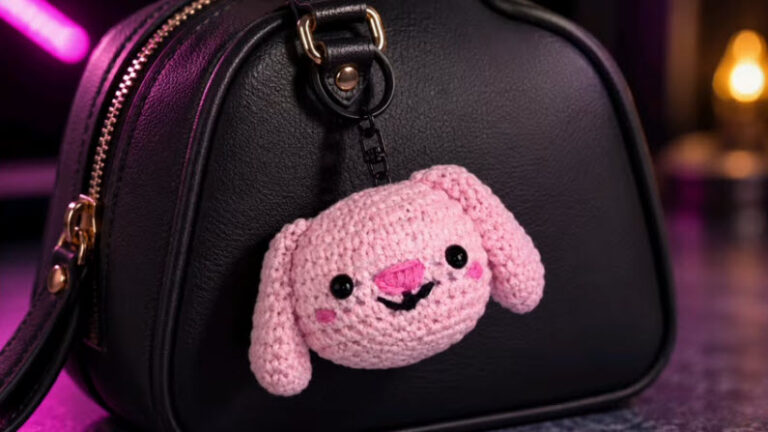
Sunflower Crochet Mochi Seed Keychain Pattern With Tiny Face
This crochet mochi seed keychain pattern gives you a squishy body, a tiny face, and a grey striped shell. It is a free amigurumi pattern that suits beginners, and it also works as a sweet stocking stuffer. So add it to your crochet gift ideas this season.
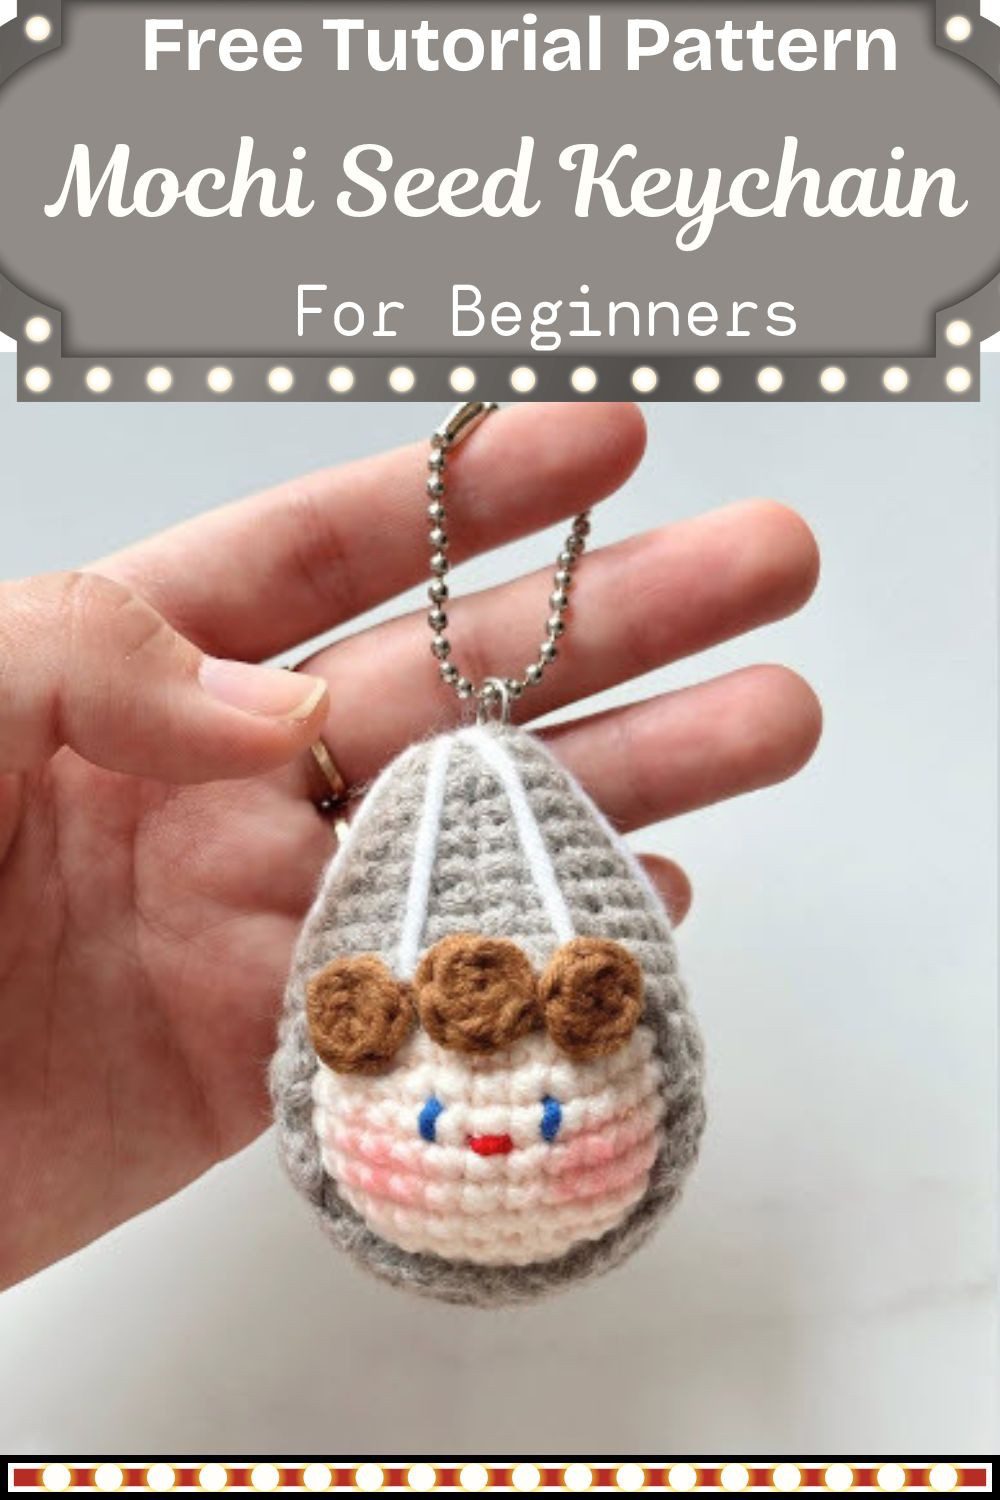
The seed has a soft, squishy body and a grey striped shell. Its cream face has blush cheeks, tiny blue eyes, a red smile, and brown hair buns. After you finish, clip the seed to a bag or your keys. The steps are simple for beginners, and as a result, the seed fits easily into any list of crochet gift ideas.
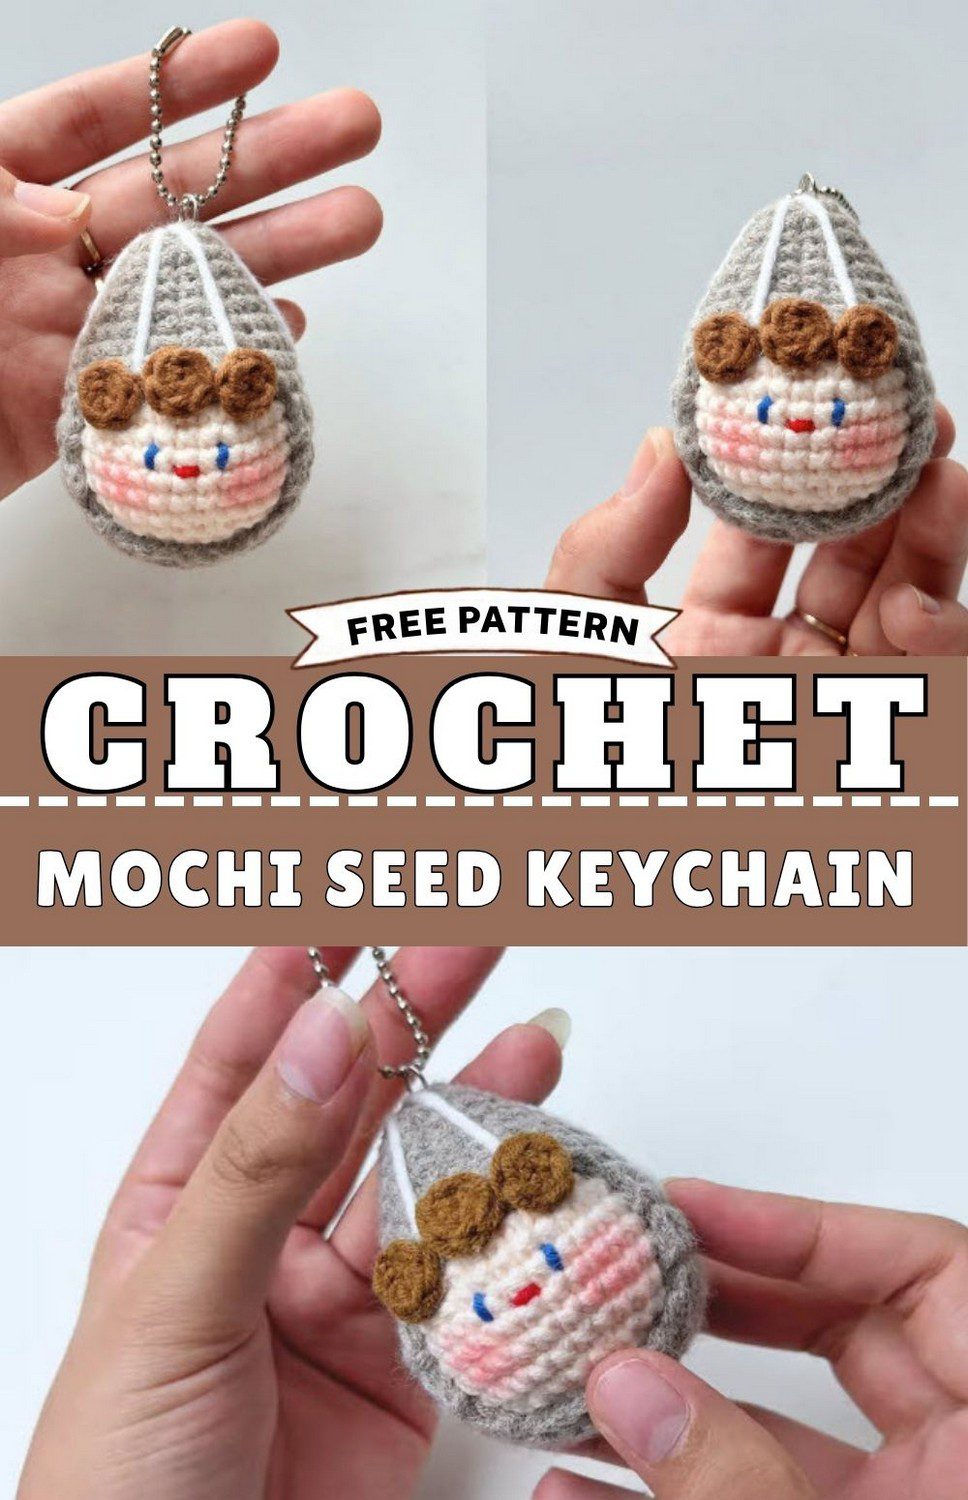
About the Crochet Mochi Seed Keychain Pattern
The finished piece is a small round seed that doubles as a keychain. You crochet the body in the round, stuff it firmly, and close it with decreases, which leaves a smooth, squishy shape. Since the details stay simple, the seed can carry an optional kawaii face or a touch of blush.
Because the project is small, you can follow your progress easily from the first round to the last. However, the source gives no finished measurements, so the final size depends on the yarn and hook you use.
Crochet Mochi Seed Keychain Pattern Features
Mochi-Style Squish
Firm fiberfill, pushed in with your fingers or tweezers, creates the squishy, mochi-like texture. In addition, a small hook makes a tight fabric, which keeps the stuffing from showing through.
Rounded Seed Base
First, gradual increases across the early rounds form a plump, rounded base. Then even rounds build the height of the seed.
Keychain-Ready Top
You attach the hardware at the top with a jump ring, pliers, or a strong yarn loop.
Optional Tiny Face
Finally, an embroidered kawaii face or a little blush gives the seed extra character.
Materials Needed for the Crochet Mochi Seed Keychain Pattern
- Brown or tan yarn for the seed body
- A second yarn colour for the outer shell (steps 5 to 7)
- 2.0 mm crochet hook
- Scissors and a yarn needle
- Fiberfill stuffing
- Tweezers (optional, for stuffing)
- Hot glue gun and glue
- Keychain hardware and pliers
The source gives no yarn weight or yardage, so exact amounts cannot be listed. As general guidance, smooth yarn keeps the stitches clear. Also, a small 2.0 mm hook makes a fabric firm enough to hold stuffing well. Therefore, crochet a few rounds first to check that the fabric feels tight and even.
Skills, Stitches, and Abbreviations
Techniques include the magic ring, single crochet, increases, decreases, stuffing, and embroidery. These abbreviations appear in the pattern:
- R: round
- MR: magic ring (magic circle)
- sc: single crochet
- inc: increase (2 sc in the same stitch)
- dec: decrease (2 sc worked together)
- slst: slip stitch
- ch: chain
- BLO: back loop only
- FLO: front loop only
Finished Size and Stitch Counts
The source gives no finished size or per-round stitch counts, so exact counts cannot be listed here. Instead, the pattern relies on even increases in the early rounds, followed by plain single crochet rounds. Check the shape after each round, and stop increasing once the base looks wide enough for a plump seed.
Tips Before You Start the Crochet Mochi Seed Keychain Pattern
Place a stitch marker in the first stitch of every round, since you work the piece in continuous rounds. Also, count your stitches at the end of each increase round, because uneven increases make the circle curl instead of lying flat.
Next, keep the tension tight and steady. Loose stitches let white stuffing peek through, while a tight fabric gives the seed its firm, squishy feel. Leave the yarn tail long enough to weave in later, and keep tweezers nearby for pushing fiberfill into small spaces. Finally, test the keychain hardware before you glue anything, so the attachment point sits where it hangs best.
Step-by-Step Crochet Mochi Seed Keychain Pattern Instructions
The written pattern gives no stitch counts for these rounds, so each step describes the shape rather than exact numbers.
Step 1: Start With a Magic Ring
Make a magic ring with the seed body yarn. Then work single crochets into the ring and pull the tail to close the centre. As a result, a snug ring keeps a hole from forming at the top of the seed.
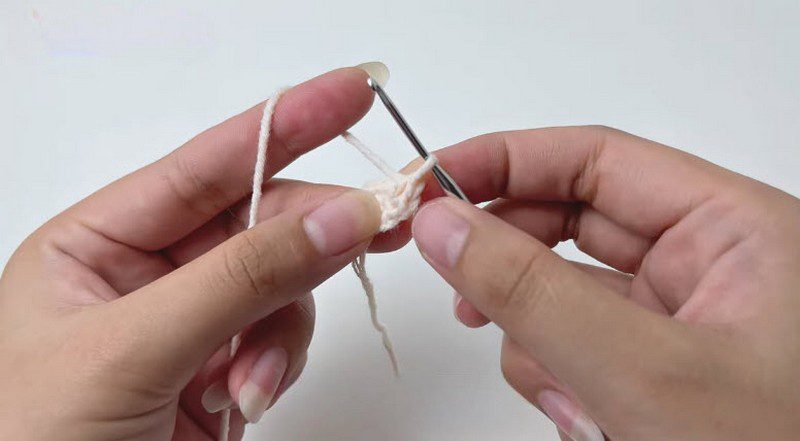
Step 2: Work the Increase Rounds
Increase stitches evenly across the first rounds, working 2 sc in the same stitch each time. In this way, each round grows wider and forms the plump, rounded base. Count the stitches at the end of every round so the circle stays flat and even.
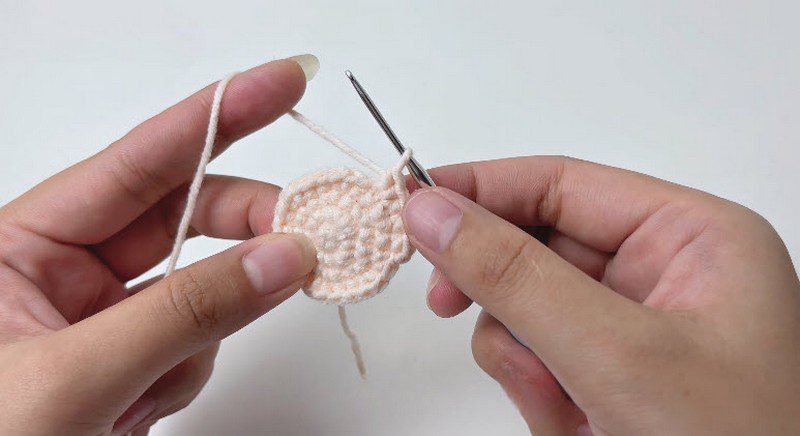
Step 3: Build Height With Even Rounds
Next, work even rounds of single crochet with no increases or decreases. The sides rise into a small pouch, so keep going until it reaches the height of the seed.
Pro-Tip: Mark the first stitch of each round so the even rounds stay easy to count.
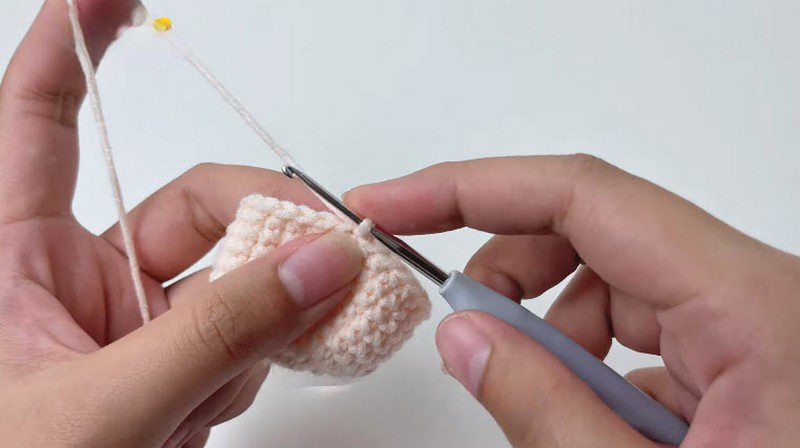
Step 4: Stuff and Close the Body
First, pack the piece firmly with fiberfill, using your fingers or tweezers to fill the curved edges. Then work decrease stitches evenly around, with 2 sc worked together each time, until the opening closes tightly. After that, fasten off and weave the tail neatly inside the seed.
Pro-Tip: Add stuffing in small pieces before the opening gets tight, because adding more later is hard.
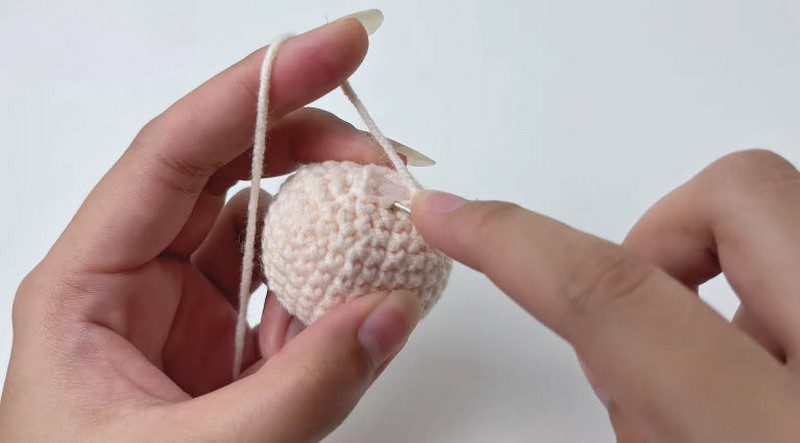
Step 5: Start the Outer Shell
Now switch to a second yarn colour and begin a new piece with a magic ring. Then work single crochets into the ring and pull the tail snug.
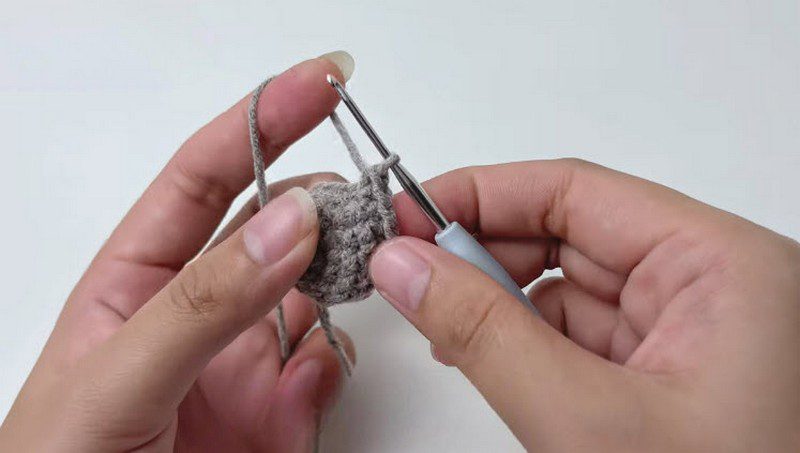
Step 6: Shape the Shell Over the Seed
Continue with rounds that widen into a cone, and then fit the shell over the stuffed body to check the fit. Keep the shape snug so the seed stays rounded underneath.
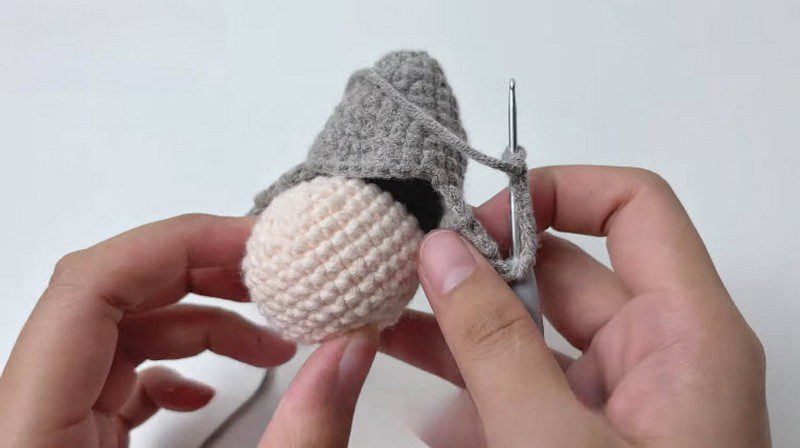
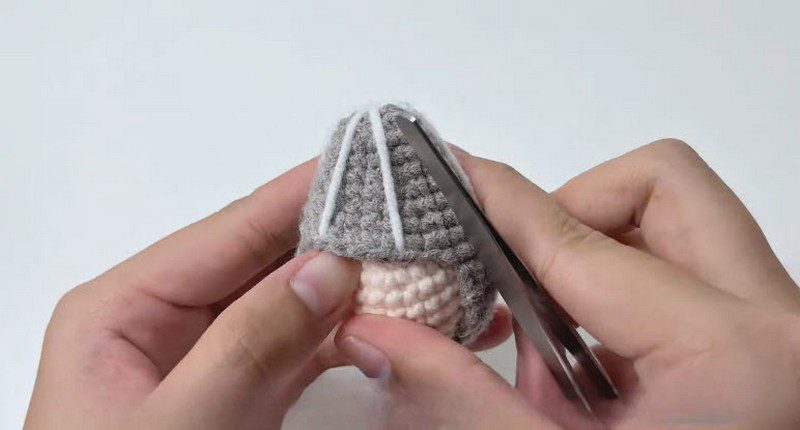
Step 7: Add the Stripes and Trim the Ends
Lay strands of contrasting yarn along the shell for stripes and secure them. Finally, trim the extra ends with scissors, cutting close without loosening the stitches.
Finishing Touches
First, attach the keychain hardware to the top of the seed with a jump ring, pliers, or a strong yarn loop. A little hot glue can also help hold the attachment point in place, since a glue gun is part of the materials list.
After that, add the tiny face. Embroider a small kawaii face, or brush on a touch of blush, to give the seed extra character. Both details are optional, so the plain seed works just as well.
Customisation Ideas for the Crochet Mochi Seed Keychain Pattern
Color Choices
Swap the body and shell colours for other natural seed shades, or try a brighter pair for a playful look.
Face Styles
Try a tiny smile, small dot eyes, or blush spots to change the expression.
Hardware Options
A lobster clasp, a ring, or a bag chain can replace the standard keychain hardware.
Size Changes
A thicker yarn with a larger hook makes a bigger seed. However, test the stitches first and check how the stuffing looks.
Bonus: Mini Seed Family Gift Set for the Crochet Mochi Seed Keychain Pattern
Want a gift that stands out? Make three seeds in different shell colours and give them together as a little seed family. Then tie them to a card with a short handwritten note, so the set feels extra personal.
Troubleshooting the Crochet Mochi Seed Keychain Pattern
A flat, ruffled base usually means you added too many increases, so count the stitches and pull out a round if needed. Similarly, visible stuffing means the fabric is loose, so try a smaller hook or a tighter hand. Lumpy filling comes from big wads of fiberfill, so add small pieces and shape the seed with your fingers.
However, a hole at the top after closing usually needs one more pass with the yarn needle, so pull the last stitches snug before you weave in the tail. Likewise, if the keychain hardware slips, secure the connection with a bit more yarn or a small dot of hot glue.
Bag Charm and Gift Ideas
Clip the seed to a backpack zipper, dangle it from a tote bag strap, or hang it on a set of keys. Alternatively, make a few seeds in different colours for a small handmade gift set, and tuck a short note into the package.
Care Instructions
The source does not list the fibre, so follow the yarn label for cleaning. Spot cleaning with a damp cloth is a gentle general option for stuffed keychains. Then let the seed dry fully before storing, and keep it away from direct heat so the glue and hardware stay secure.
FAQs About the Crochet Mochi Seed Keychain Pattern
Is the crochet mochi seed keychain pattern free?
Yes, it is a free amigurumi pattern, and every stage is explained above.
What hook size do I need?
The pattern calls for a 2.0 mm hook.
Is the crochet mochi seed keychain pattern good for beginners?
The source calls it an easy amigurumi for beginners. However, stuffing and closing neatly take a little practice.
How do I attach the keychain?
Add the hardware at the top with a jump ring, pliers, or a strong yarn loop.
Small Seed, Big Squishy Charm
A rounded body, a snug outer shell, and a tiny face give this seed plenty of charm. Each part is small, so you can finish it in short sessions. So keep your stitches tight and stuff firmly, and soon you will have a keychain ready to hang anywhere.