Crochet Christmas Tree Keychain Pattern Perfect Holiday Gift
Ribbed cotton feels soft and springy under the thumb, and the Crochet Christmas Tree Keychain Pattern Perfect Holiday Gift turns that texture into a pocket-sized evergreen. Each ribbed layer stacks into a tidy cone. Finish it with a keyring, and the charm is ready to travel.
A small ribbed tree earns its place on a bag zipper, a set of house keys, or a backpack strap. The design calls for one green yarn, a slim hook, and steady rows, so progress moves fast. Crafters who want a mini crochet evergreen charm or a festive amigurumi tree ornament will find each step photo-guided. The finished piece also holds its shape through daily jangling.

Who This Pattern Is Great For
The crochet Christmas tree keychain pattern welcomes beginners who already know chain stitches and basic rows. Because the shape grows from a simple strip, complex shaping never enters the picture. Likewise, crafters with green scraps can use up leftovers instead of buying new skeins. Gift-makers gain the most, since the charm slips flat into an envelope. Teachers, coworkers, and neighbors all make easy recipients. However, makers who dislike seaming may find the final step slow.
Time and Skill Reality Check
Plan on a relaxed evening for a first attempt. With practice, repeat trees move faster. The skill list stays short: chaining, basic stitches worked in rows, and a tidy hand-sewn seam. Still, tension matters more than technique. Loose stitches leave gaps between ridges, while tight stitches curl the strip. Consequently, a few practice rows on a scrap save frustration later.
What You’ll Need
- Yarn: smooth cotton in soft spring green, fine enough to give crisp ridges
- Trunk color: a short length of brown yarn
- Hook: a slim metal hook sized to the yarn label (2.0–2.5 mm is a common match for fine cotton)
- Notions: a locking stitch marker, a tapestry needle, and sharp scissors
- Hardware: a small keyring or lobster clasp
- Optional: a pinch of fiberfill for a plumper tree
Stage 2: Making It Successfully
Step-by-Step Process
Follow the five photos in order, because each frame matches one action. Every stage of the crochet Christmas tree keychain pattern rewards steady tension.
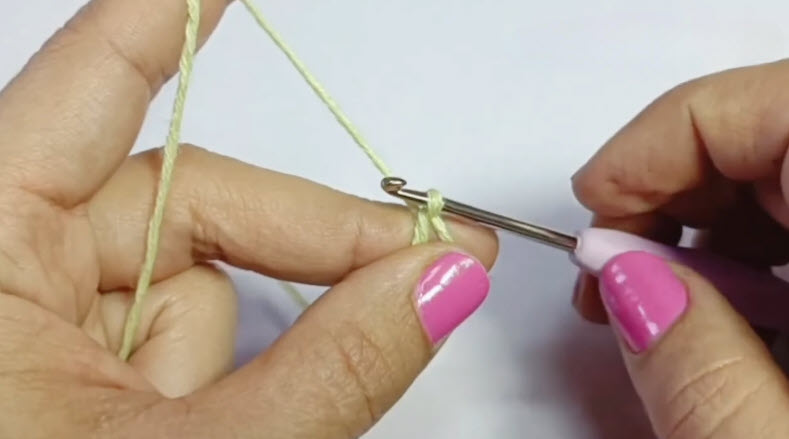
Step 1: Start the foundation chain.
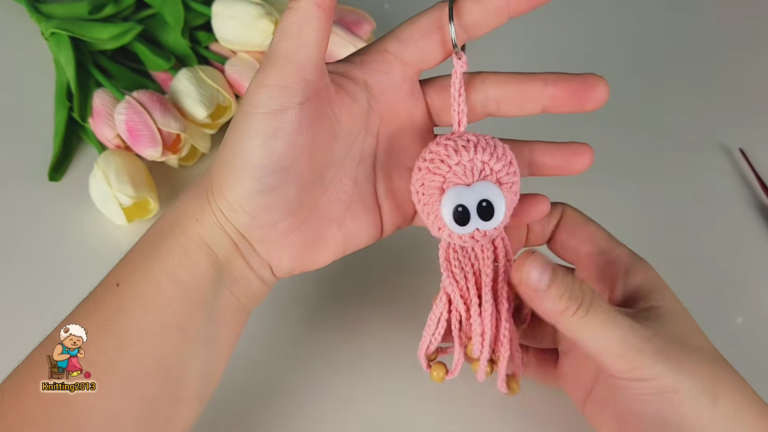
Pull a loop onto the hook, then chain a starting length with the light-green yarn. Pinch the base of the chain between thumb and middle finger. Next, drape the working yarn over the opposite index finger for steady tension. Keep each chain loose enough to admit the hook on the return pass.
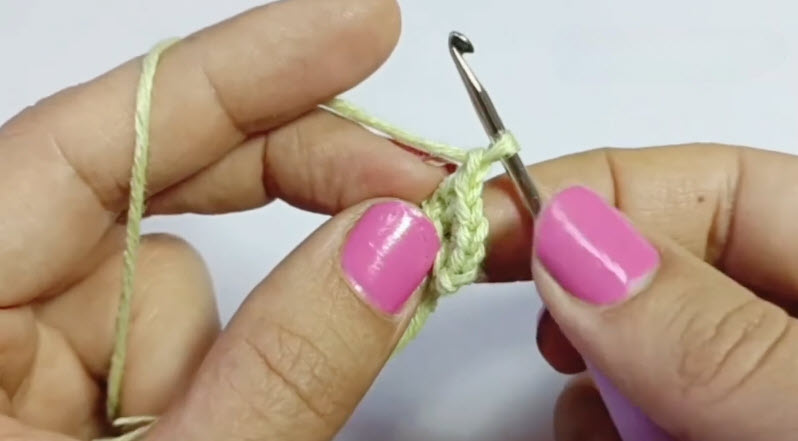
Step 2 : Work the first row into the chain.
Turn the chain so the hook points upward. Then work the first row of stitches back along the foundation. Tight, upright stitches form a narrow, braided-looking column, as the photo shows. Keep the guiding fingertip close to the hook for clean insertions.
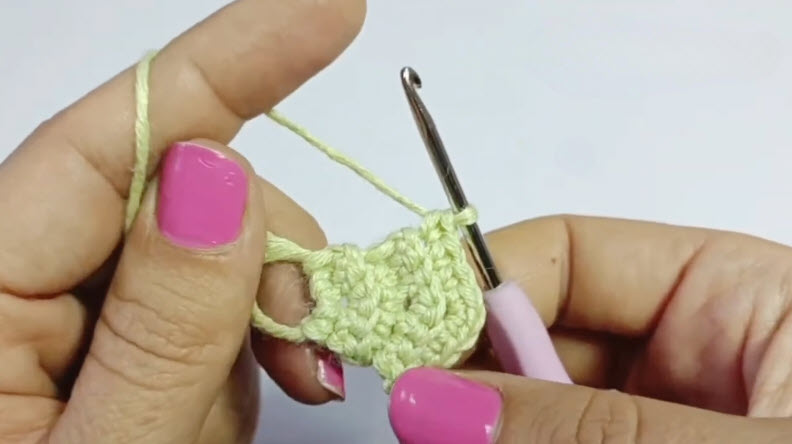
Step 3: Widen the piece into a rounded fan.
Continue with additional rows so the strip spreads outward. Turn the work at each row end, and space stitches evenly across the width. Meanwhile, watch the outer edge. A gentle curve is correct, but folds signal uneven stitch placement.
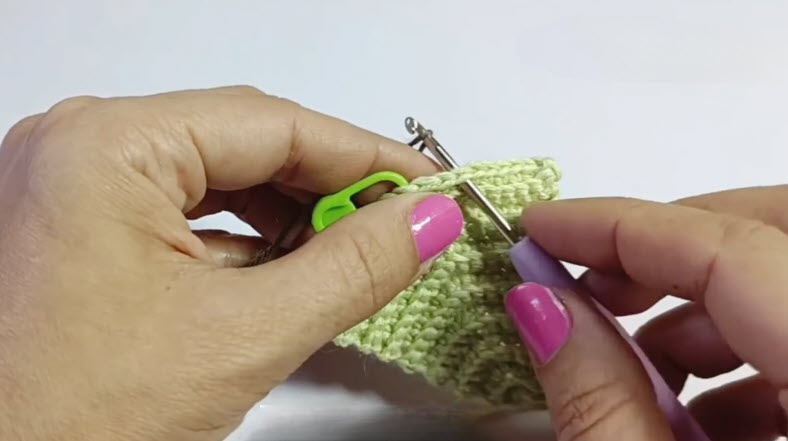
Step 4: Build the ribbed rows and mark the edge.
Keep stitching until dense ridges cover the fabric. Clip the locking stitch marker onto an edge stitch so the row start stays visible. After that, insert the hook into the marked edge and continue each row the same way. Consistent loop placement keeps the ribbing straight.
Step 5: Shape the tiers and stitch them together.
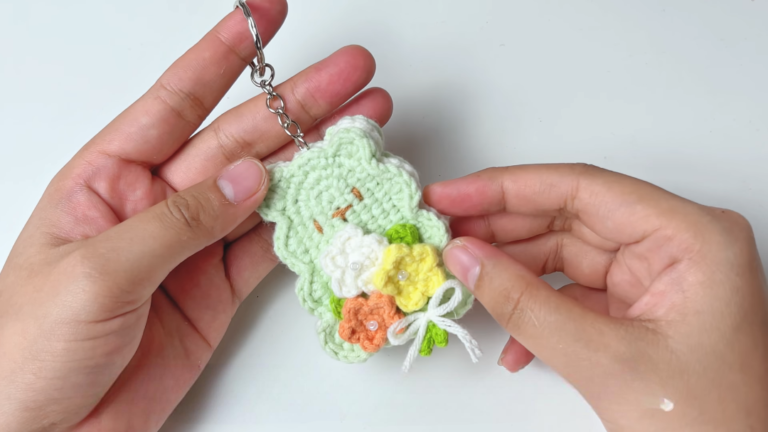
Fold the ribbed fabric into stacked tiers to form the cone outline. Thread the tapestry needle with a matching yarn tail, then stitch through each tier to lock the layers. A dark strand near the base shows where the trunk color belongs. Finally, pull the seam yarn snug and weave in every loose end.

Where Beginners Usually Go Wrong
- Mistake: A foundation chain pulled too tight blocks the hook on the first row.
Fix: Chain loosely, or use a hook one size larger for the starting chain only. - Mistake: Stitch counts drift from row to row, leaving wavy edges.
Fix: Clip the marker at each row start and count stitches before turning. - Mistake: Switching which loop receives the stitch hides the ridges.
Fix: Choose one loop path and repeat it on every row. - Mistake: Slack seaming yarn opens gaps between tiers.
Fix: Tug each stitch snug before moving to the next.
Troubleshooting Extra
- The tree leans sideways. Uneven tier heights usually cause the tilt. Unpick the top seam and re-stitch it with matching tier depth.
- The fabric curls at the edges. Tension runs too tight. Rework a few rows with a larger hook, or steam the piece lightly and press it flat.
- Yarn ends poke through. Short tails slip out of ribbing. Weave each end in two directions, then trim close.
- The charm feels floppy. Soft cotton can sag. Add a small pinch of fiberfill, or choose a firmer cotton next time.
Signs You Did It Right
- Ridges run in straight, even lines across every tier.
- Edges stay flat without waves or curls.
- Tiers sit snug, with no visible gaps at the seam.
- The trunk color peeks out neatly at the base.
- Every yarn end stays hidden inside the fabric.
Stage 3: Keeping It Looking Good
Washing and Care Basics
Spot-clean first. Mix mild soap into cool water, dab the stain with a cloth, and rinse with a damp cloth. For a full wash, place the tree in a mesh pouch and swish it gently in cool water. Then press out moisture with a towel. Never wring cotton, because twisting distorts the ridges. Lay the charm flat to dry, and nudge the cone back into shape.
Storage Tips
Keep holiday charms in a breathable cotton pouch or a tissue-lined tin. Plastic bags trap moisture, which dulls cotton over time. Also, store trees away from direct sunlight to prevent fading. Instead of piling charms under heavy keys, hang them from a small hook.
Creative Projects You Can Make With This Pattern
Ribbed fabric from the crochet Christmas tree keychain pattern adapts to many small holiday makes. Readers who enjoy the technique can branch into a crochet snowflake ornament, a crochet mini wreath charm, or a set of crochet gift tag toppers. A thicker yarn and larger hook produce a crochet tabletop tree. In addition, three trees on a string make a crochet holiday garland.
Ways to Style or Display It
Clip a tree to a bag zipper for a festive accent. Loop another around a lanyard to brighten a work badge. Meanwhile, tuck one under the ribbon of a wrapped present as a keepsake topper. A bare branch or a small wire hanger also works as a mini display tree.
Bonus: Color Swap Ideas
Small palette changes give the same shape a new personality.
- Forest and cream: deep green tiers with an off-white trunk for a classic look.
- Frosted mint: pale green with a silver bead at the top.
- Ombré shades: graduated greens that mimic natural pine depth.
Why It’s Popular Right Now
Handmade gifts keep gaining attention as shoppers look for personal touches over mass-produced items. Small projects also fit busy December schedules.
- Fast to finish: the compact size suits short crafting sessions.
- Low cost: one scrap of green yarn covers nearly everything.
- Easy to share: the textured tiers photograph well for social posts.
FAQ
Can beginners finish this project?
Yes. The skill list covers chaining, basic rows, and simple seaming. A practice swatch helps set tension first.
Which yarn works best?
Smooth cotton shows ridges clearly and resists fuzzing. Choose a fine strand and match the hook to the label.
How does the keyring attach?
Thread the ring through a small loop at the tree top. A short chain loop stitched in place also works.
Can the tree be stuffed?
Yes. A small pinch of fiberfill adds body, but too much stretches the ribbing. Add it gradually.

Final Takeaway
A finished crochet Christmas tree keychain pattern project proves that ribbed rows and careful seaming create polished results. Once the technique feels comfortable, a matching crochet snowman keychain makes a natural next pattern. Its rounded shape builds on the same tension habits.