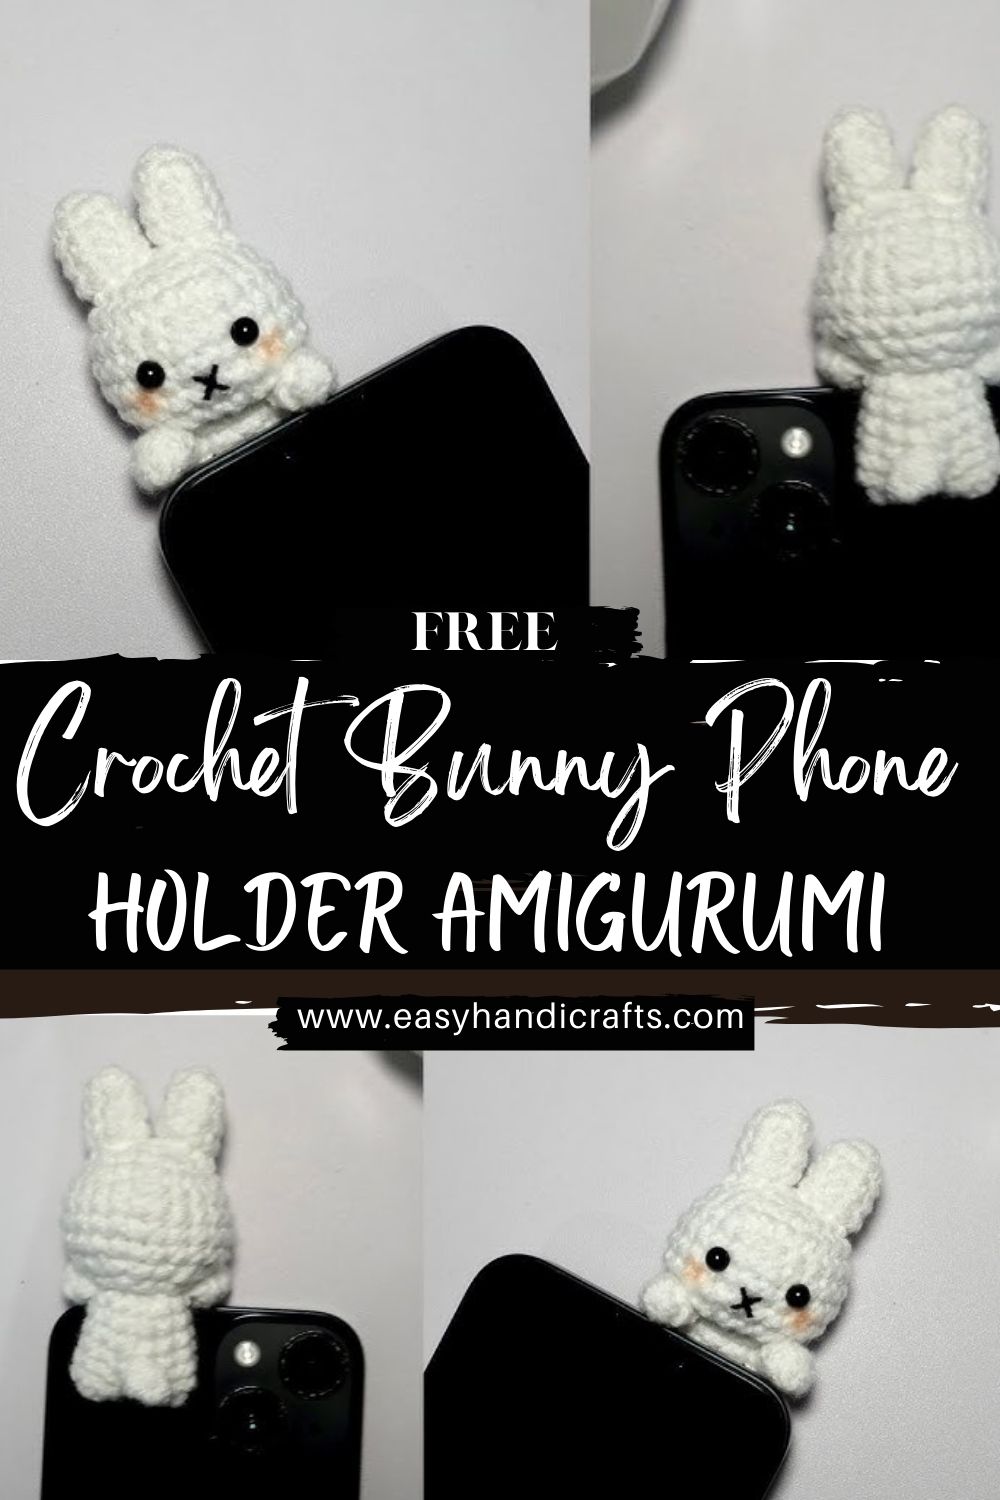
Cute Crochet Bunny Phone Holder Amigurumi Pattern
This cute crochet bunny phone holder is a beginner-friendly amigurumi project that works as a phone holder (aka a bunny phone hugger/phone topper). Make a tiny bunny that sits on your smartphone and “hugs” the screen with sweet little arms.
If you’ve been looking for a practical, adorable plush, this cute crochet bunny phone holder is the perfect mix of function and kawaii charm. Designed as an amigurumi bunny that clips or perches on your phone, it features a round head, long upright ears, tiny hands that hug the phone, and small legs that help it sit neatly.
This tutorial is written for confident beginners and up: you’ll use simple amigurumi shaping (single crochet, increases, and decreases) and finish with minimal embroidery. Whether you call it a bunny phone hugger, crochet phone topper, or crochet phone holder, it’s a fast project that makes a thoughtful handmade gift, and it’s easy to customize with different colours and expressions.
Materials Needed
- Soft yarn (white or preferred colour; smooth DK/worsted or plush yarn both work)
- Crochet hook: 2.5mm–4mm (choose a smaller hook than the yarn label suggests for tight stitches)
- Fiberfill stuffing
- Safety eyes or black embroidery thread (embroidered is safest for kids)
- Yarn needle (tapestry needle)
- Stitch marker
- Scissors
Optional (helpful for a phone hugger): a small amount of craft pipe cleaner/floral wire (to shape the arms), or a tiny plastic hair clip to stitch on the back for extra grip (the pattern works without these).
Visual Description of the Bunny
This bunny phone hugger is designed to look:
- Small and compact, perfect for a phone topper
- Made with a soft white yarn texture for a plush, clean look
- With long upright ears (slightly curved for personality)
- A round head and body in simple amigurumi proportions
- Tiny arms positioned forward to “hold” or “hug” the phone edge
- Small legs at the bottom so it can sit securely
- Minimal embroidered eyes and mouth for an easy, cute face
- Overall kawaii-style: simple shapes, sweet expression, and pocket-sized charm
About Amigurumi
Amigurumi is the Japanese art of crocheting small stuffed toys. It’s popular worldwide because it’s:
- Easy to personalize (colours, faces, accessories)
- Great for beginners (basic stitches create most shapes)
- Quick to finish (small pieces, fast results)
- Perfect for gifts and accessories—like this phone hugger!
Skill Level
Beginner to Intermediate
You’ll need these basic stitches/skills:
- Work in the round
- sc, inc, dec
- Simple seaming (sew ears/arms/legs)
- Basic embroidery (eyes and mouth)
Abbreviations
- MR = magic ring
- sc = single crochet
- inc = increase (2 sc in one stitch)
- dec = decrease (single crochet 2 together; invisible dec recommended)
- sl st = slip stitch
- ch = chain
- rep = repeat
STEP-BY-STEP PATTERN (Beginner-Friendly + Round-by-Round)
Sizing + Fit Notes (Important for Phones)
This bunny is designed to sit on the top edge of a smartphone like a topper/hugger.
- Fits best on phones with a case (extra grip).
- If your phone is very thin/slick, add an optional clip on the back (see Assembly).
- Size will vary by yarn/hook. With DK yarn + 3.0mm hook, the head is typically ~5–6 cm wide.
Gauge isn’t critical, but stitches should be tight (no gaps).
A. Head (Round Shape with Increases/Decreases)
Colour: white
R1: 6 sc in MR (6)
R2: inc in each st around (12)
R3: (sc, inc) rep 6 times (18)
R4: (2 sc, inc) rep 6 times (24)
R5: (3 sc, inc) rep 6 times (30)
R6–R8: sc around (30) for 3 rounds
Eye Placement Timing
If using safety eyes, place them now:
- Place between R6 and R7, about 6–7 stitches apart.
- Keep them centred on the “front” of the head.
Now begin closing the head:
R9: (3 sc, dec) rep 6 times (24)
R10: (2 sc, dec) rep 6 times (18)
Stuff the head firmly (round and smooth, not overstretched).
R11: (sc, dec) rep 6 times (12)
Add a final bit of stuffing to keep the cheeks rounded.
R12: dec around (6)
Fasten off, leave a long tail for sewing. Close the opening by weaving through the front loops and pulling tight.
Shaping tip: Roll the head gently between your palms after stuffing to smooth lumps.
B. Body (Small Oval/Round Base)
The body is a small base that supports the head and provides an anchor for arms/legs.
R1: 6 sc in MR (6)
R2: inc around (12)
R3: (sc, inc) rep 6 times (18)
R4: sc around (18)
R5: (sc, dec) rep 6 times (12)
Stuff lightly (you want it firm enough to hold shape, but not too hard).
R6: dec around (6)
Fasten off, leave a long tail for sewing.
Tip: If you want a flatter base (more stable), stop at R4, fasten off, and sew it as a flatter “disc.” The fuller version above looks more plush.
C. Ears (Long, Slightly Curved – Make 2)
Colour: white
R1: 6 sc in MR (6)
R2: (sc, inc) rep 3 times (9)
R3–R8: sc around (9) for 6 rounds
This gives a long ear without widening too much.
To gently taper the tip-to-base transition (optional but cute):
R9: (2 sc, dec) rep 2 times, sc 1 (7)
R10: sc around (7)
Flatten the bottom of the ear and close with:
R11: sc 3 across through both layers (3)
Fasten off, leave a long tail for sewing.
Shaping tip (slight curve): Don’t stuff the ears. If you want a gentle bend, sew them on with a slight forward tilt, or lightly steam-shape if your yarn allows.
D. Arms (Hug the Phone – Make 2)
These arms are made as short tubes, then lightly flattened. They’re stitched onto the body/head area so they reach forward and “hold” your phone edge.
R1: 6 sc in MR (6)
R2–R5: sc around (6) for 4 rounds
Lightly stuff the very bottom only (optional). For a flatter hugger look, leave unstuffed.
Flatten the opening and closing:
R6: sc 3 across through both layers (3)
Fasten off, leave a long tail for sewing.
Arm Fit Tip (Phone Hugger Adjustment)
- If your phone is wide or you want longer arms: add 1–2 more rounds (R2–R6 instead of R2–R5).
- If you want arms to “clamp” more, sew them on slightly closer together and angle them inward.
Optional bendy arms: Insert a short piece of pipe cleaner before closing, then stitch securely and fold the ends inward (for decorative adult use only—not for children).
E. Legs (Small Base Support – Make 2)
R1: 6 sc in MR (6)
R2: sc around (6)
Fasten off, leave a tail for sewing.
Flatten slightly when sewing, so they look like tiny feet.
F. Assembly (Where Everything Goes)
Pin pieces first—this helps with symmetry and ensures your phone huggers sit correctly.
1) Attach Head to Body
- Sew the head centred on top of the body.
- Use the long tail from the head or body.
- Stitch all around with small, tight stitches so it won’t wobble.
2) Attach Ears
- Place the ears on top of the head, slightly toward the back (for a cute, natural look).
- Space them about 4–6 stitches apart.
- Sew firmly around the base of each ear.
3) Attach Arms (Key Step for “Phone Holder” Function)
- Position arms on the front sides of the body, just under the head.
- Angle them forward as if hugging.
- The inside ends of the arms should point toward each other, leaving a small “gap” for the phone edge.
Practical check: Hold the bunny at the edge of your phone while the pins are in place. Adjust arm angle until it “grips” comfortably.
4) Attach Legs
- Sew legs at the lower front of the body so the bunny looks like it’s sitting.
- Keep them close together for a compact kawaii posture.
Optional: Add a Clip for Extra Hold
If you want it to attach more securely:
- Stitch a small alligator hair clip or flat clip to the back of the body (hidden behind the bunny).
- Sew through the clip holes/slots multiple times with strong thread or yarn.
G. Face Embroidery (Minimal and Cute)
Use black embroidery thread or thin black yarn.
Embroidered Eyes
- Make two small straight stitches or tiny “V” shapes.
- Place them around R6–R7 on the head, 6–7 stitches apart.
Mouth
- Stitch a small “w” style kitten mouth or a simple curved smile centred beneath the eyes.
- Keep it small—minimal features look extra kawaii.
Optional: Add blush cheeks with pink thread or a tiny dab of blush chalk.
NOTE
This is an inspired instructional pattern based on the design, not a replica of the original pattern.
DISCLAIMER
Stitch counts and shaping may vary depending on yarn, hook size, and tension.
Customization Ideas
- Try pastel bunny shades: pink, beige, grey, lavender, or mint
- Add blush cheeks (embroider pink ovals or use blush powder lightly)
- Make a keychain version: use thinner yarn, a smaller hook, and add a ch loop on top of the head
- Change facial expressions: sleepy eyes, winking eye, open smile, or tiny teeth
Tips for Beginners
- Maintain even tension: tight stitches help the plush hold shape and look clean.
- Use stitch markers: mark the first stitch of every round to avoid losing count.
- Sew parts neatly: use pins, sew with small, consistent stitches, and check symmetry from the front often.
- Stuffing tips: use small pieces, distribute evenly, and avoid overstuffing (especially for a phone hugger that needs to sit neatly).
- Small pieces hack: if arms/ears feel fiddly, use a slightly smaller hook and keep stitches snug—this makes sewing easier and cleaner.
Why You’ll Love This Pattern
- Cute and functional: a plush that actually does something holds or decorates your phone
- Quick project: small parts + simple Assembly
- Beginner-friendly with basic stitches and clear shaping
- Perfect handmade gift for bunny lovers, teens, and anyone who loves kawaii accessories
Conclusion
This crochet bunny phone holder is the kind of project that’s fast, sweet, and instantly useful. Take your time with the arm placement, keep the face simple, and you’ll have an adorable bunny topper that makes your phone look extra special,l one stitch at a time.