Crochet Homer Simpson Keychain Amigurumi Pattern Toy
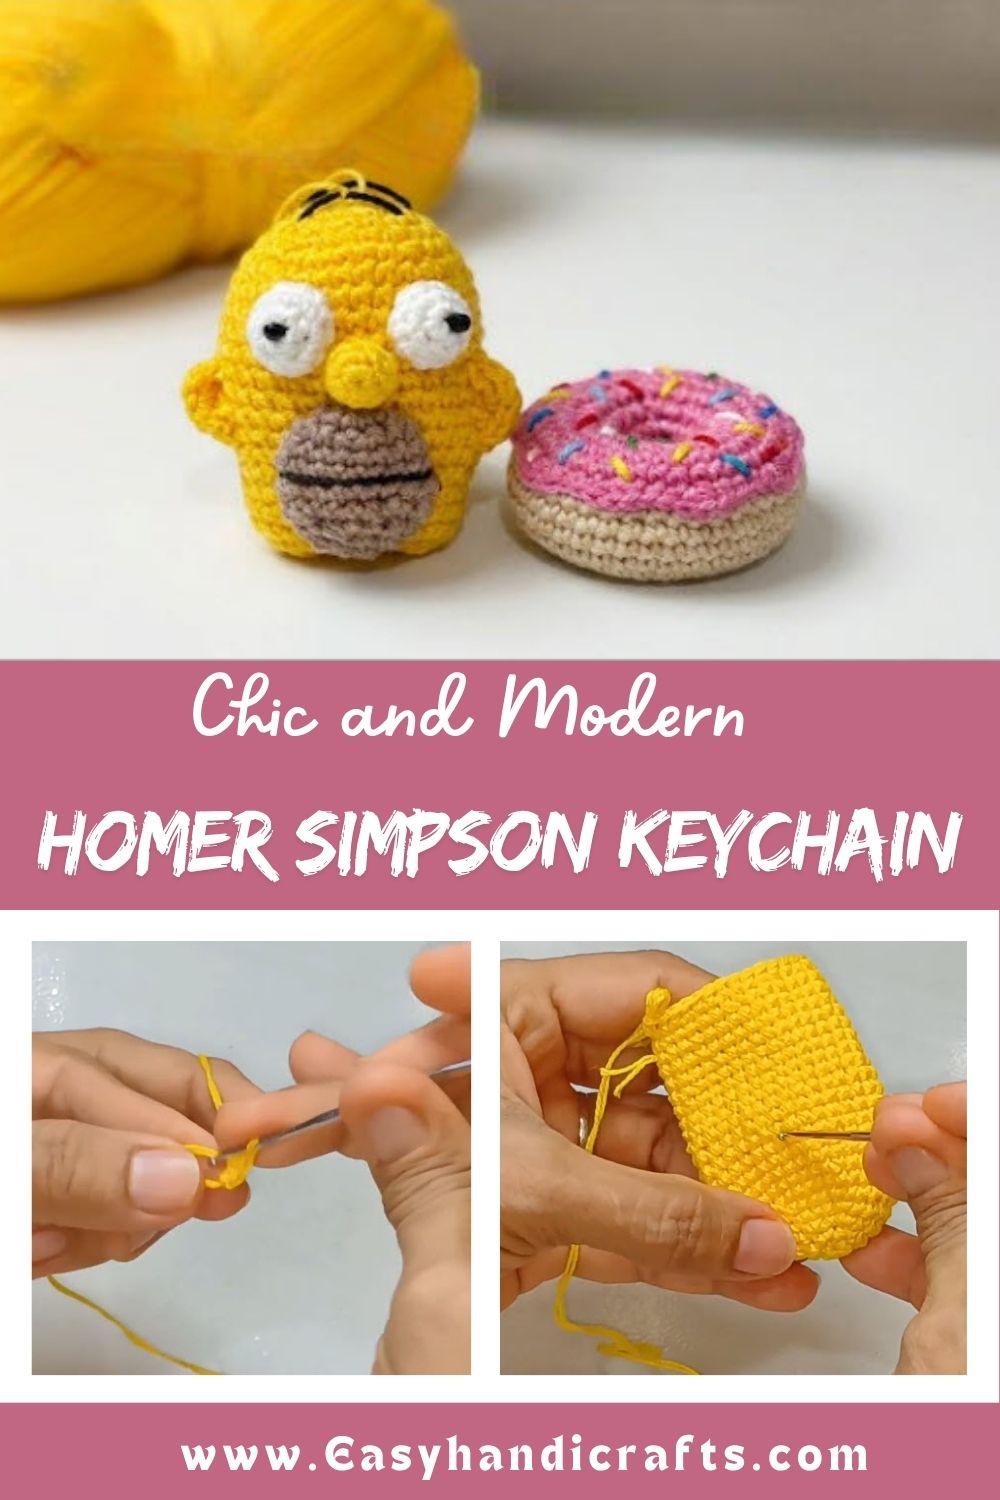
Cartoon-inspired amigurumi keychains have a special way of turning a simple accessory into a conversation starter. This Crochet Homer Simpson Keychain Amigurumi pattern brings a familiar cartoon face to life in yarn form, with a round yellow head, expressive eyes, and a signature grin that makes it instantly recognizable.
Making this keychain involves building a rounded head shape first, then layering on facial details before attaching it to a small body. Perfect for fans who want to carry a bit of cartoon charm on their keys, school bag, or bag the kind of playful detail that sparks a smile every time someone spots it. Every part is worked in continuous rounds, which keeps the surface smooth and gives the finished piece its soft, toy-like feel.
Its small scale means it stitches up fast, making it an ideal weekend project for anyone who enjoys character-based amigurumi.
Skill Level
Intermediate. Basic amigurumi rounds are simple enough, but shaping the facial features and matching proportions accurately calls for a steadier hand than a beginner Crochet Homer Simpson Keychain project would.
Materials Needed
- Yellow yarn for the head and main body base
- White, black, and brown yarn (or embroidery thread) for facial details
- A small amount of pink or light-colored yarn for the body section
- A crochet hook matching your yarn weight
- Polyester fiberfill for stuffing
- A yarn needle for sewing and embroidery work
- Scissors
- A keychain clasp or ring
Techniques That Bring This Pattern to Life
- Starting loop or magic ring: Forms a tight, gap-free center for the head.
- Continuous round crocheting: Builds a smooth, seamless surface for the head shape.
- Gradual shaping: Increases and decreases give the head its rounded form.
- Embroidered facial features: Adds personality through stitched eyes, mouth, and expression lines.
- Piece assembly: Joins the finished head securely to the body for the final toy.
Step-by-Step Instructions
Below you’ll find each stage broken down clearly, moving from the very first loop all the way through to the finished, fully assembled keychain toy.
Step 1: Create the Starting Loop
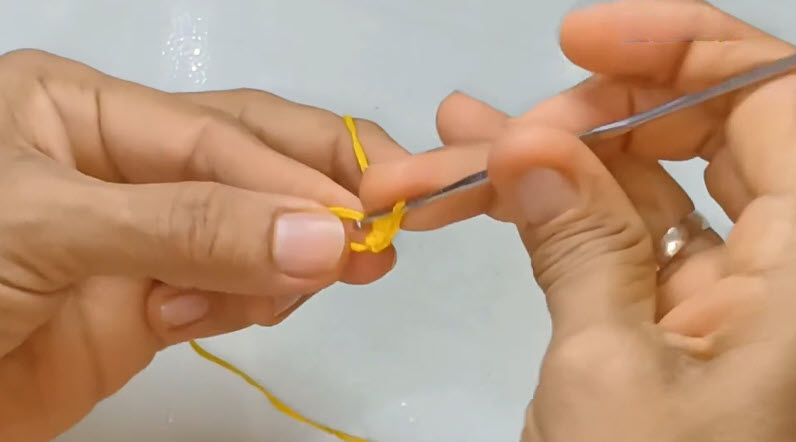
Pinch the yellow yarn between your fingers and draw the first loop through with your hook. This initial loop becomes the anchor for the head, so keep it tight enough to hold its shape as you begin working stitches into it.
Step 2: Work the Opening Rounds
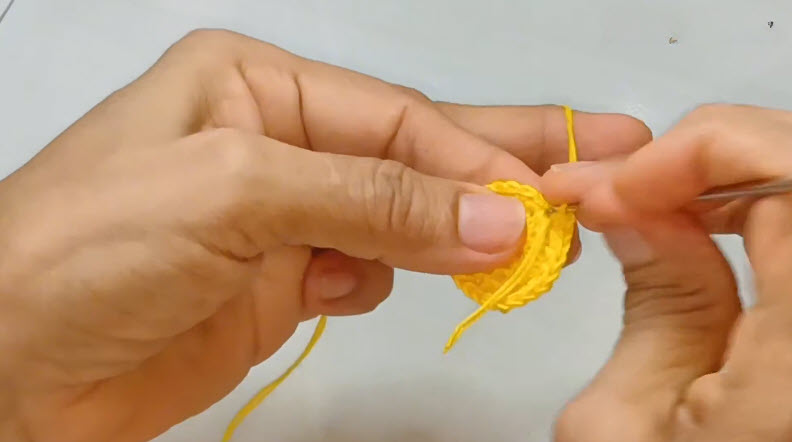
Stitch evenly around your starting loop to close any gap at the center, then continue adding stitches to widen the base gradually. These first few rounds set the diameter for the entire head, so keep your tension consistent from the very start.
Step 3: Shape the Head Body
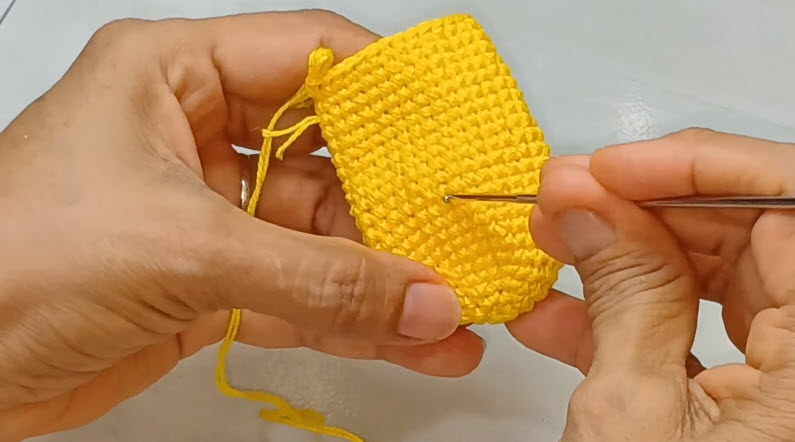
Continue working round after round without increasing further, letting the piece grow into a tall, rounded shape. Add stuffing in small amounts as you go so the head keeps a firm, even structure rather than becoming soft or lopsided later on.
Step 4: Close and Secure the Top
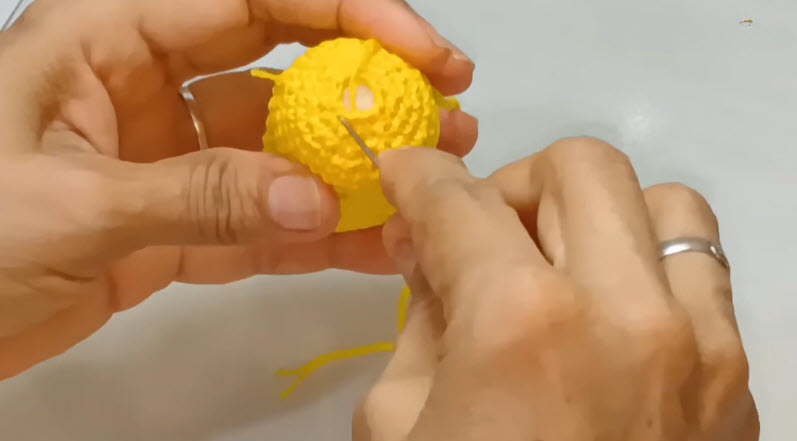
Once the head reaches the right height, begin decreasing stitches steadily to bring the opening closed. Finish stuffing fully before closing the last few stitches, then weave in the tail end so no loose yarn is visible on the finished piece.
Step 5: Add the Facial Details
Position and stitch the white eye pieces onto the head first, followed by small black pupils for expression. Add the mouth and any shading details using contrasting yarn or thread, taking your time to keep both sides symmetrical for a balanced, recognizable face.
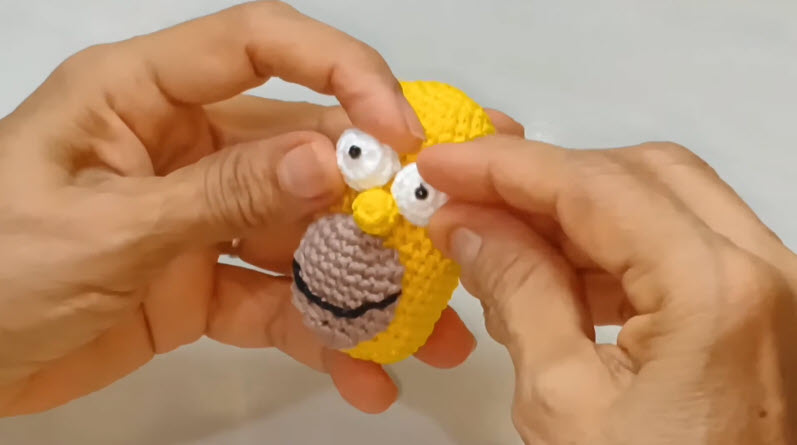
Step 6: Attach the Head to the Body
Line up the finished head with the top of your small crocheted body piece, then sew them together using your yarn needle. Stitch all the way around slowly, checking that the head sits centered and upright before securing the final knot and adding your keychain ring.
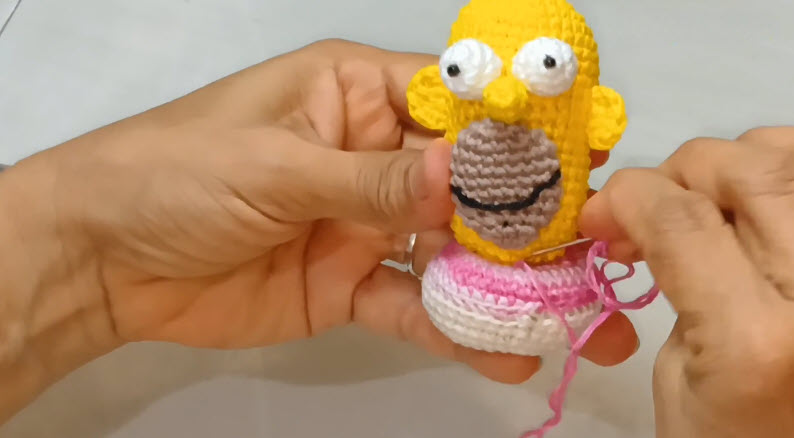
Tips Worth Knowing
- Keep a reference image nearby while embroidering the face so both eyes stay evenly spaced.
- Stuff the head firmly before closing it, since a soft head can distort the facial proportions.
- Use a slightly smaller hook than usual to keep stitches tight and prevent stuffing from showing.
- Pin the head in place with a stitch marker before sewing it to the body to avoid it shifting.
- Work in good lighting when adding facial details, since small placement errors are easy to miss otherwise.
Mistakes That Are Easy to Make
- Rushing the facial embroidery, which often results in an uneven or off-center expression.
- Not stuffing enough before closing the head, leaving a dented or flat-looking shape.
- Attaching the head at an angle instead of centering it directly above the body.
- Using yarn colors that are too similar for the face details, making features hard to distinguish.
- Skipping tension checks early on, which can throw off the head’s overall proportions.
Fun Ways to Personalize This Toy
- Swap the color palette to create other cartoon-inspired characters using the same base shape.
- Add a tiny tuft of hair or a signature accessory to make the design more distinct.
- Make a mini version without the keychain ring as a shelf or desk decoration.
- Try a slightly larger scale to turn the pattern into a soft plush instead of a keychain.
- Experiment with different body colors to represent different outfits or themes.
Frequently Asked Questions
Q: Why is stuffing added gradually instead of all at once?
A: Adding it in stages helps maintain an even, rounded shape and prevents lumps from forming inside the finished head.
Q: What’s the trickiest part of this pattern for most people?
A: Getting the facial features symmetrical tends to be the most challenging step, since even small placement shifts change the expression.
Q: Do I need embroidery experience to add the face?
A: Not necessarily, though basic straight and satin stitches are helpful skills to have before starting the facial details.
Q: Can this pattern be resized into a larger toy?
A: Yes, using a thicker yarn and larger hook will scale the entire design up while keeping the same shaping steps.
Q: How is the head kept from wobbling once attached?
A: Securing it with several rounds of tight stitches around the neck area keeps the head stable and upright on the body.
Q: Is this a Crochet Homer Simpson Keychain pattern for practicing amigurumi shaping skills?
A: It’s a great choice for that, since it combines rounds, shaping, embroidery, and assembly all in one compact project.
Wrapping Up
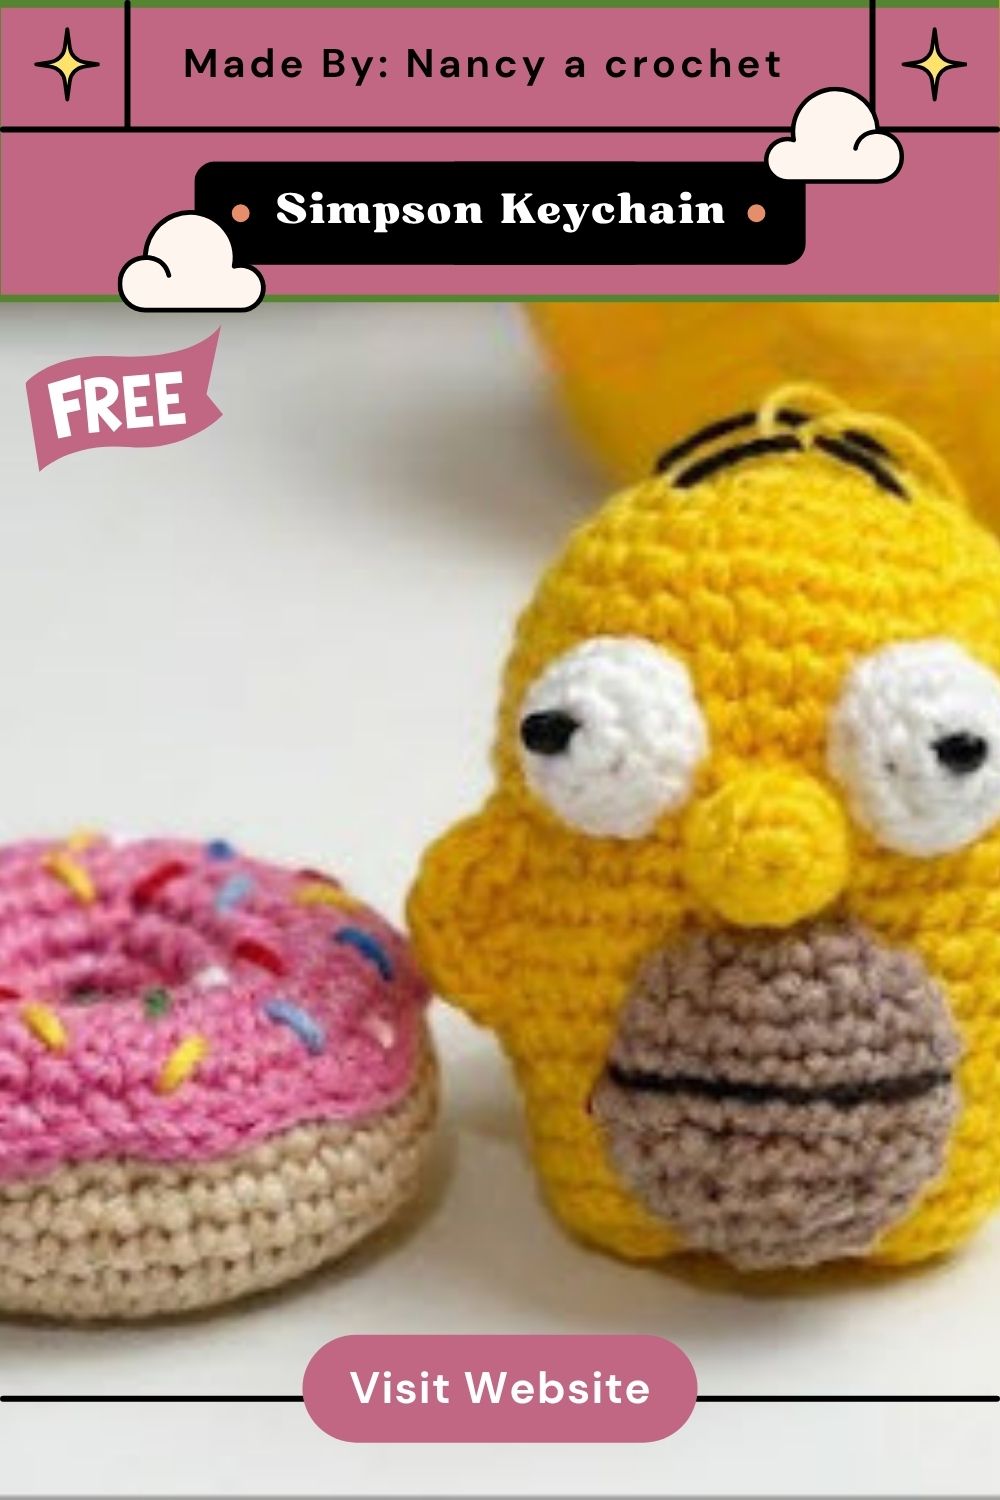
This Crochet Homer Simpson Keychain amigurumi pattern turns a handful of simple crochet rounds into a charming, recognizable little toy. From shaping the rounded head to carefully placing each facial feature and joining it to the body, every step plays a part in bringing this playful character to life. It’s a project that rewards patience during the detail work while still moving quickly enough to finish in a short session. Once complete, it makes a fun handmade gift, a personal keychain, or simply a cheerful little project to add to your amigurumi collection.