
Crochet Blue Cat Donut Doraemon Amigurumi Pattern
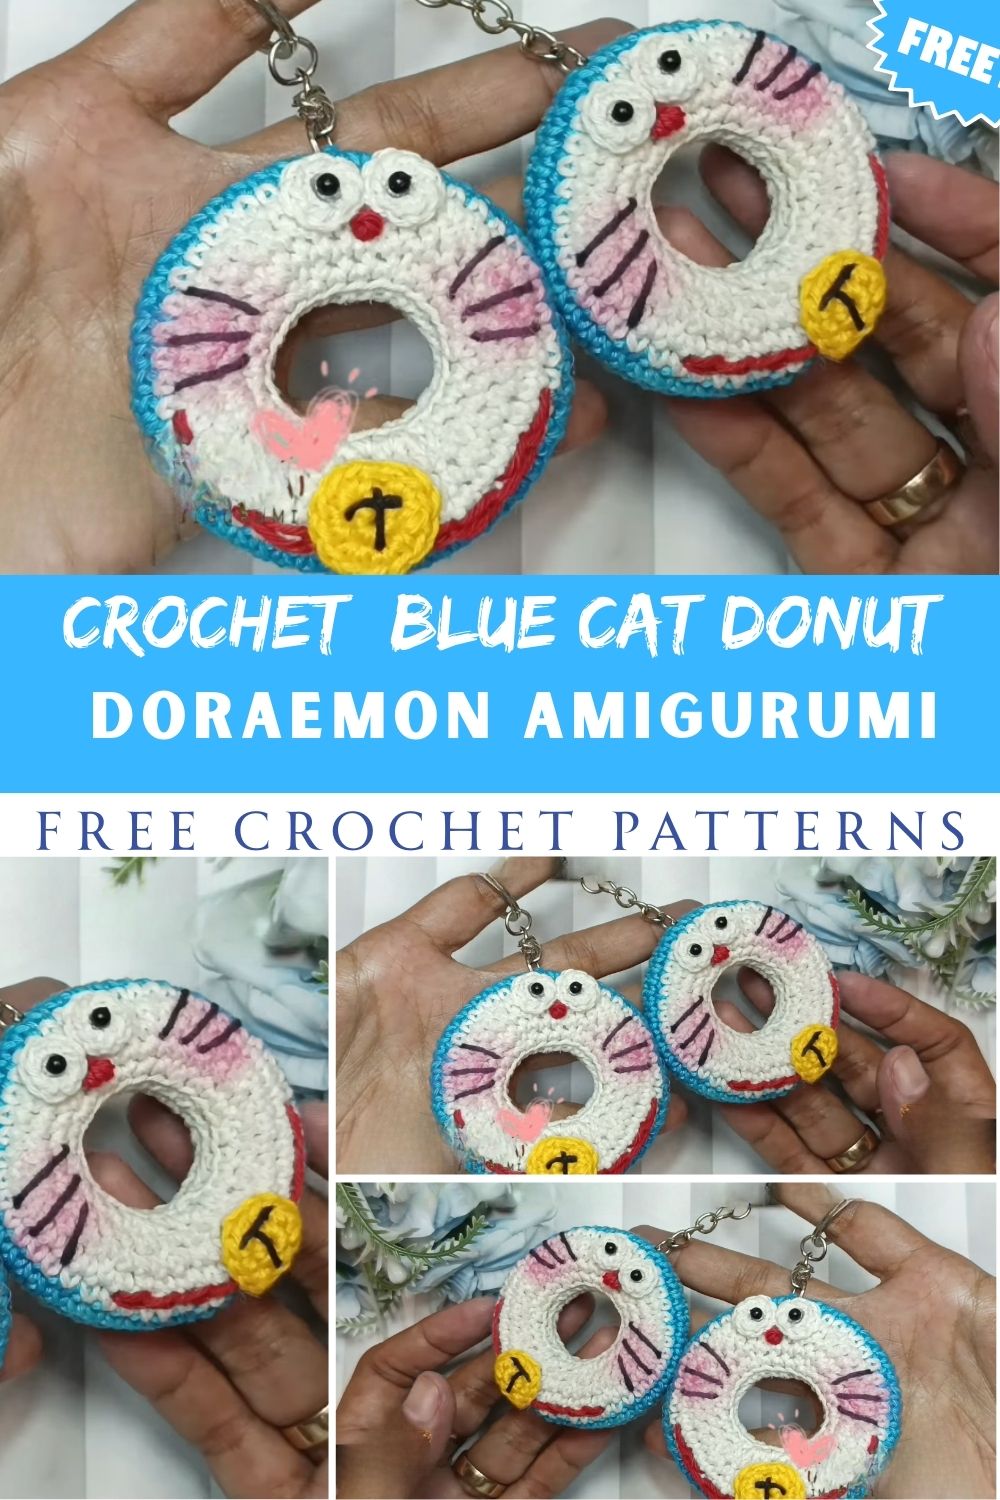
Round Crochet Blue Cat Donut Doraemon just hit different, honestly. A chubby sky-blue kitty with a sweet little face makes almost anyone smile, and this version rolls all that charm into a soft donut shape you can hold in one hand.
If you love quick crochet projects with big cuteness, you found the right one. ThisCrochet Blue Cat Donut Doraemon amigurumi stitches up fast, uses simple shapes, and turns into the perfect plush keychain or shelf buddy. Beginners can absolutely do this. Trust me, once you finish the first one, you’ll want a whole batch.
Below you’ll find the full materials list, the stitches you need, clear step-by-step rounds, and beginner tips that actually help. Let’s make something adorable.
What Makes This Blue Cat Donut So Special
This little character is a round, friendly blue cat sitting happily on a tiny crocheted donut. The body stays plump and squishy, the face keeps things simple, and the donut accessory adds that fun, snacky vibe everyone loves.
It works great as a:
- Keychain for bags and keys
- Desk or shelf decoration
- Handmade gift for a friend who loves cats
- Beginner practice project for shaping and stuffing
The whole thing comes together with basic amigurumi shapes, so you’re not fighting complicated charts. You crochet a few balls, a small donut, sew everything, and add a cute face. Simple as that.
Skill Level: Beginner Friendly
This crochet blue cat donut pattern sits comfortably in the easy beginner range. You only need to know how to make a magic ring, single crochet, increase, and decrease.
If you can crochet a small ball and stuff it evenly, you’re ready. There are no fancy color changes inside the rounds and no tricky stitches hiding anywhere. New crocheters finish this in an afternoon.
Materials and Supplies You’ll Need
Gather everything before you start so you’re not pausing mid-round to dig through your stash. Here’s the full list.
Yarn Colors
- Sky blue – main color for the head, body, ears, and tail
- White – for the cat’s tummy or muzzle area
- Tan or light brown – for the donut base
- Pink or pastel – for the donut icing
- A little black for nose and mouth details, plus a small bit of pink for cheeks
Worsted weight (medium / size 4) acrylic yarn works perfectly for this size. Cotton yarn gives crisper stitches if you prefer that look.
Hook Size
- 3.0 mm or 3.5 mm crochet hook
Going a size smaller than your yarn label suggests keeps your stitches tight. Tight stitches matter a lot for amigurumi, so don’t skip this.
Eyes
- 6 mm or 8 mm safety eyes (one pair)
No safety eyes on hand? You can embroider simple black eyes with yarn instead. Both look adorable.
Other Supplies
- Polyester fiberfill stuffing
- Yarn needle for sewing parts together
- Sharp scissors
- Stitch markers to track the start of each round
- A keychain ring or lobster clasp if you want it as a keychain
- Optional: a tiny bell or ribbon for extra cuteness
Crochet Techniques Used in This Pattern
You’ll lean on just a handful of skills. Here’s a quick refresher so nothing trips you up.
- Magic ring (MR): A flexible starting loop that closes tight so no hole shows in the center.
- Single crochet (sc): Your main stitch for the whole project.
- Increase (inc): Two single crochets worked into one stitch to grow the shape.
- Decrease (dec): Two stitches joined into one to shrink the shape, usually with the invisible decrease method.
- Sewing parts together: Using a yarn needle to attach pieces neatly with hidden stitches.
That’s it. If those four feel familiar, the rest is smooth sailing.
Step-by-Step Crochet Pattern Instructions
Work in continuous spirals unless noted. Pop a stitch marker in the first stitch of each round and move it up as you go. Numbers in brackets show your total stitch count.
Making the Head
Use sky blue yarn.
- R1: 6 sc in magic ring [6]
- R2: inc in each st [12]
- R3: (sc, inc) repeat [18]
- R4: (2 sc, inc) repeat [24]
- R5: (3 sc, inc) repeat [30]
- R6–R10: sc in each st [30]
- R11: (3 sc, dec) repeat [24]
Now place your safety eyes between rounds 8 and 9, about 6 stitches apart. Start stuffing firmly as you continue.
- R12: (2 sc, dec) repeat [18]
- R13: (sc, dec) repeat [12]
- R14: dec around [6]
Finish stuffing, then close the small hole with a yarn needle. Set the head aside.
Making the Body
The body stays nice and round, almost like a little dumpling. Use sky blue yarn.
- R1: 6 sc in magic ring [6]
- R2: inc in each st [12]
- R3: (sc, inc) repeat [18]
- R4: (2 sc, inc) repeat [24]
- R5–R8: sc in each st [24]
- R9: (2 sc, dec) repeat [18]
- R10: (sc, dec) repeat [12]
Stuff the body firmly here.
- R11: dec around [6]
Leave a long tail for sewing. You’ll join the head to this later.
Ears, Tail, and the Donut Accessory
Ears (make 2, sky blue):
- R1: 4 sc in magic ring [4]
- R2: (sc, inc) repeat [6]
- R3: sc in each st [6]
Flatten each ear and leave a tail for sewing. Tiny and rounded looks the cutest here.
Tail (sky blue):
Chain 6, then sc back along the chain. Roll it slightly and leave a tail for attaching. Keep it short and stubby.
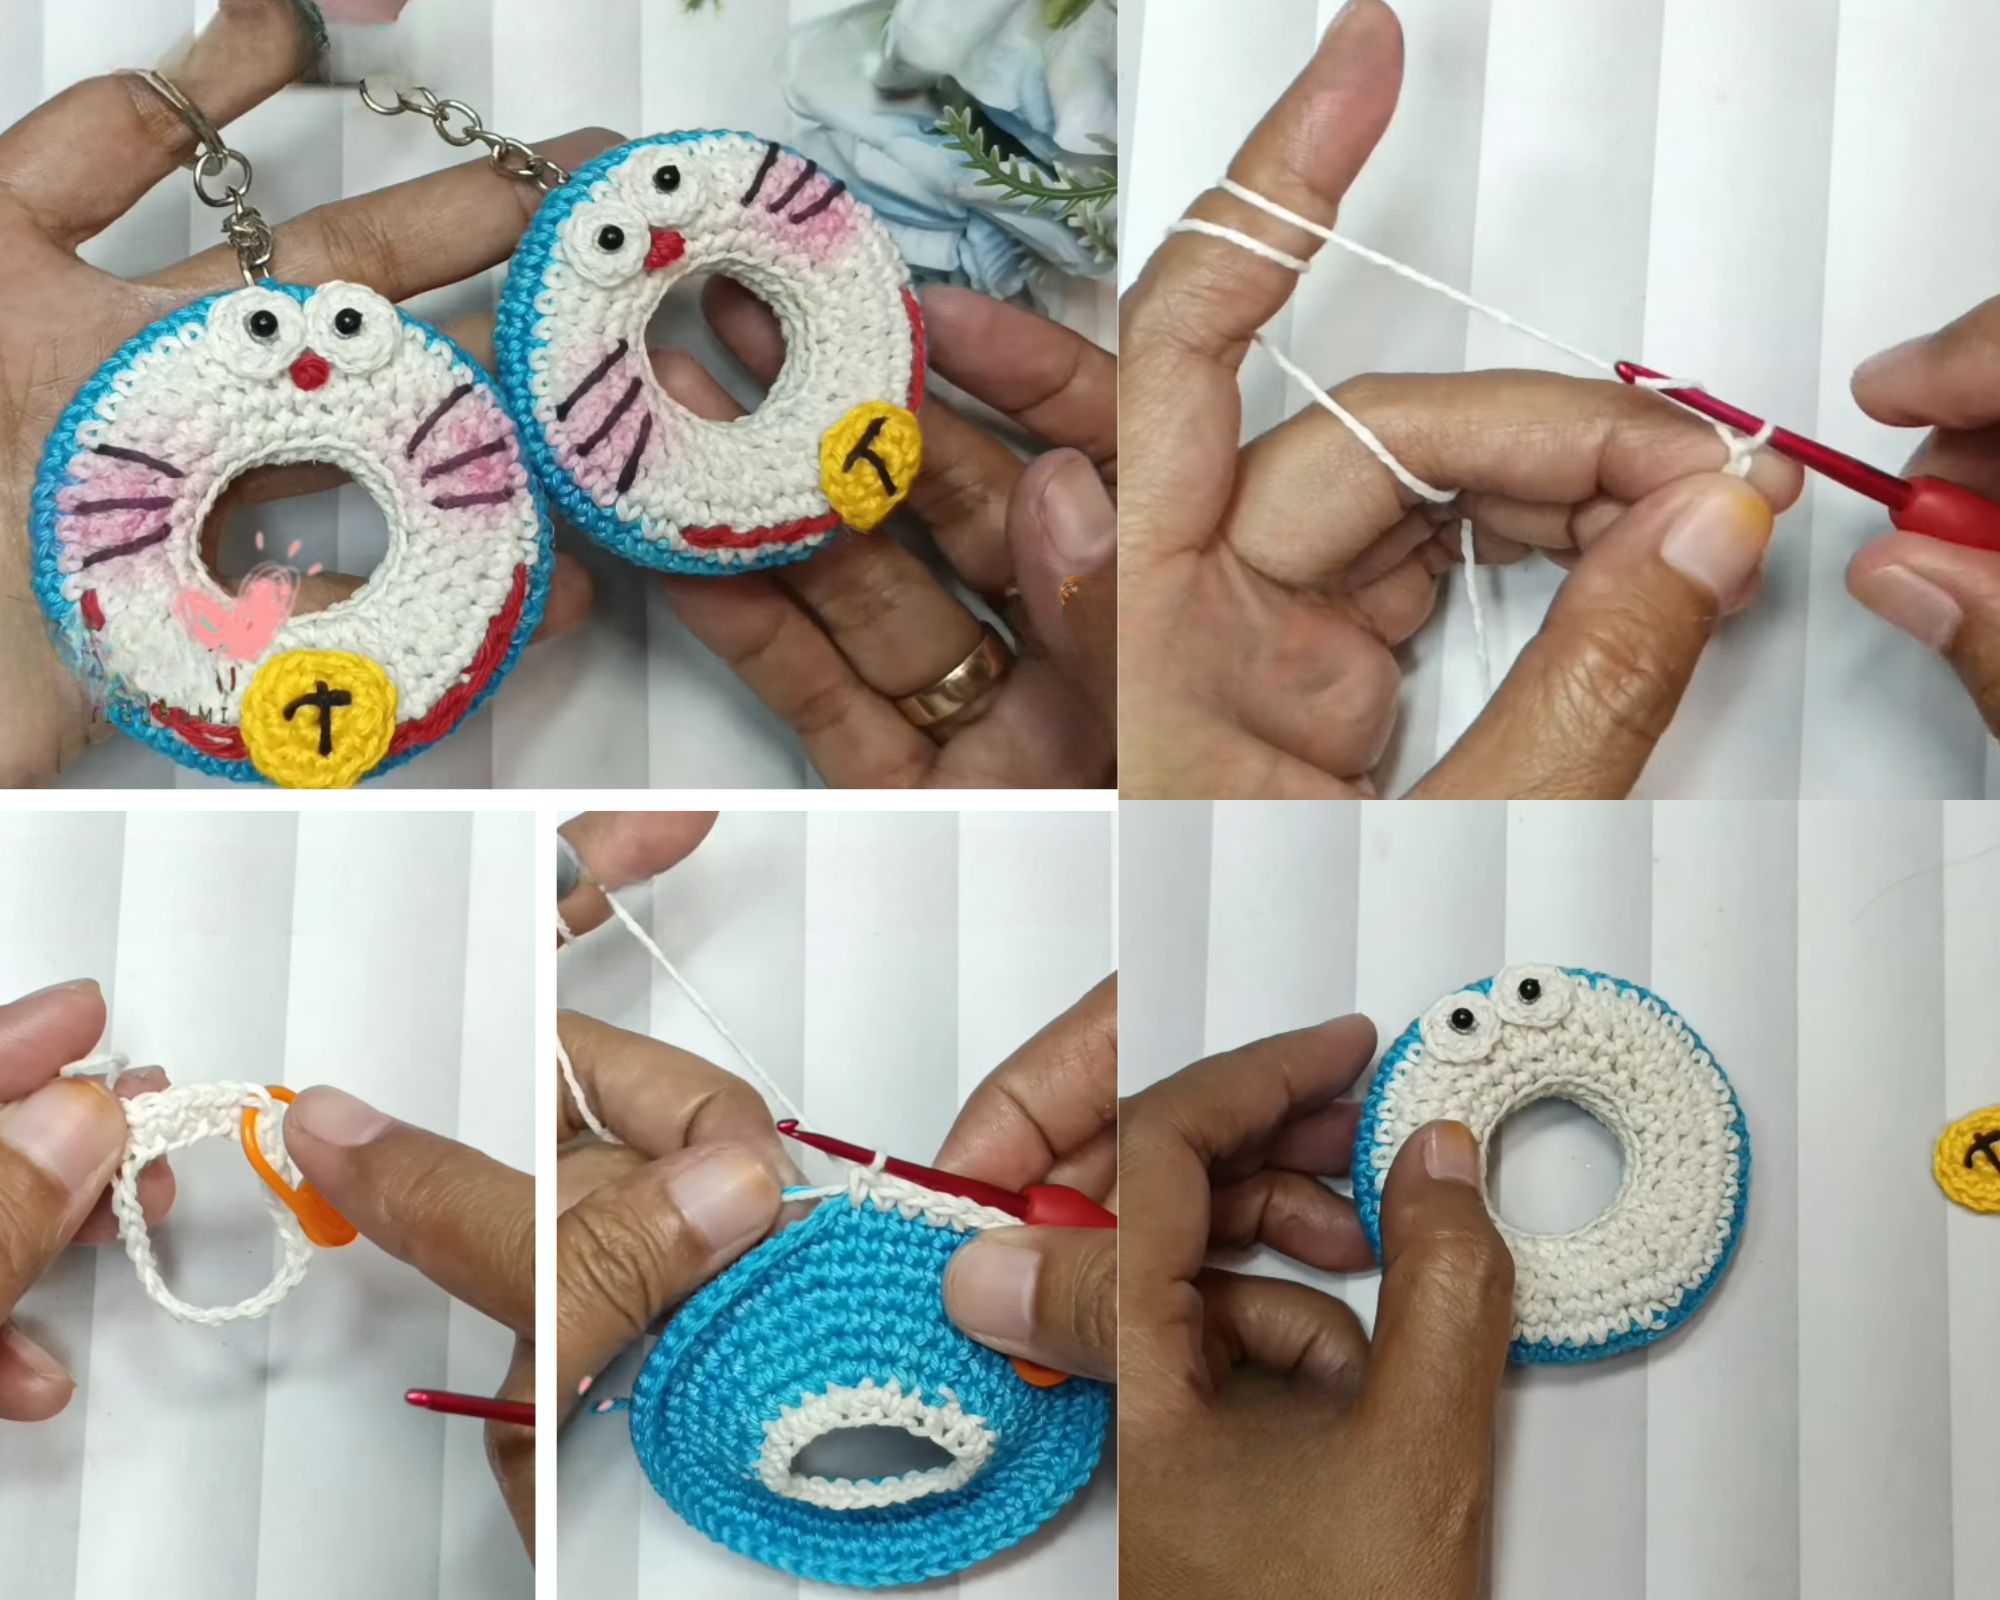
Mini donut (tan base, pink icing):
- Using tan yarn, chain 12 and join into a ring with a slip stitch.
- Round 1: sc in each chain around the ring [12]
- Round 2: sc in each st [12]
- Stuff lightly as you crochet so it stays puffy, then close the donut into a soft ring shape.
- Switch to pink yarn and surface-slip-stitch a wavy icing line across the top.
- Add a few French knots in bright colors for sprinkles. So cute.
Adding the Facial Details
This is where your blue cat gets personality.
- Embroider a small black nose in the center of the face.
- Stitch a simple smiling mouth under the nose.
- Add two whisker lines on each side with thin black or grey yarn.
- Brush or stitch a little pink blush under each eye for rosy cheeks.
Keep the face simple. Less detail usually reads cuter in amigurumi, for real.
Assembly Process
Now you bring everyone together.
- Sew the head onto the body using the long tail, lining up the face nicely.
- Attach the ears on top of the head, spaced evenly.
- Sew the tail to the lower back of the body.
- Glue or stitch the cat so it sits inside the donut ring, like it’s lounging in a soft tube.
- Weave in all loose ends with your yarn needle.
Finishing Touches
Give your plush a gentle squeeze to even out the stuffing. Fix any uneven stitches and trim stray yarn ends.
If you want a keychain, attach a keychain ring to the top of the head or the back with a sewn loop. Want a bell? Add it now. Done!
Helpful Beginner Tips
A few small habits make a huge difference in how your finished plush looks.
- Crochet tight stitches. Loose amigurumi shows stuffing through the gaps, which nobody wants. Use a smaller hook and keep gentle tension.
- Use stitch markers. Continuous rounds are easy to lose track of. A marker in the first stitch saves you from miscounting.
- Stuff in small bits. Add stuffing gradually and push it into corners. The piece should feel firm but not stretched or lumpy.
- Close holes slowly. When cinching the final round, pull a little at a time so the gap disappears cleanly.
- Weave ends as you go. It keeps the inside tidy and stops yarn from poking out later.
Honestly, the stuffing step is what separates a saggy plush from a chubby, huggable one. Take your time there.
Design Customization Ideas
The base pattern is just your starting point. Make it yours.
- Switch up the colors. Try a pink cat on a chocolate donut, a grey kitty, or a pastel rainbow donut. Any color combo works.
- Add cute accessories. A tiny bow, a ribbon collar, a little scarf, or a bell collar adds extra charm.
- Go mini. Use thinner yarn and a smaller hook for a tiny keychain version. Use chunky yarn for a giant cuddly one.
- Change the donut. Make a glazed donut, a sprinkle donut, or even a tiny cupcake instead.
- Mix expressions. A sleepy face, a winking eye, or a wide grin gives each cat its own mood.
Customizing is the fun part, low-key. Every blue cat ends up a little different.
Frequently Asked Questions
What is the best yarn for amigurumi?
Worsted weight cotton or acrylic in size 4 is the sweet spot for beginners. Cotton gives clean, defined stitches, while acrylic feels softer and is budget friendly. Both hold shape well when you crochet tightly.
How do I make a crochet plush firm?
Use a hook one or two sizes smaller than the yarn label suggests, and stuff in small amounts as you go. Firm stuffing plus tight stitches keeps the plush plump and stops it from sagging over time.
How long does this project take?
Most beginners finish this blue cat donut amigurumi in two to four hours. Experienced crocheters can wrap it up in about an hour. Splitting it across two short sessions makes it feel even easier.
Do I need safety eyes?
Not at all. Safety eyes give a polished look, but embroidered yarn eyes are just as cute and are safer for very young kids or pets.
Conclusion
And there you have it, your very own Crochet Blue Cat Donut Doraemon pattern from start to finish. With a magic ring, some single crochet, and a little stuffing, you turned a few balls of yarn into a genuinely adorable plush.
This project is perfect whether you’re brand new to Crochet Blue Cat Donut Doraemon or just want a quick, satisfying make. The simple shapes build real confidence, and the cute result keeps you motivated.
So grab your blue yarn, pick your favorite donut color, and start stitching. Make one for yourself, then make a few more as gifts. Your friends will not believe you made them by hand.


