Free Crochet Bear Fox Amigurumi Pattern for Nursery Decor
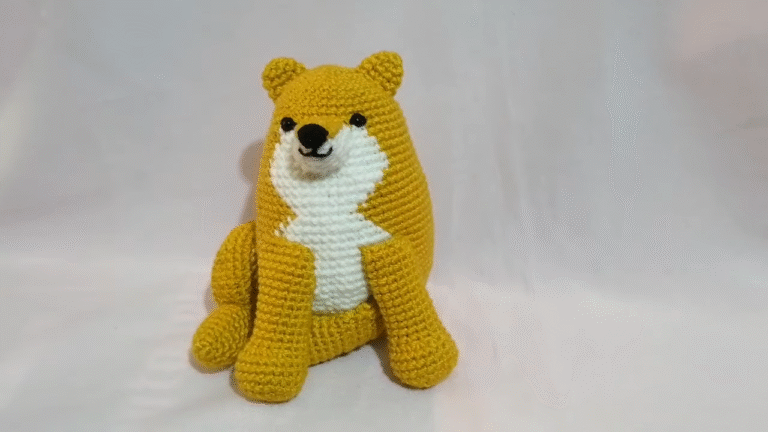
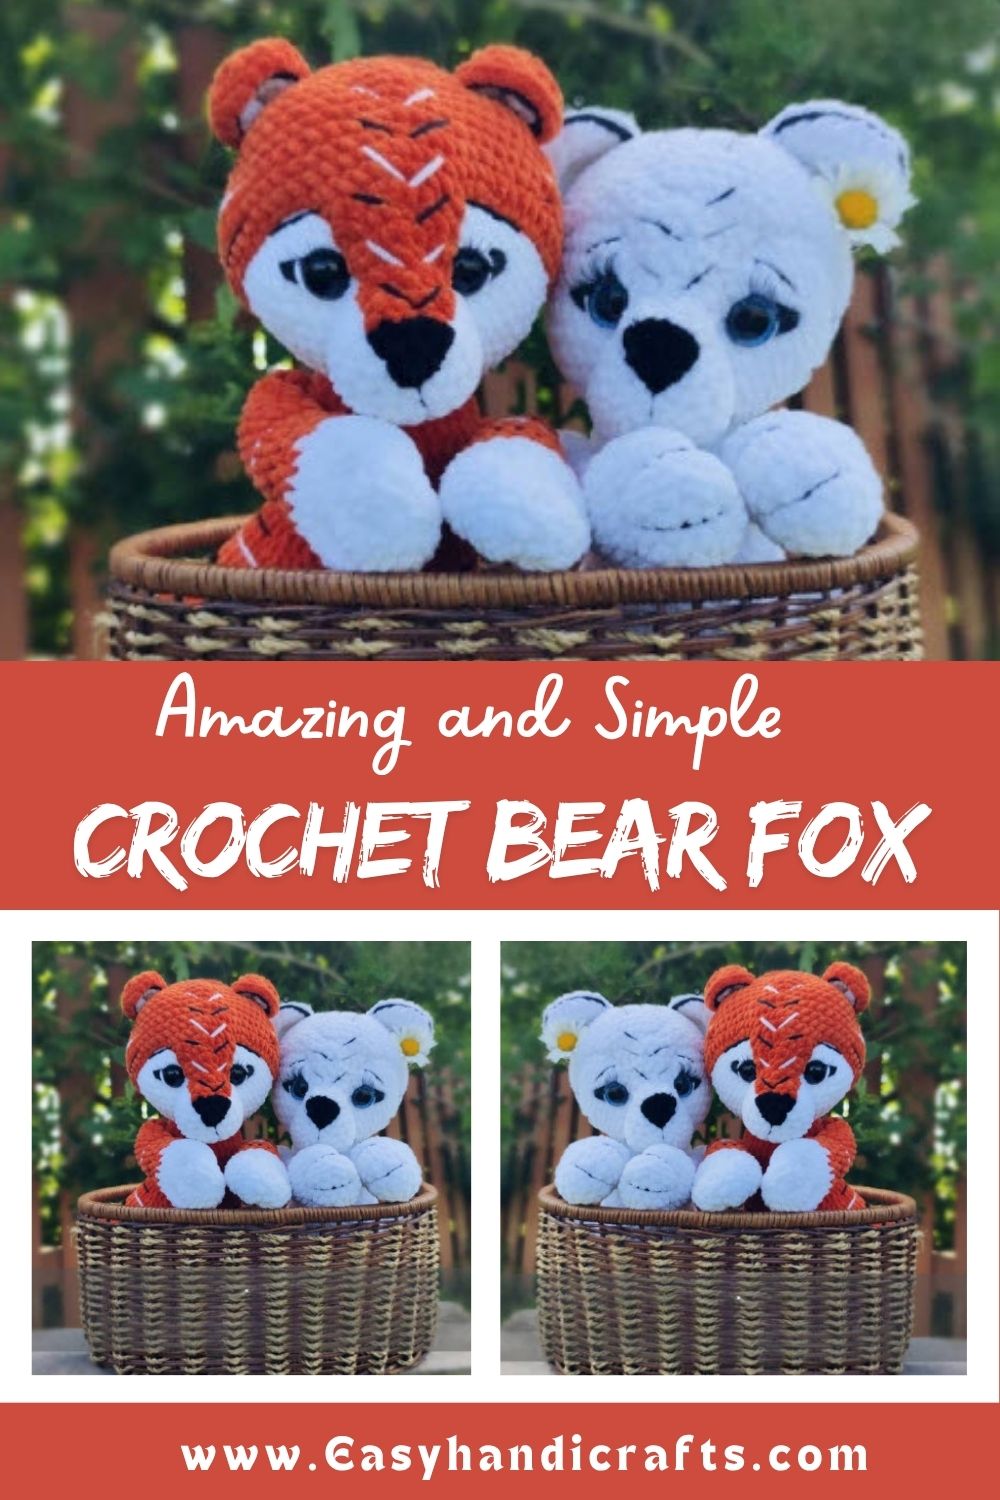
Blending the charm of two favorite animals into one design, this Crochet Bear Fox Amigurumi Pattern is instantly likable thanks to its unique appeal. Made with soft orange and white yarn, this amigurumi brings a warm, handmade touch to nursery, kids’ room, or reading corner decor, and also makes a lovely keepsake gift for new parents.
Soft handmade amigurumi is always a lovely choice for a kids’ room, and that’s exactly what makes this Crochet Bear Fox Amigurumi special. A bear’s round face combined with a fox’s charming markings creates a unique stuffed toy that looks just as good on a nursery shelf, bedside table, or reading corner. Thanks to easy rounds and simple shaping, this pattern makes for an enjoyable project for beginner and experienced crocheters alike.
Overview
This pattern walks through crocheting a plush amigurumi bear fox using basic single crochet stitches, increases, and decreases. Every section builds gradually, from the rounded head base to the paw pads, ears, and detailed muzzle. The finished toy works beautifully as a nursery shelf accent or a thoughtful baby shower gift.
Orange and white yarn form the primary color scheme, with small pink and black accents for paw pads and facial details. Safety eyes get inserted partway through the head, and stuffing happens gradually as you crochet rather than all at once. That technique keeps the shape smooth and prevents lumpy sections later.
Skill Level
This crochet bear fox amigurumi pattern suits confident beginners comfortable with single crochet, increases, and decreases. Color changes and shaping require some patience. Intermediate crocheters will move through the pattern quickly, while newer stitchers may need extra practice sessions.
Materials You’ll Need
Gathering supplies ahead of time keeps the project moving smoothly. Here’s what this pattern calls for:
- White worsted weight yarn (head base, ears, muzzle cap)
- Orange worsted weight yarn (head, ears, muzzle)
- Black yarn (muzzle tip, stripe embroidery)
- Pink yarn (paw pads, small and large sizes)
- Safety eyes (one pair)
- Fiberglass or polyester stuffing
- Crochet hook sized for your yarn weight
- Yarn needle for sewing pieces together
- Stitch marker
- Embroidery thread for eyebrows, nose stripes, and smile
Crocheting the Head Base
The head starts in white, building outward in the standard amigurumi increase pattern. Begin with six single crochet stitches into a magic ring, then increase every round until reaching sixty stitches around row ten. Rows eleven through eighteen continue straight at sixty stitches without further shaping, forming the rounded dome of the head.
Insert the safety eyes between rows thirteen and fourteen, spacing them five to six stitches apart from edge to edge. Getting this placement right before securing anything permanently makes a huge difference in the toy’s final expression.
Shaping the Back of the Head
Once the eyes sit in place, decreasing begins to close up the rounded shape. Work decrease rounds steadily from sixty stitches down to just six remaining loops. Stuff firmly and evenly as you go rather than waiting until the end, since amigurumi heads hold their shape best when filled gradually during construction.
Cut the thread, leaving a long tail. Cinch the remaining six loops closed with a needle, then weave in or trim the leftover thread end.
Building the Orange Face Section
Switch to orange yarn for the muzzle and cap area. Start again with a magic ring and increase steadily through row ten, reaching sixty-three stitches by round eleven. Rows twelve through sixteen stay flat at sixty-three stitches for five full rounds.
Fasten off here, then reattach the thread twenty-six loops back from where you stopped. This step keeps the stepped edge at the nose base level and symmetrical, which matters a lot for the finished look. Row seventeen works ten single crochet stitches across.
Shaping the Muzzle Cap
From here forward, turn at the end of every row instead of working in continuous rounds. Each row decreases by one stitch, starting from nine stitches and working down to two. This turned, flat construction creates the distinctive fox-like snout shape that sets this pattern apart from a standard bear.
Switch to black yarn partway through for the nose tip. A smooth color transition makes all the difference here, so take your time blending the two colors at the join. Finish with a decrease stitch, then fasten off and trim.
Finishing the Cap Piece
A separate white cap piece gets crocheted next, starting from a magic ring and increasing through row four to reach twenty-four stitches. Rows five through seven stay flat at twenty-four stitches for three rounds before fastening off.
Crocheting the Ears
Ears combine two colors for a layered, natural look. Crochet two white pieces and two orange pieces separately through three increase rounds each, reaching eighteen stitches. Rather than fastening off both layers, leave the orange thread attached and fold the white and orange pieces together. Single crochet around the joined edge to seal both layers into one ear. Repeat for the second ear.
Making the Paw Pads
Small details like paw pads add texture and charm to the finished amigurumi. This pattern calls for eight small pink pieces and two large pink pieces for the feet, plus a matching set for the hands.
Small paw pads (make eight):
- Round 1: 6 sc in magic ring (6)
- Round 2: 6 increases (12)
- Fasten off
Large paw pads (make two):
- Round 1: 6 sc in magic ring (6)
- Round 2: 6 increases (12)
- Round 3: alternate 1 sc with an increase, six times (18)
- Fasten off
Hand paw pads follow a slightly smaller pattern, working only two increase rounds to reach eight stitches before fastening off, while the large hand pads match the foot pattern above.
Assembling the Amigurumi
Assembly transforms individual pieces into a finished toy, so take this stage slowly. Sew the muzzle onto the head, positioning it between rows seven and fourteen. Center the nose tip in the middle of the muzzle for a balanced, symmetrical face.
Attach the white cap piece two to three rows above the eyes. Position the ears within rows four through eleven of the orange head section, right where the “cap” shape sits naturally.
Embroidering Facial Details
Facial embroidery brings the amigurumi’s personality to life. Stitch eyebrows above the eyes, add stripe details beside the nose, and embroider a gentle smile beneath the muzzle. Before starting, glue on small eyelash details and embroider arrow-shaped eyeliner accents for extra expression.
Once the face feels complete, embroider white sections near the eyes for contrast. Use one or two strands of thin embroidery thread throughout, alternating white and black for the classic stripe pattern. For a white tiger variation of this same base pattern, swap in gray and black stripes instead.
Helpful Tips
A few small adjustments make this project go more smoothly:
- Stuff firmly but evenly to avoid lumpy or misshapen sections
- Count stitches at the end of every round to catch mistakes early
- Use stitch markers to track round starts, especially during long straight sections
- Block pieces lightly before assembly if the yarn seems uneven
Customization & Variations
This pattern adapts easily once you understand the base construction. Swap orange for gray and black stripe accents to create a tiger version instead. Alternatively, choose pastel shades like lavender or soft blue for a gender-neutral nursery palette.
Larger hooks and bulkier yarn produce an oversized cuddly version, ideal for a statement nursery piece. Smaller hooks with fingering weight yarn shrink the toy down into an ornament-sized keepsake.
Common Mistakes to Avoid
Even experienced crocheters run into a few recurring issues with amigurumi projects like this one:
- Skipping stitch counts, which leads to shape distortion by the final rounds
- Stuffing only at the end instead of gradually, causing lumpy results
- Placing safety eyes without checking spacing first, resulting in an uneven expression
- Rushing color transitions, which creates visible jogs in the stripe pattern
Finishing Touches
Weave in every loose end securely before considering the toy complete. Trim tails close to the fabric so nothing pokes through the stitches later. A light steam or spritz of water can help relax stubborn curling edges on the ears or paw pads.
Gifting Ideas
This crochet bear fox amigurumi makes a memorable baby shower or nursery-warming gift. Pair it with a matching blanket or wooden name sign for a coordinated gift set. Adding a small handwritten care tag with washing instructions gives the gift a thoughtful, personal touch.
Frequently Asked Questions
How long does this pattern take to finish?
Most crocheters complete this amigurumi in six to ten hours, depending on stitching speed and experience level.
What yarn weight works best?
Worsted weight yarn paired with an appropriately sized hook gives the cleanest stitch definition for this pattern.
Can I use plastic safety eyes on a nursery toy?
Yes, though for very young children, embroidered eyes offer a safer no-choking-hazard alternative.
Why does my muzzle look uneven?
Uneven muzzles usually come from inconsistent tension or skipped stitch counts during the turned rows. Slow down and recount each row.
Conclusion
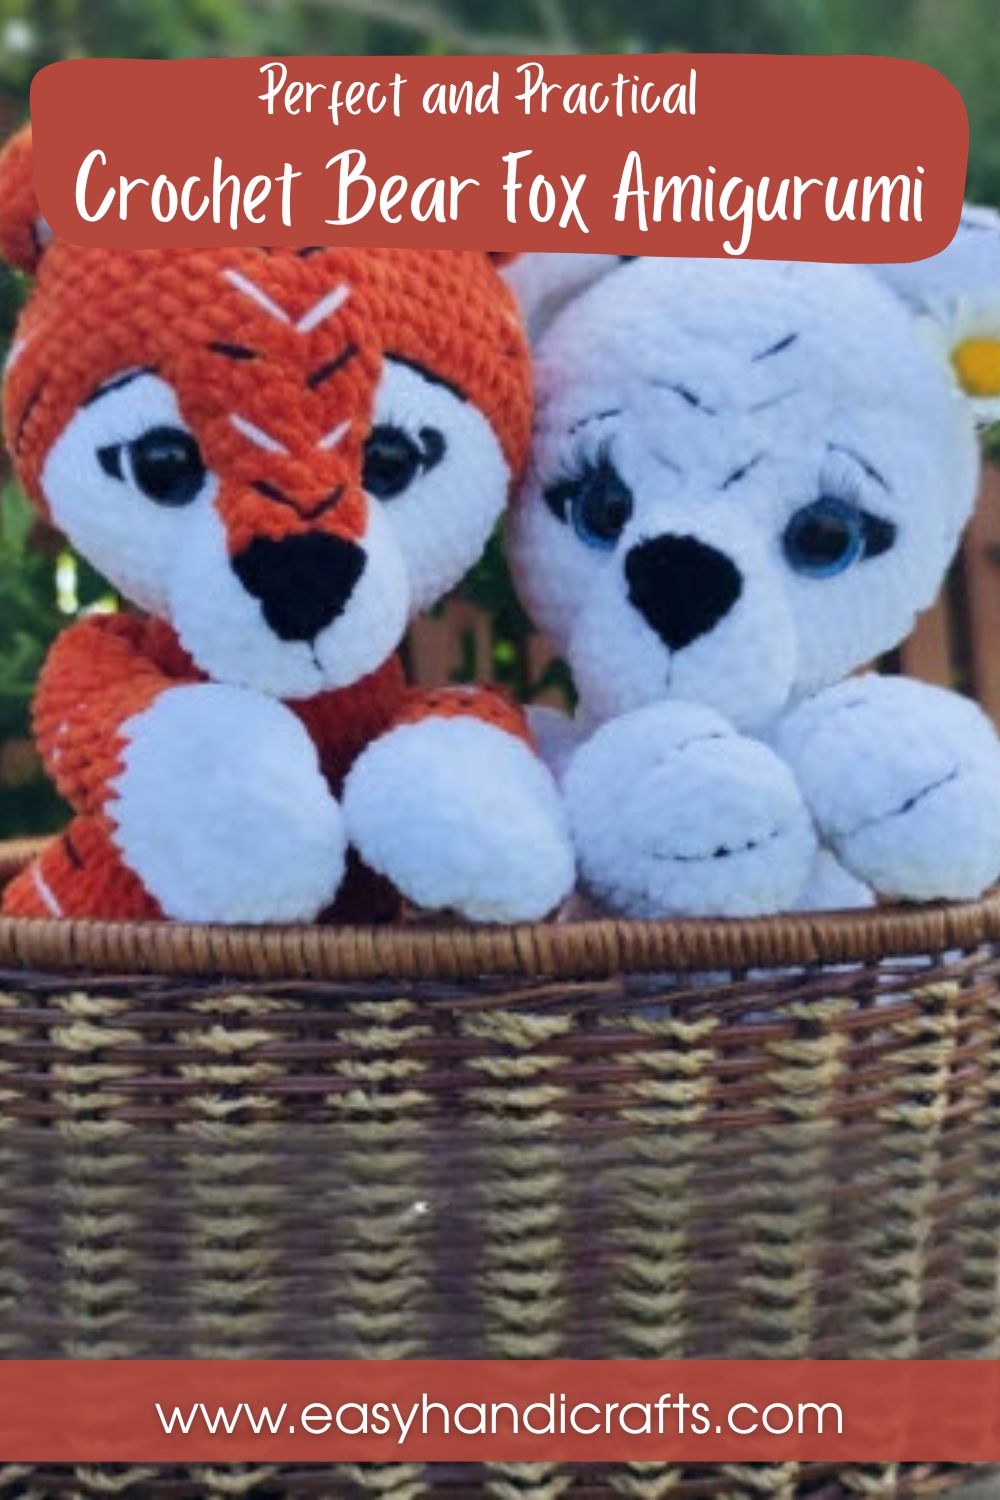
This crochet bear fox amigurumi pattern brings together classic amigurumi shaping with a playful hybrid design that’s perfect for nursery decor. From the rounded head base to the detailed muzzle and layered ears, every step builds toward a soft, huggable keepsake. Whether stitched as a gift or a personal project, this pattern rewards patience with a genuinely charming result. Once finished, it becomes the kind of handmade piece a family treasures for years, proudly displayed on a shelf or tucked into a crib corner.