Free Crochet Ice Cream Cone Pattern with Decorative Pearl Beads
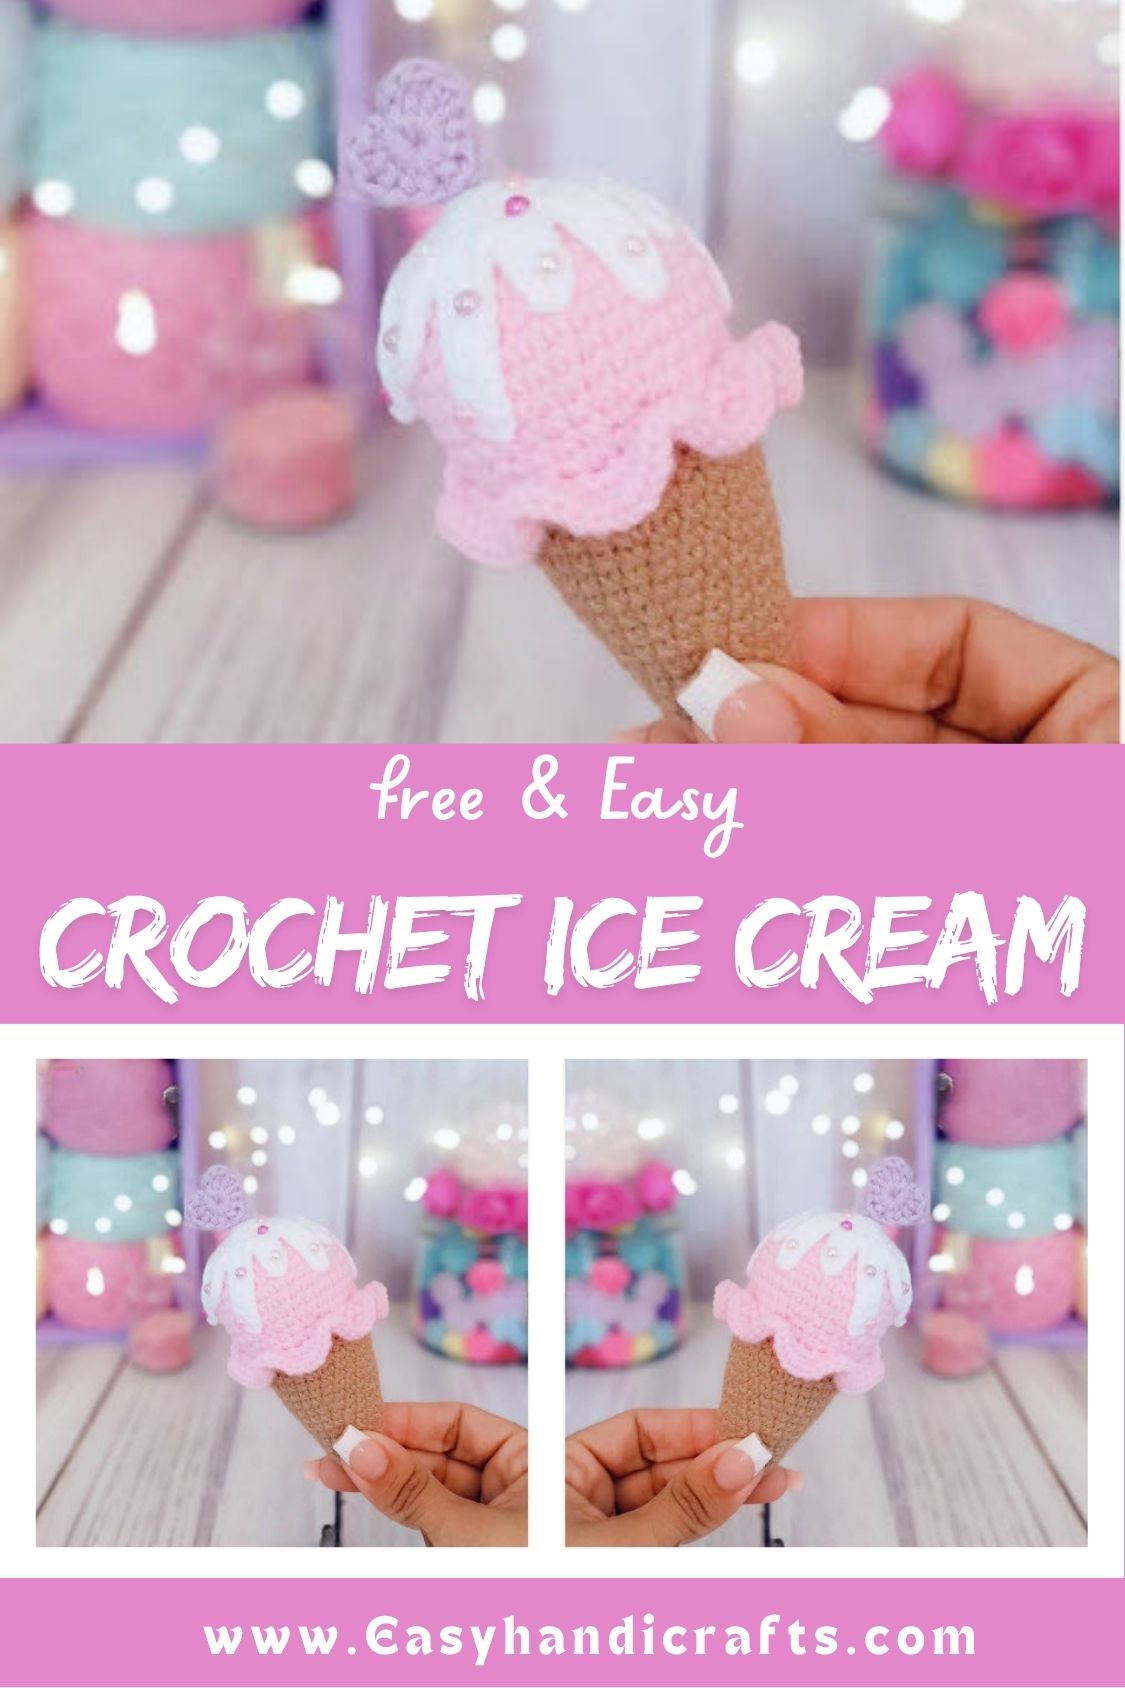
Bursting with summer charm, this free Crochet Ice Cream pattern captures everything dreamy about handmade amigurumi. A cozy waffle cone cradles a soft pink ice cream scoop, topped with a heart-shaped cream swirl and tiny bead accents for that extra sparkle. Easy stitches make it perfect even for beginner crocheters, so honestly, anyone can whip this up without stress. Once finished, it works beautifully as summer decor, a nursery accent, or a genuinely unique handmade gift.
Small crochet desserts always carry their own special charm, and that’s exactly what makes this free Crochet Ice Cream pattern stand out. A sturdy brown waffle cone, soft pink scoop, and delicate layers of white cream come together with tiny bead accents to form a stunning amigurumi design. Simple single crochet and easy increases and decreases keep it beginner-friendly, no joke. Once complete, it doubles as summer decor, a desk accent piece, or a truly one-of-a-kind handmade gift.
Skill Level
Beginners comfortable with magic rings, single crochet, increases, and decreases will find this Free Crochet Ice Cream pattern approachable. The small cream swirl details require patience and careful stitch counting throughout the project.
Materials
- Worsted weight yarn – Brown (cone)
- Worsted weight yarn – Pink (ice cream scoop)
- Worsted weight yarn – White (cream swirl/hearts)
- Worsted weight yarn – Lilac (accent piece)
- Crochet hook (size matching your yarn weight)
- Polyester fiberfill stuffing
- Yarn needle
- Stitch markers
- Scissors
- Decorative pearl beads
- Sewing needle and thread (for attaching beads)
Abbreviations
AM: Magic Ring
Cad: Chain
Pd: Slip Stitch
Pb: Single Crochet
Mpa: Half Double Crochet
Aum: Increase
Dis: Decrease
Blo: Back Loop Only (work only through the back loop of the stitch)
Pattern Overview
- Cone: worked in brown, flat-based cone shape, 16 rounds
- Scoop: worked in pink, rounded dome shape with a flared back-loop finish
- Cream swirl base: worked in white, topped with looped “drop” stitches to mimic whipped cream hearts
- Accent piece: small lilac motif worked flat, resembling a leaf or ribbon detail
- Finishing: pearl beads sewn on for a decorative, sparkling touch
- Finished size: roughly keychain- or ornament sized, ideal as a quick gift
Cone (Brown)
R1: Magic ring, 5 sc (6) R2: 5 inc (10) R3: 10 sc — even round (10) R4: 1 sc, 1 inc *5 times (15) R5–6: 15 sc — 2 even rounds (15) R7: 2 sc, 1 inc *5 times (20) R8–9: 20 sc — 2 even rounds (20) R10: 3 sc, 1 inc *5 times (25) R11–13: 25 sc — 3 even rounds (25) R14: 4 sc, 1 inc *5 times (30) R15–16: 30 sc — 2 even rounds (30)
Cut a long tail for sewing the cone to the scoop later.
Ice Cream Scoop (Pink)
R1: Magic ring, 6 sc (6) R2: 6 inc (12) R3: 1 sc, 1 inc *6 times (18) R4: 1 sc, inc, (2 sc, inc) *5 times, 1 sc (24) R5: 3 sc, 1 inc *6 times (30) R6: 2 sc, inc, (4 sc, inc) *5 times, 2 sc (36) R7–11: 36 sc — 5 even rounds (36) R12: 2 sc, 1 dec, (4 sc, 1 dec) *5 times, 2 sc (30) R13: 30 sc — even round (30) R14: working in blo, 30 inc (60) R15: 1 sc, 1 inc *30 times (90)
Cut a long tail, even out the stitches, then weave in the end.
Cream Swirl Base (White)
R1: Magic ring, 6 sc (6) R2: 6 inc (12) R3: 1 sc, 1 inc *6 times (18) R4: 2 sc, 1 inc *6 times (24)
Special Techniques
- Back loop only (Blo): Round 14 of the scoop is worked through the back loop only, which creates the flared ridge where the scoop meets the cone.
- Cream drop loops: Round 5 of the cream base is worked as four looped “drops” per repeat chain a set number of stitches, skip two, then single crochet back along the chain before slip stitching into the base. Repeat this sequence three times around to form the heart-shaped whipped cream texture. Work it slowly; the loop lengths vary slightly by design.
- Lilac accent motif: worked flat from a magic ring using chains, double crochet, and half double crochet to shape a small leaf-like piece, then fastened off and woven into the tejido.
Common Mistakes
- Losing count during the increase rounds on the scoop, especially Rounds 4 and 6 where increases are spaced unevenly
- Forgetting to switch to back-loop-only on Round 14 of the scoop
- Pulling the cream drop loops too tight, which flattens the heart shape
- Misaligning the cone and scoop when sewing, leaving a visible gap
- Skipping a stitch marker on Round 1, causing the round count to drift
Helpful Beginner Tips
- Place a stitch marker at the start of every round and move it up as you go
- Count stitches out loud after each increase or decrease round
- Stuff the cone firmly but the scoop only lightly, so it keeps a soft dome shape
- Sew the pearl beads on last, after blocking, so they sit evenly
- Use a lighter yarn weight if you want a smaller, more delicate finished piece
Assembly
- Stuff the cone piece firmly, keeping the shape narrow at the point and wider at the top
- Lightly stuff the scoop piece so it holds a rounded, soft shape
- Line up Round 16 of the cone with the back-loop chain edge from Round 14 of the scoop
- Sew the two pieces together using the leftover tail, working stitch by stitch around the full circle
- Attach the cream swirl base on top of the scoop, tacking it down at a few evenly spaced points
- Sew the lilac accent piece onto the side of the scoop as a finishing detail
- Sew pearl beads onto the cream drops and around the scoop for a decorative, sparkly finish
Why Beginners Will Enjoy This Pattern
Trust me, this project hits that sweet spot between quick and satisfying. Every piece is worked in continuous rounds with no color changes mid-round, so there’s no need to juggle multiple yarns. The skills involved include magic rings, increases, decreases, and back-loop work covering the core amigurumi basics, making this a solid practice piece before tackling bigger projects. Plus, it finishes fast enough to gift the same day.
Important Remarks
- Gauge isn’t critical here, but a tighter tension keeps stuffing from showing through
- Pearl beads are a decorative addition and can be swapped for embroidered dots if preferred
- Feel free to substitute the color palette mint and cream, or lavender and white; both work beautifully
- Keep small pearl beads away from young children, as they can be a choking hazard
Conclusion
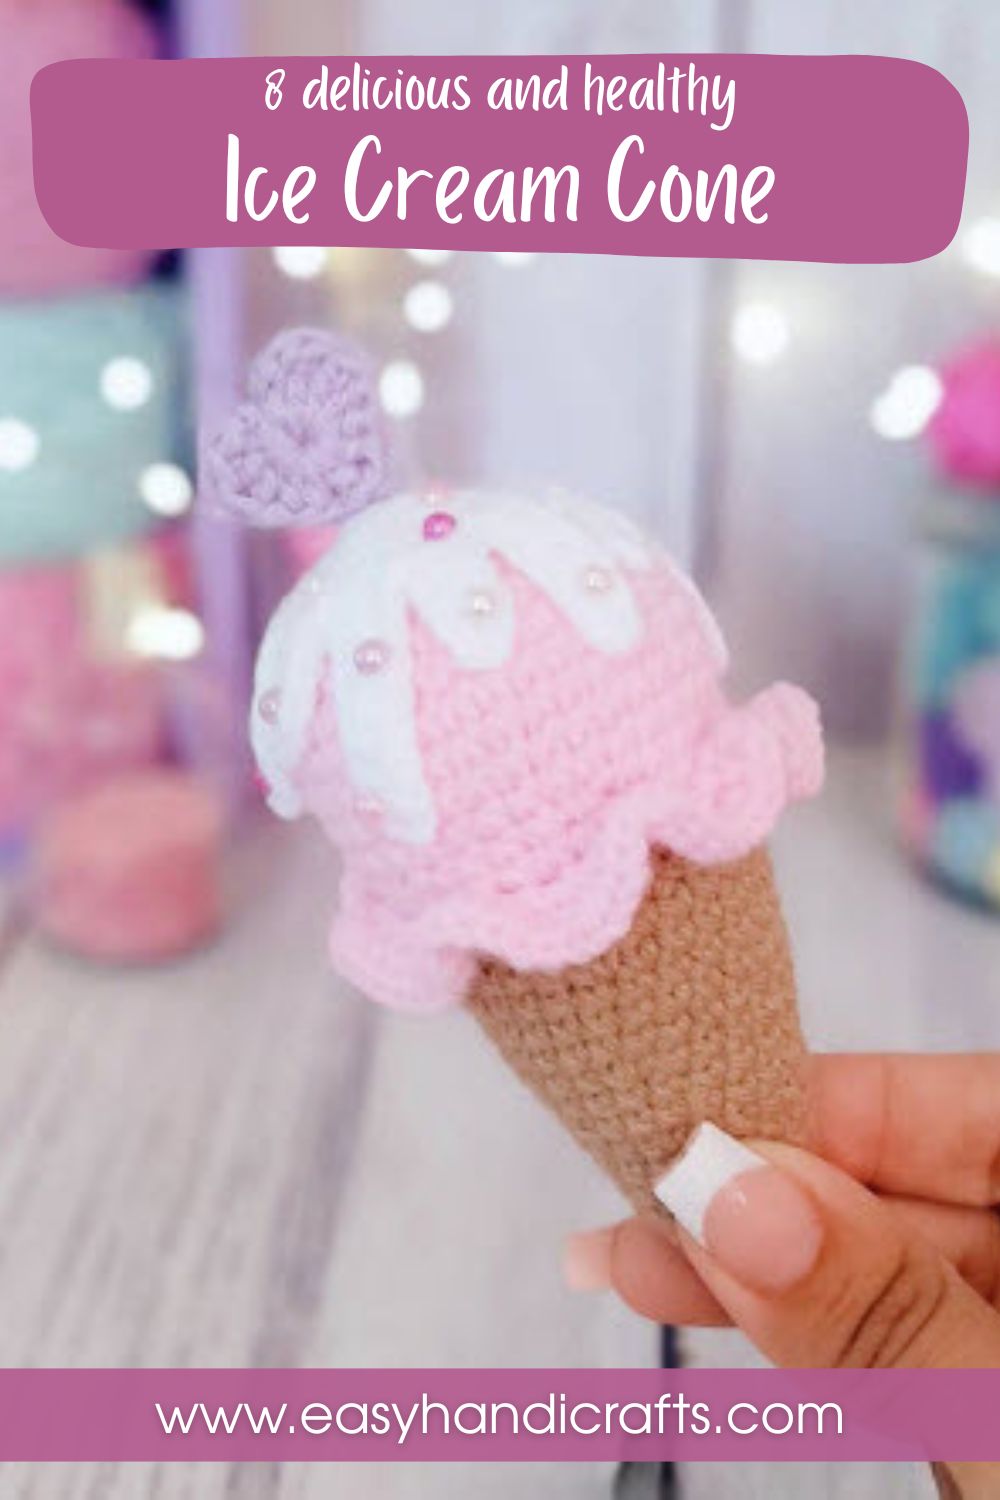
No joke, this little Free Crochet Ice Cream is one of those patterns that looks far more impressive than it actually is to make. Between the textured cream swirls and the pearl bead finish, it’s a satisfying beginner project that doubles as a sweet handmade gift, keychain, or shelf decoration once it’s done.