Fabulous Crochet Pumpkin Amigurumi Pattern for Home Accents
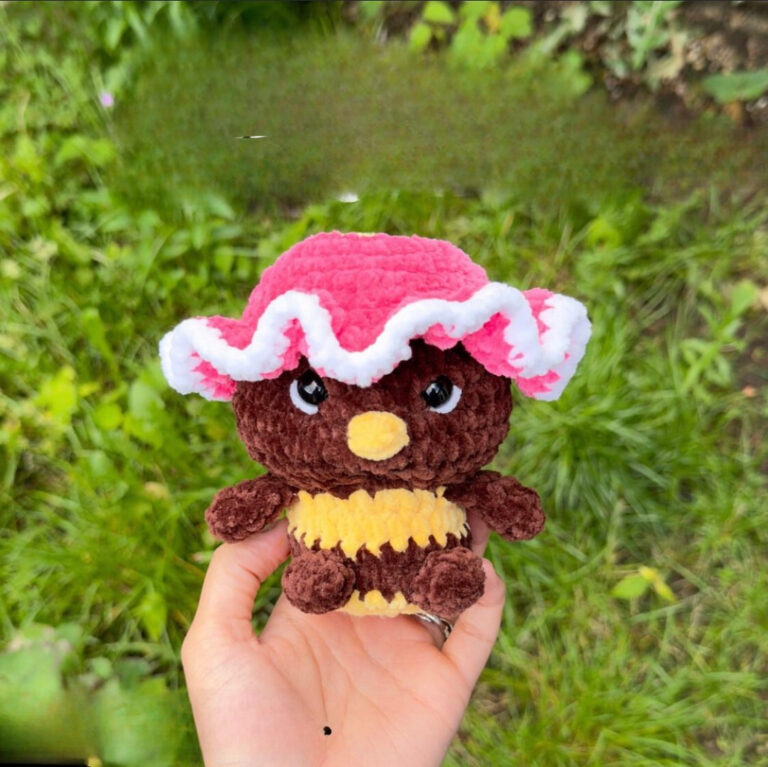
Soft, round, and full of autumn charm, this little Crochet Pumpkin Amigurumi is the cozy accent your home has been missing. It works up fast and looks adorable on any shelf.
This crochet pumpkin pattern is perfect if you love simple seasonal makes. You will work it in soft plush yarn, shape the ribbed body, and add cute leaves on top. The face sculpting gives it real personality. Beginners and seasoned crocheters both find this project fun and quick to finish.
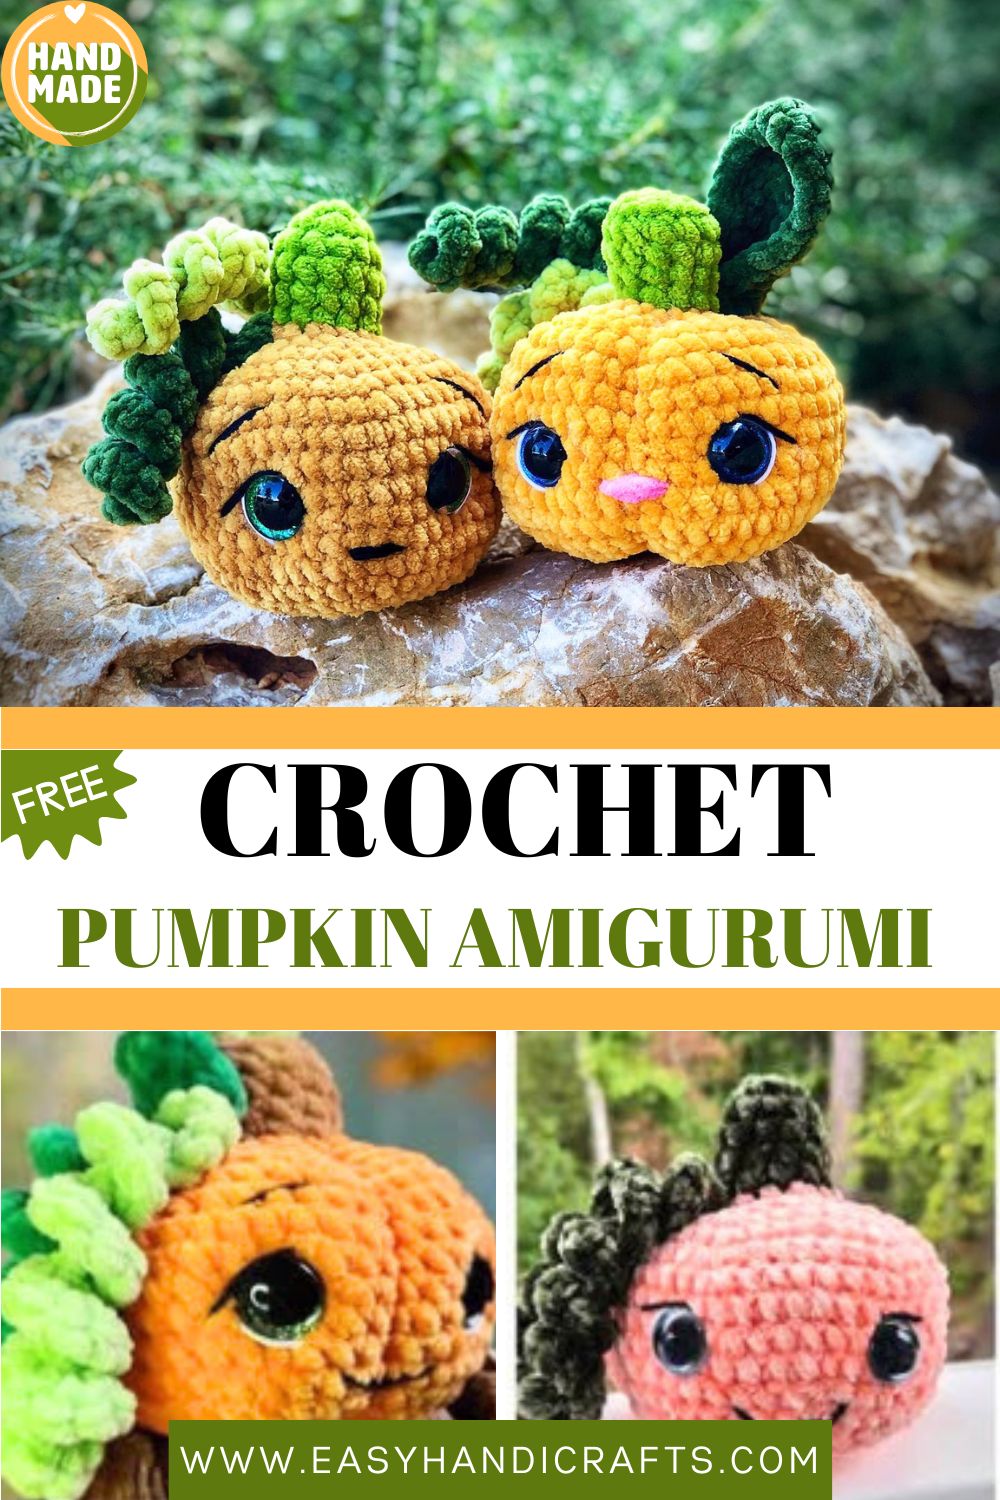
What makes this little guy so lovable is the texture. That plush yarn feels amazing in your hands, and the ribbed shaping gives it a real pumpkin look. The tiny face and curly spiral leaves add the final bit of magic. By the end, you will have a soft decoration that feels far too cute to tuck away.
Materials and Tools
You will not need much for this one. Honestly, most of it is probably sitting in your craft basket already.
- A little brown yarn for the bottom of the pumpkin
- Two different green yarns for the leaves
- A small amount of black and white cotton yarn for face sculpting and to embroider the eyes, eyebrows, and nose
- Hook size 3.5 mm, or one that matches your yarn
- Scissors
- Safety eyes, size 18 mm
- Needle
- Fiber filling (stuffing)
- Stitch marker
Pick a hook and safety eyes that suit your yarn weight. This keeps the stitches tidy and the shape nice and even.
Abbreviations
Before you start, here is a quick guide to the short forms used below.
- MR – magic ring
- st/sts – stitch/stitches
- ch – chain
- sc – single crochet
- Rnd/Rnds – round/rounds
- inc – single crochet increase (2 sc in 1 st)
- dec – invisible decrease (dec 2 sts together FLO)
- BLO – back loop only
- FLO – front loop only
- dc – double crochet
- (…)* – Repeat the instruction in brackets the stated number of times
- (…) – total number of sts in the round or row
- Sl st – slip stitch
Important Notes
Please read these before you grab your hook.
The finished toy measures around 10 to 11 cm, which is about 4 inches, with these materials. Still, your size may come out a little bigger or smaller. It really depends on your yarn, your hook, and your crochet tension.
Use a stitch marker to mark the last stitch of every round. Also, while stuffing, remember to shape each part gently. Never overstuff them, or the pumpkin will lose its soft, plump look.
Crochet Pumpkin Amigurumi Pattern Instructions
Now for the fun part. Take your time here and enjoy the process.
The Pumpkin Body
Start crocheting with the green color. Stuff slightly as you go.
- Rnd 1. 6 sc in MR
- Rnd 2. 6 inc (12)
- Rnd 3. 12 sc on BLO
- Rnds 4–6. 12 sc (3 Rnds)
Now change the color to orange.
- Rnd 7. Work on FLO (1 sc, inc)* 6 (18)
- Rnd 8. (2 sc, inc)* 6 (24)
- Rnd 9. (3 sc, inc)* 6 (30)
- Rnd 10. (4 sc, inc)* 6 (36)
- Rnd 11. (5 sc, inc)* 6 (42)
- Rnd 12. (6 sc, inc)* 6 (48)
- Rnds 13–18. 48 sc (6 Rnds)
Insert the safety eyes between Rnds 15 and 16, with a distance of 6 visible stitches between them.
- Rnd 19. (6 sc, dec)* 6 (42)
- Rnd 20. (5 sc, dec)* 6 (36)
- Rnd 21. (4 sc, dec)* 6 (30)
- Rnd 22. (3 sc, dec)* 6 (24)
- Rnd 23. (2 sc, dec)* 6 (18)
- Rnd 24. (1 sc, dec)* 6 (12)
- Rnd 25. 6 dec (6)
Sew the hole closed. Then fasten off and weave in the ends.
The Leaf (make one)
You will be working around the chain here.
- Rnd 1. Chain 10. Starting in the second stitch: 6 sc, 2 inc, 3 sc in one stitch, 2 inc, 6 sc (23)
- Rnd 2. 23 dc
Fold the leaf and make a sl st to connect it. Fasten off and leave a tail for sewing. Sew the leaf near the spiral leaves.
Spiral Leaves (make two)
Attach the yarn with a sl st in Rnd 7 and Chain 26. In the second chain from the hook, inc in each chain, then sl st into the initial st of the body. Fasten off and weave in the ends.
Shaping the Pumpkin
Use a strong thread and a long needle for this step. Draw the needle through the bottom center and bring it up to Rnd 7. Pull it tight. Repeat this as many times as you like. I did it three times.
The Bottom
Crochet this part in brown color. Attach the yarn to Rnd 25 and make Chain 5. Fasten off and burn the end.
Tightening and Face Sculpting
Follow the steps in the picture for this part. Tighten each end of the thread well, and then tighten both ends at once. Finally, embroider the nose, eyelids, and eyebrows. See the picture for guidance.
Skill Level
This pattern sits at an easy to intermediate level. You need basic stitches, the magic ring, and simple shaping. The face sculpting takes a little patience, but nothing tricky.
Customization and Variations
One thing I love about this pumpkin is how easy it is to change up. You can stick to the classic look, or you can get a little playful with it. Either way, the base pattern stays the same. Here are a few ideas to try.
- Swap the orange for white, cream, or pale blue for a softer seasonal vibe.
- Go bigger by using chunkier yarn and a larger hook.
- Skip the face entirely if you want a plain, classic pumpkin.
- Try two-tone leaves, or add a third green for more depth.
- Use a sparkle or velvet yarn for a festive, eye-catching finish.
- Make a whole set in different sizes for a cute little pumpkin family.
Common Mistakes to Avoid
A few small slips can change how your pumpkin turns out. So keep these in mind.
- Overstuffing the body, which stretches the stitches and shows gaps.
- Place the safety eyes before you double-check the spacing.
- Forgetting the stitch marker and then losing track of your rounds.
- Not pulling the shaping thread tight enough for those deep ridges.
- Working with loose tension, which leaves holes the filling peeks through.
Finishing Tips
These last touches make a big difference, trust me.
- Weave in all your ends neatly so nothing comes loose later.
- Secure the brown bottom well, and burn the end carefully if your yarn allows.
- Gently shape the leaves before you sew them in place.
- Do the body shaping before you fully close the pumpkin.
- Keep your face embroidery even and symmetrical for the cutest look.
Gifting Ideas
This little pumpkin makes such a sweet handmade gift. Here are a few ways to share it.
- A cozy hostess gift for autumn dinners and gatherings.
- A thoughtful present for a teacher during the fall season.
- A cute table favor for your Thanksgiving setup.
- A soft, safe filler for a kid’s Halloween basket.
- A warm home decor gift for someone who loves seasonal touches.
Final Thoughts
And there you have it, a soft little Crochet Pumpkin Amigurumi ready to brighten your space. This Crochet Pumpkin Amigurumi pattern is quick, beginner-friendly, and endlessly cute. Whether you keep it for yourself or gift it to someone special, it brings a warm, handmade charm that store-bought decor simply cannot match.
Once you finish your first one, you will probably start planning the next. That is the fun of small amigurumi like this. They work up fast, they use leftover yarn, and they always make someone smile. So grab your yarn and give it a try. You will want to make more than just one.