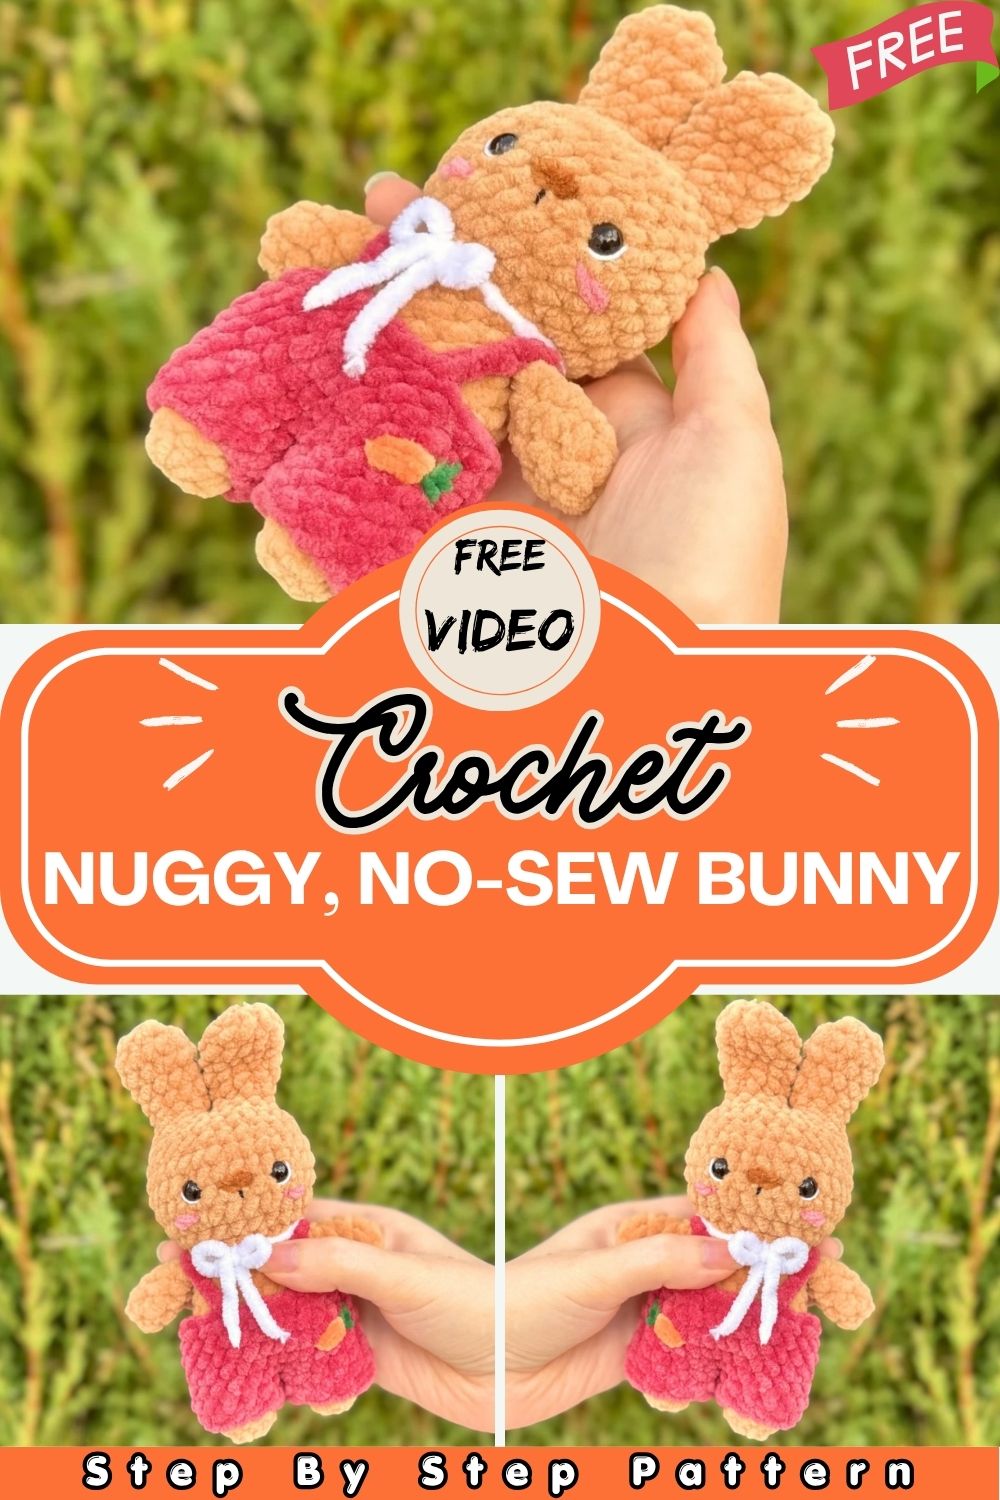
No-Sew Crochet Nuggy Bunny — Adorable Amigurumi Tutorial for Beginners
Welcome! In today’s tutorial, we’re making an adorable No-Sew Crochet Nuggy Bunny, a cute and beginner-friendly amigurumi project with no sewing required! Grab your yarn and hook, and let’s create this tiny bunny together
First of all, to get started, you will need Hobbii Honey Bunny yarn in light brown and raspberry, along with a 4mm crochet hook and 8mm safety eyes. On top of that, the beautifully embroidered face, rosy cheeks, and carrot-decorated raspberry pants make this bunny absolutely irresistible.