The joy of creating the iconic Jack Skellington with this free crochet pattern. This charming amigurumi design, inspired by the beloved character from “The Nightmare Before Christmas,” is perfect for beginners and experienced crocheters alike. The pattern calls for soft yarn in black, white, and a hint of grey to accurately capture Jack’s classic look. You will need a 3.5mm crochet hook, polyfill stuffing, safety eyes, and a yarn needle to complete this project.
The basic stitches required are single crochet, increase, and decrease, making it a simple yet delightful project. For those crafting for special occasions, consider personalizing the amigurumi with unique touches. This free pattern includes detailed instructions, and a step-by-step video tutorial is also available to guide you through the process effortlessly.This information will help you get started on your wonderful Jack Skellington amigurumi project and make it a fun and seamless experience.
The Crochet Elephant Amigurumi Pattern is the perfect project for crochet lovers who enjoy making cute and cuddly toys. This pattern helps you create a darling elephant that can be made into a keychain or a small stuffed animal. To crochet this lovely elephant, you will need simple materials like cotton or bulky yarn, a…
Creating charming décor with your hands is a true joy especially when it involves bringing plants and yarn together! Crochet hanging plant amigurumi patterns are a super cute, beginner-friendly way to add a touch of greenery to your space without the need for watering. Whether you’re decorating your room, gifting a friend, or simply looking…
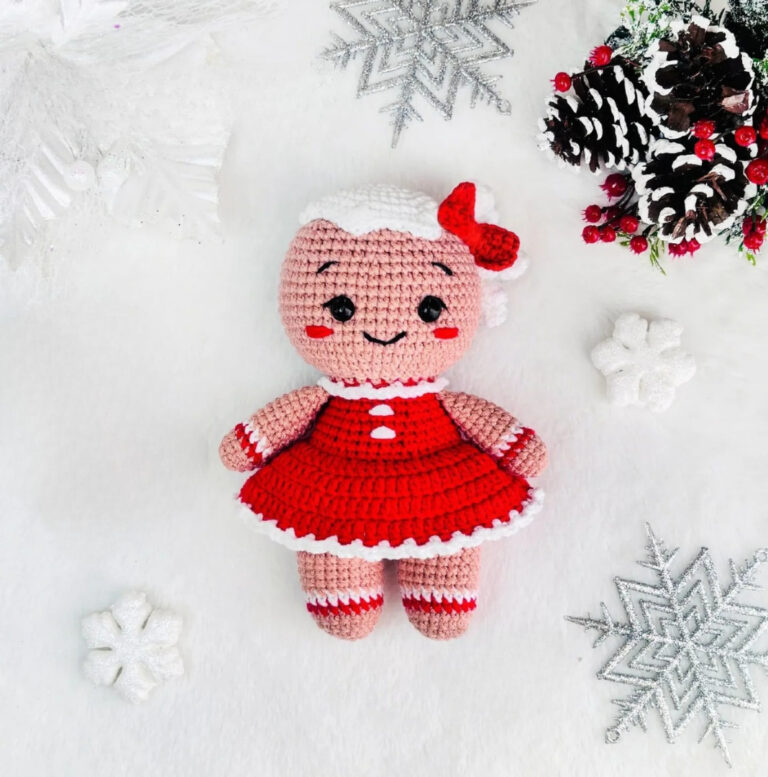
Ready to crochet the most charming Crochet Gingerbread Girl Amigurumi you have ever seen? Standing 15–16 cm tall, this beginner-friendly amigurumi doll is full of festive details and makes the sweetest handmade gift this holiday season! Sometimes the most magical holiday projects come in the smallest packages and this adorable Santa girl amigurumi is proof…
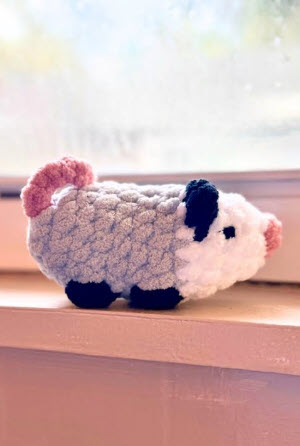
Crochet lovers, meet your next pocket-sized obsession: a Crochet Tiny Opossum Amigurumi pendant with big personality. With a few rounds and a little imagination, you can turn yarn into a charming accessory. Try amigurumi patterns and a beginner-friendly crochet kit to get started smoothly today. If you love making cute gifts, a crochet opossum pendant…
Bring an adorable teddy bear to life with our enchanting Teddy Bears Amigurumi, perfect for creating a snuggly friend about 35 cm tall. To breathe character into your bear, ready your 4.5 mm hook, and let’s embark on a delightful creative journey. As you start weaving magic with yarn, the teddy takes shape, stitch by…
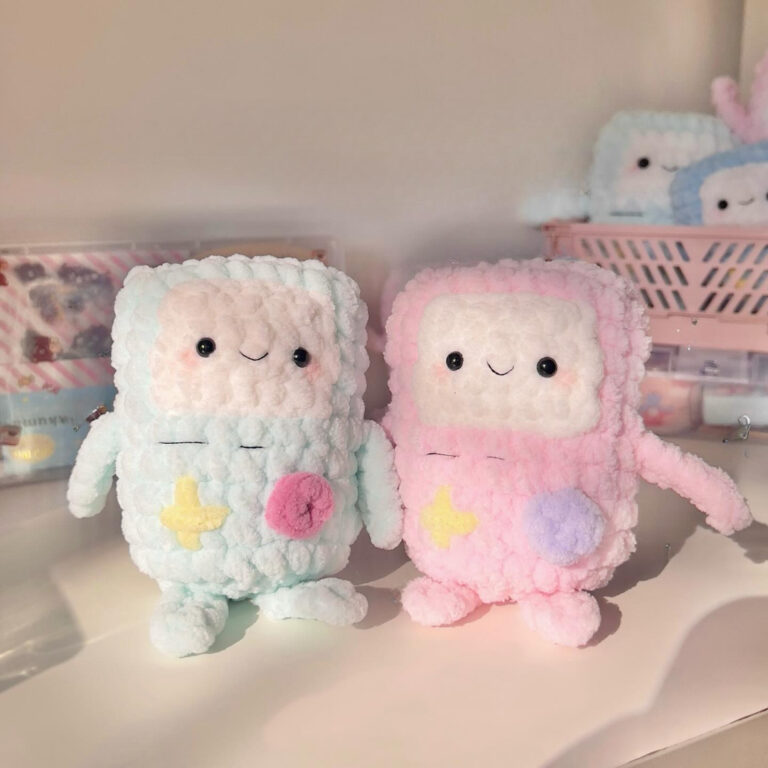
BMO said, “I am a little living boy,” and I said, “Okay, let me crochet you in two colourways: Mint blue and blush pink, chunky and fluffy and full of that same quiet, happy energy. These BMO-inspired plushies are everything. Who’s getting one? If you grew up watching Adventure Time, you already know exactly why…