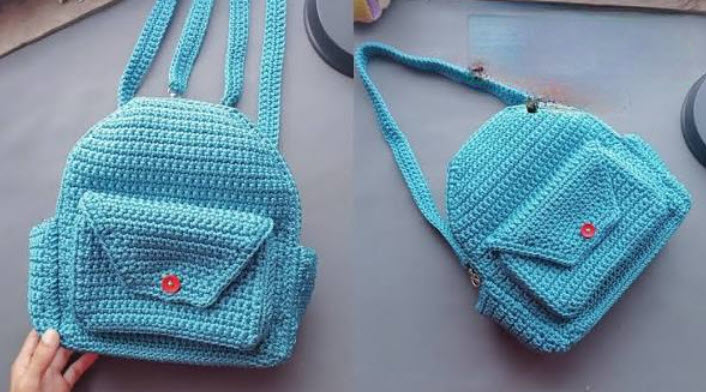
Mini Crochet Cup Keychain Pattern with Gold Ring
Here is a cup you can crochet and carry everywhere. This mini crochet cup keychain pattern is easy, even for beginners. Make the cup, sew on a small handle, and add a gold ring. Simple steps are all ready below.
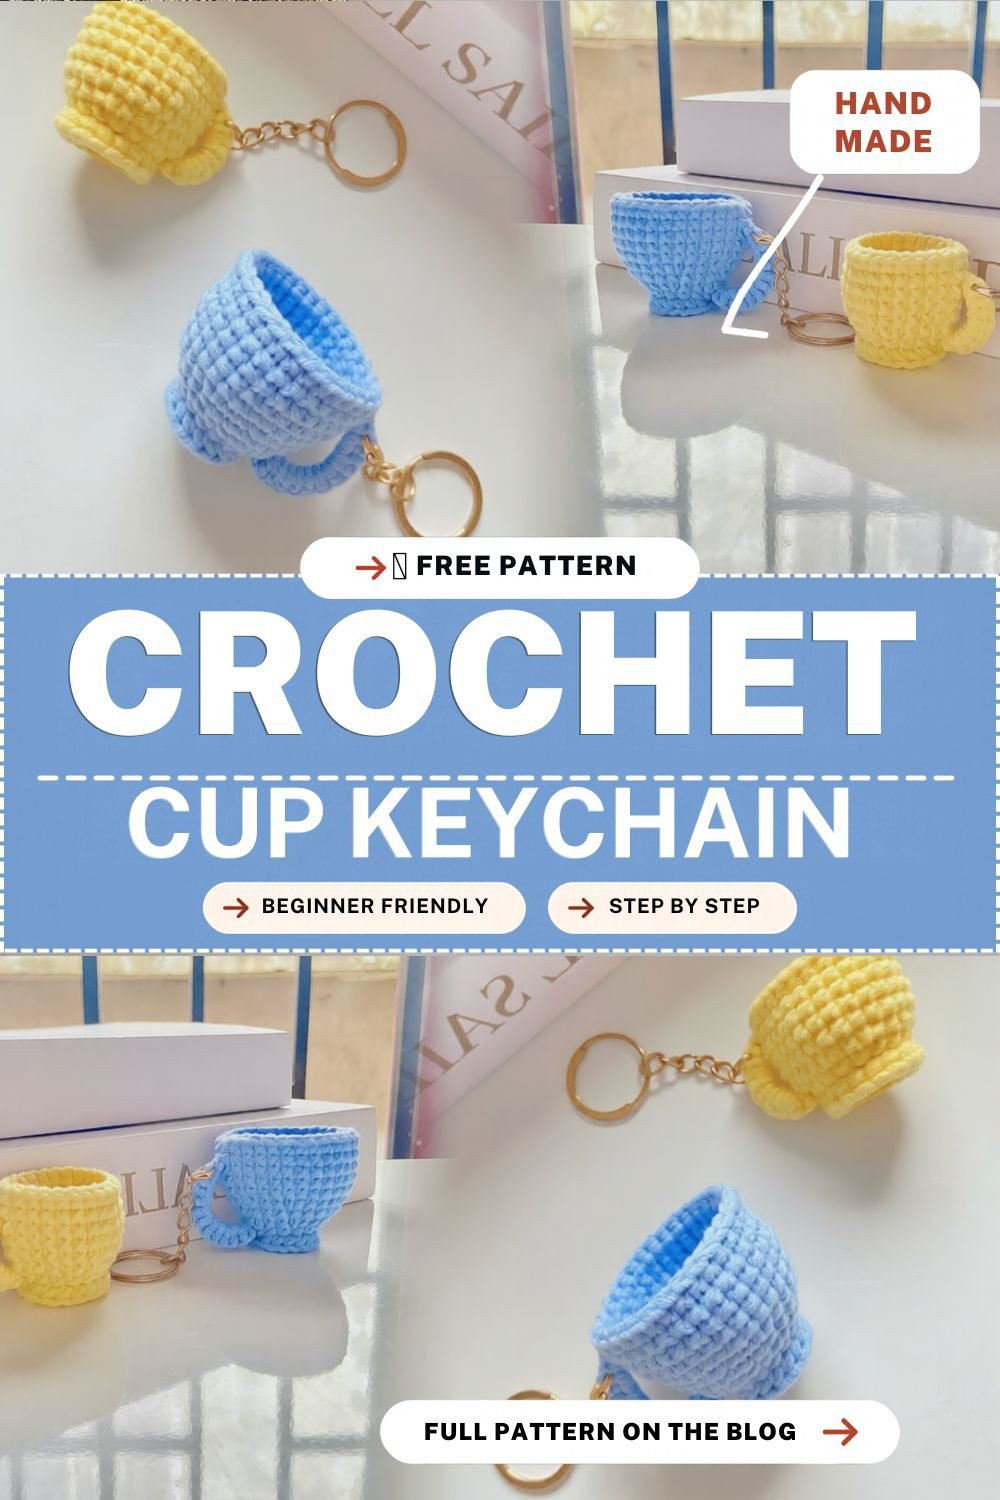
Mini Crochet Cup Keychain Overview
This mini crochet cup keychain is worked in continuous rounds, like most amigurumi. First, you begin with a magic ring, grow a flat base, and then crochet straight up to form the walls. After that, a separate handle is made in one of two sizes and sewn to the side. Finally, a gold jump ring and lobster clasp turn the cup into a keychain or bag charm. Also, each numbered step below matches one of the photos, so you can compare your work as you go.
Skill level: Beginner to easy
Finished size: About 3 cm (1.2 in) wide and 3 cm tall, not counting the handle and the keychain hardware. This is an estimate, and it can change a little with your tension.
Materials and Tools
First, gather these materials and tools before you begin.
- Yarn: Milk Cotton yarn, 5-ply (the photos use light blue)
- Crochet hook: 3.0 mm
- Scissors for cutting the yarn
- Yarn needle for sewing and weaving in the ends
- Keychain hardware: one gold jump ring and one lobster clasp
Crochet Abbreviations (US Terms)
Next, here are the abbreviations used in this pattern.
- MR: Magic Ring
- SC: Single Crochet
- Inc: Increase (2 SC in one stitch)
- BLO: Back Loop Only
- Sl st: Slip Stitch
- Ch: Chain
Mini Crochet Cup Keychain Pattern in 6 Steps
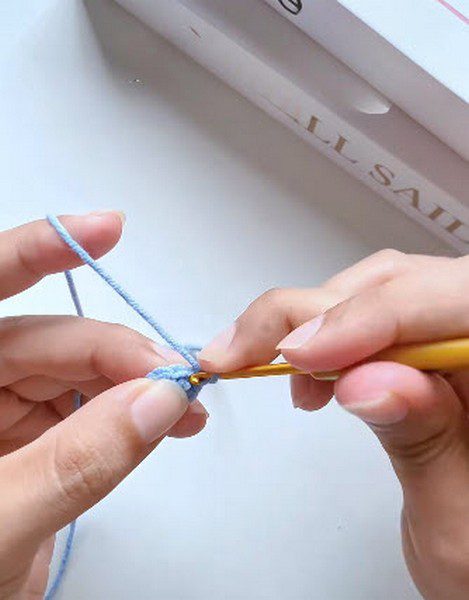
Step 1: Start with a Magic Ring
First, make a magic ring and hold it between your fingers, as the first photo shows. Then work 8 SC into the ring for Round 1. (8 stitches)
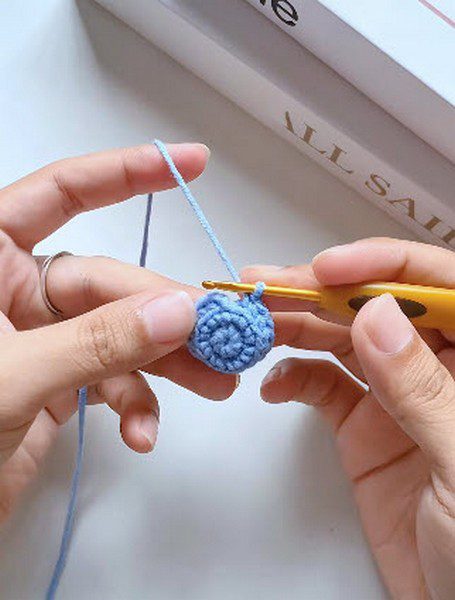
Step 2: Grow the Flat Base
Next, work an increase in every stitch around for Round 2. (16 stitches) After that, keep working in a continuous spiral, and the piece becomes a small round disc, as in the second photo. However, do not close the rounds, because the whole cup is worked continuously.
Step 3: Turn the Base into Cup Walls
For Round 3, work 16 SC in the back loops only. (16 stitches) Then work Round 4 with 16 SC around. (16 stitches) As a result, the piece begins to stand up like a short tube in the third photo.
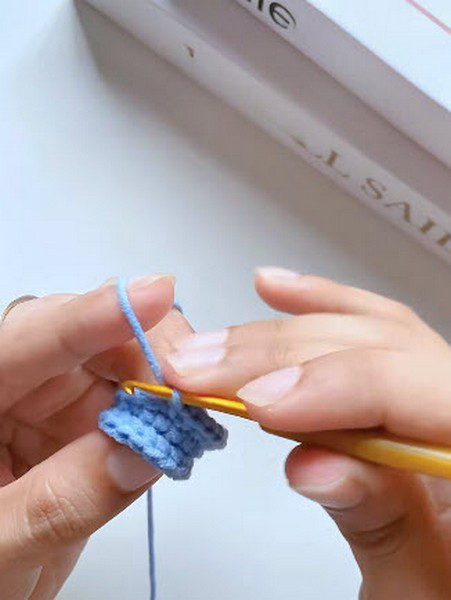
Step 4: Widen the Cup and Build the Height
Now the cup gets its real shape, so follow these rounds in order:
- Round 5: Work 8 increases, then 8 SC. (24 stitches)
- Round 6: Work 24 SC around. (24 stitches)
- Round 7: Work 8 increases, then 16 SC. (32 stitches)
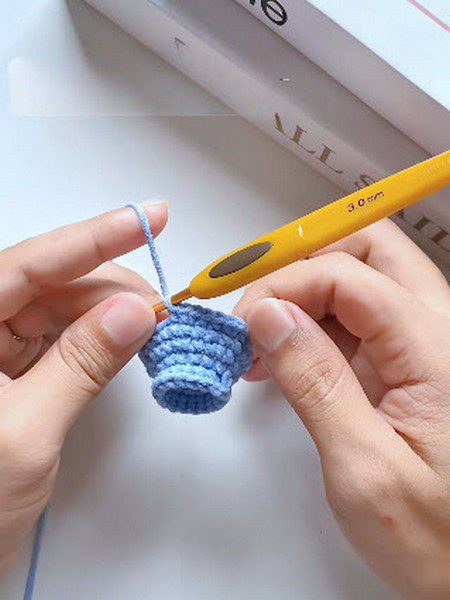
- Rounds 8 to 12: Work 32 SC in each round to build the height of the cup. (32 stitches per round)
Also, the fourth photo shows the cup next to the 3.0 mm hook, and it already looks like a tiny cup.
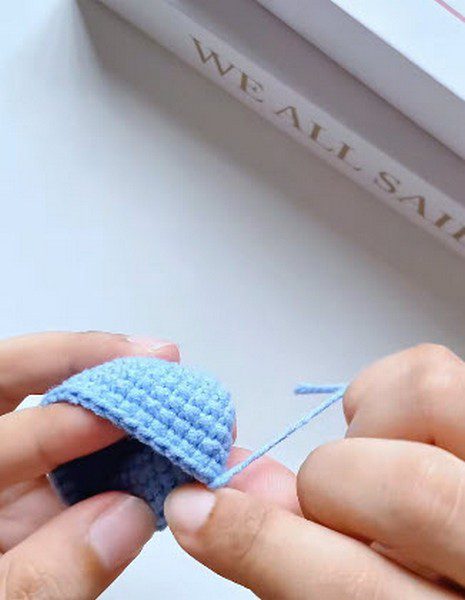
Step 5: Close the Top and Fasten Off
Next, make a slip stitch to finish the work, then fasten off the yarn. After that, the fifth photo shows the cup turned in the hands with the yarn tail pulled out, ready for the next step.
Step 6: Make the Handle and Sew It On
First, crochet the handle as a separate piece. Also, choose the size that suits your cup.
- Small cup handle: Ch 8, work SC back along the chain, then fasten off and leave a yarn tail for sewing.
- Big cup handle: Ch 10, work SC back along the chain, then fasten off and leave a yarn tail for sewing.
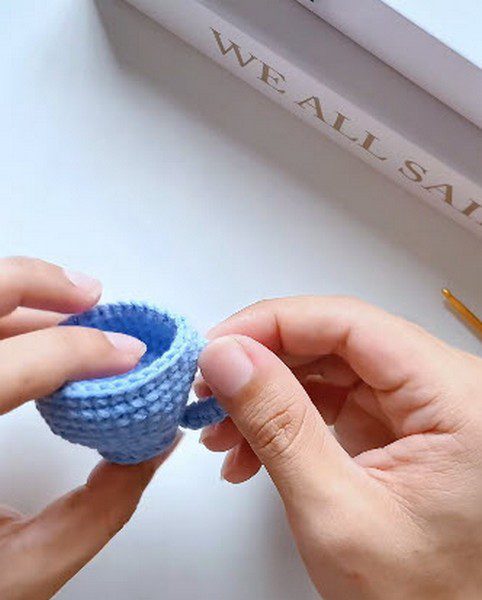
Next, hold the handle against the side of the cup and sew it on with your yarn needle. After that, secure both ends firmly, and adjust the handle so the cup looks neat and finished. Finally, the last photo shows the cup with its handle in place. In the video tutorial, this sewing part appears between 4:45 and 5:15.
Attach the Gold Ring to Your Mini Crochet Cup Keychain
- First, take the gold jump ring.
- Next, carefully pass the jump ring through the top stitches of the crochet cup.
- Then connect the jump ring to the lobster clasp.
- Finally, close and secure the hardware properly so it holds.
You can see this hardware step at around 6:40 to 6:50 in the video.
Final Finishing for Your Mini Crochet Cup Keychain
- First, weave in all the loose yarn ends securely inside the cup.
- Next, cut off any extra yarn.
- Then check that the handle is firmly attached.
- Lastly, make sure the jump ring and the lobster clasp are properly secured.
As a result, your mini crochet cup keychain is now complete.
Bonus: Colour Ideas for Your Mini Crochet Cup Keychain
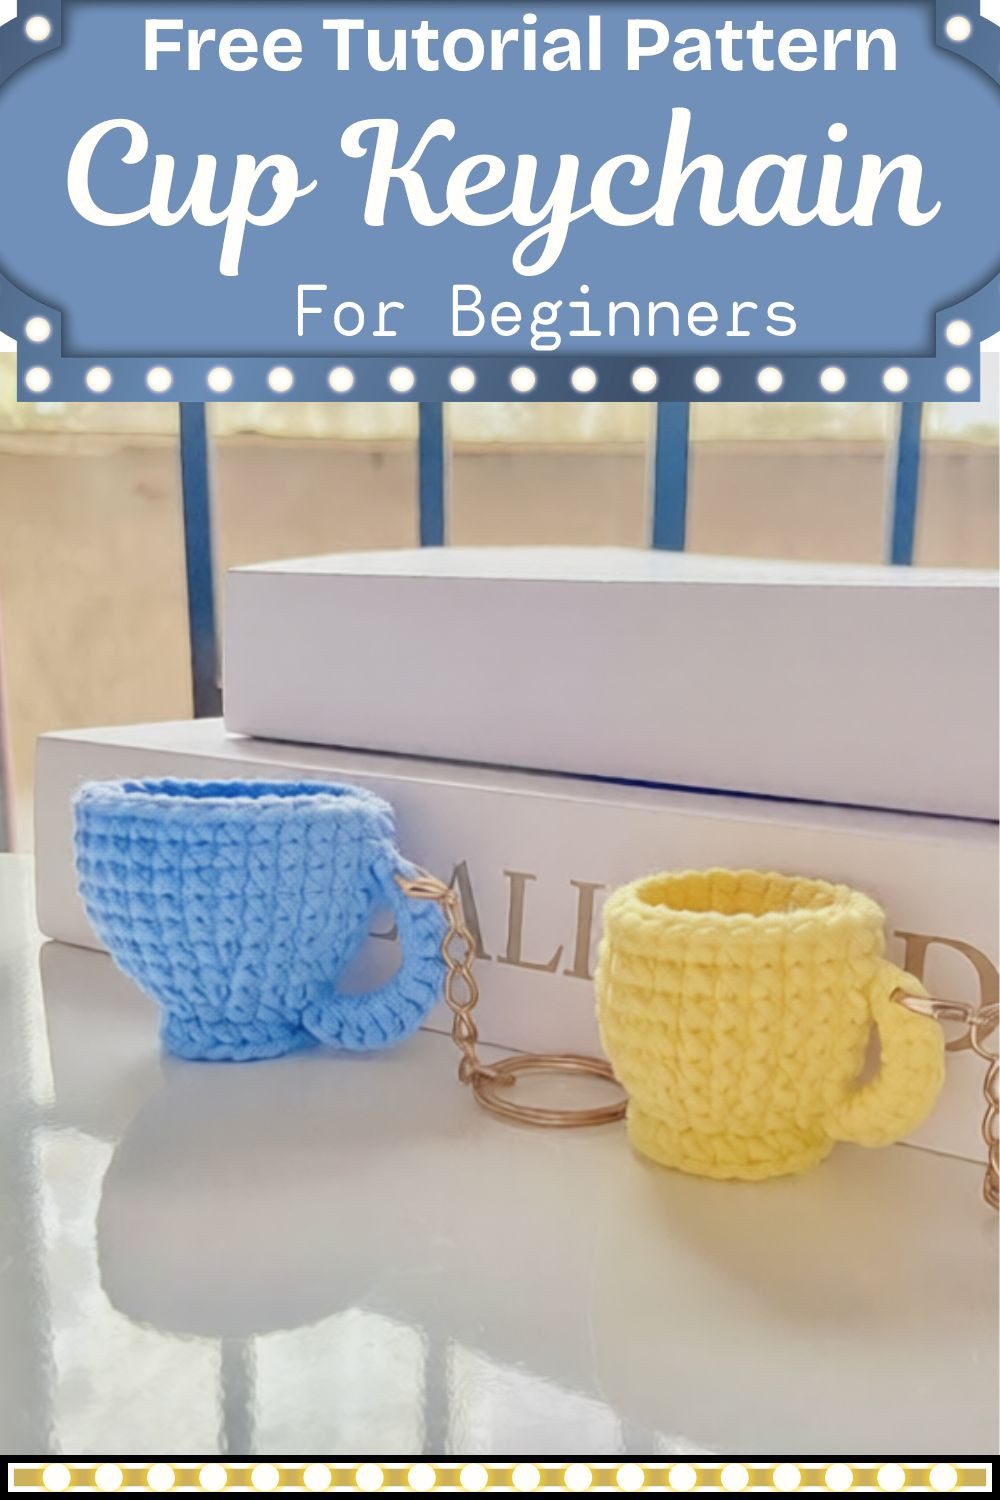
These tiny cups look lovely in different shades. In fact, the finished set at the end of the video shows light blue and yellow cups side by side. So pick your own favourite colours and make a small collection. For example, hang one on your keys, another on a bag zipper, and give a few away as handmade gifts.
A Small Cup, A Big Smile
Honestly, this one is such a happy little make. You do the cup, then you sew on the handle, and finally you clip on the shiny ring. That is all it takes. So try a couple of colours with this mini crochet cup keychain, and I bet you will not stop at one.