Free Crochet Love Letter Envelope Top Pattern
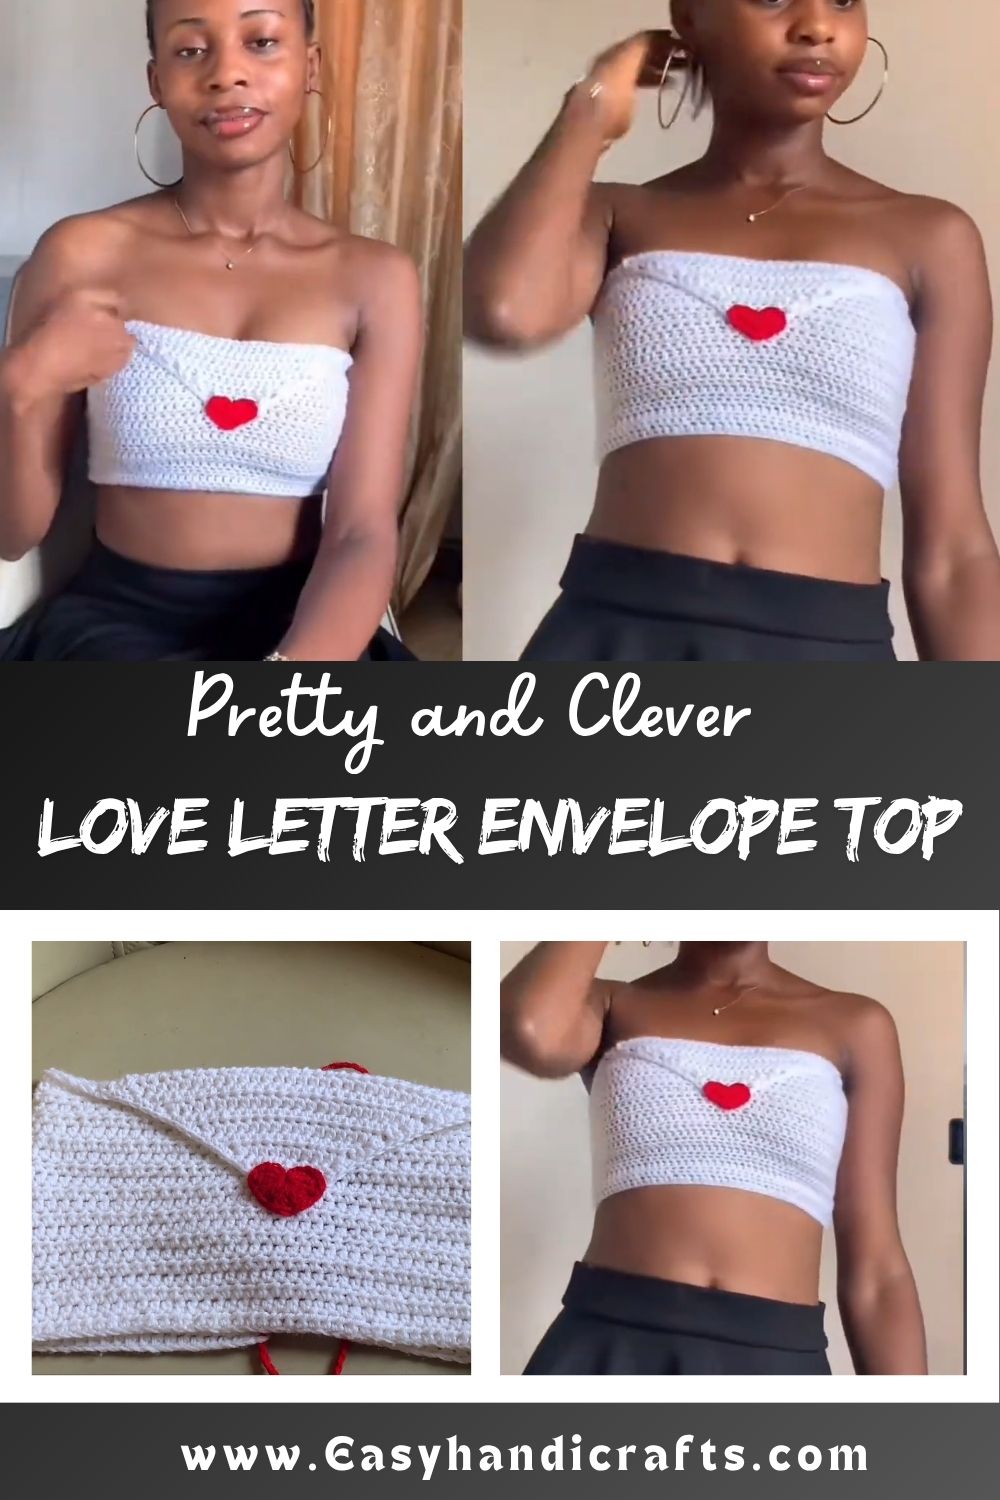
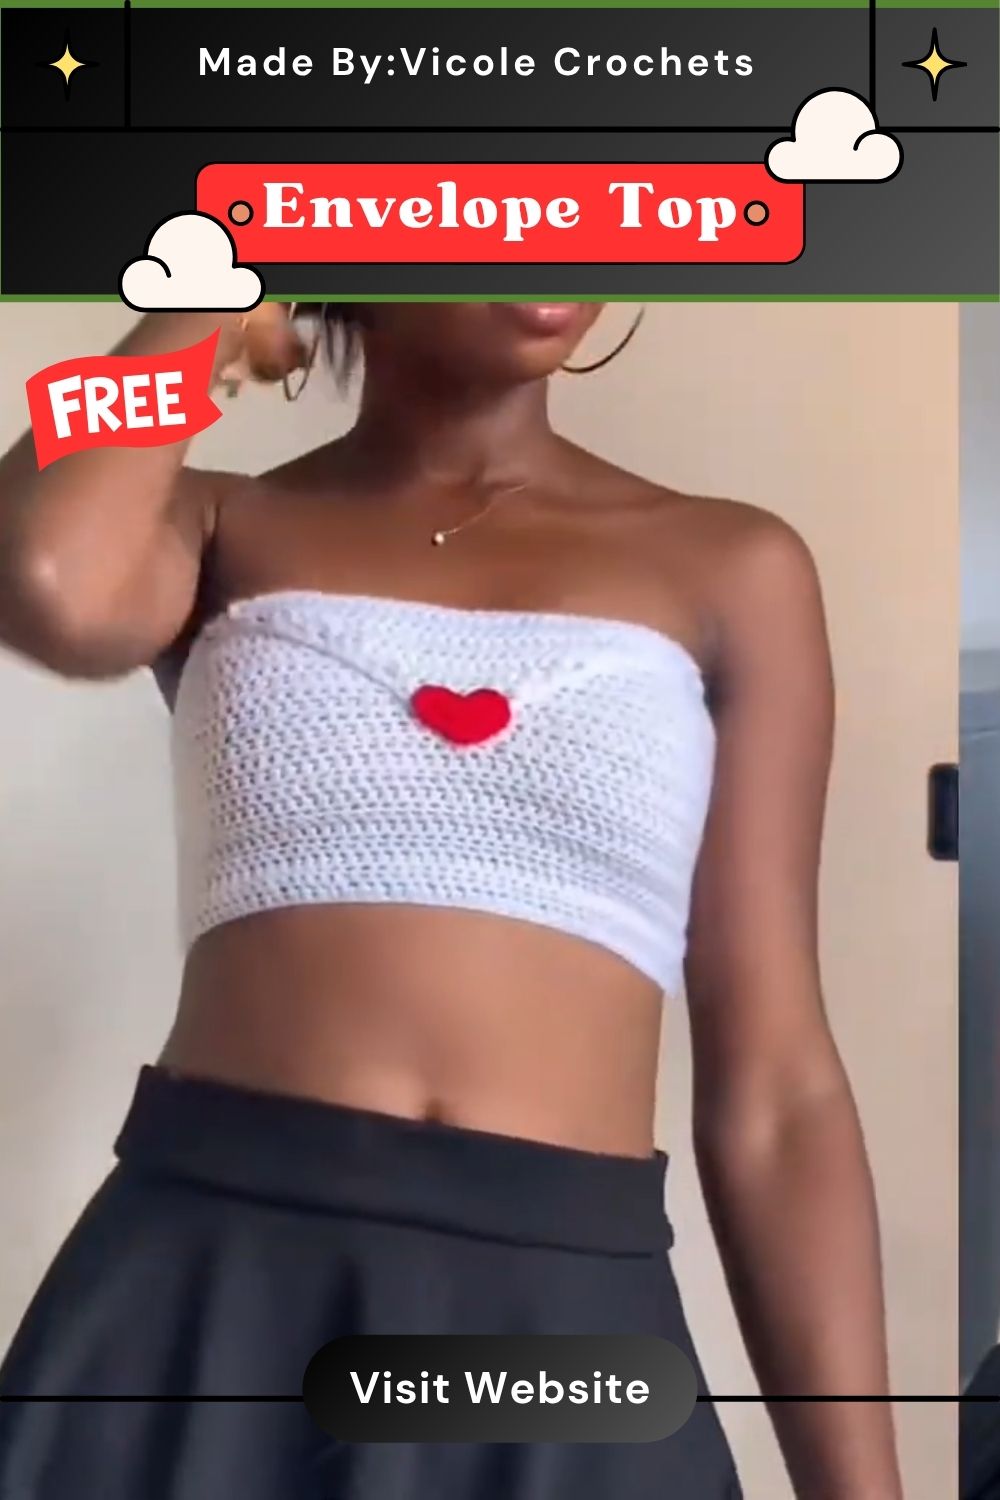
Some patterns borrow their charm from an everyday object, and this one does exactly that. Shaped to mimic the folded flap of an envelope and finished with a tiny heart detail, this Crochet Love Letter Envelope Top pattern turns a simple crochet panel into a piece that feels like a handwritten note brought to life in yarn.
It’s a project that leans on basic technique for most of the construction, saving the extra attention for the shaping and finishing touches that make it stand out.
Skill Level
Beginner to Intermediate. The main panel is easy enough for newer crocheters, while the angled envelope shaping and heart attachment ask for a bit more precision.
Materials You’ll Need
- White or cream yarn for the main body (medium weight works well)
- A small amount of red yarn for the heart detail
- A crochet hook sized to your yarn weight
- A yarn needle for weaving in ends and attaching the heart
- Scissors
- Measuring tape for sizing the top correctly
- Stitch markers, useful for tracking the angled shaping rows
Techniques Featured in This Pattern
- Starting loop and foundation chain: Sets the base width for the entire top.
- Even row construction: Builds a stable, fitted panel for the main body.
- Angled shaping: Creates the folded, envelope-like flap at the front of the top.
- Small motif making: Crochets the heart separately before attaching it.
- Detail placement: Positions the heart precisely at the envelope’s center point for a balanced finish.
The Detail That Makes This Pattern Feel Personal
What sets this design apart from a plain crocheted top is how deliberately the envelope shape is built into the construction itself, rather than added on as decoration. The folded flap isn’t just visual; it’s created through actual shaping rows, which gives the finished piece a structured, almost tailored look. Pairing that with a single small heart, instead of covering the top in embellishments, keeps the design feeling thoughtful rather than busy.
Step-by-Step Instructions
Step 1: Start With the Foundation Loop
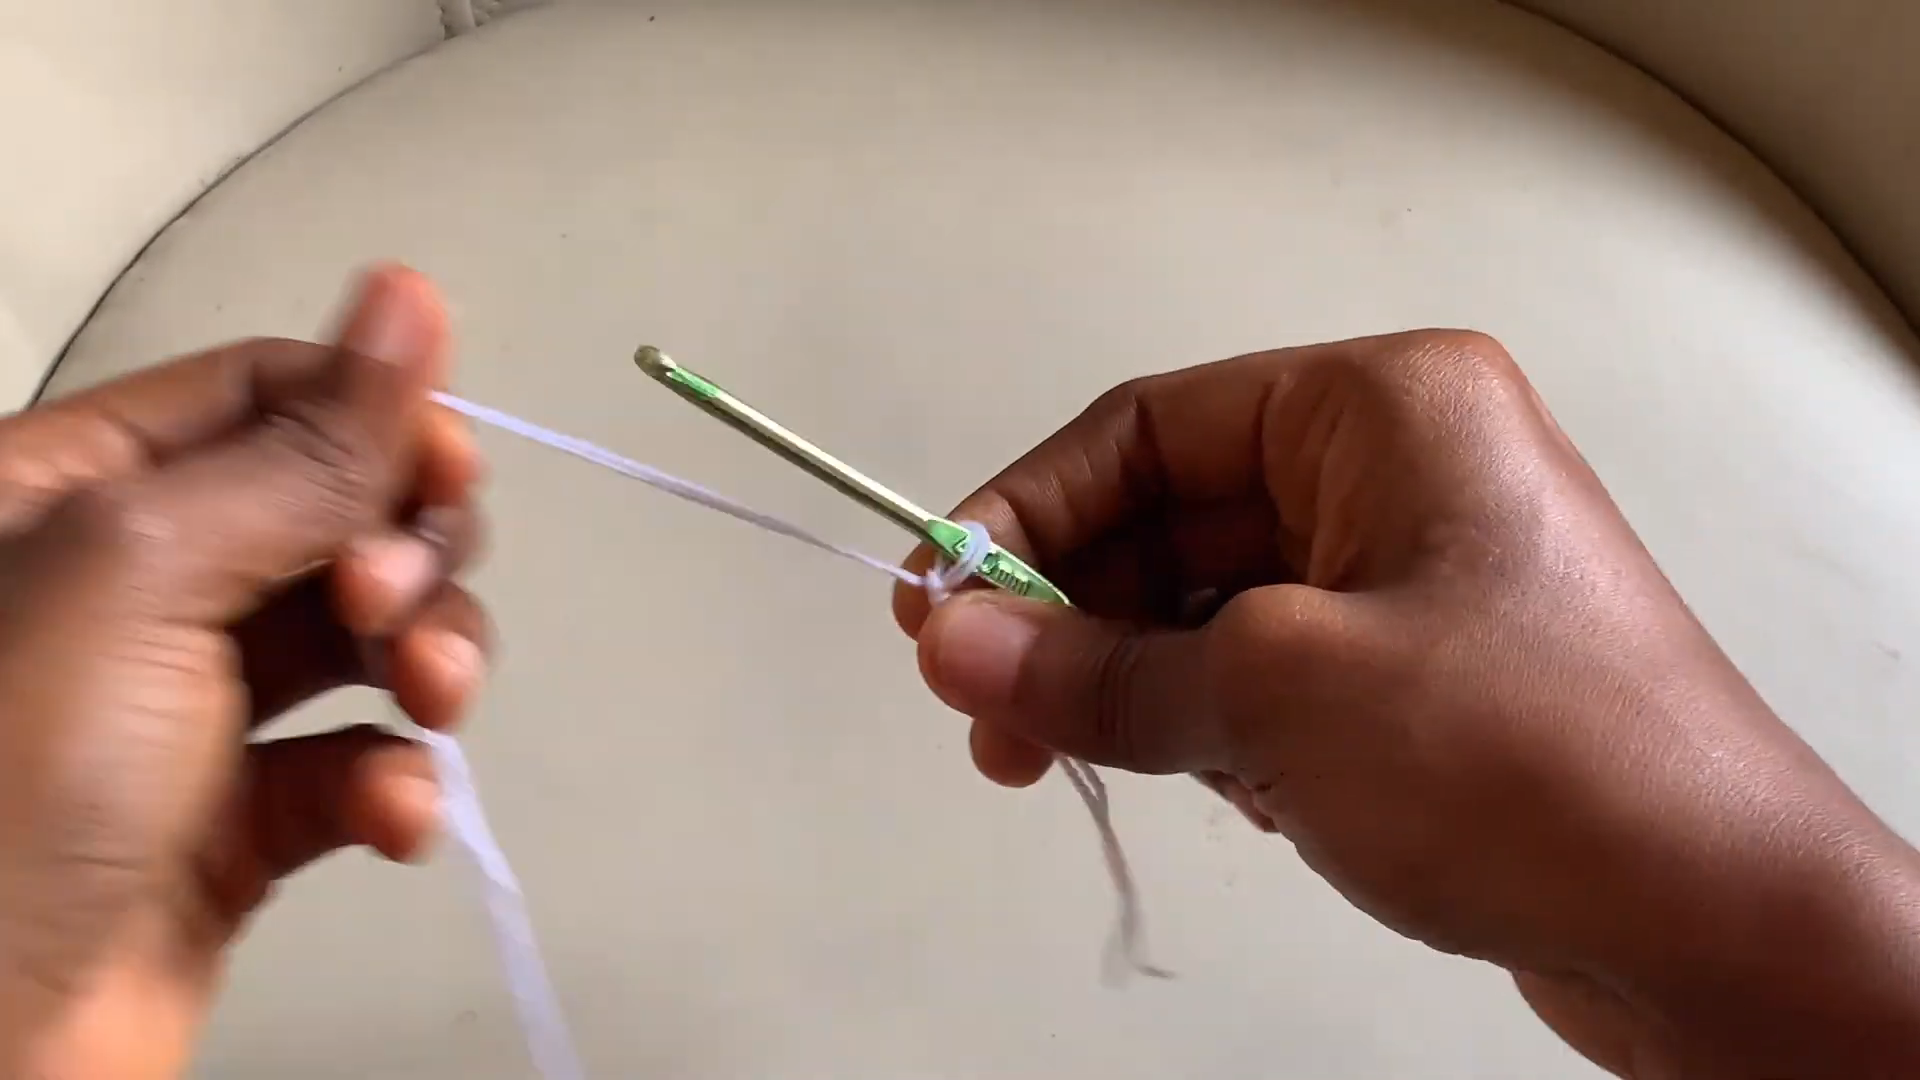
Pull your first loop through with the hook, keeping the yarn taut enough that it won’t slip as you begin stitching. This loop sets the stage for your foundation chain, which determines the overall width of your top.
Step 2: Work the First Rows of the Panel
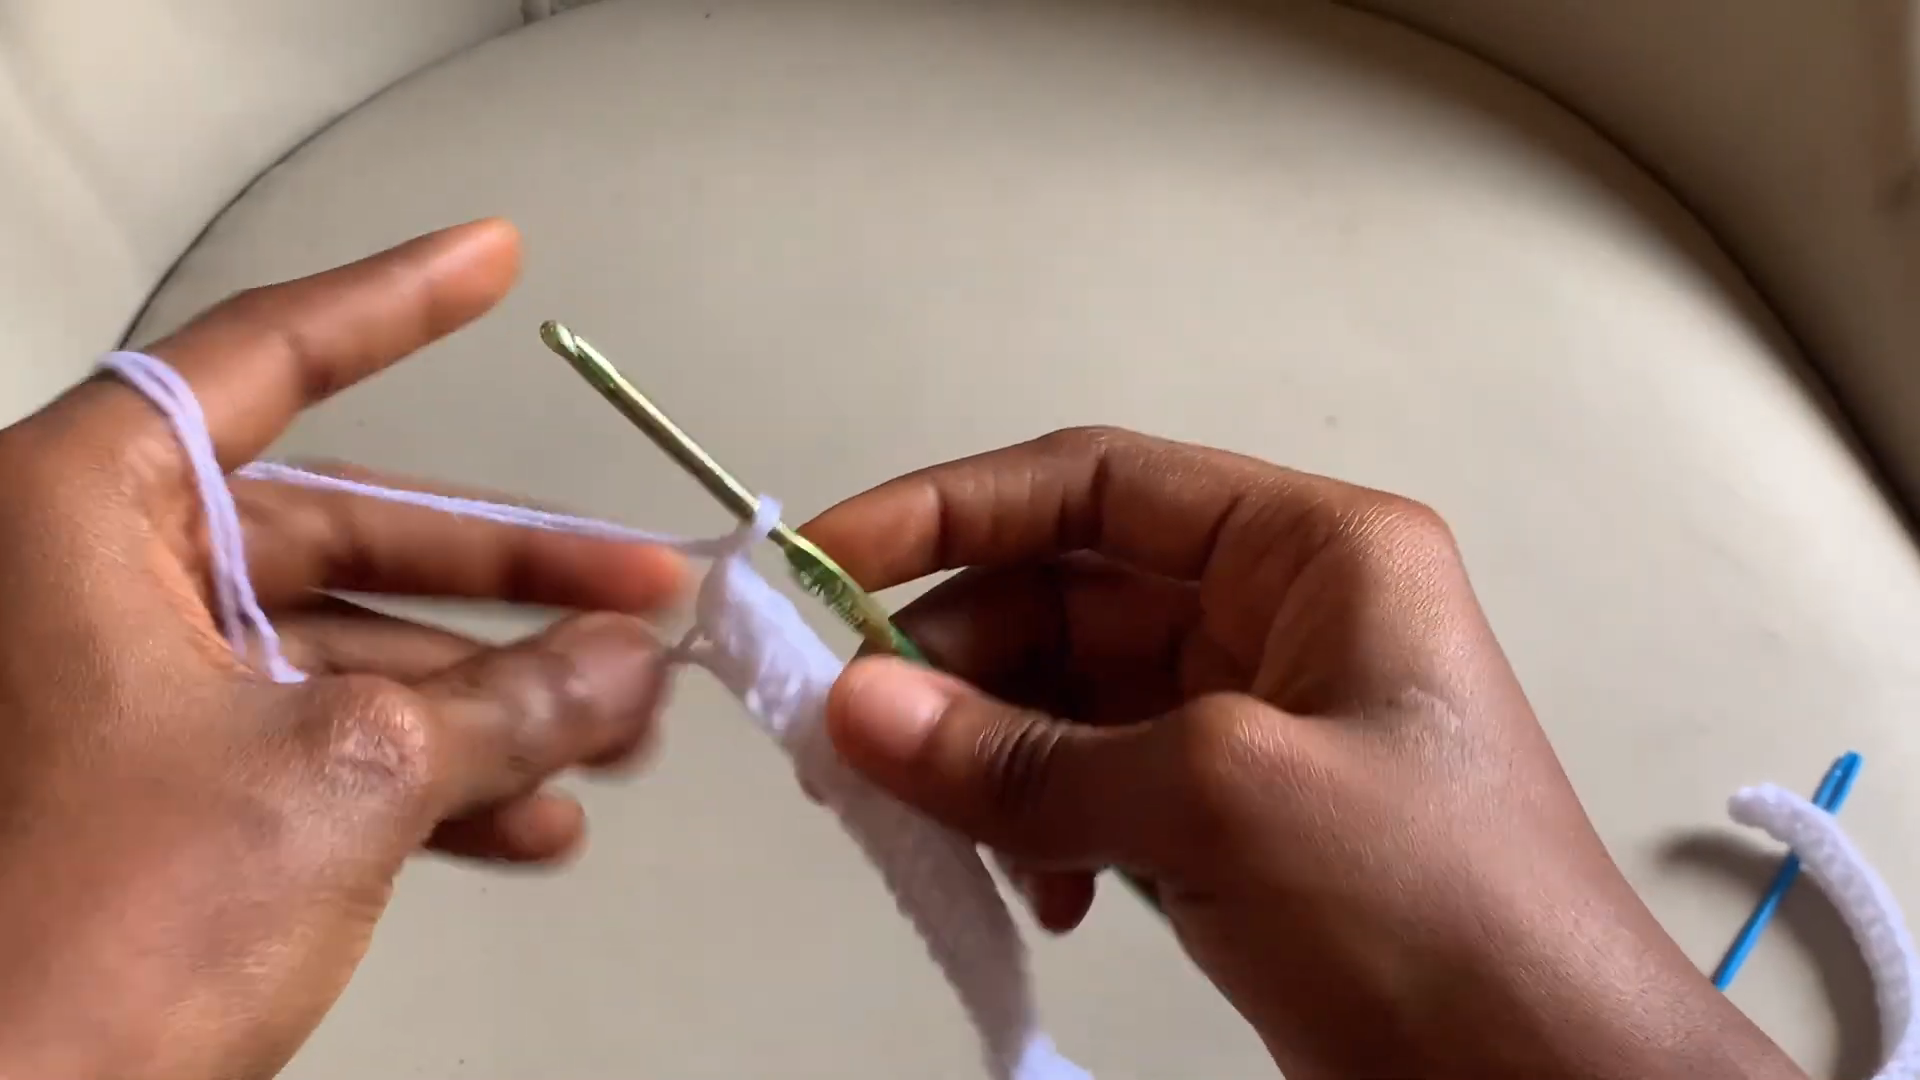
Stitch across your foundation chain to build the first few rows, keeping your tension even so the fabric grows smoothly. These early rows establish the base shape that the envelope flap will later be worked from.
Step 3: Shape the Envelope Flap
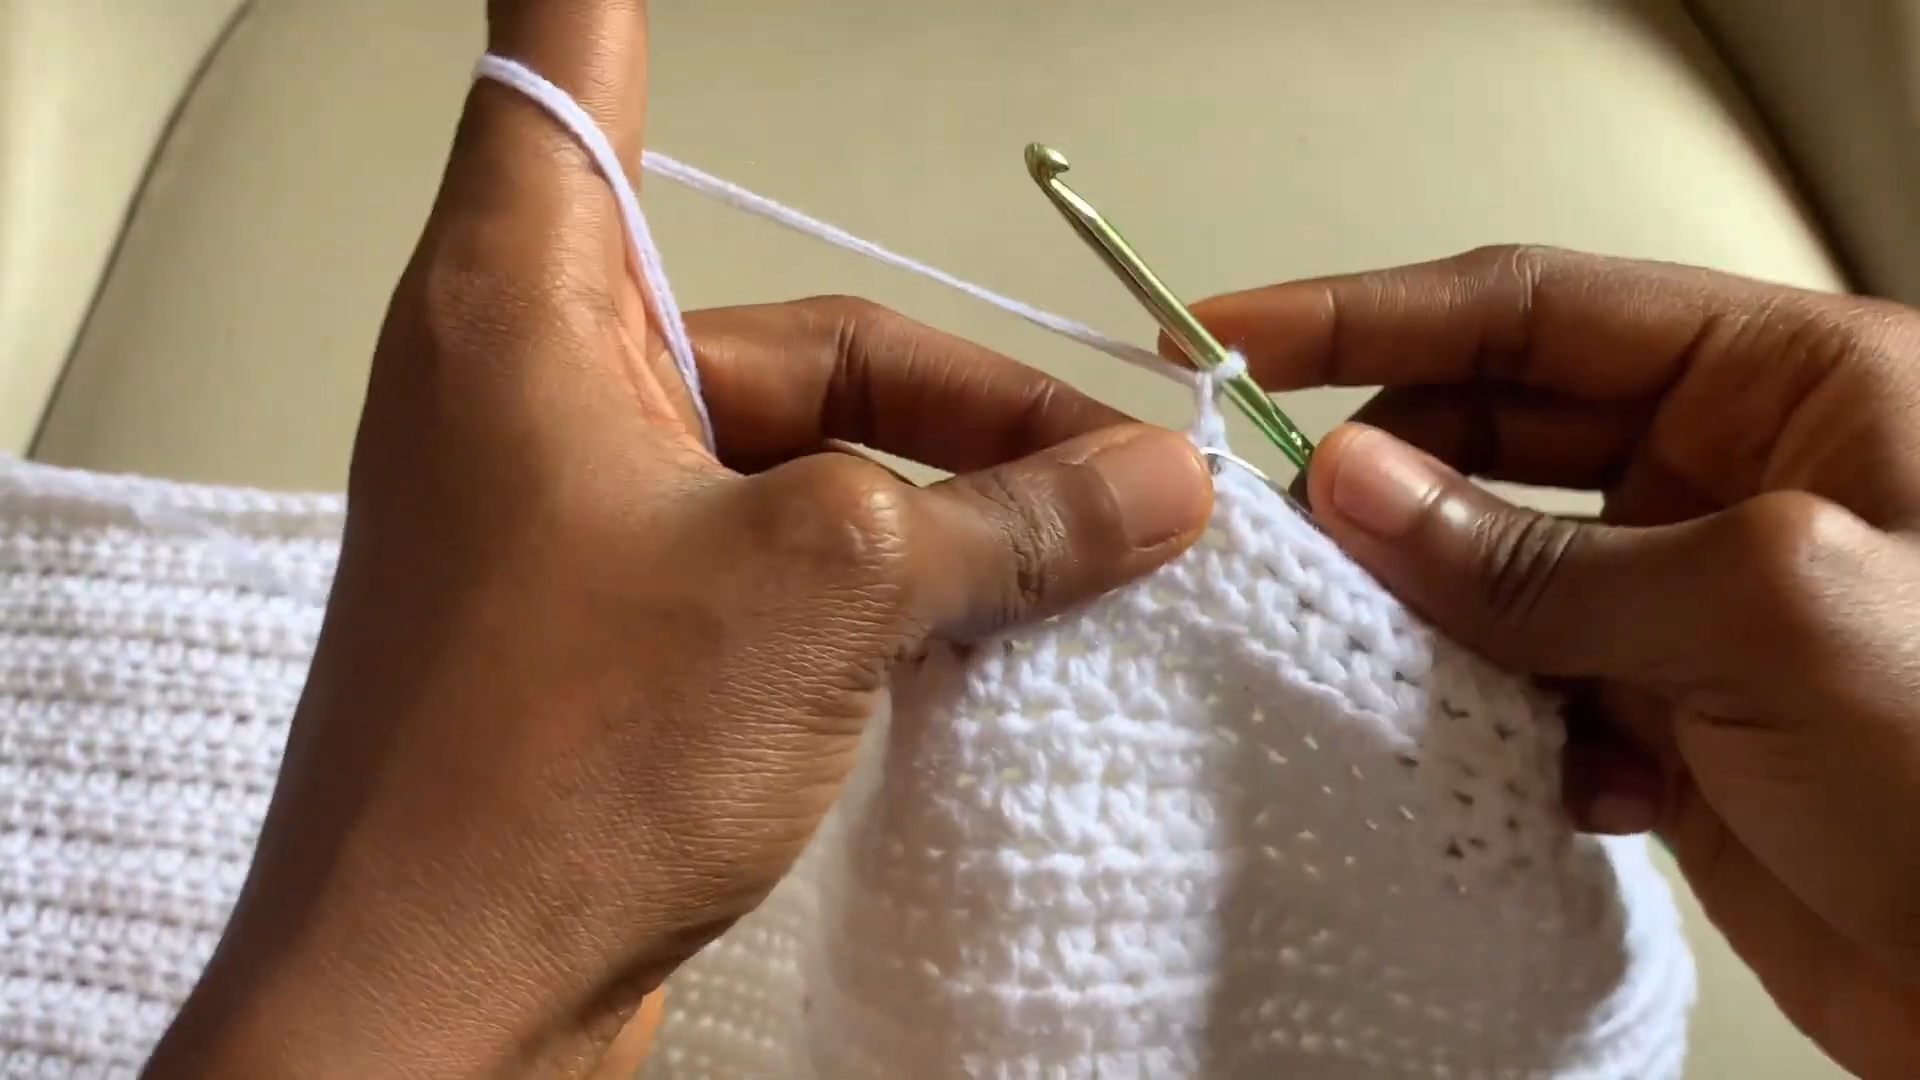
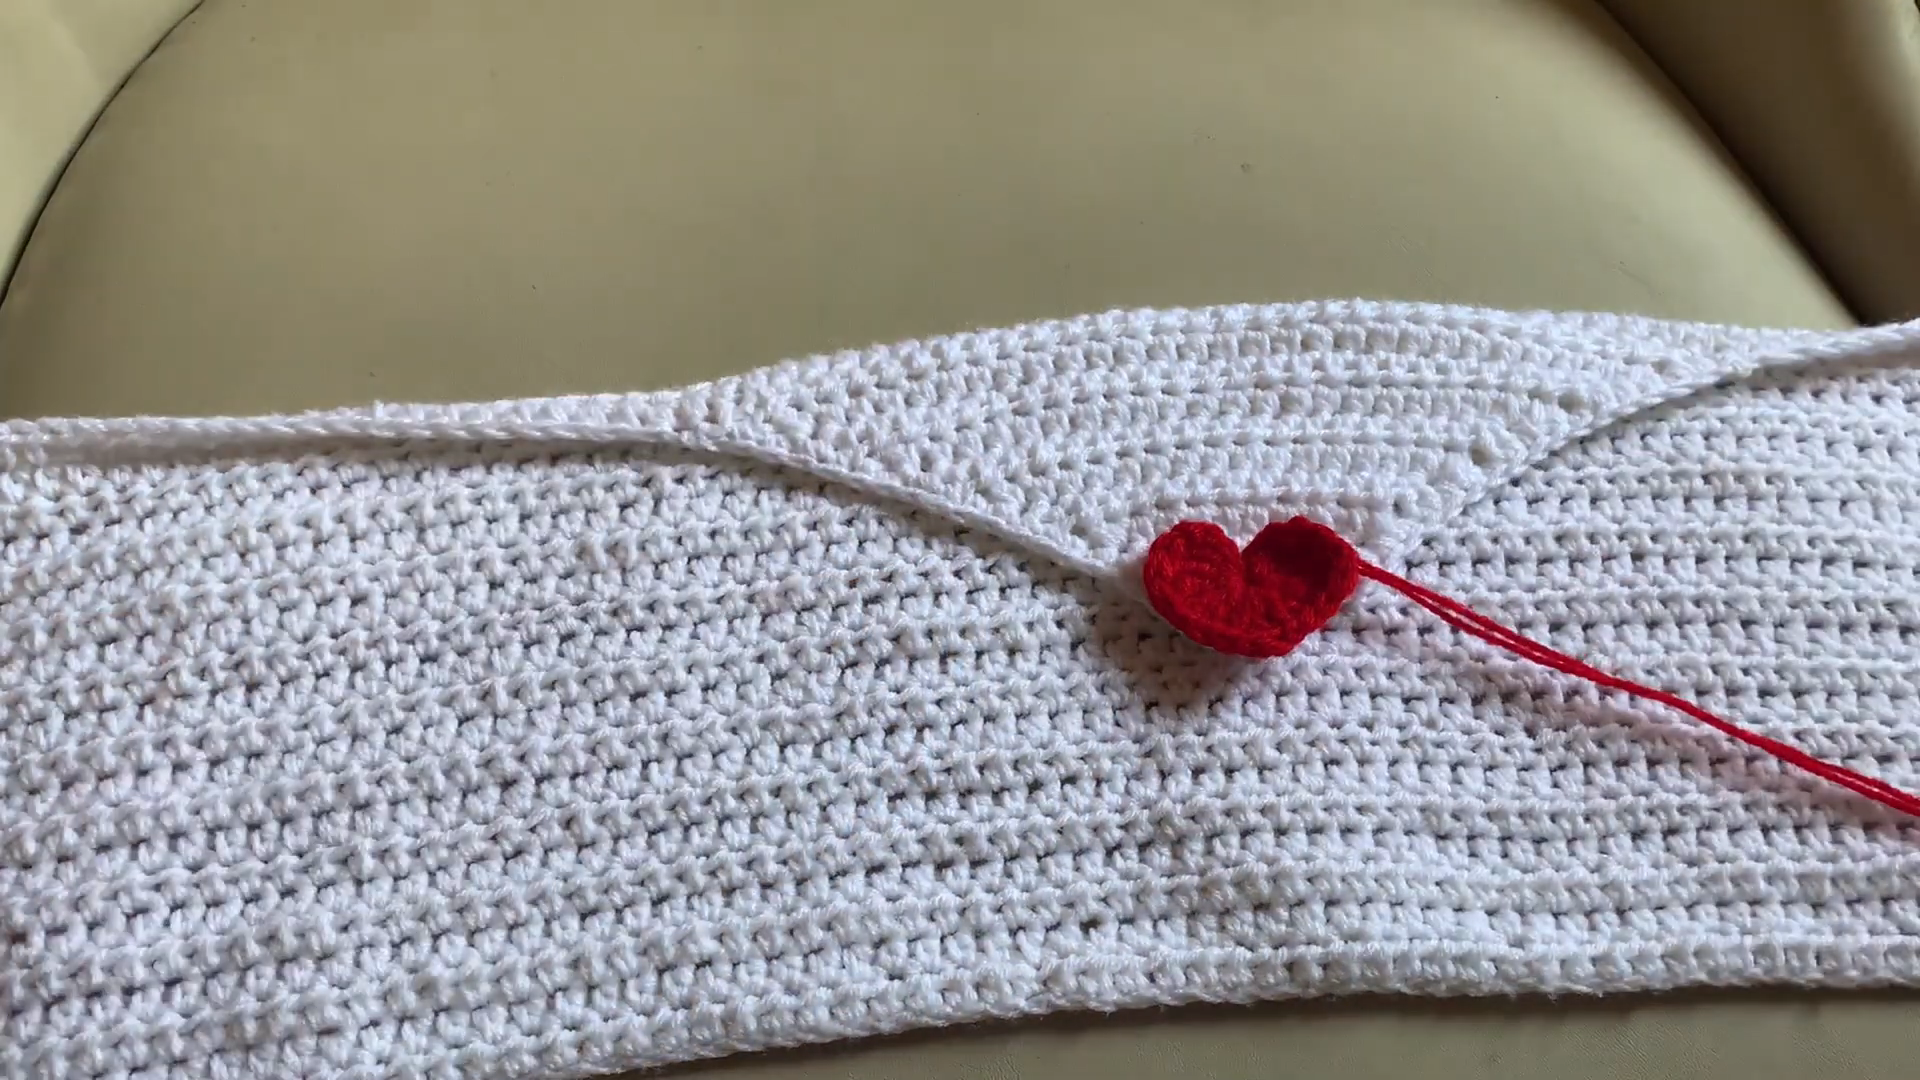
Continue working rows while gradually decreasing at the center point, allowing the fabric to fold inward and form the angled flap that gives the top its envelope look. Keep both sides even as you decrease so the flap doesn’t pull off-center.
Step 4: Crochet and Attach the Heart
Once your main panel is complete, crochet a small heart shape separately using red yarn, working just a few rounds or rows depending on your preferred size. Position the finished heart at the center point of the envelope flap and stitch it securely in place, weaving in any loose ends when finished.
Tips for a Cleaner Finish
- Count your decrease stitches carefully on both sides of the flap to keep it symmetrical.
- Try the top on partway through shaping to check where the flap sits before finishing.
- Keep your heart motif small and proportional so it doesn’t overpower the envelope shape.
- Block your finished panel lightly to help the folded flap lay flat and neat.
- Use a contrasting red that stands out clearly against your main color for the best visual effect.
Common Mistakes to Avoid
- Decreasing unevenly on one side of the flap, which throws off the envelope’s symmetry.
- Making the heart too large, which can make the design feel cluttered instead of clean.
- Skipping tension checks on the base rows, leading to a top that fits too snug or too loose.
- Rushing the flap shaping, which often results in a lopsided or puckered fold.
- Attaching the heart off-center, pulling attention away from the envelope’s intended focal point.
Ways to Customize This Top
- Swap the red heart for a different small motif, like a star or simple flower.
- Use a pastel color palette instead of classic white and red for a softer look.
- Add a thin trim along the flap’s edge for extra definition.
- Try a cropped length for a more modern, casual silhouette.
- Experiment with a contrasting yarn for the flap itself instead of matching the main body.
Frequently Asked Questions
Q: Is this pattern suitable for someone who has never shaped a garment before?
A: The main body is beginner-friendly, though the flap shaping is a good next step once you’re comfortable with basic decreasing.
Q: Can I make the heart a different color to match my outfit?
A: Absolutely, the heart is a small, flexible detail that works well in almost any contrasting shade you choose.
Q: What yarn weight gives the best structure for the envelope flap?
A: Medium weight yarn tends to hold the folded shape best without becoming too stiff or too floppy.
Q: How do I keep the flap from curling instead of lying flat?
A: Blocking the finished piece and keeping even tension throughout the shaping rows both help the flap sit smoothly.
Q: Is this top considered a good gift-making project?
A: Its sweet, symbolic design makes it a popular choice for handmade gifts, especially for anniversaries or thoughtful occasions.
Final Thoughts
This Crochet Love Letter Envelope Top pattern proves that a small design idea, like folding fabric to resemble a sealed note, can turn a basic Crochet Love Letter Envelope Top project into something with real meaning. From the first foundation row to the carefully placed heart, every step contributes to a piece that feels personal rather than generic. Whether you make it for yourself or as a heartfelt handmade gift, this pattern offers a satisfying blend of simple technique and creative storytelling in every stitch.