Crochet White Bunny Amigurumi Pattern with Long Ears
Overview
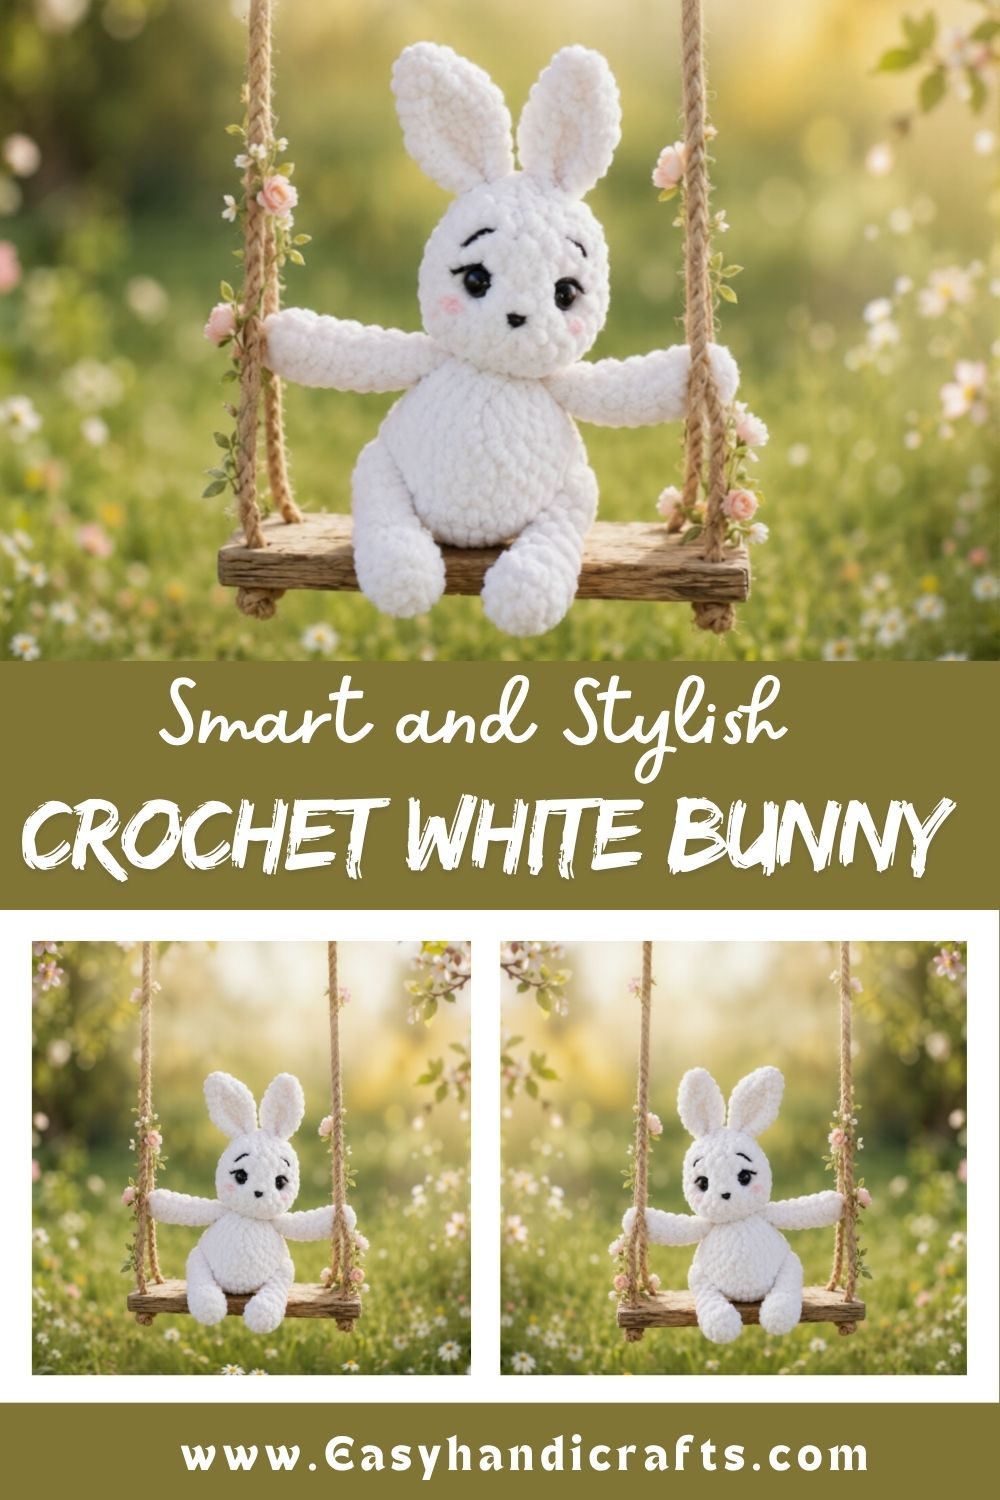
This pattern walks through five main pieces: legs, arms, ears, and a combined body-and-head section. Each part uses single crochet stitches worked in continuous rounds, so no slip stitches or joins interrupt the flow. Stuffing happens gradually as you crochet, which keeps the shape rounded instead of lumpy. Safety eyes get inserted partway through the head, and black cotton yarn finishes the face with embroidered details afterward.
Grab a comfortable chair and good lighting before starting, since amigurumi work rewards patience more than speed. Counting stitches at the end of each round saves frustration later, especially once increases and decreases start stacking up.
Skill Level
Beginner-friendly with a few intermediate touches. Anyone comfortable with magic rings, single crochet, increases, and invisible decreases can finish this bunny confidently, though first-timers may want to practice a swatch first.
Materials and Tools
Gathering supplies ahead of time keeps the project moving smoothly. Here’s everything needed:
- White plush yarn (Himalaya Dolphin Baby works beautifully for softness)
- Small amounts of black and white cotton yarn for facial embroidery
- 3.5 mm crochet hook
- Scissors
- 5 mm safety eyes
- Yarn needle
- Polyester stuffing
- Stitch marker
Quality yarn genuinely changes how the finished bunny feels in hand, so plush or velvet-style yarn is worth the extra cost here.
Abbreviations Used in This Pattern
Before diving into the stitches, reviewing the shorthand prevents confusion mid-round:
- MR – Magic Ring
- st/sts – stitch/stitches
- sc – single crochet
- Rnd/Rnds – round/rounds
- inc – increase (2 sc worked into one stitch)
- dec – invisible decrease (2 stitches crocheted together through front loops only)
- ( ) – repeat instructions inside the brackets
- [ ] – total stitch count for that round
Important Notes Before You Begin
Finished size lands around 14 cm (5 inches) when using the materials listed above, though yarn weight, hook size, and personal tension can shift that number slightly. Marking the last stitch of every round with a stitch marker prevents lost placement, particularly once the head shaping starts. Stuffing firmly but not aggressively keeps body parts looking rounded rather than stiff or misshapen.
Step-by-Step Guide
Legs (Make Two)
Work with white yarn, stuffing lightly starting at round 4.
- Rnd 1: Chain 4. Starting from the second chain from the hook, work inc, 1 sc, then 4 sc into the same loop. Continue along the opposite side of the chain with 3 sc. [10]
- Rnd 2: 10 sc [10]
- Rnd 3: 3 sc, 2 dec, 3 sc [8]
- Rnd 4: 2 sc, 2 dec, 2 sc [6]
- Rnds 5–7: 6 sc for three rounds [6]
Fold the leg flat and crochet 3 sc through both layers to close it. Fasten off, leaving a tail for weaving in.
Arms (Make Two)
Work with white yarn. Leave these unstuffed for a soft, floppy feel.
- Rnd 1: 6 sc in MR [6]
- Rnds 2–7: 6 sc for six rounds [6]
Fold flat and crochet 3 sc through both layers. Fasten off and weave in ends.
Ears (Make Two)
Skip stuffing here too, since floppy ears suit the bunny’s soft look best.
- Rnd 1: 6 sc in MR [6]
- Rnd 2: 6 sc [6]
- Rnd 3: (1 sc, inc) repeated 3 times [9]
- Rnd 4: (2 sc, inc) repeated 3 times [12]
- Rnd 5: 12 sc [12]
- Rnd 6: (2 sc, dec) repeated 3 times [9]
- Rnd 7: 9 sc [9]
- Rnd 8: (1 sc, dec) repeated 3 times [6]
Fold flat and crochet 3 sc through both layers. Fasten off, leaving a long tail for sewing. Attach the ears to the top of the head later, positioning them between rounds 20 and 21.
Body and Head
Begin with the body, stuffing continuously as rounds build up.
- Rnd 1: 6 sc in MR [6]
- Rnd 2: 6 inc [12]
- Rnd 3: (1 sc, inc) repeated 6 times [18]
- Rnd 4: (2 sc, inc) repeated 6 times [24]
- Rnd 5: 24 sc [24]
Attach the legs here. Position them facing forward before securing.
- Rnd 6: 5 sc, 3 sc through the left leg, 8 sc, 3 sc through the right leg, 5 sc [24]
- Rnd 7: 24 sc [24]
- Rnd 8: (2 sc, dec) repeated 6 times [18]
- Rnd 9: 18 sc [18]
- Rnd 10: (1 sc, dec) repeated 6 times [12]
- Rnd 11: 12 sc [12]
Attach the arms next. Place a stitch marker at the center back beforehand, adjusting stitch placement slightly if needed so the arms sit evenly.
- Rnd 12: 2 sc, 3 sc through the left arm, 2 sc, 3 sc through the right arm, 2 sc [12]
Moving into the head shaping:
- Rnd 13: 12 inc worked into the front loops only [24]
- Rnds 14–17: 24 sc for four rounds [24]
- Rnd 18: (2 sc, dec) repeated 6 times [18]
Insert the safety eyes between rounds 17 and 18, spacing them 3 visible stitches apart for a friendly, symmetrical expression.
- Rnds 19–20: 18 sc for two rounds [18]
- Rnd 21: (1 sc, dec) repeated 6 times [12]
- Rnd 22: 6 dec [6]
Sew the remaining hole closed, fasten off, and weave in loose ends. Finish by embroidering the nose on round 16 using black cotton yarn, then add eyelashes and eyebrows for personality.
Usage Ideas
- Displayed on a nursery shelf or windowsill as a soft accent piece
- Bundled into a baby shower gift alongside a knit blanket
- Sold at craft fairs or online shops as a handmade keepsake
- Kept as a travel companion toy for toddlers
Helpful Tips
Counting stitches after every round catches mistakes before they multiply through later shaping. Stuffing small amounts at a time, rather than one large handful, keeps the surface smooth and avoids lumps. Working slightly tighter tension than usual hides stuffing better, particularly around the head where safety eyes sit close to the surface.
Customization and Variations
Swapping the white plush yarn for pastel pink, gray, or beige creates an entirely different bunny personality while keeping the same construction. Adding a small crocheted bow tie or flower behind one ear personalizes the toy further. Longer ears can be achieved by adding two or three extra rounds before the decrease sequence begins in round 6.
Common Mistakes to Avoid
- Skipping the stitch marker, which leads to lost round placement
- Overstuffing limbs, causing lumpy or stiff-looking joints
- Attaching safety eyes too early, before checking spacing against the nose position
- Rushing the fold-and-close step on legs, arms, and ears, which weakens the seam
Finishing Tips
Weaving in ends securely on both sides of the fabric prevents unraveling after repeated handling, especially for a toy meant for children. Brushing plush yarn gently with a soft brush after finishing fluffs up the texture and hides any uneven stitches. Steaming lightly, held a few inches away, can also relax stiff stitches without flattening the plush texture.
Gifting Ideas
Wrapping this bunny in tissue paper alongside a handwritten care tag makes a thoughtful baby shower or Easter gift. Pairing it with a small crocheted carrot or basket adds a playful seasonal touch for spring gifting.
Frequently Asked Questions
How much yarn does this bunny require?
A single skein of plush baby yarn typically covers the entire project, with extra available for future amigurumi pieces.
Can beginners really finish this Crochet White Bunny Amigurumi pattern?
Absolutely, since every piece uses basic single crochet with straightforward increases and decreases throughout.
What if my finished bunny turns out a different size?
Yarn weight, hook size, and tension all affect final measurements, so slight size differences are completely normal.
Do the ears need extra support to stand up?
No wire or extra stiffening is needed, since these ears are designed to hang softly for a relaxed, floppy look.
Conclusion
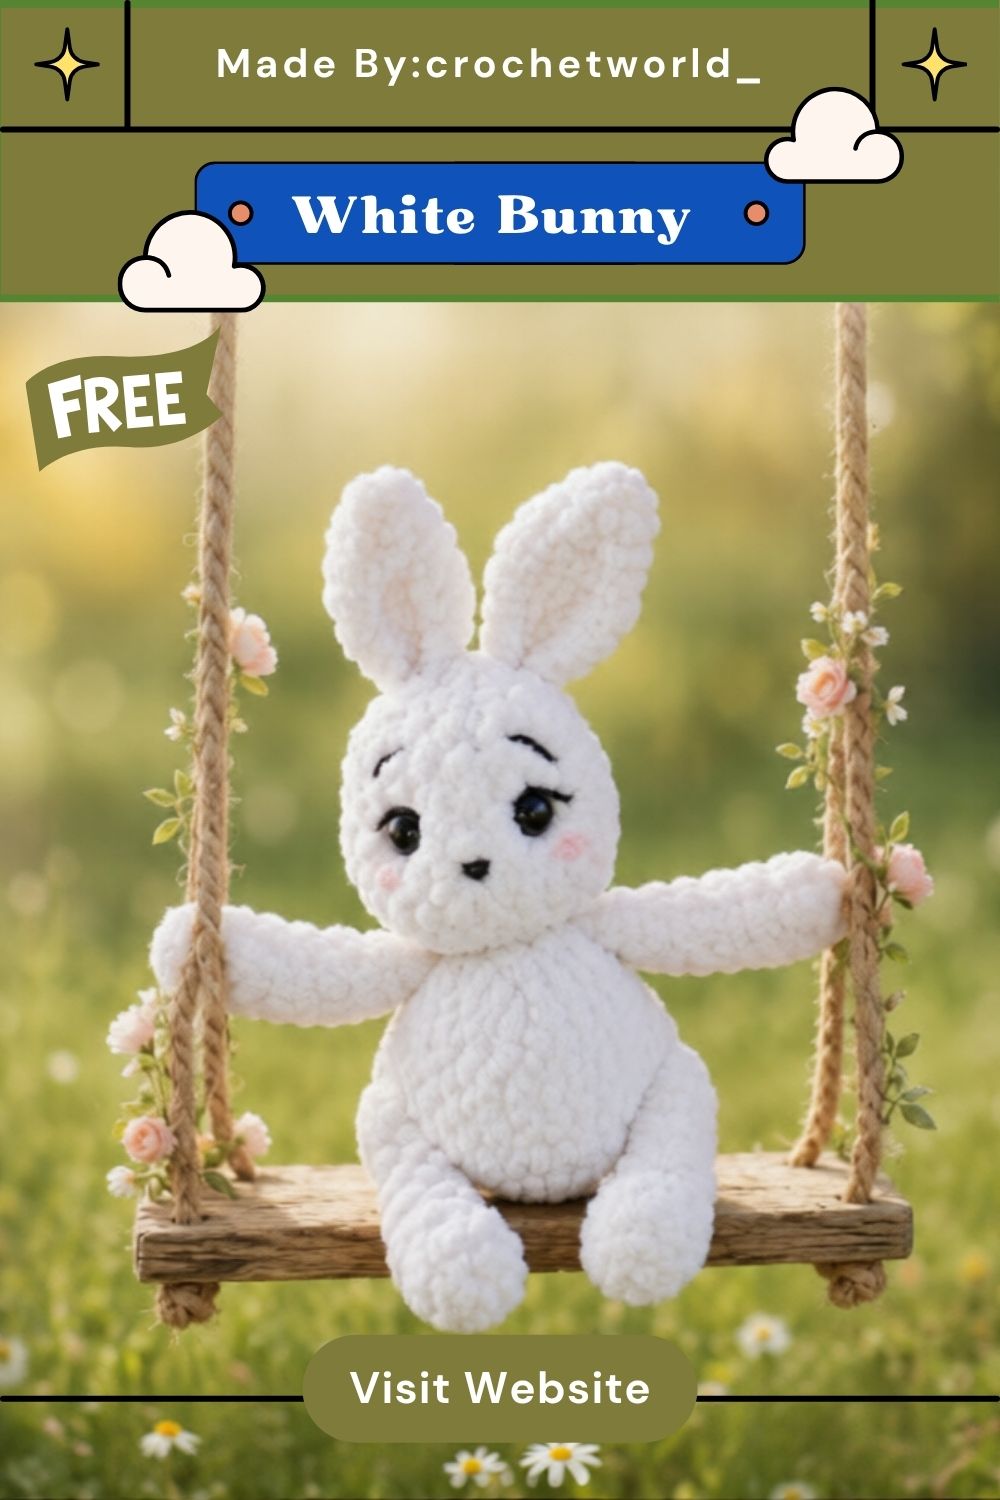
Building this crochet white bunny amigurumi delivers a rewarding project from the very first magic ring to the final embroidered eyebrow. Each piece, from the stubby legs to the long floppy ears, comes together into a soft, huggable companion perfect for gifting or keeping. Beginners gain confidence tackling increases and decreases, while experienced crafters enjoy a quick, satisfying weekend make. Whether displayed on a shelf or tucked into a baby gift basket, this bunny brings warmth and charm to any space it lands in.