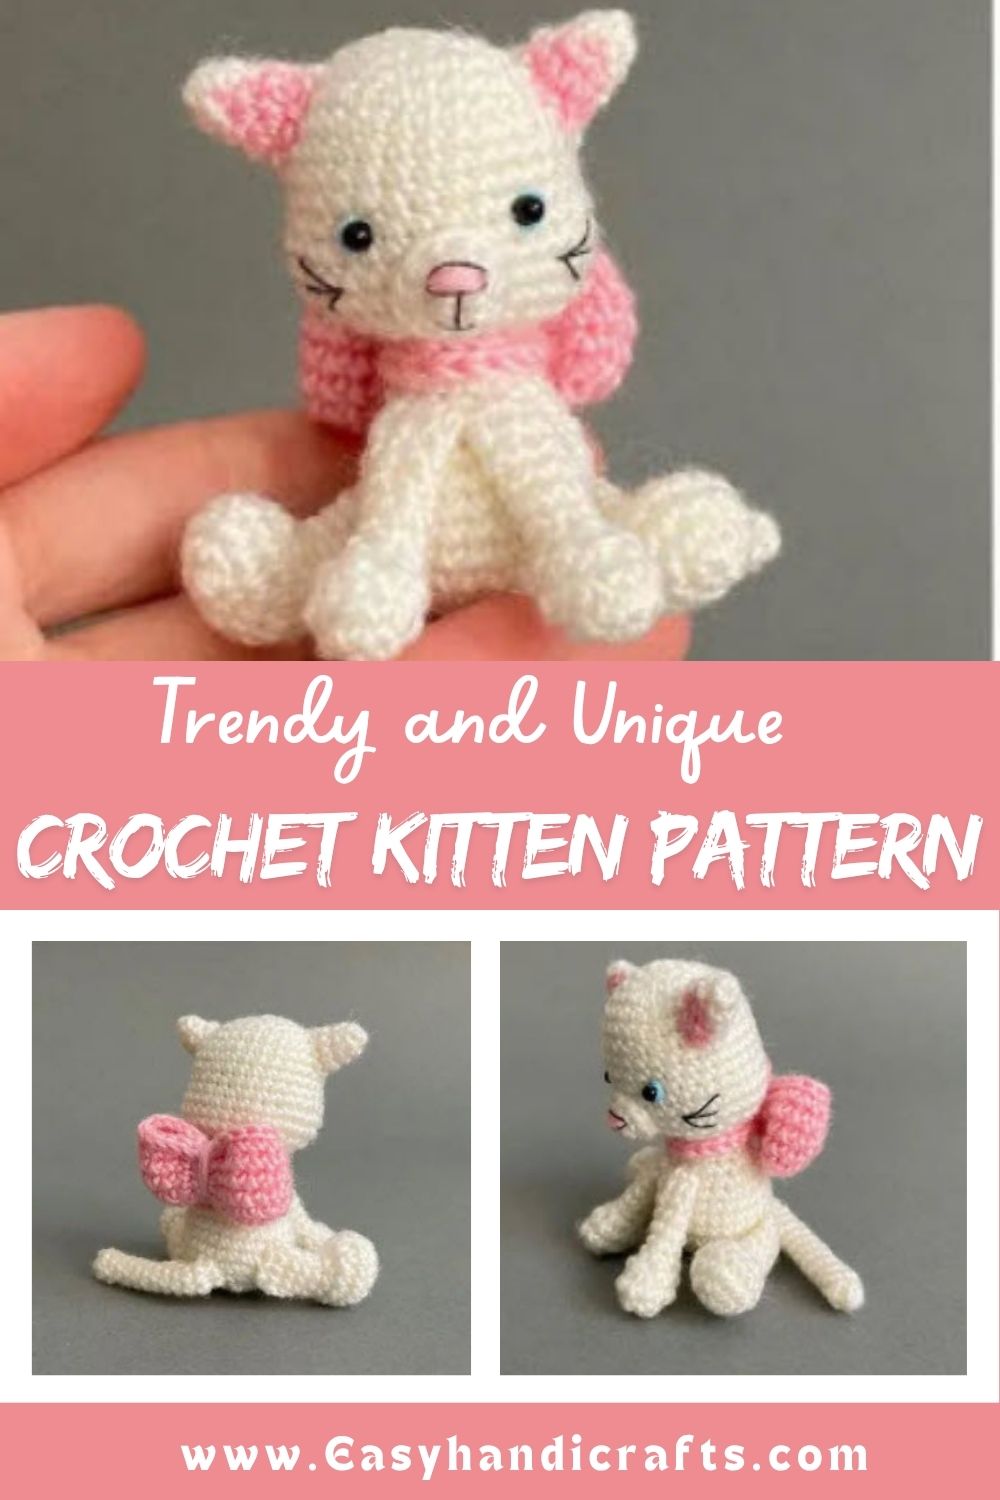
Free Crochet Kitten Amigurumi Pattern With Pink Bow Design
Skill Level
Trust me, this Free Crochet Kitten Amigurumi pattern suits confident beginners who know single crochet, increases, and decreases. Intermediate crocheters finish it fast, since shaping stays simple throughout the whole project.
Materials
- Yarn Vita Brilliant (45% wool, 55% acrylic, 380 m/100 g)
- Crochet hook size 1.5 mm
- Plastic eyes size 3 mm and glue
- Black embroidery floss
- Sewing needle and scissors
- Polyester fiberfill and a stick for stuffing
Finished size of the toy is about 6-7 cm.
Abbreviations
- MR – magic (amigurumi) ring
- ch – chain
- sc – single crochet
- inc – increase
- dec – decrease
- slst – slip stitch
Pattern Overview
Every part of this Free Crochet Kitten Amigurumi works in continuous spiral rounds, so stitch markers help track where each round begins. Rounds build from a magic ring, shape outward through increases, then taper with decreases to close each piece smoothly.
Instruction
Head (White)
- 6 sc in MR
- 6 inc (12)
- (1 sc, inc) x6 (18)
- (2 sc, inc) x6 (24)
- (3 sc, inc) x6 (30) 6-10. 30 sc (5 rounds)
- 4 sc, (1 sc, inc) x3, 9 sc, (1 sc, inc) x3, 5 sc (36) – increases mark the sides of the head 12-13. 36 sc (2 rounds)
- 4 sc, (1 sc, dec) x3, 9 sc, (1 sc, dec) x3, 5 sc (30)
- (3 sc, dec) x6 (24)
- 12 dec (12)
Secure the thread, cut it off, and weave in the ends. Stuff firmly.
Body (White)
- 6 sc in MR
- 6 inc (12)
- (1 sc, inc) x6 (18)
- (2 sc, inc) x6 (24)
- (7 sc, inc) x3 (27) 6-8. 27 sc (3 rounds)
- (7 sc, dec) x3 (24)
- (6 sc, dec) x3 (21)
- (5 sc, dec) x3 (18)
- (4 sc, dec) x3 (15)
- (3 sc, dec) x3 (12)
- 12 sc
Secure the thread, leaving a length for sewing. Stuff before closing.
Legs (Make 2, White)
- 6 sc in MR
- 6 inc (12)
- (1 sc, inc) x6 (18)
- 18 sc
- 6 dec, 6 sc (12)
- 3 dec, 6 sc (9) 7-9. 9 sc (3 rounds)
Stuff only the foot. Work 2 more sc, fold flat, then work 4 sc to close the opening. Cut the thread, leaving a length for sewing.
Arms (Make 2, White)
- 6 sc in MR
- 6 inc (12)
- 12 sc
- 4 dec, 4 sc (8)
- 2 dec, 4 sc (6) 6-9. 6 sc (4 rounds)
Stuff only the paw. Work 1 more sc, fold flat, then work 3 sc to close the opening. Cut the thread, leaving a length for sewing.
Ears
- White: 6 sc in MR
- White: 3 sc, Pink: 1 sc, White: 2 sc (6)
- White: 1 sc, inc, 1 sc, Pink: inc, 1 sc, White: inc (9)
- White: 2 sc, inc, 1 sc, Pink: 1 sc, inc, 1 sc, White: inc (12)
Leave white and pink thread ends for sewing.
Muzzle (White)
- 6 sc in MR
- (inc, 1 sc) x3 (9), slst
Cut the thread, leaving a length for sewing.
Tail (White)
- 6 sc in MR 2-13. 6 sc (12 rounds)
Cut the thread, leaving a length for sewing. Leave unstuffed.
Collar with a Bow (Pink, hook 2 mm)
Collar: Make 18 ch. Starting from the second stitch from the hook, work 17 slst along the chain. Cut the thread, leaving a length for sewing.
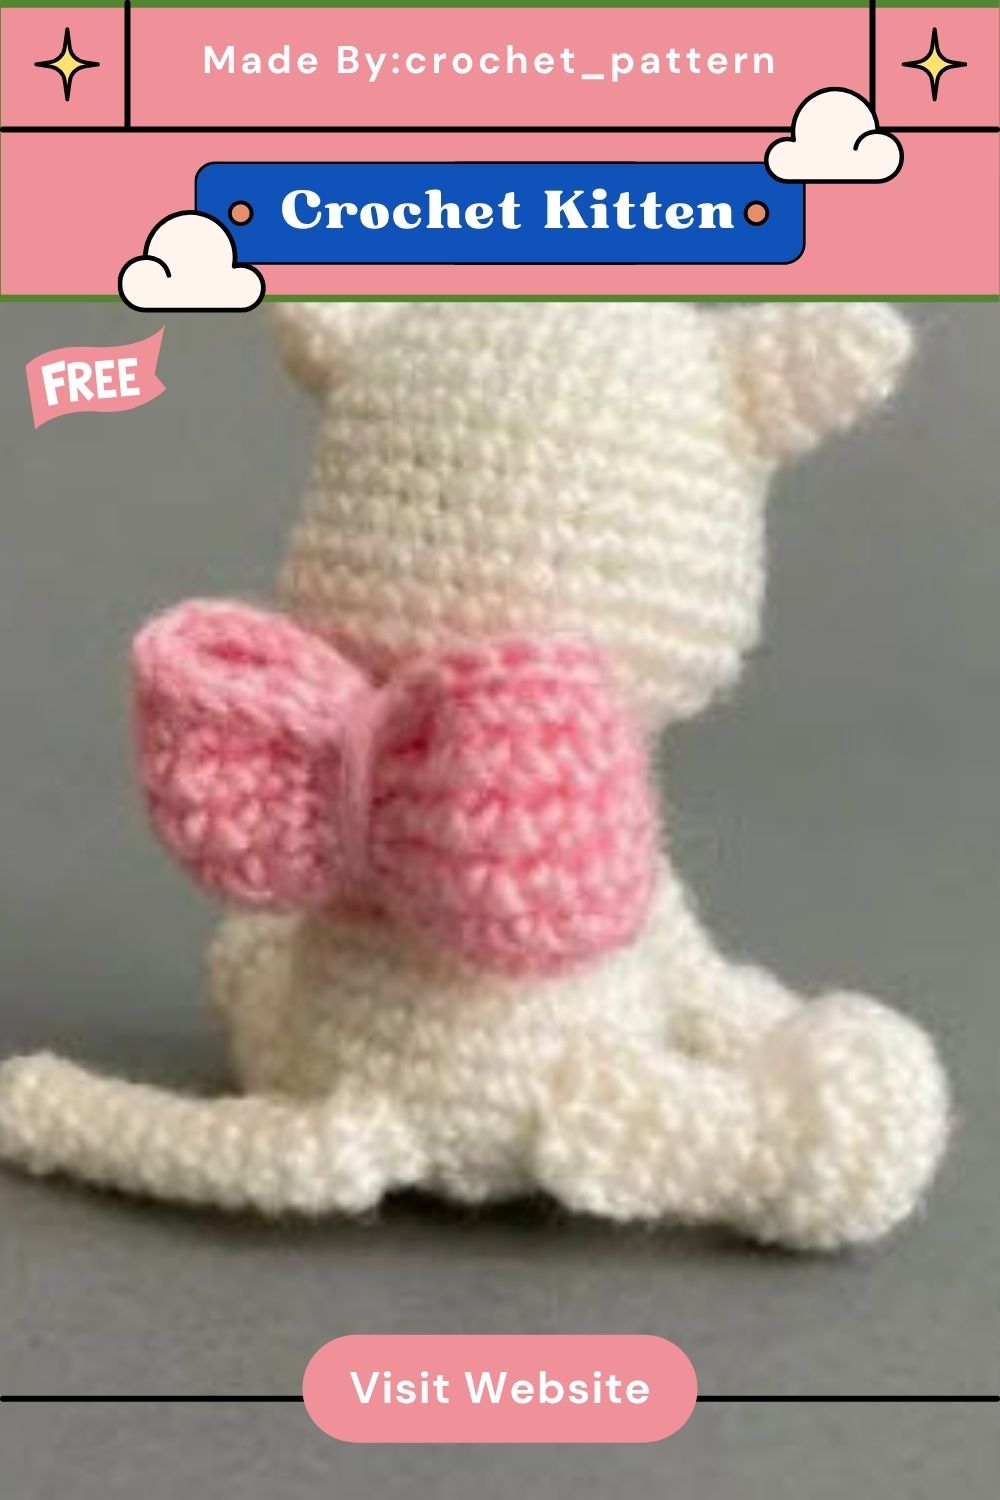
Bow: Make 25 ch, join into a circle with a slst. Work 5 rounds of 25 sc each in a spiral, then work the 6th round in 25 slst. Cut the thread, leaving a length for shaping the bow. Wrap the leftover thread around the center and tighten to form the bow shape. Secure the thread without cutting it off.
Special Techniques
Color changes on the ears need extra care, since pink and white sections shift within a single round. Carry the unused color loosely behind the stitches to avoid puckering, and always switch colors on the last yarn-over of the previous stitch for a clean transition.
Assembly
- Sew the ears onto rounds 4-7, matching thread color to each section.
- Glue the eyes between rounds 10-11, spacing them 6 sc apart.
- Sew the muzzle onto rounds 11-14, stuffing lightly as you go.
- Embroider the nose, whiskers (rounds 12-13, 3 sc wide), mouth, and optional blue eye accents.
- Sew the head onto the body.
- Pin and sew the legs onto rounds 3-6 on the body sides.
- Pin and sew the arms onto round 10 at the front.
- Sew the tail onto the back across rounds 3-5.
- Wrap the collar around the neck, sew the seam at the back, then attach the bow over it.
Customization and Variation
- Ngl, swapping the pink bow for a plaid ribbon gives the kitten a whole new personality.
- Try a tabby-style body using two shades of brown yarn worked in stripes.
- Use a slightly bigger hook and thicker yarn for a chunkier, huggable version.
- Add tiny paw pad stitches in a contrasting color for extra realism.
- Swap the collar bow for a small crocheted flower for a springtime look.
Common Mistakes
- Low-key, the most common slip-up is skipping stitch markers, which makes it easy to lose track of rounds.
- Overstuffing the head before attaching the muzzle can distort its shape.
- Rushing the color change on the ears often leaves visible gaps between shades.
- Gluing the eyes too far apart changes the kitten’s entire expression.
- Forgetting to leave long thread tails makes sewing pieces together much harder later.
Finishing Tips
- Real talk, steam-blocking the finished pieces lightly helps even out any uneven stitches.
- Brush the yarn gently with a soft pet brush for a fluffier texture.
- Trim any stray fibers around the face for a cleaner, more polished look.
- Double-check eye placement with pins before gluing for a symmetrical face.
- Weave in every yarn tail twice for extra durability during regular handling.
Where Can You Use This Case?
This little Free Crochet Kitten Amigurumi fits almost anywhere in a home or nursery. Place it on a bookshelf, tuck it into a gift basket, or use it as a charming desk companion. Its small size also makes it a sweet addition to a keychain, bag charm, or baby mobile.
Care Instructions
Keep the finished kitten away from direct sunlight to prevent the yarn colors from fading over time. Spot clean gently with a damp cloth and mild soap, avoiding full submersion since the fiberfill takes a long time to dry. Store it in a dry place, away from moisture, to keep its shape intact for years.
Gifting Ideas
- For real, this kitten makes a heartfelt baby shower gift, paired with a soft blanket.
- Pair it with a handwritten note for a thoughtful birthday surprise.
- Attach it to a bag as a charming everyday accessory for cat lovers.
- Wrap it with a matching bow ribbon for a polished holiday gift.
- Offer it as a housewarming gift for anyone who adores cats and cozy decor.
Conclusion
Kittens hold a permanent spot in the amigurumi world, and this pink-bow version adds a sweet, giftable twist to a classic favorite. Every stitch comes together quickly, leaving plenty of room for creative color swaps and personal touches. Keep this Free Crochet Kitten Amigurumi handy for baby showers, holidays, or a quiet weekend project that ends with an adorable new companion.