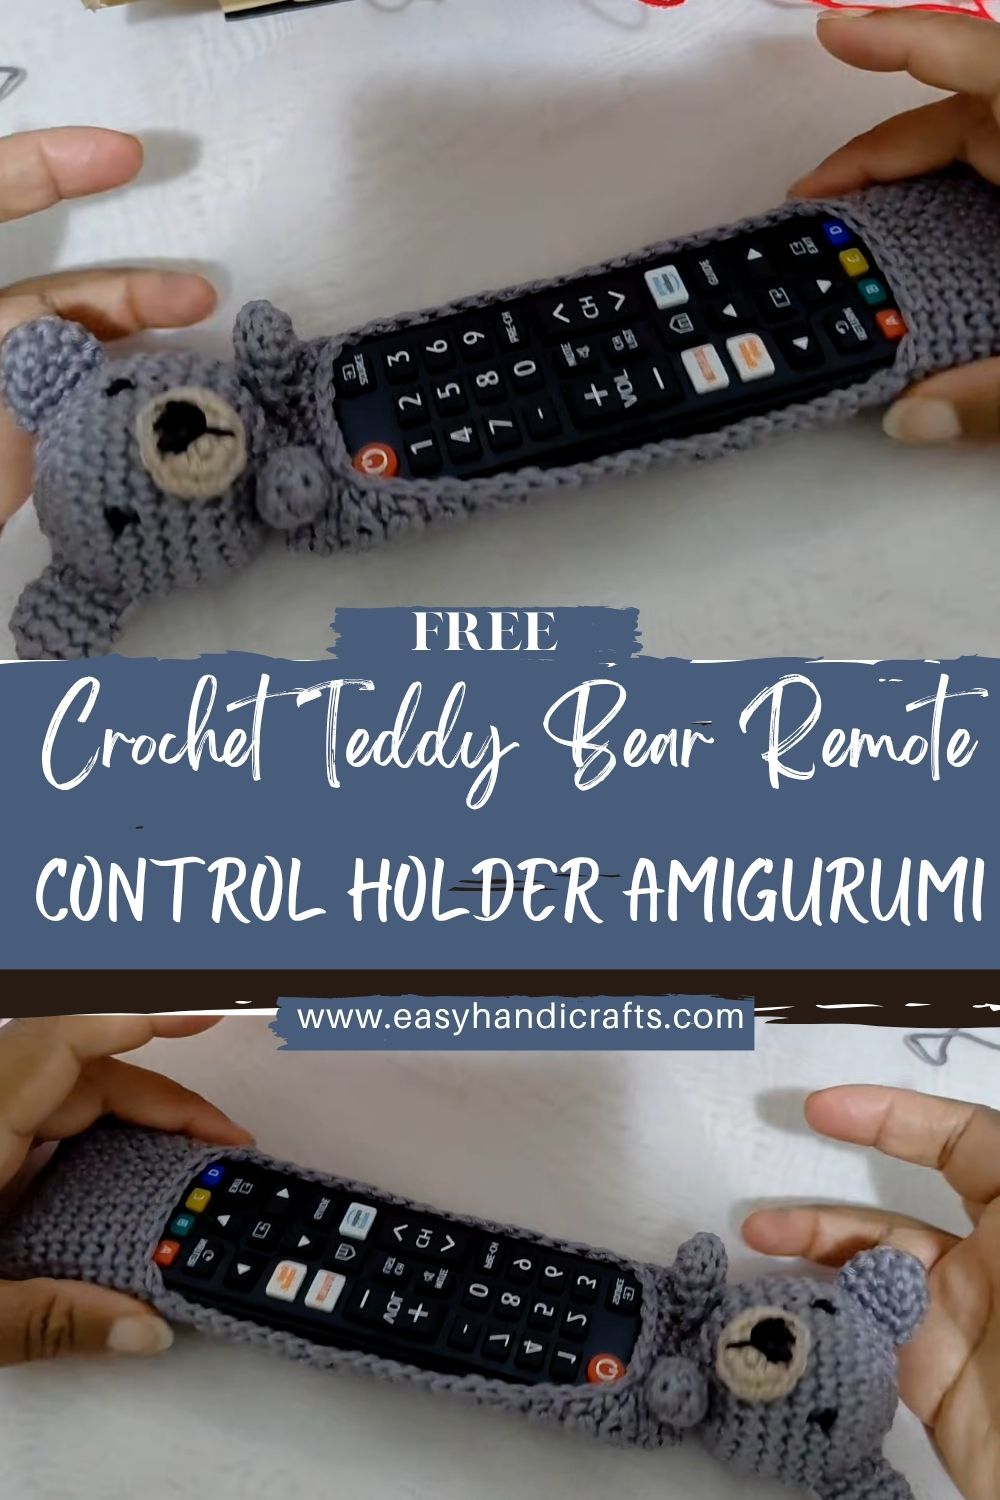
Sparkling Crochet Teddy Remote Control Holder Amigurumi Functional Pattern
Crocheting your own teddy bear remote control holder is one of those projects that’s equal parts cute and genuinely useful. If you’ve ever lost the remote between couch cushions (again), this functional amigurumi is about to become your new favorite thing.
Looking for a fun and functional way to keep your remote controls organized? Next time you pick up your hook, try making a crochet teddy bear remote-control holder instead of another plush that just sits on a shelf (although we love those, too).
What I adore about this project is how beginner-friendly it feels. First, you crochet a sturdy little “pocket body” that actually does the holding. Then you add the teddy bear details ears, arms, and a simple face so it looks like a cuddly bear giving your remote a hug. Meanwhile, you can easily adjust the size to fit your own remote, which makes the finished holder feel custom (because it is!).
So grab your yarn, get comfy, and let’s make something that’s both adorable and practical.
Materials Needed
- Yarn Type & Weight: Medium-weight yarn (worsted weight)
- Brown for the Bearr
- Optional accent colors for a bowtie/scarf or inner ears
- Hook Size: 3.5mm or 4mm crochet hook
- Safety Eyes: 10mm black safety eyes
- Stuffing: Polyester fiberfill
- Stitch Markers, Needle: For joining and finishing
- Optional: Keychain ring or hanging loop (if you want to hang it on a hook)
Skill Level
Difficulty: Beginner Easy
If you can do single crochet in the round and are comfortable sewing a few pieces together, you’re ready.
Making Time
Approximate time: 3–4 hours, depending on your crochet speed and how fussy you get with the face (I always spend “just one more minute” adjusting it).
Helpful Notes Before You Start
Stitches/abbreviations:
- MR = magic ring
- sc = single crochet
- inc = increase (2 sc in the same stitch)
- dec = decrease (use invisible decrease if you can)
- Work in continuous rounds unless noted.
Sizing tip (important for a remote holder):
Remotes vary widely, so I like to crochet the base and test-fit my remote early. You can always add a few rounds to make the pocket taller.
Step-by-Step Instructions
Part 1: Body (Pocket +Bearr Shape)
This is the main piece. Think of it as a soft tube with a stable base.
Step A: Start the Base
First, create a flat circle for the bottom.
- Round 1: MR, 6 sc (6)
- Round 2: inc around (12)
- Round 3: (sc, inc) around (18)
- Round 4: (2 sc, inc) around (24)
- Round 5: (3 sc, inc) around (30)
At this point, you should have a circle that resembles the bottom of a small cup. If your remote is wide, add one more increase round:
- Optional Round 6: (4 sc, inc) around (36)
Step B: Build the Pocket Walls
Next, we turn the circle into a tube.
- Round 6 (or 7 if you did the optional round): sc around in back loops only (this creates a nice “edge” and helps the base fold upward neatly).
- Then crochet sc around in both loops for several rounds until it’s tall enough.
Pocket height guide:
- For a short remote: 12–14 rounds of straight sc
- For a longer remote: 15–18 rounds
Meanwhile, keep sliding your remote in (carefully) to check the fit. The holder should feel snug, but not so tight that you have to wrestle the remote out.
Step C: dd Stuffing (Only Where Needed)
Here’s the trick that makes it work as a holder:
- Stuff the back and lower sides lightly so it stands up.
- Do not stuff the pocket area where the remote needs to slide in.
A simple way to do this is to add stuffing behind where the bear’s face will be, and concentrate more stuffing near the bottom so it feels stable.
Step D : inish the Top Edge
Once the pocket is tall enough:
- Crochet 1 round of sc evenly.
- Then fasten off and weave in your end.
You want the top to stay open, so don’t close it as you would a typical amigurumi body.
Part 2: Ears (Make 2)
Ears are quick, and they instantly make it look like a teddy.
- Round 1: MR, 6 sc (6)
- Round 2: inc around (12)
- Round 3: sc around (12)
Fasten off with a long tail for sewing. Later, lightly flatten the ears before attaching.
Attach the ears:
Sew them to the top front area (like a teddy head sitting on the pocket). I like placing them slightly to the sides rather than straight on top; it gives a softer, cuter look.
Part 3: Arms (Make 2)
The arms help sell the “bear hugging the remote” idea.
- Round 1: MR, 6 sc (6)
- Round 2: (sc, inc) around (9)
- Rounds 3–6: sc around (9)
- Lightly stuff the arms (optional), then flatten the opening and sew shut.
Fasten off, leave a long sewing tail.
Attach the arms:
Next, stitch them to the sides of the front pocket area, angled slightly inward, as if the Bearr is holding the remote.
Part 4: Face (Eyes + Nose + Smile)
Now the teddy gets its personality.
Step A Safety Eyes
Place 10mm safety eyes on the front, about 6–8 stitches apart (adjust based on your pocket width).
Before you lock the backs on, step back and check the vibe tiny changes make a big difference.
Step B NoSmileSmile
Using black yarn or embroidery thread:
- Stitch a small oval or triangle nose.
- Then add a short vertical line down and a gentle curved smile.
Finally, knot securely on the inside and weave in ends.
Special Features & Customization Ideas
Texture
- A slightly fluffy or velvet-style yarn makes the Bear look extra cuddly.
- Meanwhile, smooth worsted yarn gives cleaner stitches and is easier for beginners to see.
Accessories
This is where you can really have fun:
- A tiny bowtie at the front (classic teddy look)
- A little scarf (adorable and hides any sewing joins)
- A mini hat if you’re feeling playful
- Or add a hanging loop to the back if you’d rather store it on a hook than on the coffee table.e
Sizing Tips (So Your Remote Actually Fits)
- If your remote is wider, add another increase round to the base (up to 36 stitches).
- If your remote is taller, simply crochet more straight rounds for the pocket height.
- If you want a firmer holder, use a slightly smaller hook (3.5mm) for tighter stitches.
A quick test that helps: your remote should slide in smoothly, and the holder should stay upright when it’s on a table.
Finishing Tips (For a Neat, Long-Lasting Holder)
- Neat stitching: Keep tension even, en especially on the base circle.
- Secure shaping: Stuff mostly at the bottom and back so it stands nicely.
- Strong assembly: Sew ears and arms with multiple passes. These parts get grabbed the most.
Common Mistakes to Avoid
- Incorrect stitch count
If the base circle grows unevenly, the holder can wobble. Count at the end of each round—your future self will thank you. - Tight tension
If your stitches are too tight, the pocket won’t stretch enough for the remote. Relax your hands and let the hook do the work. - Stuffing the pocket
It’s tempting, but don’t do it. Stuffing belongs in the “bear body support area,” not in the space the remote needs.
Variations & Customization Ideas
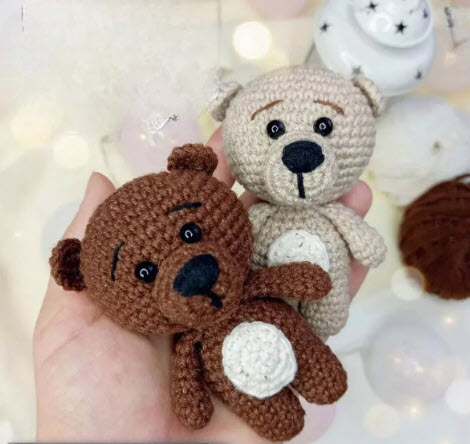
- Color changes: Make a creamy beige bear, a honey caramel bear, or even a pastel bear for a nursery.
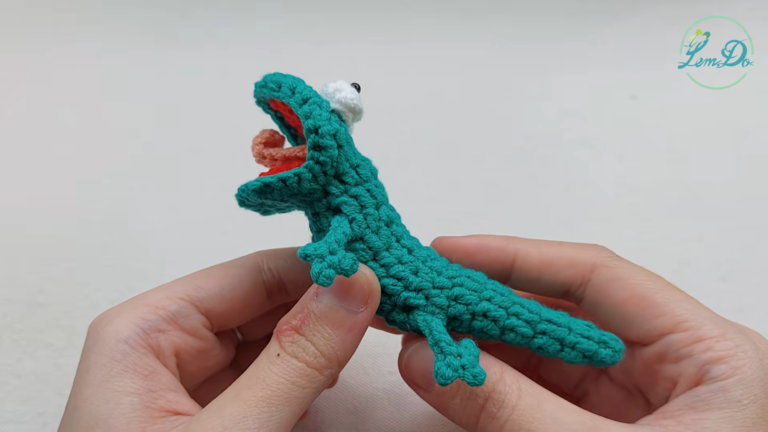
- Other animals: Use the same holder base and swap the details bunny ears, cat ears, frog eyes, or a little panda face.
- Size options: Make a smaller one for a TV remote and a bigger one for a game controller.
Tutor Suggestions (Beginner Tips)
Take it slowly and test-fit as you go. First, get the base size right because it determines how well the remote fits. Next, crochet the pocket height until it feels practical for your home. Later, when you sew on the ears and arms, pin them in place (or use stitch markers) before committing to this tiny step, as it saves a lot of time.
And if your first face looks a little “surprised,” don’t worry. Teddy’s face is forgiving, and a quick redo of smiles usually fixes everything.
Conclusion
Now you have a crocheted teddy bear remote control holder that’s not only cute, but also makes everyday life a bit easier. It’s the kind of project that looks charming on a side table, keeps remotes from wandering off, and quietly shows off your handmade skills at the same time.If you make one, try adding a bowtie or scarf in a bright color it’s such a small touch, but it makes the Bear feel extra special. Happy crocheting!