Adorable Crochet Cocoa Bear Amigurumi Pattern for Kids
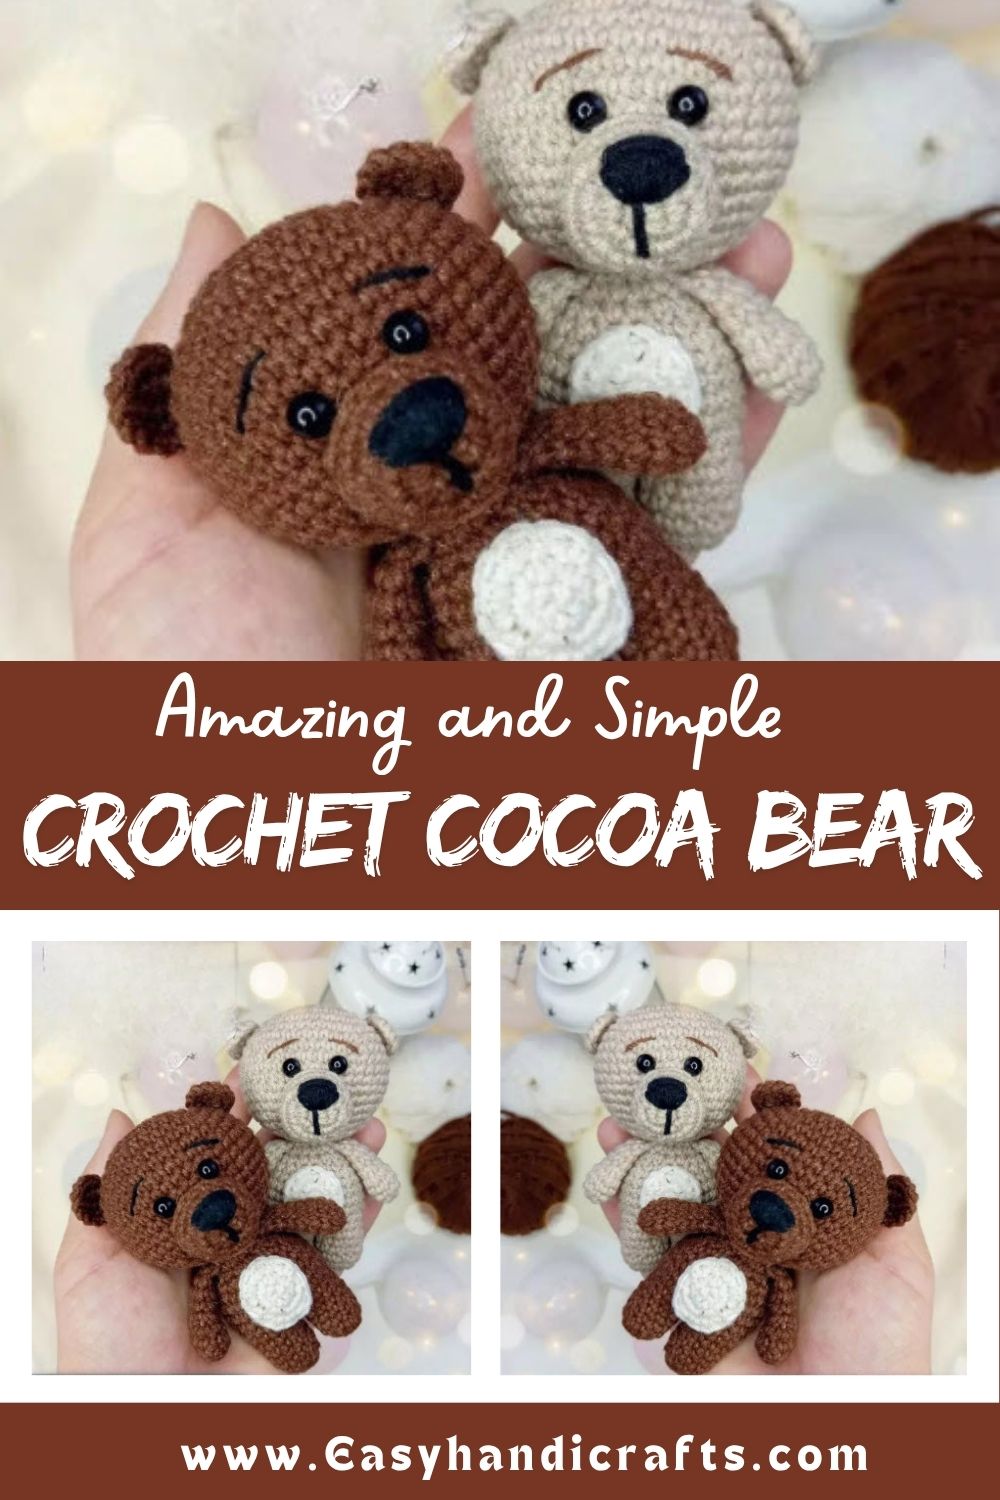
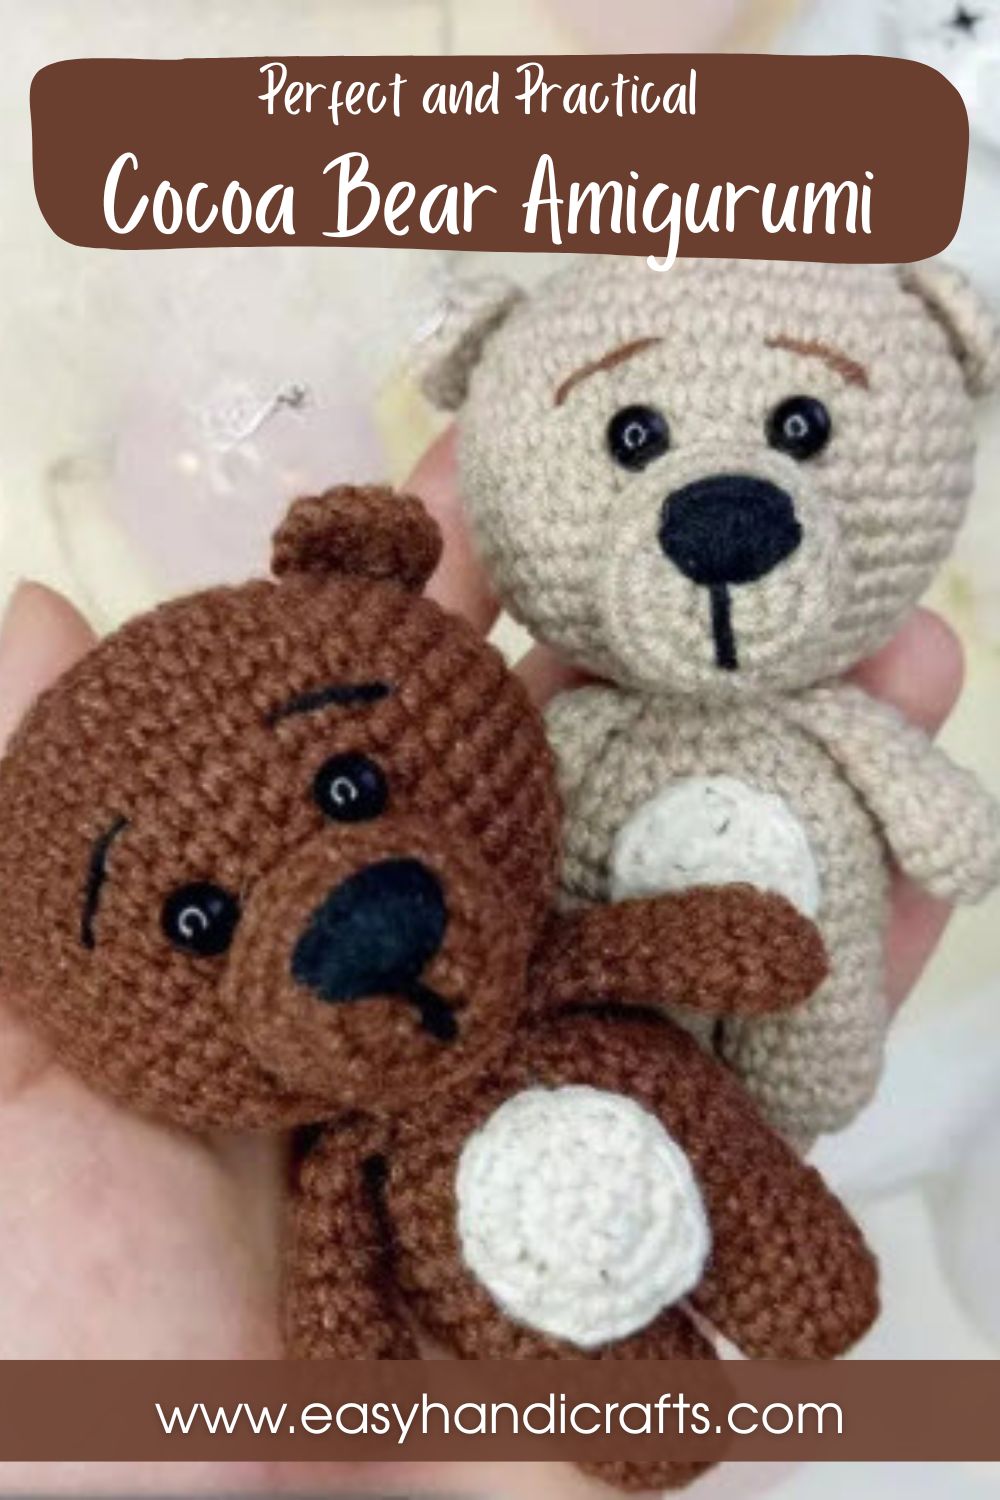
The Crochet Cocoa Bear Amigurumi, with its soft brown color, creamy belly, and innocent look, makes for a classic amigurumi project. It adds a charming touch to nursery, kids’ room, or baby shower decor, while also making a memorable handmade gift. Thanks to simple stitches and easy shaping, even beginner crocheters can complete it with confidence.
Sweater weather practically begs for a plush bear like Cocoa, and this pattern delivers real charm without any complicated shaping involved. Dark brown YarnArt Jeans forms the sturdy head, arms, and legs, while cream Cotton Gold Tweed builds a contrasting belly section without constant hook switching. Half-bead eyes and embroidered details add personality fast, so first-time amigurumi makers finish a huggable teddy within one cozy weekend, no fancy stitches required.
Why Beginners Will Enjoy This Crochet Cocoa Bear Amigurumi Pattern
Cocoa keeps every technique approachable while still producing a finished piece that looks intentional and polished. The repeated increase and decrease sequences build confidence round after round, and the separate small pieces, like the muzzle and ears, make troubleshooting easy without unraveling the whole project. Since the body pieces join directly without extra seams, first-timers get a satisfying, low-fuss finish that still feels like a real accomplishment.
Skill Level
Beginner-friendly with a few intermediate touches, Crochet Cocoa Bear Amigurumi suits crocheters comfortable with basic increases, decreases, and magic rings. Color changes stay minimal throughout, and assembly follows a clear, repeatable order.
Materials
Yarn:
- YarnArt Jeans: 70, dark brown (160m/50g)
- Alize Cotton Gold Tweed: 62, cream (330m/100g)
- Black embroidery thread
Tools:
- Hook 1.5–2 mm
- A needle for sewing pieces together
- Half-bead eyes 6 mm
- Scissors
- Stitch marker
- Fiberfill
Abbreviations:
- mr – magic ring
- ch – chain stitch
- sl st – slip stitch
- sc – single crochet
- inc – increase
- dec – decrease
- x n – repeat the section in brackets n times
- The number in brackets at the end of each round shows the total number of stitches
Pattern Overview
- A rounded head worked in dark brown yarn, shaped with gradual increases before tapering down for stuffing
- A small contrasting muzzle crocheted separately and sewn onto the face
- Two simple arms left unstuffed for a soft, flexible finish
- Two half-round ears attached along the sides of the head
- A cream belly patch that adds a soft color contrast against the brown body
- A pair of matching legs joined directly into the body for a seamless silhouette
- A rounded body shaped through gradual increases and decreases, with arms attached mid-round
- A tiny rounded tail finishing the back view
Special Techniques
- The head starts from a chain rather than a magic ring, giving it a slightly oval base shape
- One ear round is left intentionally unfinished, which keeps that curved edge natural against the head
- The second leg flows directly into the body without fastening off, keeping the join seamless
- Arms get flattened and closed with a simple stitch pattern instead of a standard decrease round, which keeps them slim and poseable
Common Mistakes
- Skipping the stitch marker on multi-round sections, which makes it easy to lose track of where a round begins
- Overstuffing the arms, even though the pattern calls for them to stay soft and unstuffed
- Attaching the ears too high or too low instead of keeping them around rounds 5–7 of the head
- Rushing the muzzle placement before checking how it sits against the face shape
- Forgetting to leave long tails after fastening off, which makes sewing pieces together much harder later
Helpful Beginner Tips
- Count stitches after every round for the first few projects until increases and decreases feel natural
- Keep a small notepad or app open to track which round you’re on, especially during longer straight sections
- Pin pieces in place with stitch markers before sewing so the final look matches your vision
- Work with a slightly tighter tension than usual so stuffing doesn’t peek through the stitches
- Test the arm placement by holding pieces against the body before committing to permanent stitches
Assembly
- Sew the head to the body securely, checking that it sits centered and upright
- Sew the ears onto the sides of the head, roughly along rounds 5 through 7
- Attach the muzzle across rounds 10 through 16 of the head, stuffing it lightly before closing
- Glue the half-bead eyes into place once the muzzle position feels balanced
- Embroider the nose using black thread for a crisp, defined finish
- Sew the cream belly patch onto the front of the body for contrast
- Attach the tail around rounds 2–3 of the body for a natural resting position
Full Pattern
Head
Use dark brown yarn. Ch 7
Rounds
Rnd 1: start in the 2nd ch from the hook – 5 sc, 3 sc in the same stitch, 4 sc, inc (14)
2: inc, 4 sc, 3 inc, 4 sc, 2 inc (20)
3: inc, 6 sc, 2 inc, 1 sc, inc, 6 sc, 2 inc, 1 sc (26)
4: inc, 8 sc, inc, (1 sc, inc) x 2, 8 sc, (inc, 1 sc) x 2 (32)
5: inc, 10 sc, inc, 4 sc, inc, 10 sc, inc, 4 sc (36)
6: inc, 12 sc, inc, 4 sc, inc, 12 sc, inc, 4 sc (40)
7–12: 40 sc (40) – 6 rounds
13: 4 sc, dec, 12 sc, dec, 4 sc, dec, 12 sc, dec (36)
14: 4 sc, dec, 10 sc, dec, 4 sc, dec, 10 sc, dec (32)
15: 4 sc, dec, 8 sc, dec, 4 sc, dec, 8 sc, dec (28)
Begin stuffing the head.
16: 3 sc, dec, 8 sc, dec, 3 sc, dec, 6 sc, dec (24)
17: dec, 1 sc, 2 dec, 2 sc, 2 dec, 1 sc, 2 dec, 4 sc, dec (16)
Stuff the head to the end so that it keeps its shape well. Fasten off, leaving a long tail for sewing the head to the body.
Muzzle
Use dark brown yarn.
1: 6 sc in a mr
2: 6 inc (12)
3: (1 sc, inc) x 6 (18)
4–5: 18 sc (18) – 2 rounds
Fasten off, leaving a long tail for sewing the muzzle to the head.
Arms (make 2)
Use dark brown yarn.
1: 5 sc in a mr
2: 5 inc (10)
3–4: 10 sc (10) – 2 rounds
5: (3 sc, dec) x 2 (8)
6–7: 8 sc (8) – 2 rounds
8: 1 sc, dec, 2 sc, dec, 1 sc (6)
Do not stuff the arms. Flatten the top and make 3 sc, 1 sc into each pair of stitches. Fasten off and weave in the yarn end. We are going to crochet arms to the body.
Ears (make 2)
Use dark brown yarn.
1: 6 sc in a mr
2: 5 inc (10) the round is unfinished, there is one stitch left.
Fasten off, leaving a long tail for sewing.
Belly
Use cream yarn. Ch 3
1: start in the 2nd ch from the hook 1 sc, 3 sc in the same stitch, inc (6)
2: 6 inc (12)
3: inc, 2 sc, 4 inc, 2 sc, 3 inc (20)
In the last round finish crocheting with a sl st. Fasten off and leave a tail for sewing.
Legs (make 2)
Use dark brown yarn.
1: 6 sc in a mr
2: 6 inc (12)
3–6: 12 sc (12) – 4 rounds
First leg – fasten off at the end of the 6th rnd. Second leg do not fasten off, continue crocheting the body.
Body
In the next round, join the legs together. Continue crocheting with dark brown yarn.
1: 12 sc on the first leg, 12 sc on the second leg (24)
2: (11 sc, inc) x 2 (26)
3: 6 sc, inc, 12 sc, inc, 6 sc (28)
4–6: 28 sc (28) – 3 rounds
7: (5 sc, dec) x 4 (24)
8: 2 sc, dec, (4 sc, dec) x 3, 2 sc (20)
Begin stuffing the body.
9: (3 sc, dec) x 4 (16)
In the next round, we are going to attach the arms. Put the arm on the sides and see where it is better to attach them. Because of everyone’s different crocheting tension, you may have a different pattern for the next round. I got it as follows:
Rnd 10: 4 sc, 3 sc with one arm, 4 sc, 3 sc with another arm, 2 sc (16)
Fasten off and weave in the yarn ends.
Tail
Use dark brown yarn.
1: 6 sc in a mr
2: 6 sc (6)
Fasten off, leaving a long tail for sewing.
Important Remarks
- Arm placement in Rnd 10 of the body may shift slightly depending on individual tension, so treat the given stitch count as a guide rather than a fixed rule
- Keep tails long enough on every piece since sewing accuracy depends heavily on having enough yarn to work with
- Stuff the head firmly before closing the final round to avoid a lopsided shape once assembly is complete.
Conclusion
Cocoa turns a handful of simple rounds into a bear with real charm, proving that beginner-level amigurumi doesn’t have to look basic. Between the contrasting belly patch, soft unstuffed arms, and expressive embroidered face, every finished bear ends up with its own personality. Keep this Crochet Cocoa Bear Amigurumi pattern handy for baby showers, birthday gifts, or a cozy addition to a child’s shelf.