Crochet Mangosteen Amigurumi Pattern for Fruit Collections
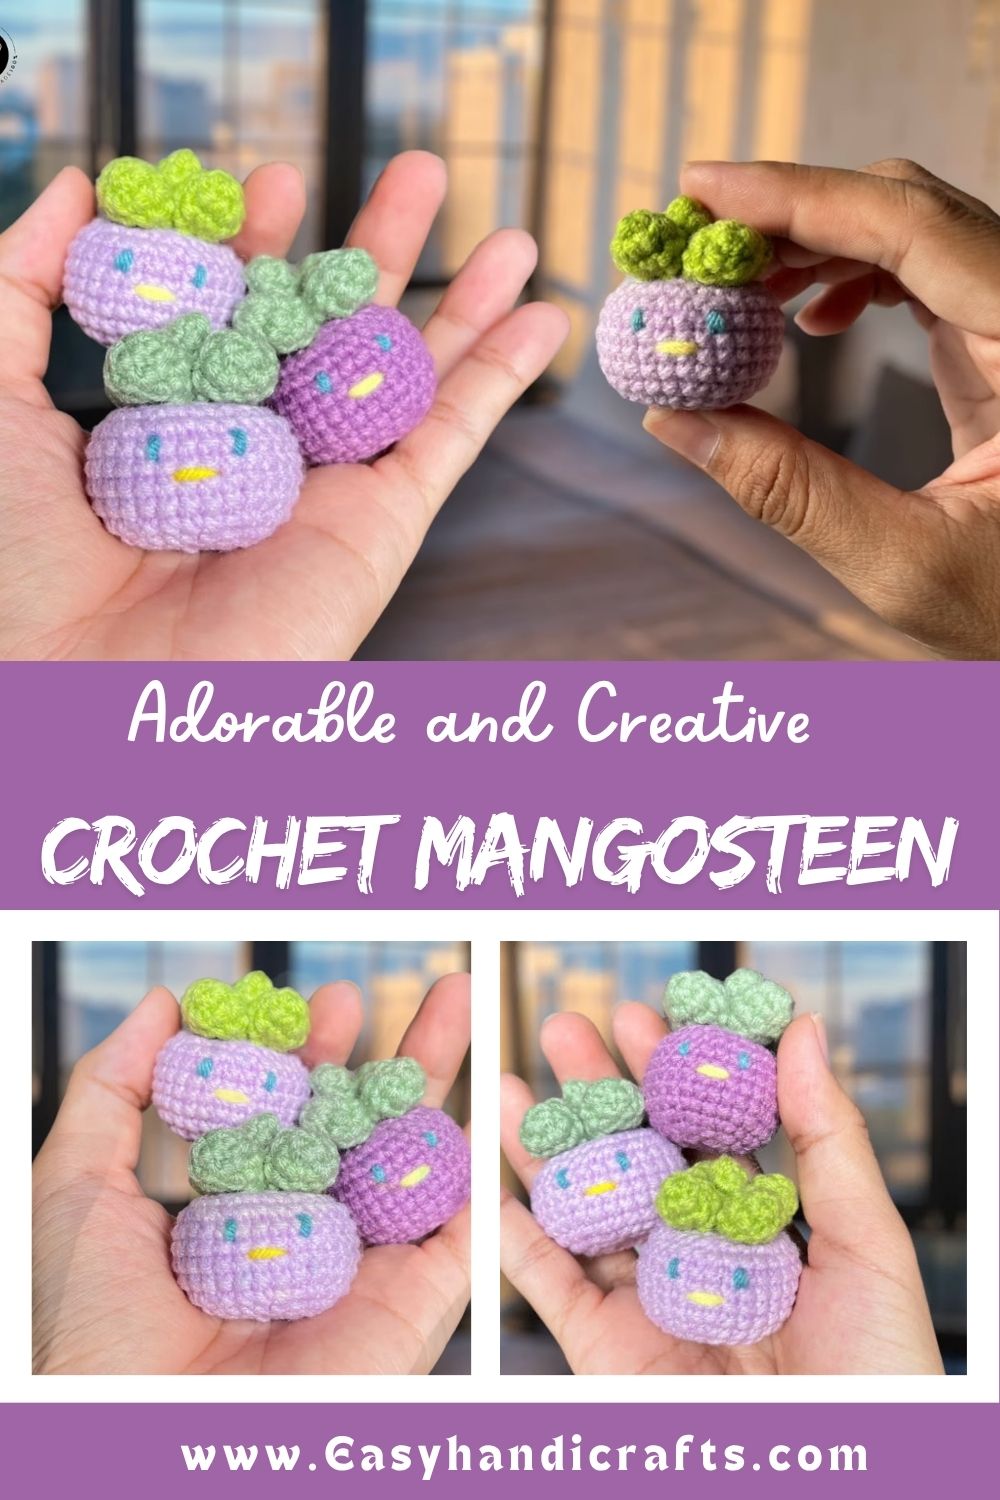
Skill Level
Beginner-friendly. This pattern uses foundational amigurumi techniques, so anyone comfortable with single crochet and basic increases can complete it without trouble. No complex stitch combinations, no tricky color transitions just clean, repeatable rounds.
Materials and Supplies List
Gathering the right supplies first makes the whole process smoother.
- Yarn colors: Deep purple (main body), soft green (stem cap), small amount of white or cream (optional inner detail)
- Crochet hook: 2.5mm or 3mm hook, depending on yarn weight
- Safety eyes: 6mm black safety eyes (optional, for a cute face)
- Stuffing: Polyester fiberfill, enough for a small to medium round shape
- Needle and scissors: Yarn needle for sewing, sharp scissors for trimming ends
- Extra accessories: Keychain ring, bag clip, or small ribbon for finishing touches
Crochet Techniques Used
This mangosteen pattern relies on four core amigurumi skills:
- Magic ring – starts each piece with a tight, gap-free center
- Single crochet – builds the main body fabric round by round
- Increase and decrease – shapes the round mangosteen body and tapers the stem cap
- Sewing parts together – joins the cap, legs, and any extra details to the main body
Real talk, mastering these four techniques opens the door to almost every amigurumi fruit pattern out there.
Step-by-Step Crochet Pattern Instructions
Making the Head and Body
Mangosteen amigurumi combines the head and body into one round shape, since real mangosteens are naturally spherical.
- Start with a magic ring, working 6 single crochets into it.
- Increase every round until the circle reaches your desired width (usually 5–6 rounds).
- Work several rounds even, without increasing, to build the rounded belly.
- Begin decreasing gradually to close the bottom half of the sphere.
- Stuff firmly before closing the final rounds completely.
Keep tension consistent throughout. Loose stitches let stuffing peek through, and nobody wants that.
Crocheting the Stem Cap
The stem cap gives mangosteen its signature look, so take your time here.
- Switch to green yarn and start a new magic ring with 5–6 single crochets.
- Work one flat round without increasing.
- Add small pointed leaves around the edge using single crochet and chain stitches, or simple triangle shapes.
- Leave a long yarn tail for sewing.
Adding Accessories or Tail Details
Some crocheters like adding a tiny felt leaf, a small bow, or a mini keychain loop at this stage.
- Attach a keychain ring underneath the stem cap for a bag charm version
- Add a short crochet chain as a hanging loop
- Sew on a small pom-pom for a playful twist
Facial Details
Facial details turn a simple fruit shape into a character.
- Place safety eyes a few rounds down from the stem cap, spaced evenly apart.
- Embroider a small smile using black or dark thread.
- Add tiny cheek blushes using pink thread or pastel marker for extra charm.
Assembly Process
Assembly ties every piece into one finished mangosteen.
- Position the stem cap on top of the rounded body.
- Pin it in place before sewing to check placement.
- Sew around the edge using a whip stitch or mattress stitch for a clean seam.
- Weave in any remaining yarn tails through the body.
Finishing Touches
Finishing touches make the difference between a good amigurumi and a great one.
- Trim stray yarn fibers for a neat look
- Fluff the stitches gently with a needle to hide gaps
- Steam-block lightly if the shape looks uneven
- Attach keychain hardware or a ribbon loop as a final step
Helpful Beginner Tips
Amigurumi rewards patience more than speed, so these tips help along the way.
- Keep stitches tight. Loose tension lets stuffing show through the fabric.
- Use stitch markers. Mark the beginning of each round so you never lose track of increases or decreases.
- Stuff evenly. Add small amounts of stuffing gradually instead of one large clump, so the shape stays smooth and round.
- Count rounds carefully. Amigurumi shaping depends on accurate round counts for a symmetrical result.
No joke, stitch markers alone save hours of frustration for new crocheters.
Design Customization Ideas
This mangosteen pattern adapts easily once the base shape feels familiar.
- Different colors: Try a pastel purple, deep magenta, or even a rainbow fruit set alongside other amigurumi fruits
- Cute accessories: Add a tiny crown, bow, or face mask for seasonal fruit collections
- Mini size variations: Use thinner yarn and a smaller hook for keychain-sized versions, or thicker yarn for a plush pillow-sized mangosteen
Low-key, the mini keychain version makes a great small gift for fellow crochet lovers.
FAQ Section
What is the best yarn for amigurumi projects?
Cotton or acrylic worsted weight yarn works best for amigurumi since both hold their shape well and resist stretching. Cotton gives sharper stitch definition, while acrylic feels softer and washes easily.
How do I make my crochet plush firm and sturdy?
Firm plush toys need tight stitches paired with generous, even stuffing. Add stuffing in small sections as you go, rather than filling the whole shape at the end, so the fiberfill distributes evenly.
How long does this Crochet Mangosteen Amigurumi project take to complete?
Most crocheters finish this mangosteen amigurumi in about 2 to 4 hours, depending on experience level and yarn weight. Beginners may take a bit longer while learning increase and decrease patterns.
CONCLUSION
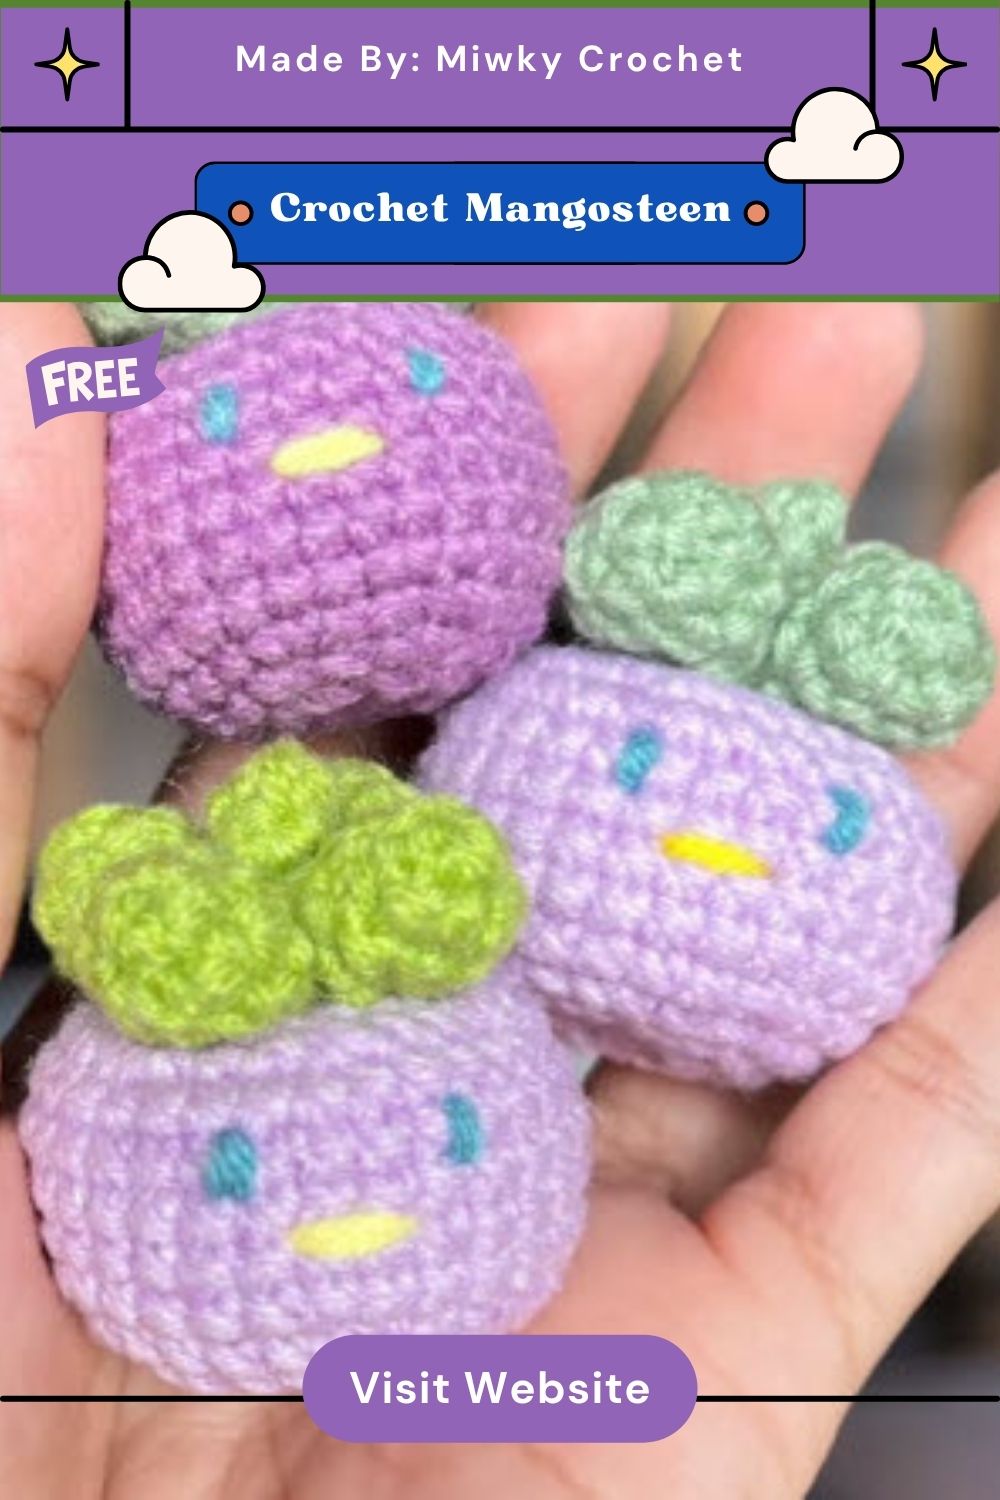
Crochet Mangosteen Amigurumi might be an unusual choice for amigurumi, but that’s exactly why it stands out in any fruit collection. Give this pattern a try, share your finished mangosteen with fellow crochet fans, and keep building your handmade fruit family one stitch at a time.
Ready for your next fruity project? Grab your hook, pick a fresh color palette, and start crocheting today.