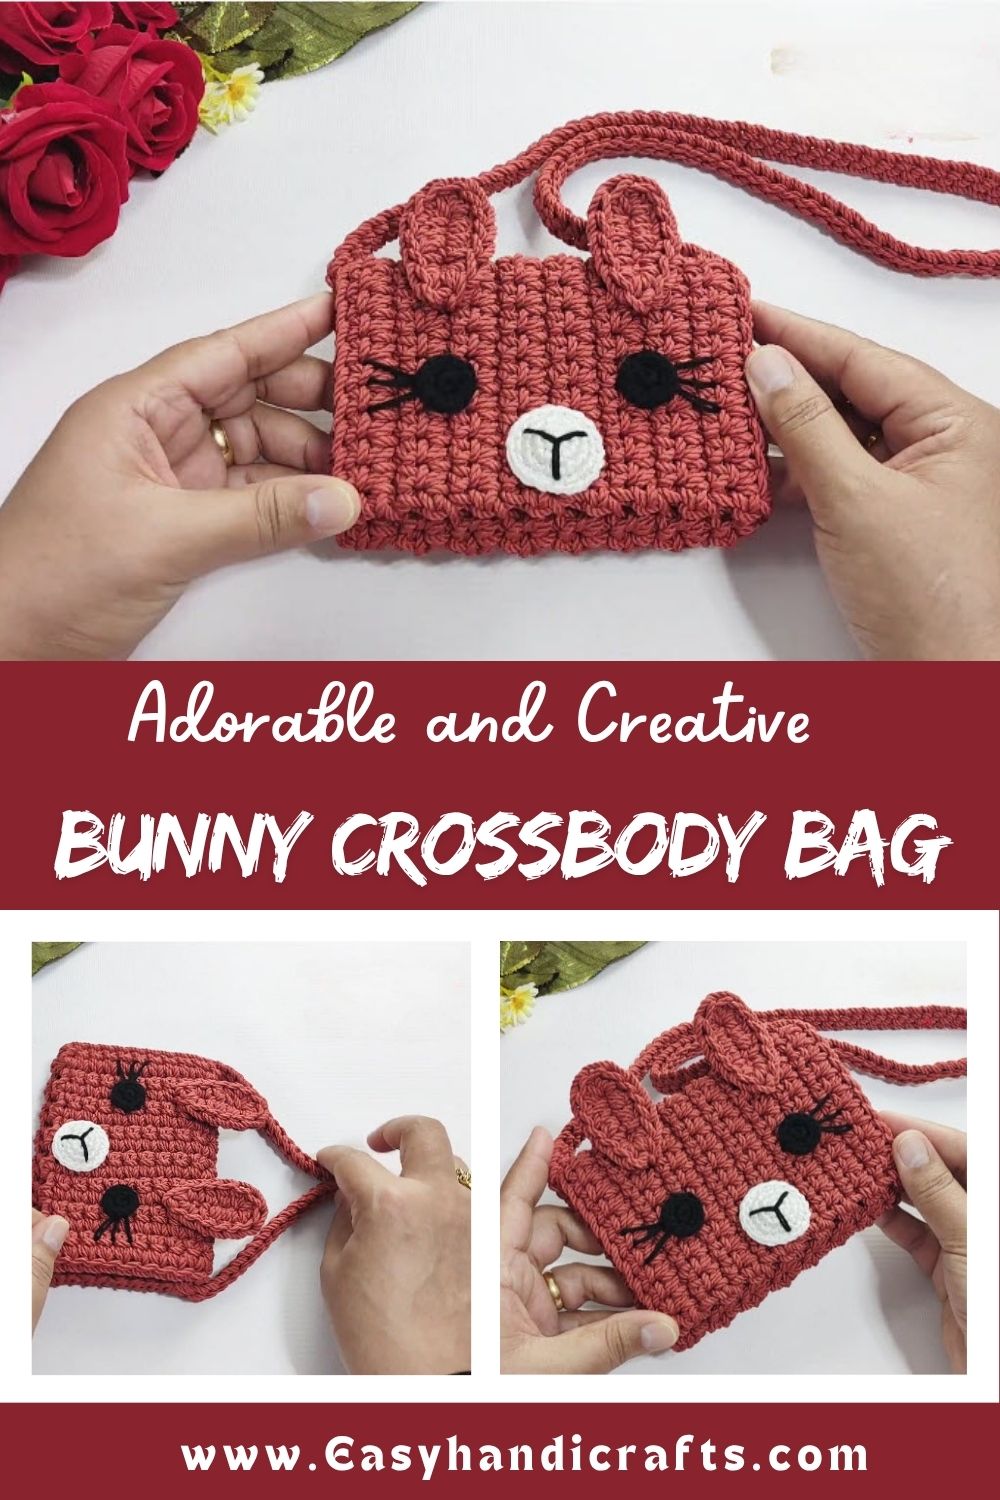
Crochet Bunny Crossbody Bag Pattern for Spring Outfits
Skill Level
Somewhere between beginner and intermediate, nothing that should scare anyone off. Know single crochet, magic ring, and basic increases already? Good, that covers most of what’s needed. Stitch counts are kept low on purpose, so mistakes get caught fast instead of unraveling three rounds later. One amigurumi project under the belt, and this pattern will feel familiar.
Materials and Supplies List
Get these together before starting; it’ll save some back-and-forth mid-project:
- Yarn colors: Pastel pink or cream for the body, white for a tummy patch, plus gray or beige for inner ear detail
- Crochet hook size: 3.0mm–3.5mm, whatever pairs well with worsted weight cotton
- Safety eyes: 8mm to 10mm, black, with washers included
- Stuffing: Polyester fiberfill, enough for firm results
- Needle and scissors: A yarn needle for assembly, sharp scissors for clean trims
- Keychain ring or accessories: Swivel clasp and strap for the full bag, or just a keyring for mini versions
- Extra items: Stitch markers, a handful of pins, and something stiff like cardboard for shape
Crochet Techniques Used
Not much variety here stitch-wise, which keeps the whole thing beginner-friendly:
- Magic ring, for a clean start with no center gap
- Single crochet, doing most of the heavy lifting throughout
- Increase and decrease rounds, shaping the head and curved bag edges
- Sewing pieces together: whip stitch or mattress stitch both work fine
Step-by-Step Crochet Pattern Instructions
Head Creation
Start with 6 single crochets into a magic ring. Increase each round until you reach somewhere around 24 to 30 stitches total. Work a few plain rounds next, then decrease steadily while adding stuffing gradually. Close the gap with a needle once the head looks round and full.
Body Making
Use this piece as the bag’s front panel. Crochet a flat base first; oval or circle both work then build straight rounds upward without any shaping. Keep your tension even; loose stitches make the panel curl instead of sitting flat. Make two matching panels if you want a fuller bag, one for the front and one for the back.
Ears, Accessories, and Tail
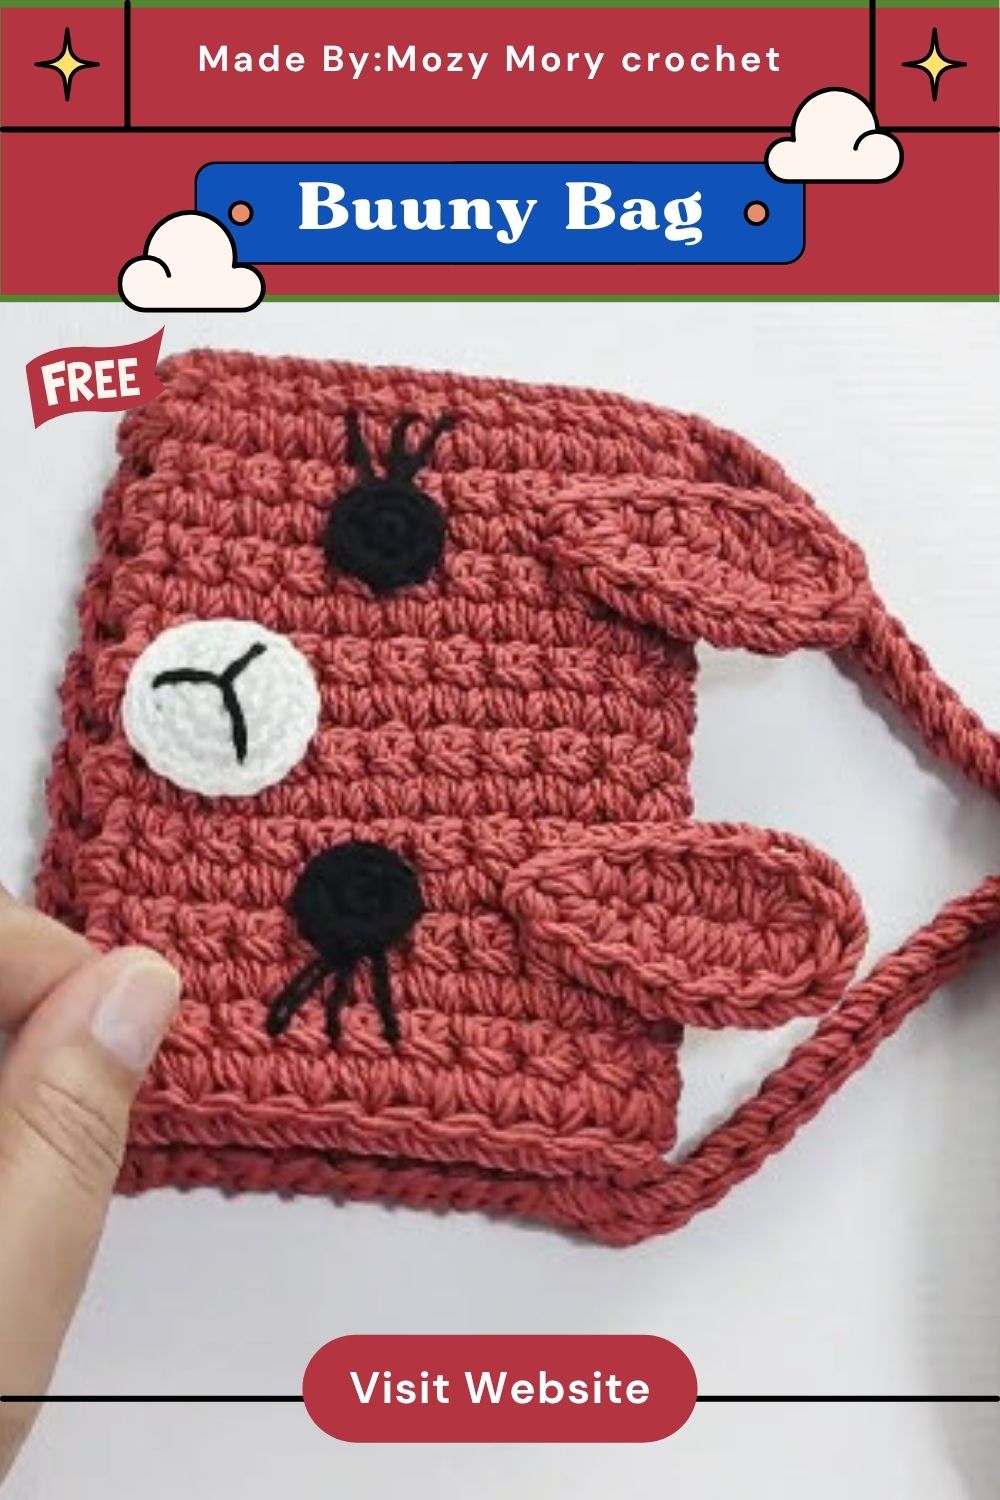
Fold small ovals slightly and stitch them onto the head to form the ears. Add a lighter-colored row inside each one for that classic inner-ear contrast. For the tail, stuff a small puff and sew it onto the back panel near the bottom- the quickest part of the whole build.
Facial Details
Insert the eyes before you add stuffing, and space them carefully so the face doesn’t end up lopsided. Stitch a few straight lines in pink or brown yarn for the nose, then add a curved line beneath it for the mouth. Finish the expression with a touch of blush or light pink yarn on the cheeks.
Assembly Process
Center the head on the front panel and tilt it slightly forward. Attach the ears on both sides, angling them outward rather than flat. Sew the tail near the bottom back edge. Then join the front and back panels along the sides and bottom, leaving the top open for hardware.
Finishing Touches
Attach a swivel clasp to each side seam, then connect a strap for crossbody length. For the mini version, skip the strap and add a keyring instead. Weave in the yarn tails, then give the piece a light steam (if the yarn allows it) to smooth out any rough stitches.
Helpful Beginner Tips
Small habits, big difference, especially with amigurumi:
- Tight stitches for amigurumi: A smaller hook than the yarn label recommends keeps stuffing from showing through gaps
- Using stitch markers: Mark round starts, since amigurumi spirals continuously rather than joining each round
- Proper stuffing techniques: Small amounts at a time, pushed into corners with a chopstick or hook handle, work better than one big handful
Ngl, these three things alone fix most beginner amigurumi frustrations.
Design Customization Ideas
- Different colors: Lavender, mint, plain white; any of these shift the whole seasonal vibe
- Cute accessories: A bow, a small flower, embroidered freckles small additions, big personality boost
- Mini size variations: Cut stitch counts by about a third for a charm-sized version that clips onto a backpack
FAQ Section
What is the best yarn for amigurumi?
Cotton or a cotton blend, worsted weight specifically. It keeps its shape and doesn’t stretch out under stuffing pressure the way some other yarns do.
How do I make my Crochet Bunny Crossbody Bag plush firm?
Smaller hook, snug stitches, stuffing added gradually rather than crammed in all at once near the end.
How long does this Crochet Bunny Crossbody Bag project take?
Two to four hours total, usually split across a couple of sessions instead of one long stretch.
Conclusion
Yarn into a wearable Crochet Bunny Crossbody Bag is the payoff here, and it’s a pretty satisfying one. Pick a color, pick up a hook, get started. One bunny rarely stays the only one; a second usually ends up on the hook before too long.