Crochet Tea Glass Pattern Saucer Set With Spoon
This crochet tea glass pattern turns a few basic stitches into a tiny tea set, complete with a saucer and spoon. Crochet itself builds fabric by pulling loops of yarn through one another with a single hook, and it has stayed popular because it is simple, portable, and endlessly creative.
Its roots reach back to early nineteenth-century Europe, and one hook and a ball of yarn can become clothes, bags, blankets, flowers, and small decorative pieces. In addition, working with yarn calms the mind and leaves room for self-expression. Below, you will find the materials, abbreviations, round-by-round steps, and finishing tips.
Crochet Tea Glass Pattern and Key Features
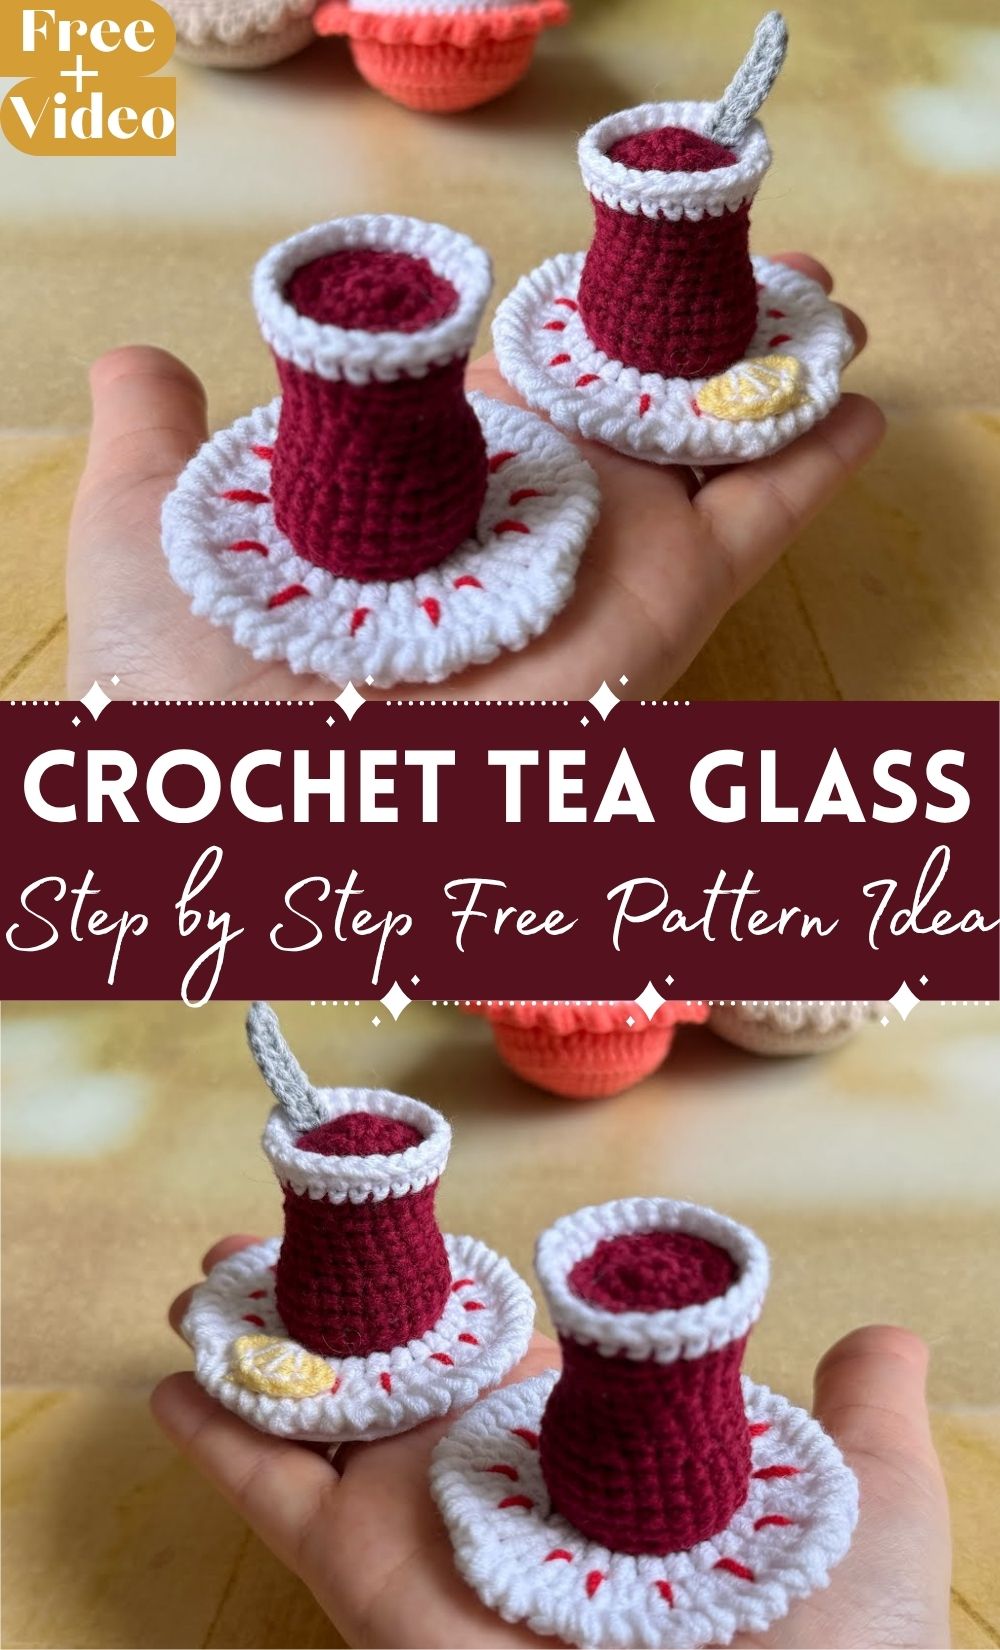
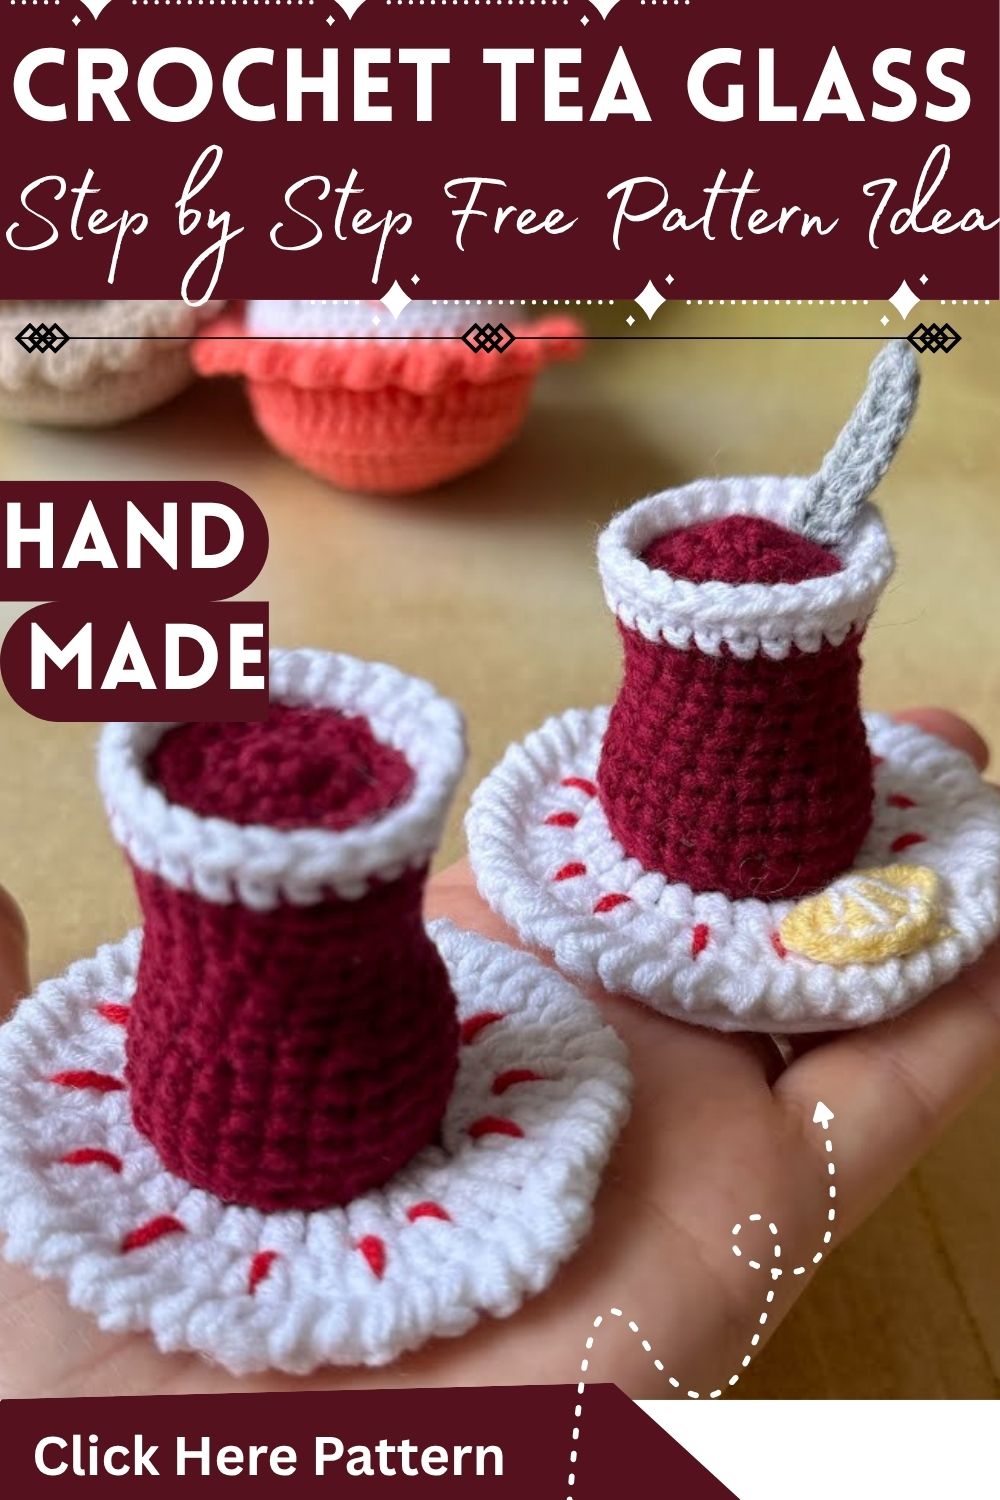
This pattern builds a miniature tea glass in the round, starting from a flat circle and working upward. White yarn forms the base and rim, so the glass looks clear, while red or dark tea-colored yarn makes the body. Next, a narrow waist gives the glass its classic shape, and a separate tea top fits inside the opening. An optional lemon slice adds a bright detail, and the saucer and spoon complete the set.
Skill Level for the Crochet Tea Glass Pattern
This crochet tea glass pattern suits advanced beginners. It uses a magic ring, increases, decreases, and loop-specific stitches, but every round is plain single crochet. As a result, anyone comfortable with amigurumi basics can finish it without trouble.
Materials for the Crochet Tea Glass Pattern
- Red or dark tea-colored yarn for the tea body and tea top
- White or clear-looking yarn for the base and rim
- Yellow or brown yarn (optional) for a lemon slice or tea bag
- Crochet hook: 2.0 mm to 2.5 mm
- Fiberfill for stuffing
- Stitch marker and tapestry needle
- Hot glue gun (used in the saucer photo)
Any smooth yarn works, as long as the hook is small enough to leave no gaps for the stuffing to show through.
Finished Size and Sizing Options
No exact measurements come with this pattern, so the size depends on the yarn weight and hook. For example, a 2.0 mm hook with thinner yarn gives a smaller glass, while a 2.5 mm hook gives a slightly larger one. Measure the first finished piece before making a full set, so every glass matches.
Stitches and Abbreviations
- MR: magic ring
- sc: single crochet
- inc: increase (two sc in one stitch)
- dec: decrease (two stitches worked together as one)
- BLO: back loop only
- FLO: front loop only
- sl st: slip stitch
Gauge Information
Gauge is not specified, and it matters little for a decorative piece. However, tightness counts. Keep the stitches firm enough that the fiberfill stays hidden, and go down a hook size if white stuffing shows between stitches.
Tips Before Starting Your Crochet Tea Glass Pattern
- First, use a stitch marker in the first stitch of every round.
- Also, count stitches at the end of each round, using the number in brackets.
- Change color on the last pull-through of the final stitch for a cleaner join.
- Stuff firmly before closing, but stop adding fiberfill before the sides start to bulge.
- Finally, leave long tails on pieces you will sew together.
Step-by-Step Crochet Tea Glass Pattern
Step 1: Base and Glass Bottom (White Yarn)
- Rnd 1: 6 sc in MR [6]
- Rnd 2: inc in each stitch [12]
- Rnd 3: (1 sc, inc) x 6 [18]
- Rnd 4: (2 sc, inc) x 6 [24]
- Rnd 5 (BLO): 1 sc in each stitch [24]. This makes the bottom flat.
- Rnds 6–8: 1 sc in each stitch [24]
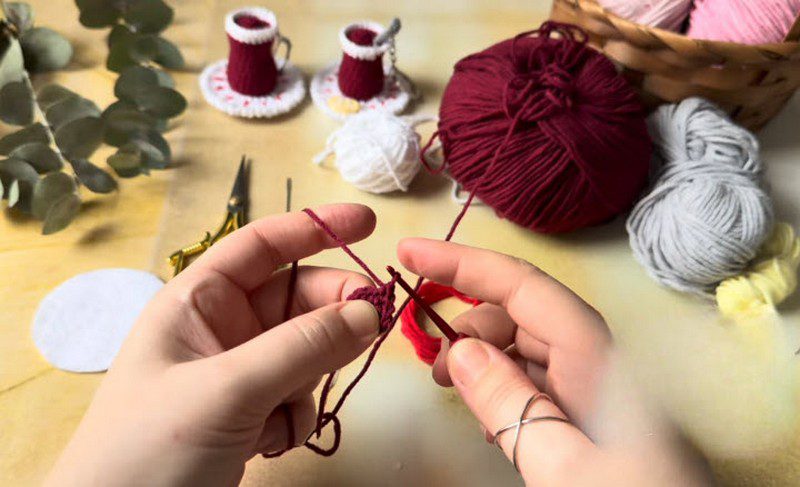
First, start with a magic ring and work the first rounds. Hold the work flat between the thumb and fingers of your left hand, and keep the yarn tail tucked under your fingers. Then insert the hook into each stitch and pull the loop through firmly. As a result, the circle lies flat as the rounds grow.
Step 2: Tea Body (Red or Dark Red Yarn)
- Rnd 9: Attach red yarn. 1 sc in each stitch [24]
- Rnds 10–13: 1 sc in each stitch [24]
- Rnd 14 (waist): (2 sc, dec) x 6 [18]
- Rnds 15–16: 1 sc in each stitch [18]
- Rnd 17 (top widening): (2 sc, inc) x 6 [24]
- Rnds 18–20: 1 sc in each stitch [24]
- Then stuff the glass firmly.
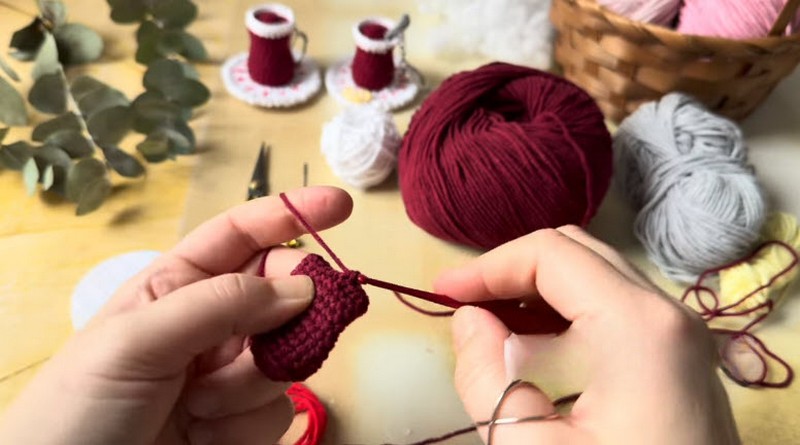
Meanwhile, the body takes shape as a small tube. Hold the piece upright between your left thumb and fingers, and pull the working yarn across your top finger to keep tension even. Work each stitch snugly so the fabric looks dense and smooth.
Step 3: Glass Rim (White Yarn)
- Rnd 21 (FLO): Attach white yarn. (3 sc, inc) x 6 [30]
- Rnd 22: sl st in each stitch [30]. Fasten off.
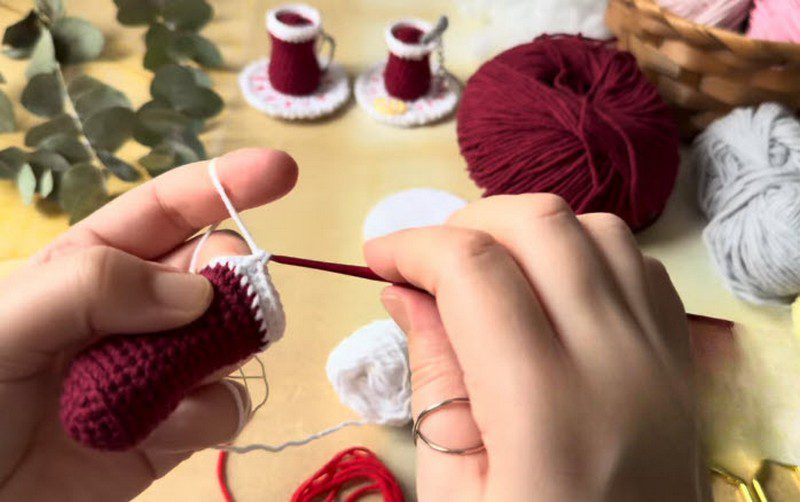
Next, switch to white yarn at the top edge and work into the front loops only, so the rim sits as a neat ridge. Keep the white yarn looped over your left index finger and pull the hook through gently. The rim should hug the top of the red body.
Step 4: Tea Top Insert (Red Yarn)
- Rnd 1: 6 sc in MR [6]
- Rnd 2: inc in each stitch [12]
- Rnd 3: (1 sc, inc) x 6 [18]
- Rnd 4: (2 sc, inc) x 6 [24]
- Fasten off, leaving a long tail.
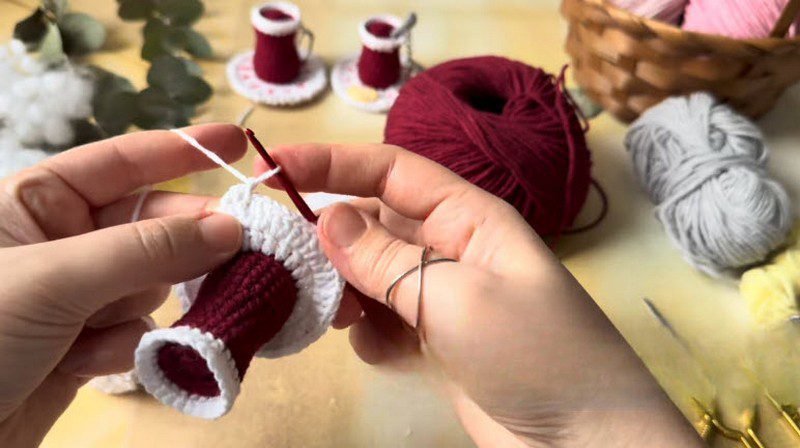
The next photo returns to the white rim, which now spreads wide and shows the extra stitches from the increases. Keep working along the front loops with the hook angled toward the center. Finally, the flared edge should sit evenly all the way around, with no gaps between stitches.
Step 5: Lemon Slice (Optional, Yellow Yarn)
Work 6 sc in MR. Rnd 2: inc x 6 [12]. Rnd 3: (1 sc, inc) x 6 [18]. Then fold the piece in half and sew the edges together.
Pattern Construction and Assembly
First, thread the long tail of the tea top onto a tapestry needle and sew it into the back loops of Rnd 20, so the red circle sits just inside the glass opening. If you are using the lemon slice, sew it to the rim edge.
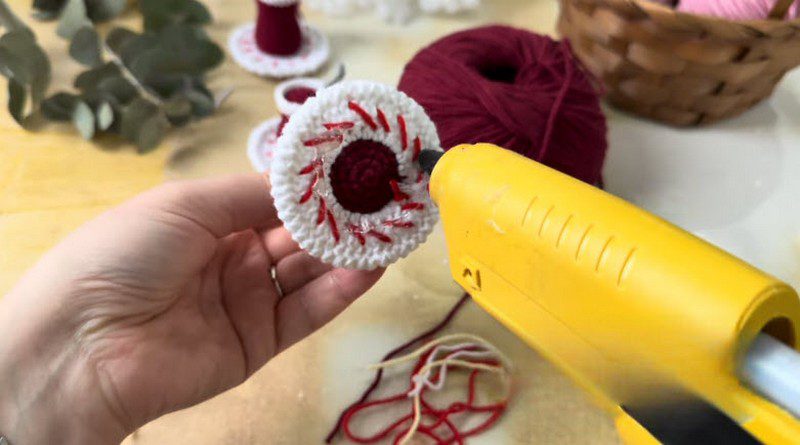
In the saucer photo, a hand holds the round white piece, which has a dark red center and red stitched lines, while a hot glue gun comes close. Add a small amount of glue to the underside, press the glass into place, and hold for a few seconds until it sets. Keep your fingers clear of the nozzle.
Customization Options
- Use brown yarn for the tea and a tiny tea bag tag.
- Make the glass in pastel colors for a spring set.
- Work a full set of four glasses in matching colors.
- Add a small handle with chain stitches.
- Change the lemon slice to an orange color.
Common Mistakes and Troubleshooting
The bottom is not flat. Work Rnd 5 in the back loops only, so check that you chose the right loop.
The waist looks too wide. Count Rnd 14 again, because every dec should come after exactly two sc.
Stuffing shows through. Use a smaller hook or tighten the stitches.
The rim ruffles. Count the stitches in Rnd 21. A missed increase makes the edge pull in, while an extra one makes it wave.
The tea top does not fit. Check that it has 24 stitches. If the opening is too snug, loosen the sewing stitches slightly.
Bonus: Display Ideas
Group the glasses on a small wooden tray, or place them on a kitchen shelf beside real teapots. In addition, a set of two makes a sweet gift for tea lovers.
Finishing and Care for Your Crochet Tea Glass Pattern
First, weave in every end with the tapestry needle and trim close. Then reshape the glass gently with your fingers. For cleaning, spot clean with a damp cloth and let it air dry. Also, keep the set away from direct heat, since the glue may soften.
FAQs About the Crochet Tea Glass Pattern
What hook size works best for this crochet tea glass pattern?
A 2.0 mm to 2.5 mm hook gives a firm fabric.
Do the glasses need stuffing?
Yes, because fiberfill keeps the shape and holds the waist in place.
Can I make the glass in other colors?
Yes. Any two colors work, though white for the base and rim gives the glass look.
Is the lemon slice required?
No. It is an optional detail.
Is this crochet tea glass pattern good for beginners?
It suits advanced beginners who know the magic ring, increases, and decreases.
Pour a Little Handmade Charm
A tiny tea glass is quick to make, and a few of them together look charming. So give this crochet tea glass pattern a try, then share your finished set or leave a question in the comments.