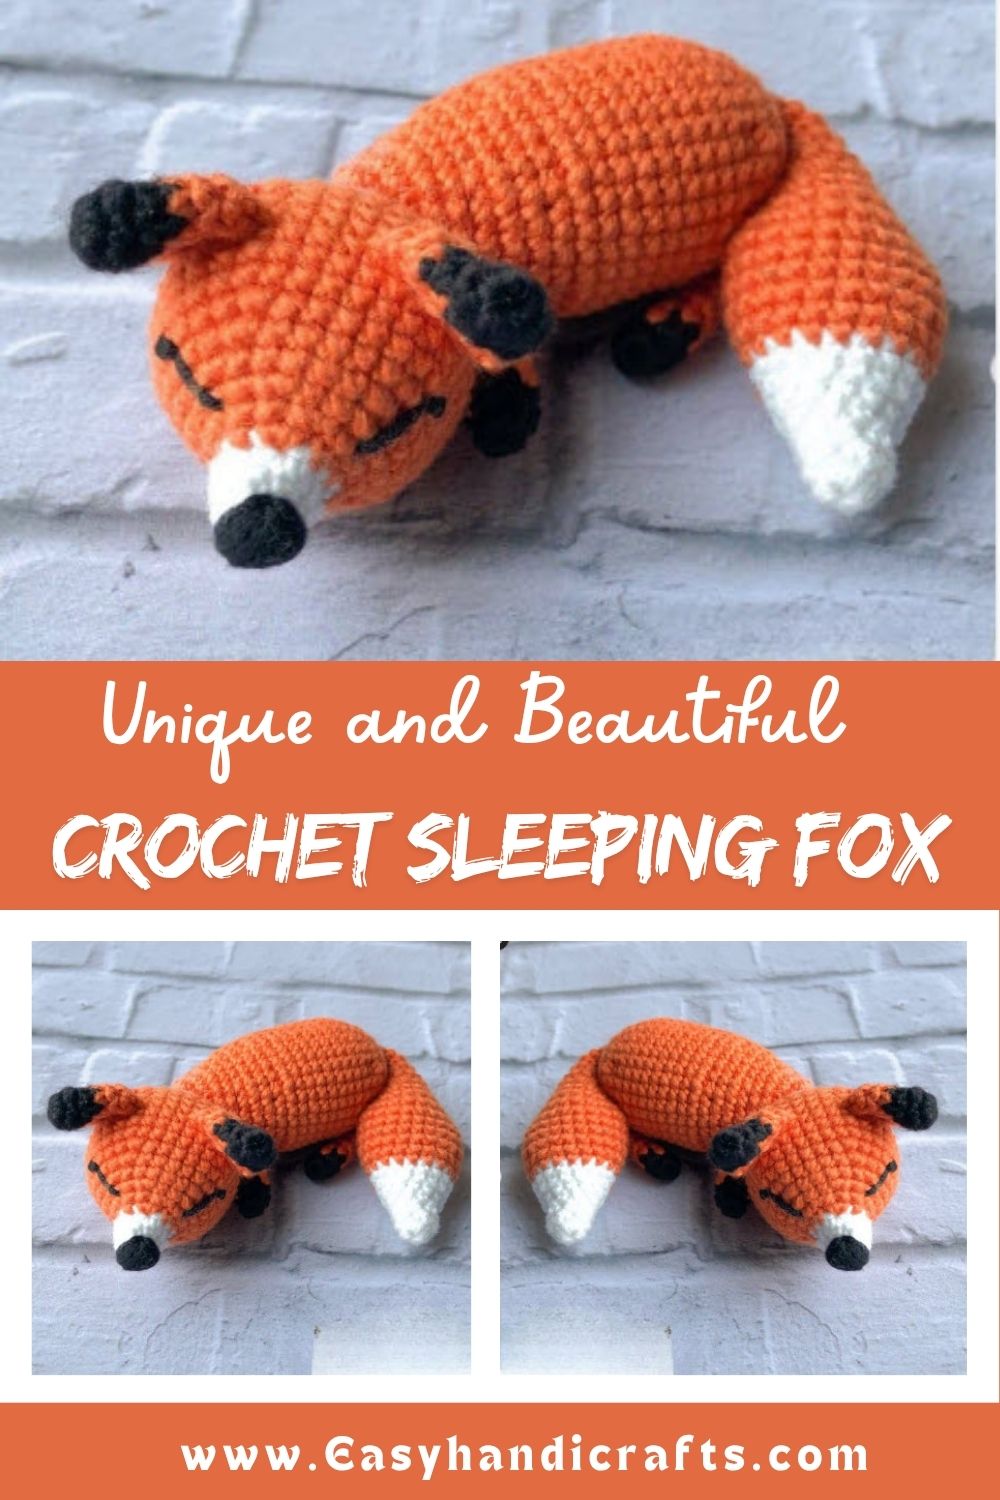
Crochet Sleeping Fox Amigurumi Pattern with Forest Style
Made By: Pattern
Overview
This project uses simple single crochet stitches worked in continuous rounds, meaning no slip stitches or joins to worry about. Rainbow Cotton 8/4 by Hobbii gives the finished fox a smooth, matte texture that photographs beautifully and holds its shape after stuffing. Orange forms the main body color, white marks the belly and face, and a touch of black thread finishes the eyes and nose.
Two pieces make up this design: the tail-and-body section worked as one continuous piece, and a separate head that gets sewn on afterward. Legs and ears are added at the end, giving the fox its final sleepy, curled-up posture.
Skill Level
Somewhere between beginner and intermediate, this pattern suits crocheters comfortable with basic increases and decreases. Counting stitches carefully matters more than mastering fancy techniques, so patience pays off far more than advanced skill here.
Materials / Tools / Requirements
- Hook size 2.0mm
- Rainbow Cotton 8/4 by Hobbii in orange, white, and black
- Black embroidery thread for the eyes
- Darning needle for sewing pieces together
- Stitch markers to track round starts
- Polyester fiberfill for stuffing
Abbreviations Used in This Pattern
- MC – magic circle
- st – stitch
- ch – chain
- sc – single crochet
- inc – increase
- dec – decrease
Tail and Body Section
Starting the tail and body as a single continuous piece keeps the finished shape smooth, without a visible seam where the tail meets the back. White yarn opens the tail, since foxes typically show a lighter tip at the very end.
Building the Tail
Six single crochets into a magic circle form the tiny starting point. From there, gradual increases across the first several rounds shape a slim, tapering tail. Switching to orange yarn partway through mimics the natural color change seen on a real fox’s tail.
A few straight rounds without shaping follow, letting the tail reach its full length before the pattern begins decreasing again. Steady decreases bring the tail back down to a narrow point, and three more plain rounds extend it just enough to blend smoothly into the body.
Stuffing lightly at this stage keeps the tail soft and flexible rather than stiff, which suits the curled, resting pose much better.
Shaping the Body
Once the tail finishes, the same piece continues directly into the body. Repeated increase rounds widen the shape gradually, building a plump, rounded silhouette typical of a curled-up animal. Several unshaped rounds in the middle allow the body to reach its full width before tapering begins.
Decrease rounds bring the body back down in size, closing toward the neck opening. Firm stuffing throughout this section, especially near the final rounds, helps the fox hold its shape and sit upright without collapsing over time. Cutting the yarn with a long tail leaves enough length for sewing the head on securely later.
Head Section
White yarn begins the head as well, forming the muzzle and lower face before orange takes over for the rest.
Forming the Face
Starting from a small magic circle, gradual increases widen the muzzle into a rounded shape. Switching to orange partway through separates the white face patch from the surrounding fur color, giving the finished fox its classic two-tone look.
Widening the Head
Combined increase-and-plain-stitch rounds shape the fullest part of the head, creating room for the cheeks and ears later. A handful of unshaped rounds allow the head to settle at its widest point before any decreasing starts.
Closing the Head
Steady decrease rounds bring the head back down toward the top, finishing with several single decreases that close the last small opening. Stuffing firmly while working these final rounds prevents any soft or lopsided spots once finished.
Finishing Touches
Embroidering the Face
Black thread creates both the eyes and the nose, worked directly onto the orange yarn between specific rounds to keep the features balanced and centered. Taking a few extra minutes here makes a noticeable difference in the fox’s overall expression, since even slightly uneven placement changes how sleepy or alert it looks.
Attaching the Ears
Small triangular ears sew onto the upper section of the head, positioned symmetrically so the fox appears to be dozing peacefully rather than looking startled.
Attaching the Legs
Short legs tuck underneath the belly, angled inward to reinforce the curled, resting pose that gives this amigurumi its name.
Step-by-Step Guide
- Crochet the tail and body as one continuous piece, switching colors and shaping as described.
- Stuff gradually while working, rather than waiting until the very end.
- Crochet the head separately, following the same white-to-orange color change.
- Embroider the eyes and nose before attaching the head to the body.
- Sew the head, ears, and legs into place to complete the sleeping pose.
Usage Ideas
- Displayed on a nursery shelf alongside other forest-themed amigurumi
- Used as a soft, huggable toy for toddlers under close supervision
- Given as a handmade housewarming gift for cabin or woodland-style décor
- Photographed as a prop for craft fairs or online shop listings
Helpful Tips
Counting stitches at the end of every round saves time later, since small mistakes multiply quickly in continuous crochet. Marking the start of each round with a stitch marker removes the guesswork entirely. Consequently, keeping tension consistent throughout the piece matters more than working quickly, especially for beginners still building muscle memory.
Customization & Variations
Swapping the orange for grey or brown yarn creates a completely different woodland character, such as a wolf pup or a sleepy bear cub. Adding a tiny crocheted leaf or acorn nearby enhances the forest theme without much extra effort. Meanwhile, embroidering a small blanket or curling the fox around a mini crocheted egg opens up gift-set possibilities for baby showers.
Common Mistakes to Avoid
- Skipping stitch markers, which leads to losing track of round starts
- Understuffing the body, resulting in a saggy or lopsided shape
- Rushing the color change points, causing uneven transitions between white and orange
- Placing the eyes too far apart, which changes the fox’s sleepy expression
Finishing Tips
Weaving in yarn tails securely before trimming prevents unraveling after repeated handling. Steaming the finished piece lightly, or blocking it gently with a damp cloth, smooths out any uneven stitches and gives the fox a more polished, professional appearance.
Gifting Ideas
Pairing the finished fox with a small handwritten tag describing its “forest nap” theme adds a charming, personal touch. Wrapping it inside a fabric pouch printed with leaves or pinecones elevates the presentation for birthdays, baby showers, or seasonal gift exchanges.
Frequently Asked Questions
How long does this pattern usually take to finish?
Most crocheters finish within four to six hours, spread across a couple of sittings, depending on stuffing and sewing speed.
Can a different yarn weight replace Rainbow Cotton 8/4?
Any similar fingering-weight cotton works, though switching hook size slightly may be necessary to match gauge.
Why does the Crochet Sleeping Fox Amigurumi use two separate pieces?
Working the tail and body together while keeping the head separate makes stuffing and shaping far easier to control before final assembly.
Is this pattern suitable for complete beginners?
Yes, as long as basic increase and decrease stitches feel comfortable, since the rest of the pattern relies on repetition rather than complex techniques.
Conclusion
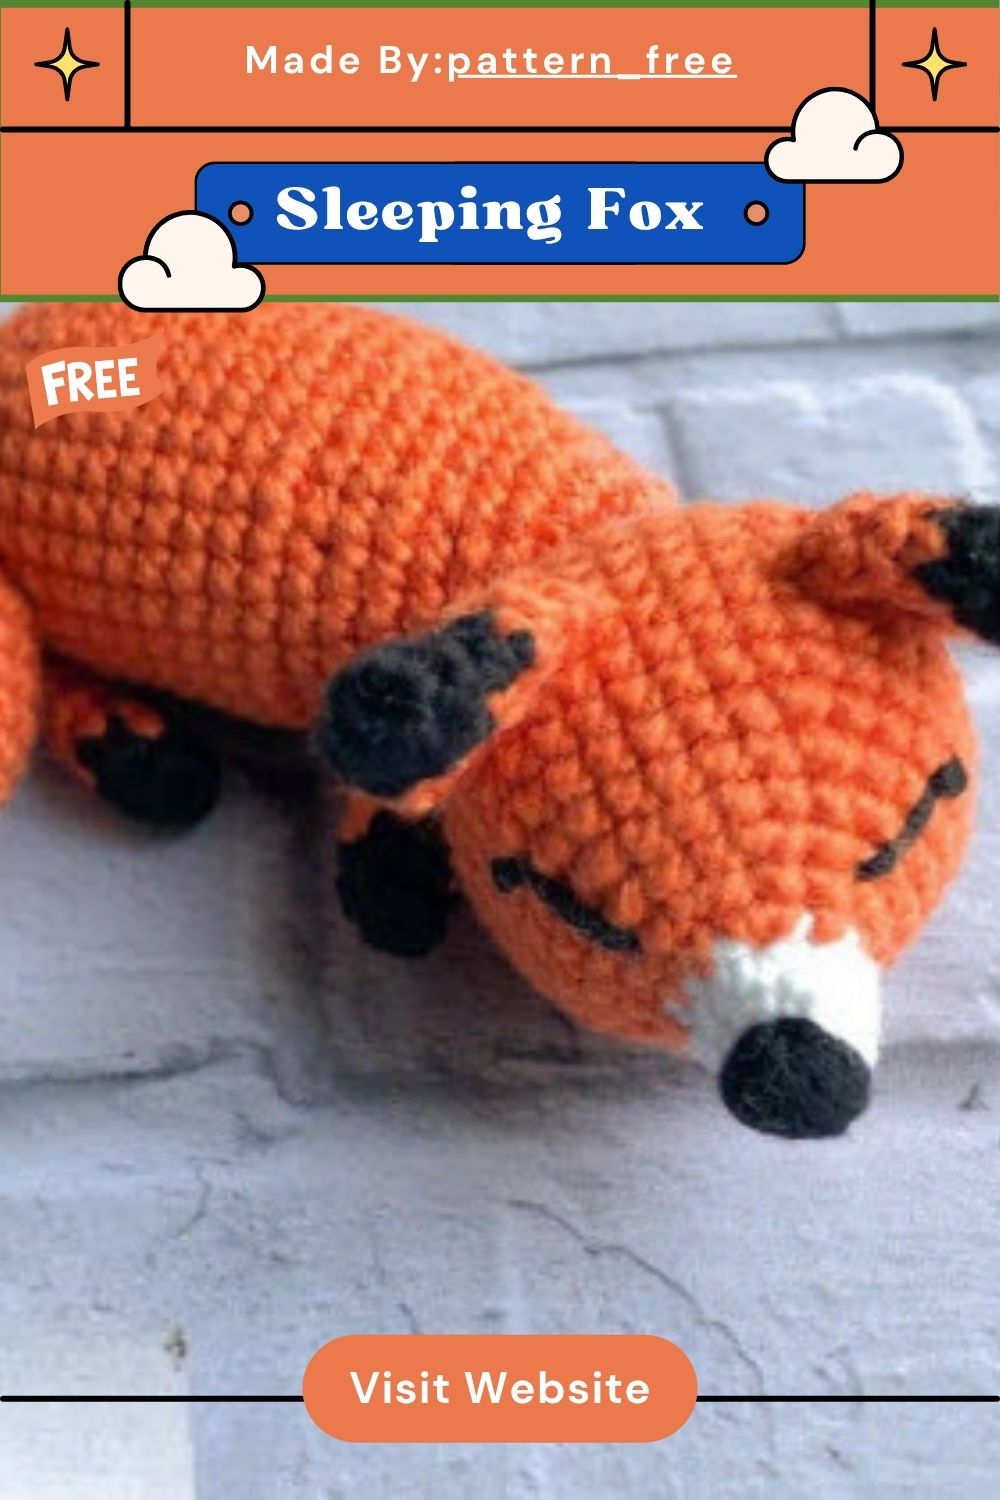
Few amigurumi projects capture quiet, cozy charm quite like a sleeping fox. Its curled tail, rounded body, and peaceful little face make it a rewarding project for crocheters who enjoy watching a shape come together gradually, round by round. Whether displayed on a shelf or gifted to someone special, this crochet sleeping fox amigurumi brings warmth and forest-inspired character to any handmade collection. Once the final stitches settle into place, the result feels every bit as charming as the real thing curled up beneath a tree.