Free Crochet Beagle Keychain Amigurumi Pattern Toy
What Makes This Crochet Project Special
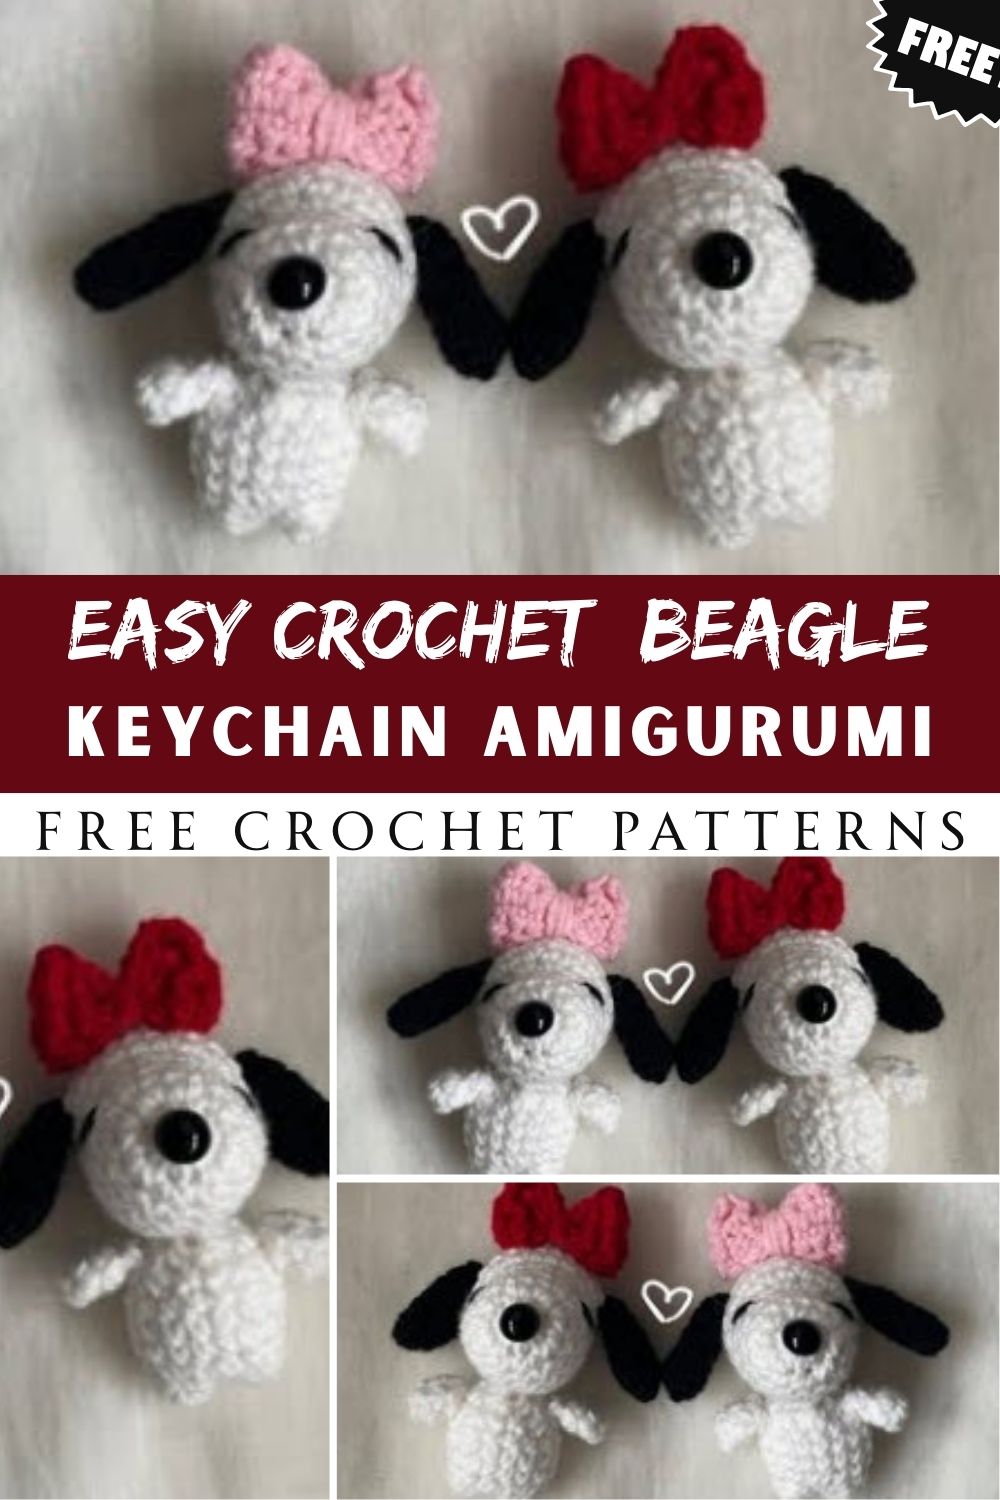
This isn’t just another round toy shaped vaguely like an animal. The designer behind this tutorial paid close attention to the details that actually make a beagle look like a beagle the saddle-shaped color patch, the long droopy ears, and that sweet, slightly worried expression beagles are famous for. Because the piece finishes at keychain size, it works up far faster than a full-sized stuffed animal, which makes it a satisfying project for anyone who likes to see quick results.
Another reason crocheters keep coming back to this kind of pattern is versatility. A finished beagle can become a keychain, a bag charm, a car mirror decoration, or a shelf-sitting mini plushie. One pattern, endless uses — and that flexibility is a big part of why amigurumi keychains have become such a popular handmade crochet idea for gifts and craft fairs alike.
Skill Level
This pattern sits comfortably at the beginner to intermediate level. If you already know how to single crochet, increase, and decrease in the round, you’ll manage just fine. The only parts that ask for a bit more patience are the color changes for the beagle’s patches and the small details like ears and snout, which reward a steady hand rather than advanced technique. New amigurumi makers who have finished at least one or two simple round toys should feel confident tackling this one.
Required Materials and Supplies
Gathering your materials ahead of time makes the whole process smoother, so here’s what you’ll want on hand before you start.
Yarn:
- Worsted weight (4) cotton or acrylic yarn in white or cream (main body)
- Small amounts of brown/tan yarn (for the saddle patch and ear color)
- A touch of black yarn (for nose and eye details, if not using safety eyes)
Hook size:
- 2.5mm to 3.0mm crochet hook, depending on your yarn weight and desired tension (a smaller hook keeps stitches tight enough to hide stuffing)
Extra tools:
- Stuffing (polyester fiberfill)
- Stitch marker
- Yarn needle for sewing pieces together
- Small black safety eyes (or embroidery thread for eyes)
- Keychain ring or clasp
- Scissors
Having a tape measure nearby is also handy, since keeping the pieces proportional is what gives the finished beagle its charm.
Crochet Stitches and Abbreviations Used
Here’s a quick reference for the stitches you’ll come across throughout the pattern:
- MR – Magic Ring
- ch – chain
- sc – single crochet
- inc – increase (2 sc in same stitch)
- dec – decrease (invisible decrease or sc2tog)
- sl st – slip stitch
- st(s) – stitch(es)
- rnd – round
- BLO – back loop only (used for some texture details)
None of these are advanced techniques, so if you’ve made even one amigurumi before, this abbreviation list will feel familiar right away.
Step-by-Step Crochet Instructions
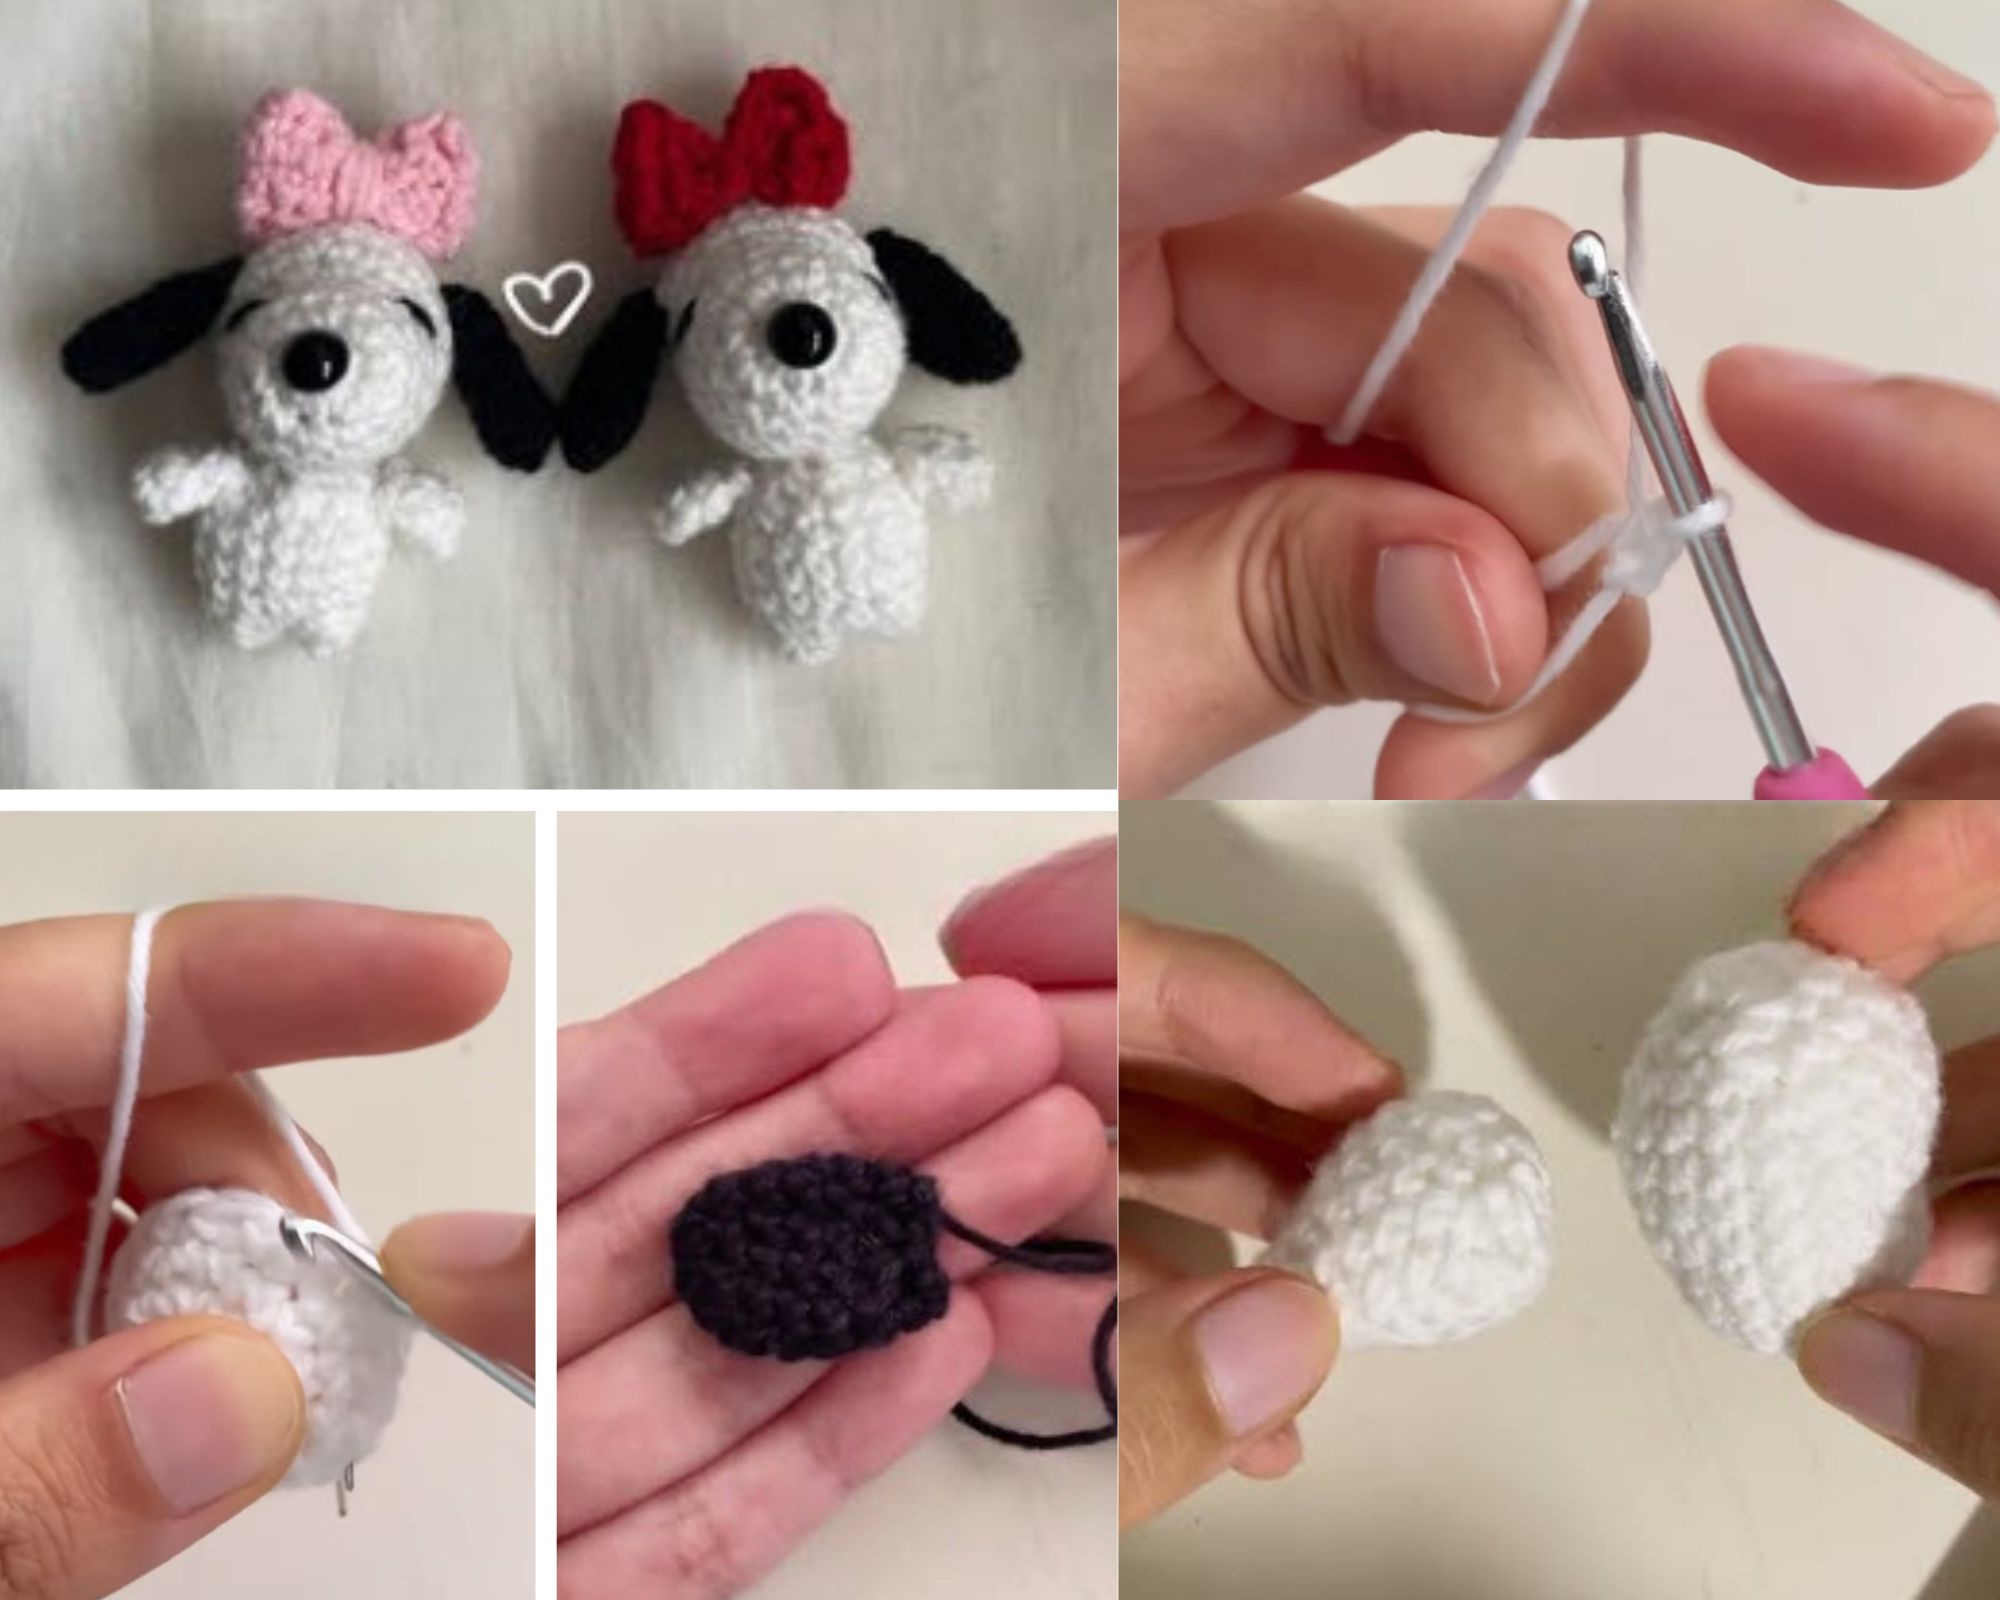
Below is a general outline of how the beagle keychain comes together. Follow along with the full video tutorial for exact stitch counts at each round, since visual guidance is especially useful for shaping the head and ears correctly.
Head and Body
- Start with a magic ring and work single crochets in increasing rounds to form a small sphere for the head.
- Switch to your body color and continue building outward, increasing evenly to shape a rounded body.
- Add the tan/brown patch by switching yarn colors mid-round where the saddle marking sits on the back.
- Decrease gradually to close the body, stuffing firmly as you go so the shape holds without sagging.
Ears
- Using the brown yarn, crochet two flat, teardrop-shaped pieces worked in rows rather than rounds, since beagle ears are long and floppy rather than round.
- Leave these unstuffed so they naturally droop once attached.
Legs and Snout
- Small stubby legs are worked in rounds, stuffed lightly, and sewn to the underside of the body.
- The snout is a small rounded piece worked separately, then attached to the front of the face before the eyes go on.
Assembly
- Attach the safety eyes before closing up the head completely — this is much easier than trying to add them after stuffing.
- Sew the ears to either side of the head, angling them slightly forward for that classic beagle look.
- Attach the snout, then embroider or glue on a small black nose.
- Sew the head to the body, then attach the legs.
- Finally, add your keychain ring through a sturdy loop at the top of the head or back of the body.
Helpful Beginner Tips
- Always count your stitches at the end of each round. Amigurumi shaping depends entirely on accurate stitch counts, and one missed increase can throw off the whole silhouette.
- Use stitch markers generously, especially when working in a continuous spiral without joining rounds.
- Stuff a little at a time rather than all at once. Overstuffing early rounds makes later shaping harder.
- Keep your tension tight. Loose stitches let stuffing peek through, which affects both look and durability.
- Practice the magic ring a few times separately if it’s new to you — it’s the foundation of nearly every amigurumi piece.
Common Mistakes and Solutions
Mistake: Ears look stiff instead of floppy.
Solution: Leave the ear pieces unstuffed and use a soft yarn weight so gravity does the work naturally.
Mistake: Color changes look messy or leave visible gaps.
Solution: Change yarn colors on the last pull-through of a stitch, and always work over the tail ends instead of leaving them loose inside.
Mistake: The head looks lopsided.
Solution: Stuff evenly and check the shape from multiple angles before closing the final round.
Mistake: Keychain hardware pulls loose over time.
Solution: Reinforce the attachment loop with a few extra stitches and secure it with a strong knot before trimming the yarn.
Pattern Customization Ideas
One of the best things about amigurumi keychains is how easy they are to personalize. A few ideas to make yours unique:
- Swap the tan patches for different color combinations to create other dog breeds using the same base body.
- Add a small crochet bandana or collar for extra character.
- Use a sparkly or variegated yarn for a fun twist on the classic beagle coloring.
- Embroider small details like freckles or a heart-shaped nose for a whimsical version.
- Turn it into a bag charm instead of a keychain by adding a longer strap loop.
Size and Color Suggestions
Most keychain-sized amigurumi patterns finish between 3 to 5 inches tall, which is ideal for clipping onto bags without adding too much bulk. If you’d like a slightly larger desk companion instead, simply size up to a bulkier yarn weight and a larger hook, which will naturally increase the finished dimensions.
For color, the traditional beagle palette of white, tan, and brown is always a favorite, but pastel versions in soft pink, lavender, or mint have become increasingly popular for gifting, especially among crocheters who enjoy putting their own spin on classic patterns.
FAQ Section
Is this Free Crochet Beagle Keychain pattern suitable for complete beginners?
Yes, as long as you’re comfortable with basic single crochet and increasing/decreasing in the round. If you’re brand new, practicing a simple ball shape first will help.
How much yarn do I need?
Since this is a small keychain-sized project, a single skein in each color will likely be more than enough, with plenty left over for future projects.
Can I use a different hook size?
Yes, but keep in mind that a larger hook will create looser stitches, which may allow stuffing to show through. Smaller hooks generally give a neater amigurumi finish.
What’s the best stuffing to use?
Polyester fiberfill is the most common choice because it’s washable, lightweight, and holds its shape well over time.
Can I sell finished items made from this Free Crochet Beagle Keychain pattern?
Many amigurumi designers allow selling finished products even when the pattern itself is free, but it’s always best to check the specific terms shared by the pattern creator.
Conclusion
This free crochet beagle keychain amigurumi pattern proves that small projects can have plenty of charm. It’s a great choice for beginners learning amigurumi shaping. Experienced crocheters will also enjoy this quick and satisfying project. Finish your first beagle and you may want to make more in different colors. Build a whole pack of floppy-eared pups. Happy hooking, and enjoy bringing this little friend to life one stitch at a time.