Fabulous Crochet Shrek and Fiona Couple Keychain Amigurumi Step-by-Step Pattern
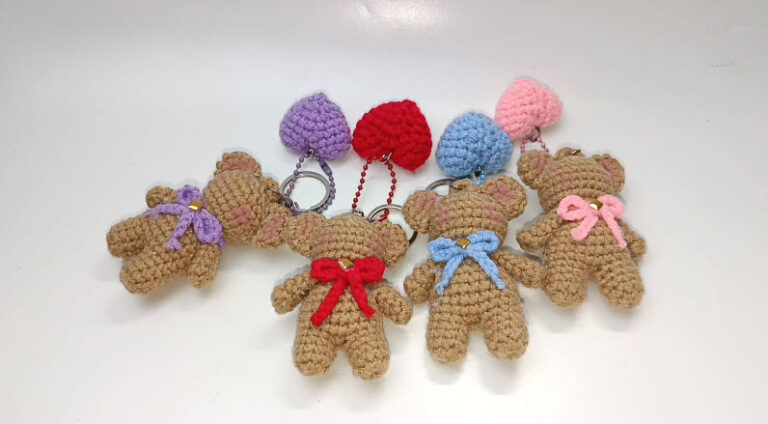
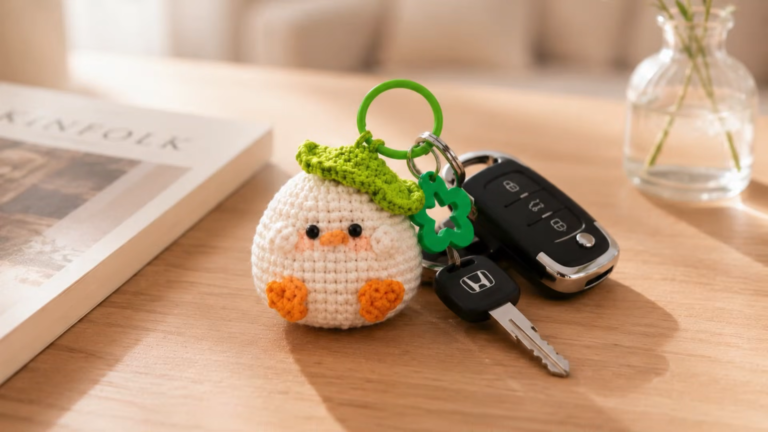
Got a few leftover yarn colors and a love for keychains? Let’s turn them into something adorable. In this tutorial, I’m sharing a crochet couple keychain pattern featuring cute amigurumi dolls with an ogre crochet doll vibe, perfect for using up yarn scraps and making a quick handmade crochet gift.
These cute amigurumi dolls have an ogre-crochet vibe with green heads, tiny ears, and simple embroidered expressions. As a matching set, they’re perfect as a handmade crochet gift, a fun couple charm, or a cute accessory for your keys and bags.
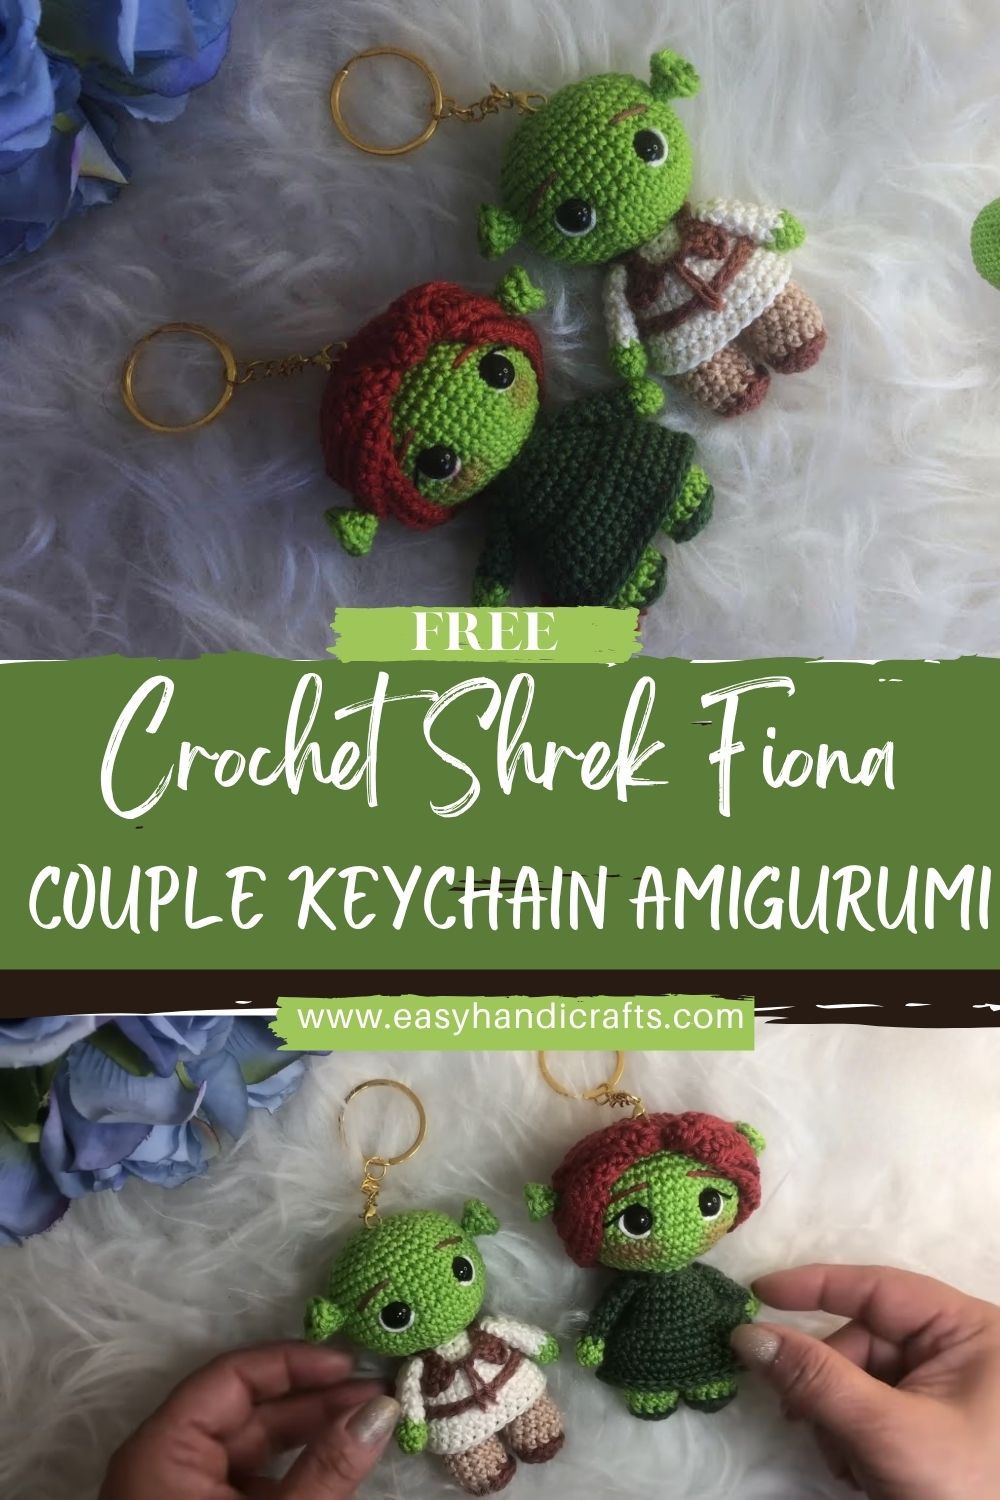
What makes this set so fun is the “mini doll” structure. Each doll has a round head, a compact body, and tiny arms and legs, so you get that classic amigurumi look without complicated shaping. The little ogre ears add so much personality, and the outfits help each doll feel like part of a charming couple set.
This Crochet Shrek Fiona Couple Keychain Amigurumi idea is also a wonderful stash-buster. You only need small amounts of yarn in a few colors, plus basic supplies like safety eyes and stuffing. After that, it’s mostly simple single crochet, careful counting, and neat assembly. When you finish, you’ll have two collectible keychain dolls that make an extra-cute gift for couples, best friends, or anyone who loves themed handmade accessories.
Materials Needed
- Light green yarn (DK or light worsted) for heads/hands: 25 g (about 55 m / 60 yd)
- Cream or beige yarn for outfit details: 15 g (about 33 m / 36 yd)
- Dark green yarn for dress/tunic: 20 g (about 44 m / 48 yd)
- Brown yarn for straps/shoes/trim: 10 g (about 22 m / 24 yd)
- Reddish-brown yarn for hair: 15 g (about 33 m / 36 yd)
- Black yarn or black embroidery floss for facial details: 1 to 2 m (1 to 2 yd)
- Crochet hook: 2.25 mm (optional: 2.5 mm for hair)
- Safety eyes: 8 mm (or 6 mm if you crochet very tightly)
- Polyester fiberfill stuffing: 15 to 20 g
- Tapestry needle
- Scissors
- Stitch marker (or scrap yarn)
- Keychain rings with short chains: 2 sets (each ring about 25 to 30 mm)
Abbreviations (US Terms)
- MR: magic ring
- sc: single crochet
- inc: increase (2 sc in same stitch)
- dec: decrease (invisible decrease recommended)
- sl st: slip stitch
- ch: chain
- rep: repeat
- FO: fasten off
Skill Level
Beginner to Easy Intermediate. The stitches are simple and mostly worked in continuous rounds. The small parts (ears, tiny limbs, and outfit details) take patience and careful sewing to keep everything neat.
Finished Size
- Doll 1 (tunic outfit): about 9.5 to 10 cm (3.75 to 4 in) tall
- Doll 2 (dress and hair): about 10 to 11 cm (4 to 4.3 in) tall
Size can vary depending on yarn weight, hook size, and your tension.
Time Planning at a Glance
Total time for the full couple set: 4 to 6 hours
Approximate breakdown:
- Heads (both): 1 hour 15 min
- Bodies (both): 1 hour
- Arms and legs (both): 45 min
- Hair (female doll): 45 min
- Outfit details (both): 45 min
- Assembly: 45 min
- Keychain attachment: 10 min
Important Notes Before Starting
- Count stitches carefully and mark your first stitch each round so the shaping stays clean.
- Try to keep both dolls proportional by using the same yarn weight and hook size for the main body parts.
- Place eyes evenly by pinning both sides first, then double-check symmetry before locking them.
- Attach ears at the same height on both sides so the “ogre look” feels balanced.
- Secure the keychain hardware firmly with a strong thread or multiple passes of yarn so it can handle daily use.
Step-by-Step Pattern
This pattern is worked in continuous rounds unless noted. Use a stitch marker to track the first stitch of each round.
1. Head (make 2 in light green)
- R1: MR, 6 sc (6)
- R2: inc in each st (12)
- R3: (sc, inc) rep around (18)
- R4: (2 sc, inc) rep around (24)
- R5: (3 sc, inc) rep around (30)
- R6: (4 sc, inc) rep around (36)
- R7: (5 sc, inc) rep around (42)
Next, then, work on the head height:
8. R8 to R13: sc around (42 each round)
After that, start closing the head:
9. R14: (5 sc, dec) rep around (36)
- R15: (4 sc, dec) rep around (30)
- R16: (3 sc, dec) rep around (24)
Now is the best time to place safety eyes. For a cute, soft expression, place them around the middle of the head, about 7 to 9 rounds down from the top, with 7 to 9 stitches between them. Pin first, adjust, then lock them.
- R17: (2 sc, dec) rep around (18)
- Stuff firmly, shaping the head round as you go.
- R18: (sc, dec) rep around (12)
- R19: dec around (6)
- FO, close the hole, weave in the end.
2. Face Details
With black yarn or embroidery floss:
- Embroider a small mouth centered under the eyes. I like a tiny curved line, only 1 to 2 stitches wide, so the expression stays sweet.
- Optional brows: add short brows one round above the eyes. Keep them light so the face feels friendly.
3. Ogre Ears (make 4 in light green)
These are small and a little fiddly, so take it slow.
- R1: MR, 4 sc (4)
- R2: sc around (4)
- R3: inc in each st (8)
- R4: sc around (8)
- FO, leave a tail for sewing.
To attach, first pin the ears to the sides of the head at the same height. A good spot is slightly above eye level, about 2 to 3 stitches behind the outer corner of each eye. Sew around the ear base with small stitches.
4. Body (make 2, color changes vary by doll)
We will make a compact torso that looks nice as a keychain.
In dark green (or cream if you prefer the clothing on the torso):
- R1: MR, 6 sc (6)
- R2: inc around (12)
- R3: (sc, inc) rep (18)
- R4: sc around (18)
- R5: (4 sc, dec) rep (15)
- R6: sc around (15)
- Stuff lightly.
- R7: (3 sc, dec) rep (12)
- R8: sc around (12)
- FO, leave a tail for sewing the head to the body.
This makes a tiny body. If you want a slightly taller “torso,” add 1-2 extra rounds of sc before decreasing.
5. Arms and Legs
Keep these simple and proportional.
Arms (make 4 in light green)
- R1: MR, 6 sc (6)
- R2 to R4: sc around (6)
- Lightly stuff just the hand area if you want, or leave it unstuffed for a soft look.
- FO, flatten the opening and sew it closed. Leave a tail.
Legs (make 4, shoe color varies)
Shoes in brown for Doll 1, and dark green for Doll 2:
- R1: MR, 6 sc (6)
- R2: inc around (12)
- R3: sc around (12), in back loops only (this helps the shoe edge pop)
Switch to light green for the “leg”: - R4 to R6: sc around (12)
- FO, lightly stuff, leave tail for sewing.
6. Hair for the Female Doll (reddish-brown)
First, crochet a simple hair cap:
- R1: MR, 6 sc (6)
- R2: inc around (12)
- R3: (sc, inc) rep (18)
- R4: (2 sc, inc) rep (24)
- R5: (3 sc, inc) rep (30)
- R6: (4 sc, inc) rep (36)
- R7: (5 sc, inc) rep (42)
- R8 to R10: sc around (42)
Next, add a few front strands:
- sl st into a stitch near the front edge, ch 14, then work back with sc in each chain (or hdc for softer curls).
- sl st to the cap again and repeat 4 to 6 times across the front.
Finally, for simple “braids,” cut 15 strands of yarn, each 15 cm (6 in) long. Group them into 3 bundles of 5 strands, latch them through the back of the cap, and braid each bundle. Tie with matching yarn.
7. Outfit for the Male Doll (cream and brown tunic look)
This outfit is the cutest part because it feels rustic and recognizable without being complicated.
- Use cream yarn to create a simple “shirt” panel: ch 12, sc in 2nd ch and across (11 sc).
- Work 4 rows of sc to make a tiny rectangle.
- Wrap it around the body like a vest, overlapping slightly at the back, and sew the edges.
Add brown details:
- Belt: ch 22, FO, wrap around waist and stitch in place.
- Straps: make 2 thin chains (about 1-12 ch each), sew them from front to back like suspenders.
- Optional trim: surface crochet a short brown line along the vest edge.
8. Outfit for the Female Doll (dark green dress)
For a clean, dressy look, keep the torso in dark green and add a small skirt.
Skirt (attach yarn to the lower body edge):
- Join dark green, sc around evenly. Aim for 24 stitches around the base.
- Next round: (inc, sc) rep around to create a gentle flare (36 sts)
- Work 3 to 5 rounds sc around (36)
- FO and weave in ends.
If you want a slightly more “princess” shape, use one round of (sc, inc) instead, then do straight rounds.
9. Assembly
First, sew the head to the body using the long tail. Use small stitches, going through the head stitches and body stitches evenly, and keep checking that the face points forward.
Next:
- Sew legs onto the bottom front of the body, spaced evenly so the doll can sit slightly.
- Sew arms onto the sides, slightly forward for a cuddly pose.
- Attach ears (for the female doll, I like adding ears after the hair cap so they sit neatly).
- Sew on a hair cap and arrange strands or braids.
- Add outfit pieces last so you can hide stitches under belts and trims.
Take your time here. Tiny dolls look best when everything is centered and snug.
10. Keychain Attachment
At the top of the head:
- Insert hook into a stitch on the crown, pull up yarn, and ch 8-10 to form a loop.
- sl st back into the same stitch, FO, and weave in securely.
- Thread the keychain ring through the loop and close the chain.
For extra strength, I like to stitch around the loop base a second time with a tapestry needle.
Finishing Touches
Gently shape the heads and bodies with your fingers, smoothing any uneven stuffing. Check that the eyes sit level, the ears match, and the outfits look tidy. Finally, weave in all ends inside the body or head, and trim any fuzzy bits so the dolls look polished and gift-ready.
Beginner Tips for Tiny Amigurumi (5)
- Use tight stitches so stuffing does not show through.
- Choose a hook slightly smaller than your yarn label suggests.
- Pin everything in place fore sewing, eeespeciallye yeyyokeears, and arms.
- Stuff in small pieces and shape as you go, rather than overstuffing at the end.
- Keep your stitch marks consistent, since small rounds are easy to miscount.
Common Mistakes to Avoid
Loose stitches can make stuffing peek out, so aim for a firm tension. Uneven eye placement changes the whole expression, so measure twice before locking eyes in place. Crooked ears are also very noticeable on an ogre-inspired doll, so pin them carefully. Bulky assembly happens when knots and ends are left near seams, so hide tails deep inside. Lastly, a weak keychain attachment can break quickly, so reinforce that top loop and hardware.
Variations to Personalize
- Use pastel green and soft cream for a gentler, inspired version.
- Turn them into bag charms by adding a longer strap instead of a metal chain.
- Add blush cheeks with pink embroidery floss or a tiny bit of blush powder.
- Make a mini collectible set by changing outfits, hair, or facial expressions.
- Create matching themed accessories like a tiny heart, a mini flower, or a small “love” tag stitched in felt.
Conclusion
If you’ve been looking for a cheerful project that feels special but is still beginner-friendly, this ogre-inspired couple keychain set is such a sweet make. It’s small enough to finish in a day, meaningful enough to gift, and cute enough to keep on your own keys or bag. I hope you enjoy crocheting your Crochet Shrek Fiona Couple Keychain Amigurumi duo and making them your own with tiny details and lots of love.