Crochet Schnauzer Dog Amigurumi Pattern for Lovely Finishes
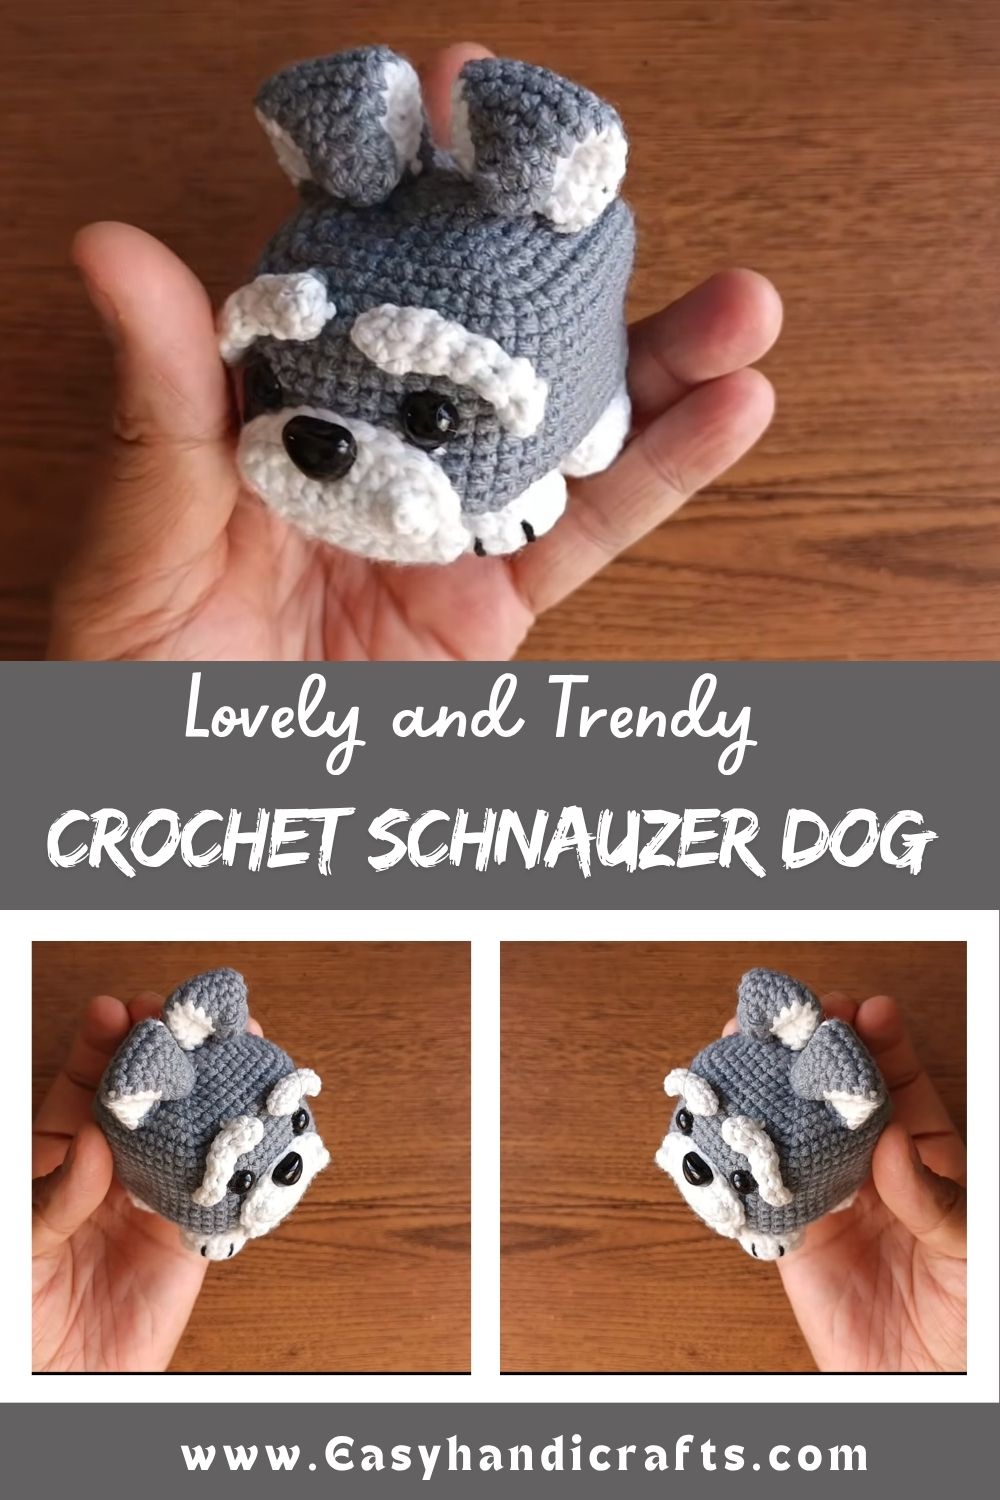
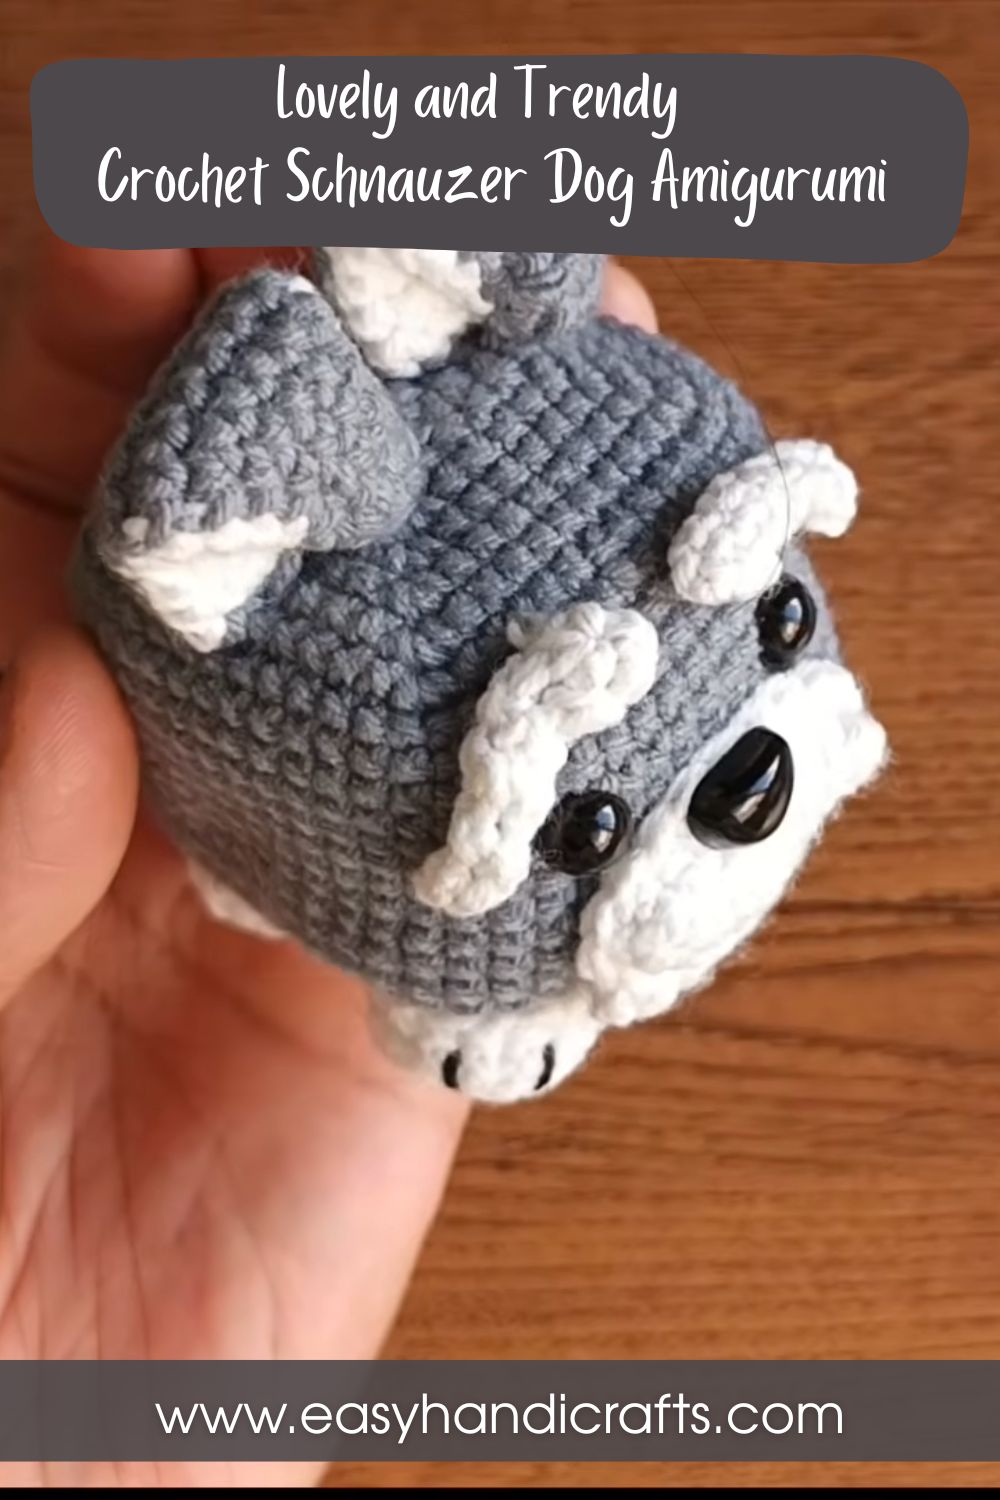
Few things bring as much joy to a crochet lover as finishing a tiny amigurumi that actually looks like a real animal. This crochet Schnauzer dog pattern does exactly that, with its signature bushy eyebrows, fuzzy beard, and stout little body that captures the breed’s personality perfectly. Whether you already own a Schnauzer or simply love their scruffy charm, this project turns a few balls of yarn into a keepsake worth keeping on a shelf forever.
Crochet has a special way of turning simple stitches into characters with real personality, and this pattern proves it beautifully. Dog-shaped amigurumi have become one of the most searched crochet ideas online, and it’s easy to see why: they make thoughtful gifts, adorable keychains, and sweet nursery decorations. This guide walks you through every stage of the process, from gathering materials to giving your finished pup its signature furry face.
What Is This Crochet Project All About?
This Crochet Schnauzer Dog Amigurumi project focuses on building a small stuffed Schnauzer dog using basic amigurumi stitches worked in continuous rounds. The body, head, legs, and ears are crocheted separately and then joined together, while the beard and eyebrows are added afterward using a simple fringe or loop technique to recreate that unmistakable Schnauzer look.
Unlike some amigurumi patterns that require pages of complicated shaping, this design keeps things approachable. Increases and decreases do most of the heavy lifting to form the rounded body and tapered snout, so even crocheters with modest experience can follow along without getting lost. By the end, you’ll have a huggable little dog with a face full of character.
Skill Level
This pattern sits at a beginner to intermediate level, needing about twenty to thirty hours for a confident crocheter to finish from start to end, though total time varies with yarn weight, hook size, and how much detail you add to the fur.
Materials You Will Need
Getting your supplies ready before you start makes the whole process smoother, so here’s what to gather before picking up your hook.
Yarn
- Worsted weight (medium, 4-ply) acrylic or cotton yarn in grey or silver for the body
- A small amount of white or cream yarn for the beard, eyebrows, and chest patch
- Black yarn for the nose and small facial details
Hook Size
- 3.5mm to 4mm crochet hook, depending on your yarn thickness and tension
- A smaller 3mm hook is handy if you’re making a mini keychain version
Extra Tools
- Stuffing (polyester fiberfill works best for a firm, huggable shape)
- Safety eyes, around 8mm to 10mm
- Yarn needle for sewing pieces together
- Stitch markers to track your rounds
- Small scissors
- A pet brush or fine-tooth comb for fluffing the beard fur
- Straight pins to hold pieces in place before sewing
Stitches and Abbreviations Used
Here are the stitches you’ll be working with throughout this pattern:
- MR – Magic Ring
- ch – Chain
- sc – Single Crochet
- inc – Increase (two single crochets in one stitch)
- dec – Decrease (single crochet two stitches together)
- dc – Double Crochet
- st(s) – Stitch(es)
- BLO – Back Loop Only
- sl st – Slip Stitch
Step-by-Step Crochet Instructions
Step 1: Crocheting the Body
Start with a magic ring of six single crochets, then build outward using increase rounds until the body reaches its widest point. Work several rounds without increasing to form the middle section, then begin decreasing gradually to taper the shape before stuffing firmly and closing the opening.
Step 2: Shaping the Head
The head begins the same way, with a magic ring that grows through a few increase rounds until it reaches the right size for the Schnauzer’s rounded skull. Continue with straight rounds, then narrow the stitches slightly to shape the snout, leaving room to attach the safety eyes before stuffing.
Step 3: Making the Snout and Nose
Crochet a small oval piece using single crochets, working a few increase and decrease rounds to create that classic boxy Schnauzer muzzle. Attach a black popcorn stitch or a small crocheted circle for the nose, then stuff lightly and sew it onto the front of the head.
Step 4: Crocheting the Ears
Work two small triangular or folded flap-shaped pieces using single crochet rows. Fold each ear slightly forward before stitching it to the sides of the head, which gives the finished dog that alert, perky expression Schnauzers are known for.
Step 5: Legs and Paws
Crochet four short leg pieces in the same grey yarn, stuffing each one lightly so they stay soft but hold their shape. Attach the front two legs near the top of the body and the back two slightly lower, which helps the finished dog sit upright on its own.
Step 6: Assembling the Dog
Once every piece is complete, pin the head, legs, and ears onto the body before sewing anything permanently. Take a moment to adjust the placement until the proportions look balanced, then stitch everything securely using a yarn needle and matching thread.
Step 7: Adding the Signature Beard and Eyebrows
Cut short strands of white yarn and attach them one by one along the muzzle and above the eyes using a simple fringe technique, or work loop stitches directly into the fabric for a built-in furry texture. Trim and brush the strands gently with a pet brush until the beard and eyebrows look soft, textured, and full of character.
Helpful Beginner Tips
- Always count your stitches at the end of every round; losing track early leads to a lopsided shape later.
- Use a stitch marker on the first stitch of each round since this pattern works in a continuous spiral, not joined rounds.
- Keep your tension slightly tight so stuffing doesn’t peek through the fabric.
- Work in good lighting when attaching the beard fur, since it’s easier to notice gaps and uneven strands that way.
- Practice the loop or fringe technique on a scrap swatch first if you’ve never made fuzzy amigurumi fur before.
Common Mistakes and How to Solve Them
Mistake 1: Uneven stitch count causing a wobbly shape.
Solution: Count stitches after every round and place a marker at the start so you always know where a new round begins.
Mistake 2: Overstuffed or understuffed body parts.
Solution: Add stuffing gradually in small amounts, checking the shape often rather than filling everything at once.
Mistake 3: Beard fur looking patchy or thin.
Solution: Add slightly more strands than you think you need, since trimming and brushing always reduces volume.
Mistake 4: Ears attached at the wrong angle.
Solution: Pin the ears in a few different positions and step back to look at the whole face before sewing them permanently.
Mistake 5: Safety eyes placed too close together or too far apart.
Solution: Insert the eyes loosely first and check the look from different angles before locking them into place.
Pattern Customization Ideas
- Swap the grey body yarn for black, white, or salt-and-pepper shades to match different Schnauzer coat colors.
- Add a small crocheted bandana, bow, or collar for extra personality.
- Turn the pattern into a keychain by using a smaller hook and adding a keyring loop to the head.
- Make a mini version as a bag charm or ornament using thinner yarn and a 2.5mm hook.
- Embroider a name tag onto the collar for a personalized gift.
Size and Color Suggestions
This pattern typically finishes between four and six inches tall, depending on your yarn weight and hook size, though a bulkier yarn will produce a larger, chunkier dog. Traditional Schnauzer colors like salt-and-pepper grey, solid black, and black-and-silver work beautifully, but pastel or novelty colors also make charming versions for nursery decor or playful gifts.
Frequently Asked Questions
Is this Crochet Schnauzer Dog Amigurumi suitable for absolute beginners?
Yes, as long as you’re comfortable with basic single crochet, increases, and decreases, you’ll be able to follow this pattern with a little patience.
What yarn works best for the fuzzy beard effect?
A slightly textured or brushed yarn gives the fluffiest results, though regular acrylic yarn also works well once brushed out with a pet comb.
Can I make this without safety eyes?
Yes, embroidered eyes using black yarn or thread are a safe alternative, especially for gifts meant for very young children.
How long does this project usually take?
Most crocheters finish the full dog, including the beard detailing, within a few evenings of steady work.
Can I felt the finished Crochet Schnauzer Dog Amigurumi for extra durability?
If you use a wool-blend yarn, light felting can add extra firmness, though this step is entirely optional.
Conclusion
This Crochet Schnauzer Dog Amigurumi pattern brings together simple stitches and a lot of personality, resulting in a finished piece that feels far more impressive than the actual effort required. From the rounded little body to the fuzzy beard that makes this breed so recognizable, every step adds character to the final result. Whether you’re crocheting it as a gift, a keychain, or a cozy addition to your own shelf, this pattern is a rewarding project that proves how much charm a handful of yarn and a crochet hook can create.