Crochet Red Panda Amigurumi Pattern Cute Animal You Can Make Today
Some crochet projects are just meant to be made. This red panda amigurumi is one of them. It is soft, it is sweet, and once you start, you genuinely cannot put it down. If you have been looking for something worth your time and yarn, this is it.
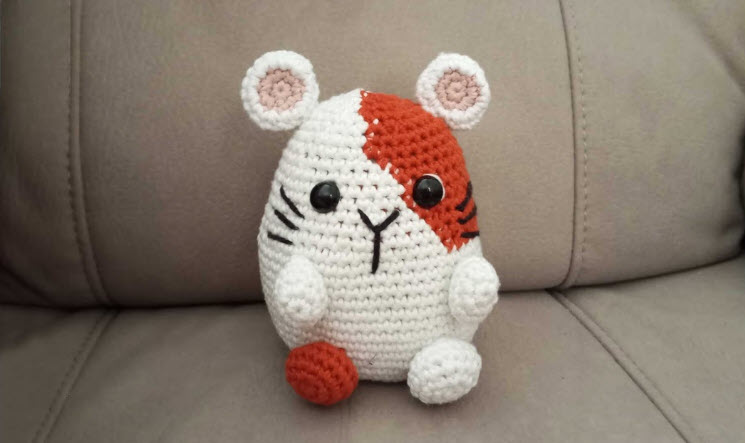
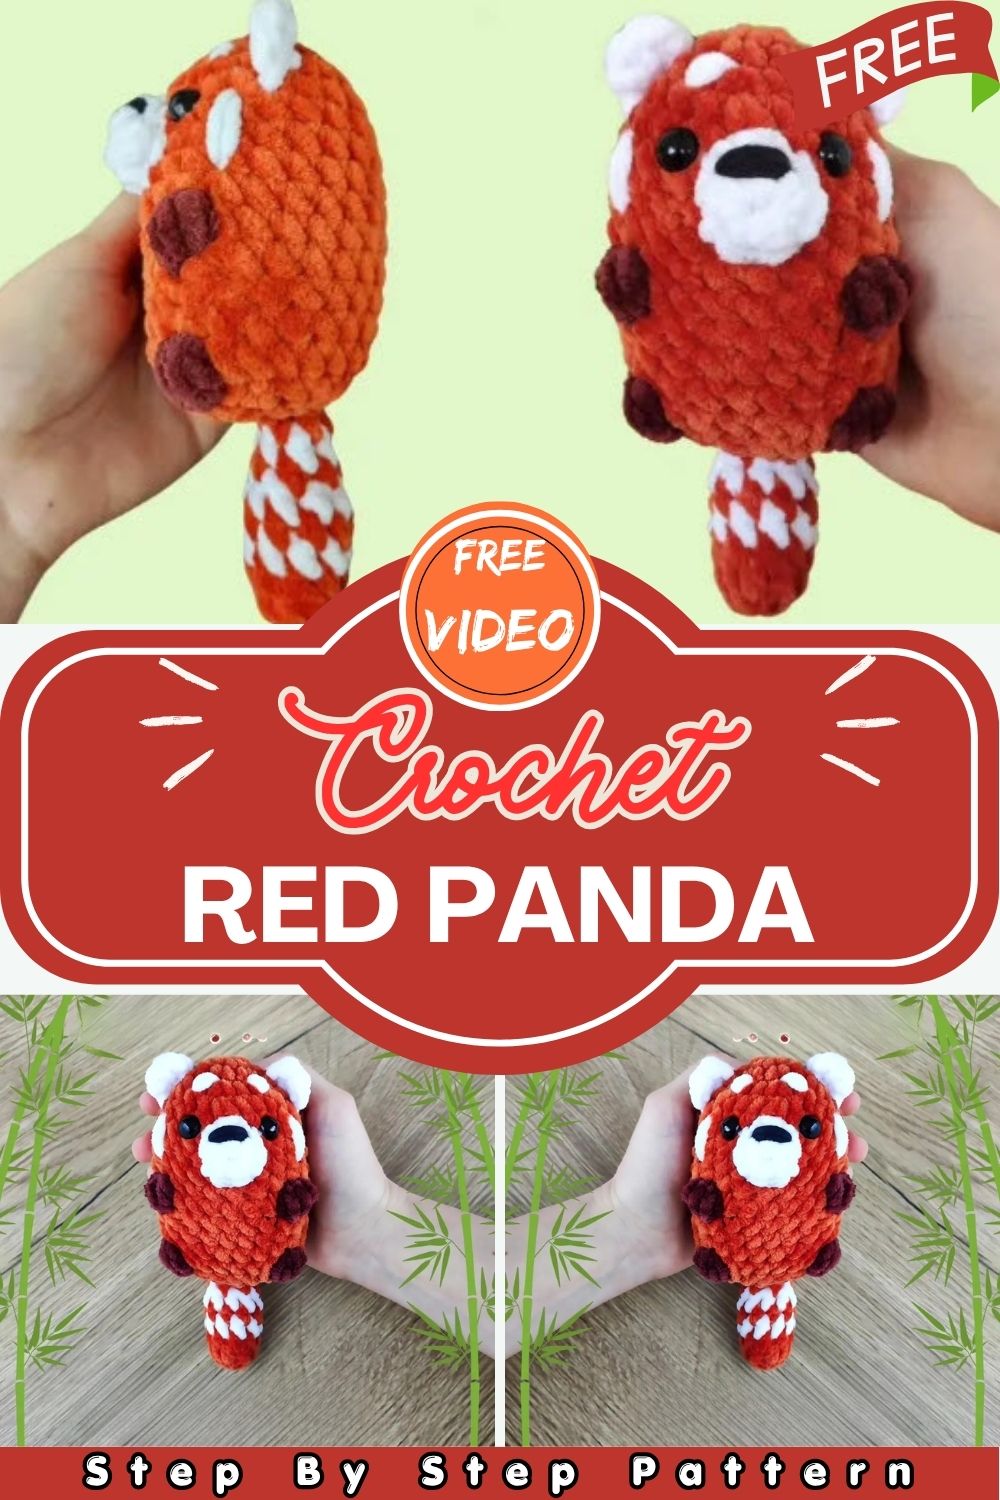
Red pandas are among the most beloved animals in the world, and this crochet red panda amigurumi pattern brings that same charm straight into your hands. Worked in continuous rounds using super bulky chenille yarn, this project gives you an irresistibly soft and huggable finished toy. The stitches are simple and beginner-friendly, making it a great choice whether you are new to amigurumi or simply looking for a satisfying project to enjoy. The striped tail, tiny embroidered nose, and bobble stitch legs give this little panda all the detail it needs to look absolutely wonderful. Follow the complete step-by-step instructions below and you will have your very own red panda ready before you know it.
Important Notes
This pattern is written in US crochet terminology and is worked in continuous rounds. Please do not sell, copy, or claim this pattern as your own. You are welcome to sell the finished product as long as you credit the original creator @crochetby.sandra.
Materials
Before you begin, make sure you have everything ready so your crocheting session runs smoothly from start to finish.
- Super bulky chenille yarn in orange
- Super bulky chenille yarn in brown
- Super bulky chenille yarn in white
- Black acrylic yarn (for embroidery)
- 5 mm crochet hook
- Sewing needle
- 10 mm safety eyes
- Scissors
- Stitch marker
- Toy stuffing (fiberfill)
A quick tip on yarn choice: Chenille yarn is highly recommended for this project because of its velvety, plush texture. It gives the finished red panda a soft, almost lifelike feel that regular acrylic yarn simply cannot match. Make sure your hook size suits the yarn weight you choose so your stitches are firm enough to hold the stuffing inside without gaps showing through.
Abbreviations
R: Round
MR: Magic Ring
st(s): Stitch(es)
ch: Chain
sl st: Slip Stitch
sc: Single Crochet
hdc: Half Double Crochet
inc: Increase
dec: Decrease
cc: Color Change
BO: Bobble Stitch
(x): Total number of stitches in the round
FO: Fasten Off
The Pattern
Bobble Stitch (BO)
Yarn over, insert hook into the next stitch, pull up a loop, yarn over, pull through 2 loops. Repeat this sequence a total of 4 times. Yarn over and pull through all 5 loops on the hook. This stitch creates the raised, rounded legs that give the red panda its distinctive look.
Body
Start with orange yarn.
- R1: 6 sc in MR. (6)
- R2: inc x 6. (12)
- R3: (sc, inc) x 6. (18)
- R4: (2 sc, inc) x 6. (24)
- R5-8: 24 sc around. [4 rounds]
- R9: 8 sc, BO (with brown), 6 sc, BO (with brown), 8 sc. (24)
Attach safety eyes between rounds 5 and 6, 4 stitches apart.
- R10-13: 24 sc around. [4 rounds]
Note: The next round adds the second set of legs. Make sure they are aligned with the first bobble stitches. Depending on your tension, you may shift placement by 1 or 2 stitches.
- R14: 9 sc, BO (with brown), 6 sc, BO (with brown), 7 sc. (24)
- R15: (2 sc, dec) x 6. (18)
Stuff the body firmly at this point.
- R16: (sc, dec) x 6. (12)
- R17: dec x 6. (6)
Finish stuffing. Fasten off and close the hole securely.
Muzzle
Use white yarn.
- R1: 6 sc in MR. (6)
- R2: (sc, inc) x 3. (9)
Cut the yarn and leave a long tail for sewing. The muzzle forms the sweet little snout of the red panda and is one of the most important details for achieving the right expression.
Ears (Make 2)
Use white yarn.
Chain 2. In the 2nd chain from hook: sc, 2 hdc, sc.
Cut the yarn and leave a long tail for sewing. These small ears stitch up in under a minute and add instant character to the finished panda.
Tail
Start with orange yarn. Stuff as you go.
- R1: 6 sc in MR. (6)
- R2: (sc, inc) x 3. (9)
- R3: 9 sc around. (9)
- R4: Color change to white — 9 sc around. (9)
- R5: Color change to orange — 9 sc around. (9)
- R6: Color change to white — 9 sc around. (9)
- R7: Color change to orange — (sc, dec) x 3. (6)
- R8: Color change to white — 6 sc around. (6)
- R9: Color change to orange — 6 sc around. (6)
Finish stuffing. Cut the yarn and leave a long tail for sewing. The alternating color changes create the signature striped tail that makes this red panda instantly recognizable.
Assembly and Face Details
Once all pieces are complete, it is time to bring your red panda together. Take your time with this stage as neat and secure seams make a huge difference in the overall finish.
- Sew the muzzle onto the front of the head between rounds 4 and 9.
- Sew the ears onto the top of the head between rounds 2 and 6.
- Sew the tail onto the bottom of the body between rounds 15 and 17, positioned closer to the back. For a sitting version, sew the tail between rounds 13 and 15 instead.
- Embroider the eyebrows just above the safety eyes on round 3.
- Embroider the cheeks between rounds 5 and 9 using a soft pink or contrasting color thread.
- Use black thread to embroider the nose onto the center of the muzzle.
Weave in all yarn ends securely once assembly is complete. A well-finished amigurumi always looks more polished and professional when no stray yarn ends are visible.
Customization and Variations
Once you finish your first red panda, you will quickly realize how much room this pattern leaves for creativity. In fact, many crocheters end up making several versions simply because it is so enjoyable to switch things up. Here are some ideas worth trying.
Play Around with Colors
The orange, brown, and white yarn combination in this pattern follows the natural coloring of a real red panda, but honestly, you do not have to stay that close to nature. Some crafters prefer going in a completely different direction. For instance, a dusty rose body with cream details gives a softer, more whimsical feel. Others go bold with deep jewel tones like forest green or navy, which result in a striking, modern-looking toy. If you are making this for a nursery, soft mint or buttercream yellow can look absolutely lovely on a shelf.
Adjust the Size to Suit Your Needs
The good news is that resizing this pattern does not require any complicated math. If you want a bigger panda, simply switch to a larger hook — a 6 mm or 7 mm works well — and pair it with a chunkier yarn. On the other hand, if you prefer something smaller and more delicate, a 3 mm hook with lightweight cotton yarn will give you a pocket-sized version that is equally adorable. Either way, the rounds and stitch counts stay exactly the same.
Change the Pose
This pattern gives you the option to position the tail differently depending on whether you want a sitting or a more upright pose. Additionally, the amount of stuffing you use plays a bigger role than you might think. A loosely stuffed body naturally settles into a rounder, slouchy sitting shape, whereas a firmly packed body tends to hold its form more rigidly. Try both and see which one you prefer before closing up the final round.
Make It Safe for Little Ones
If this red panda is going to end up in the hands of a baby or a toddler, it is worth skipping the safety eyes altogether. Instead, embroider two small circles using black yarn. Not only does this remove any risk, but it also gives the finished toy a gentler, more classic handmade look that many people actually prefer over plastic eyes.
Add Your Own Embroidery Details
Beyond the basic nose and eyebrows, there is plenty of space to add small personal touches. A few short stitches across the tops of the feet can suggest claws. A light dusting of pink stitches on the cheeks adds warmth and expression. Even a tiny curved smile just below the muzzle can completely change the mood of the finished panda. These details cost almost no extra time, yet they make a noticeable difference in how lively and expressive the final result feels.
Turn It into a Gift
Finally, this red panda makes a genuinely thoughtful handmade gift. Rather than simply handing it over, consider tucking a small note inside the packaging that mentions it was made by hand. That detail alone tends to make people appreciate it on a completely different level. It suits almost any occasion, birthdays, baby showers, Christmas, or just because.
Conclusion
Making a Crochet Red Panda Amigurumi is one of those projects that reminds you why you fell in love with crocheting in the first place. From the very first magic ring to the last embroidered nose stitch, every step of this pattern is enjoyable, satisfying, and genuinely fun. The chunky chenille yarn works up quickly, the instructions are easy to follow, and the result is a soft, beautiful little animal that is as pleasing to make as it is to hold.
Whether you are keeping this red panda for yourself or giving it away as a gift, it is a project worth being proud of. If you share your finished creation on social media, be sure to credit the original pattern designer so others can find and enjoy this pattern too.
Happy crocheting, your little red panda is ready to be made.