Easy Crochet Pumpkin Hat for Cats Pattern
Crochet pumpkin hat for cats is the perfect free pattern for turning your kitty into a tiny jack o lantern this fall. This crochet cat hat has a bright orange crown and a green stem with a spooky face stitched on top. A soft tie strap keeps the hat snug and comfortable while your cat poses for photos. The step by step tutorial is beginner friendly and works up in one afternoon with basic stitches. Make an extra crochet pumpkin hat for cats as a Thanksgiving crochet pet accessory or a Christmas gift for cat lovers.
Below the ear openings, the body continues in solid double crochet rows to complete the cap. The stem is a separate piece, also started in a magic ring, with raised edges that give it a textured, stalk-like shape. Last comes the face, with black felt for the eyes and nose and a zigzag mouth stitched in black thread, so the expression sits cleanly against the orange stitches.
The pattern uses about 50 g of orange yarn, a small amount of green, and a 4.0 mm hook. You also need a tapestry needle, scissors, glue, and roughly 40 cm of black thread. Long chains at the lower sides work as ties that fasten under the chin.
What Makes This Crochet Pumpkin Hat for Cats Stand Out
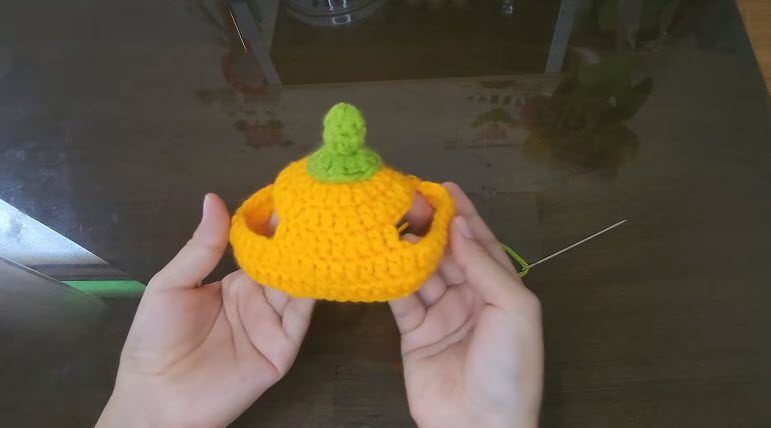
The ear openings set this hat apart from a plain round cap. On the fourth row, you work chain spaces over skipped stitches. Those gaps become two wide loops, one on each side, where your cat’s ears can slide through. In the finished photo, the lower edge flares out a little around the openings.
The top is just as deliberate. A green stem, worked separately with raised edges, rises from the center of the orange dome, and the color contrast makes it read as a pumpkin right away. Keep the face simple: angled black felt eyes, a small felt nose, and a zigzag mouth stitched in black thread.
Who This Crochet Pumpkin Hat for Cats Pattern Suits
This pattern suits anyone who wants a seasonal accessory for a cat and feels comfortable working in rounds with basic sewing. It also works well as a Halloween photo prop. Since the ear openings are built into the cap, you never need to cut or alter anything after the crocheting is done.
Materials and Tools for the Crochet Pumpkin Hat for Cats
This supply list comes straight from the pattern details:
- Orange yarn, about 50 g
- Green yarn, a small amount, for the stem
- Black embroidery thread or yarn, about 40 cm, for the mouth
- 4.0 mm crochet hook
- Black felt for the eyes and nose
- Hot glue or fabric glue
- Tapestry needle
- Scissors
Choosing Yarn
The pattern names colors and amounts but not a yarn weight or fiber. Since the hook is 4.0 mm, check the yarn label for a recommended hook range that includes that size. Smooth yarn shows stitches clearly, which makes counting rows easier, and bright orange with a lime-leaning green matches the colors in the photos.
Skill Level for the Crochet Pumpkin Hat for Cats
The pattern comes with no official difficulty rating, so the techniques say more. The hat uses a magic ring, double crochet, chains, and skipped stitches, plus basic sewing, gluing, and simple embroidery. Anyone who has worked in rounds before will recognize most of it. The ear openings need the most attention, since the chain spaces have to land where your cat’s ears actually sit.
The source gives no exact stitch counts or increase placement, so follow the full video or written pattern for those numbers. This guide covers the order of work and the reasoning behind each part.
Before You Start: Fit and Preparation
The pattern gives no finished size or head measurement, so check the fit as the work grows. Hold the cap up to your cat’s head every few rows to see how it sits. Mark where the ears are, then plan the fourth-row chain spaces to match that spot. If the fit needs adjusting, shorten or lengthen the plain double crochet rows below.
Cut the black thread to about 40 cm, and wait to cut the felt shapes until the cap is done, so their scale matches the finished hat. Keep the glue, felt, and needle nearby too, so you avoid pauses at the end.
Step-by-Step Crochet Pumpkin Hat for Cats Pattern
The sequence below follows the order of the step photos.
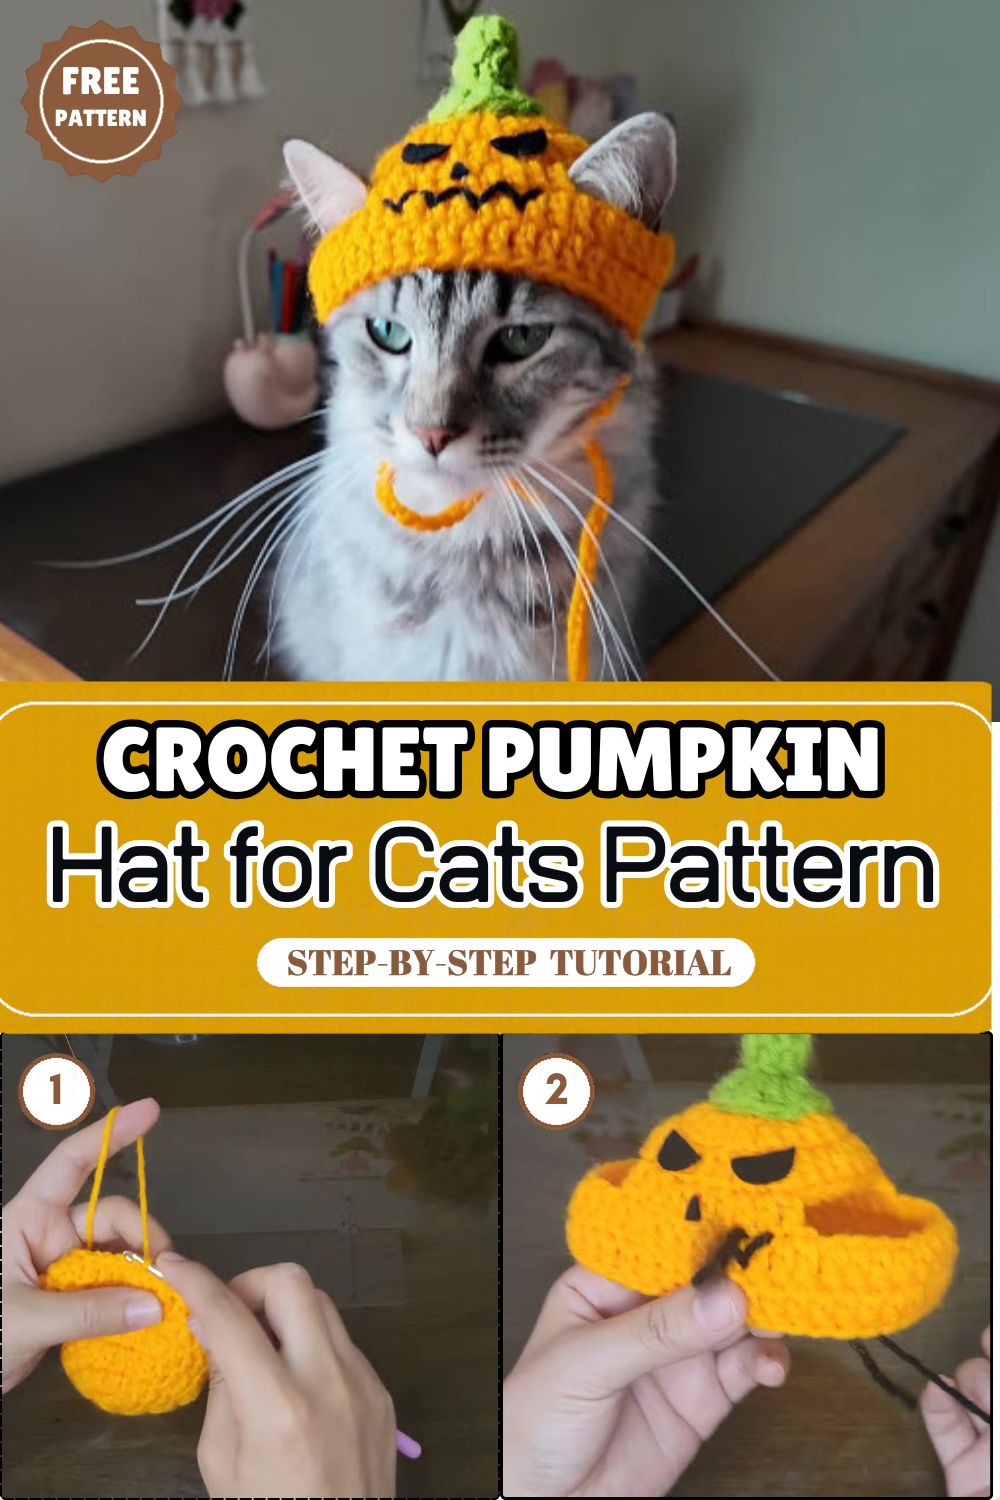
Step 1: Start the Pumpkin Cap
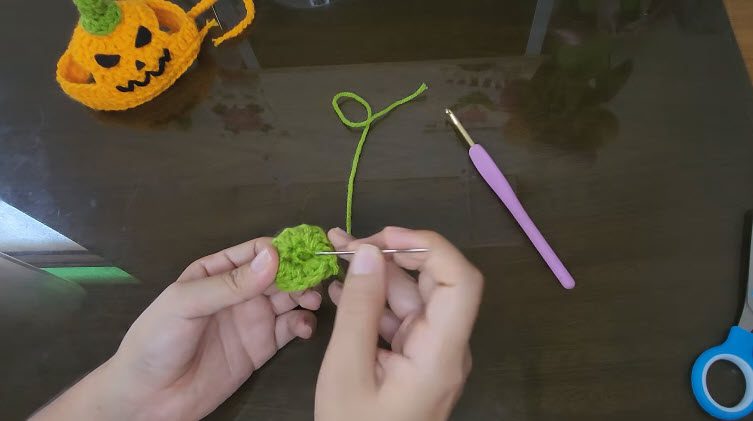
Begin with orange yarn in a magic ring. Work rows of double crochet with planned increases so the top spreads outward and then rounds into a dome. In the photos, the first rows look like a small, tight disk that gradually widens. Even spacing of the increases keeps the top from cupping too early or ruffling, so follow the counts in the full pattern. Pull the ring tail snug after the first row so no gap shows at the center.
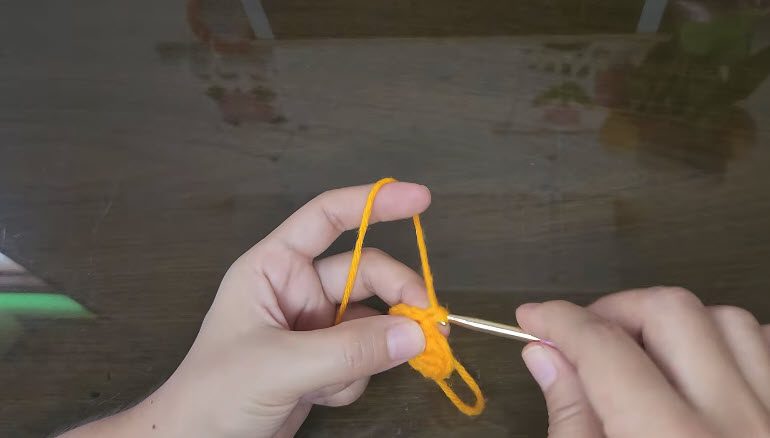
Step 2: Make the Ear Openings
On the fourth row, work chain spaces over skipped stitches to form the openings. Chain with enough slack for an ear to pass through, but not so much that the loops sag. On the following row, you typically work stitches into those chain spaces so the openings hold their shape.
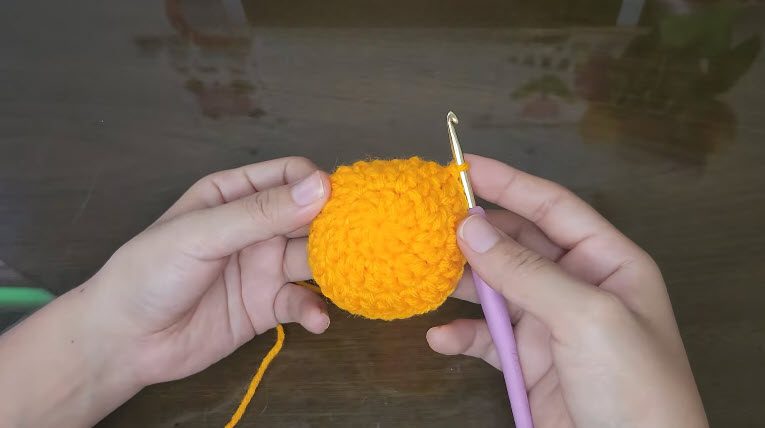
Step 3: Work the Body Rounds
Keep working solid double crochet rows downward to finish the cap body. Since these rows are solid, aim for a steady stitch count and a level edge. Try the cap on your cat before you stop, because the number of rows decides how far the hat sits.
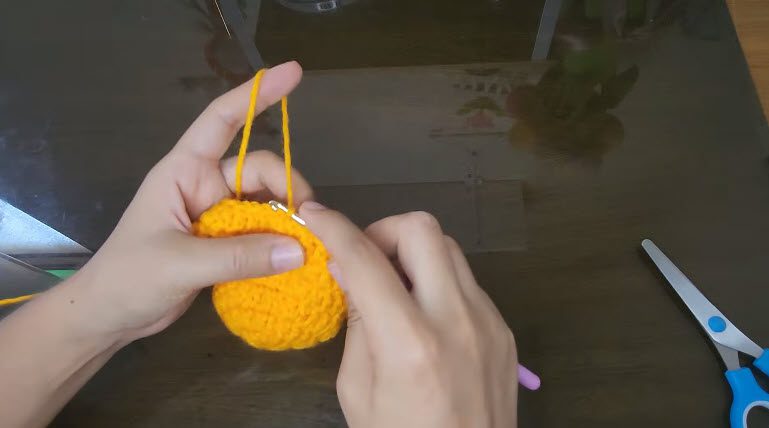
Step 4: Crochet the Stem
Switch to green yarn and start a new magic ring. Work double crochet and shape a small, textured stem with raised edges. Leave a tail long enough for sewing, since you attach the stem later.
Step 5: Sew the Stem On
Center the green piece on top of the orange cap and sew it down with the tapestry needle. Check the position from the front and the sides before you finish, then hide the yarn ends.
Step 6: Add the Face
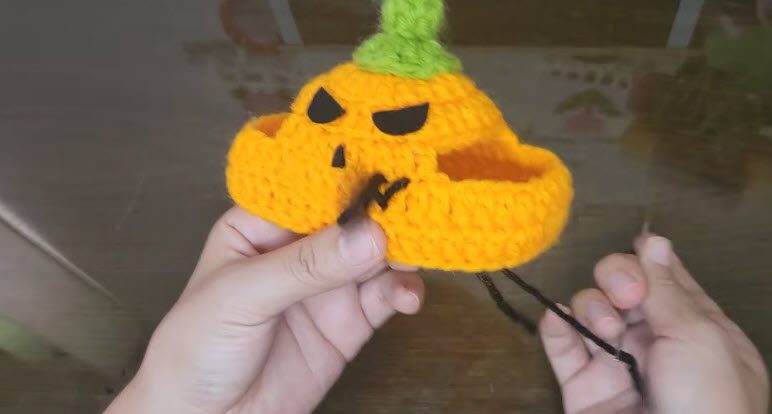
Cut two angled eyes and a small nose from black felt, and glue them to the front of the cap. Lay the shapes out first to judge the spacing before any glue goes on. Then stitch a zigzag mouth with the black thread, keeping the points even so the grin looks clean.
Step 7: Attach the Tie Straps
Attach orange yarn at the bottom sides of the hat, and crochet a long chain on each side. These chains tie under the chin. The pattern gives no length, so test it by loosely wrapping the chains under your cat’s chin, and make both sides match.
Finishing Touches for the Crochet Pumpkin Hat for Cats
Weave in every loose end before the hat goes near your cat. Trim the tails neatly and hide them on the inside of the cap so nothing dangles near the face. Give the stem a gentle tug to confirm it is firmly sewn on, and check the glued felt once it has fully set. Finally, run a finger along both chains and the edges of the ear openings to catch any loose loops that could snag a claw.
Common Mistakes and Quick Fixes for the Crochet Pumpkin Hat for Cats
Most problems with this pattern come from counting or placement.
- Uneven ear openings: Count the skipped stitches on both sides, and use stitch markers to keep the gaps symmetrical.
- A cupped or ruffled top: Cupping suggests too few increases, while ruffling suggests too many. Recount the rows and adjust.
- Loose felt: Press each piece firmly after gluing, and let the glue set before you handle it. Stitching around the edge adds a backup hold.
- A crooked mouth: Mark the start and end points with pins before you stitch.
- Straps of different lengths: Compare both chains side by side before you tie off.
Customization Ideas for the Crochet Pumpkin Hat for Cats
Color changes are the easiest adjustment. A different shade of orange, or a white cap with a ghost-style face, keeps the same construction. You can change the felt face too: a wide smile, round eyes, or tiny triangles all work with the same stitched base. If you swap in thicker or thinner yarn, recheck the fit, because the hat will come out larger or smaller than the photos. You can also make the straps in a contrasting color for a bit of visual interest.
Bonus: Photo Tips for a Halloween Cat Shoot
A cat that tolerates the hat for a few minutes can make a great photo, and a little preparation helps. Let your cat sniff the hat before you put it on. Keep sessions short and have treats ready. Natural light near a window shows the orange and green clearly, and a plain background lets the colors stand out. Shoot at your cat’s eye level, and take several quick shots instead of asking for one long pose. If your cat shakes the hat off or tries to hide, stop and try another day.
Bonus: Order of Work at a Glance
Here is the whole project in sequence, so you can see what comes next at a glance:
- Start the orange cap in a magic ring and increase to shape the crown.
- Work the fourth row with chain spaces over skipped stitches for the ear openings.
- Continue with solid double crochet rows to finish the body.
- Crochet the green stem in a separate magic ring, then sew it to the center.
- Glue on the black felt eyes and nose, then stitch the zigzag mouth.
- Attach a long chain at each lower side for the ties.
Safety and Care for the Crochet Pumpkin Hat for Cats
The pattern does not specify the yarn fiber, so follow the care symbols on the label of the yarn you use. Because the felt is glued on, spot cleaning with a damp cloth is gentler than soaking, and heat could soften hot glue.
Supervise your cat whenever the hat is on. Small felt pieces and loose ends can be a hazard if chewed, so remove the hat if your cat starts pulling at it. Keep the straps loose enough to sit comfortably, and take the hat off at the first sign of stress.
FAQs About This Crochet Pumpkin Hat for Cats
Is the hat worked in one piece?
The cap is one piece. You make the stem separately and sew it on, and you add the face last with felt and thread.
Will the ear openings fit any cat?
The pattern gives no sizing, so ear position varies from cat to cat. Hold the work up to your cat’s head and adjust the placement or the number of body rows.
How does the hat stay on?
Long chains at the lower sides tie under the chin.
Does the pattern include a size chart?
No. The details used here include no size chart, so check the fit directly on your cat.
Can I use different colors?
Yes. Swapping the orange, green, or felt colors changes only the look, though a change in yarn weight also changes the size.
Ready for Pumpkin Season
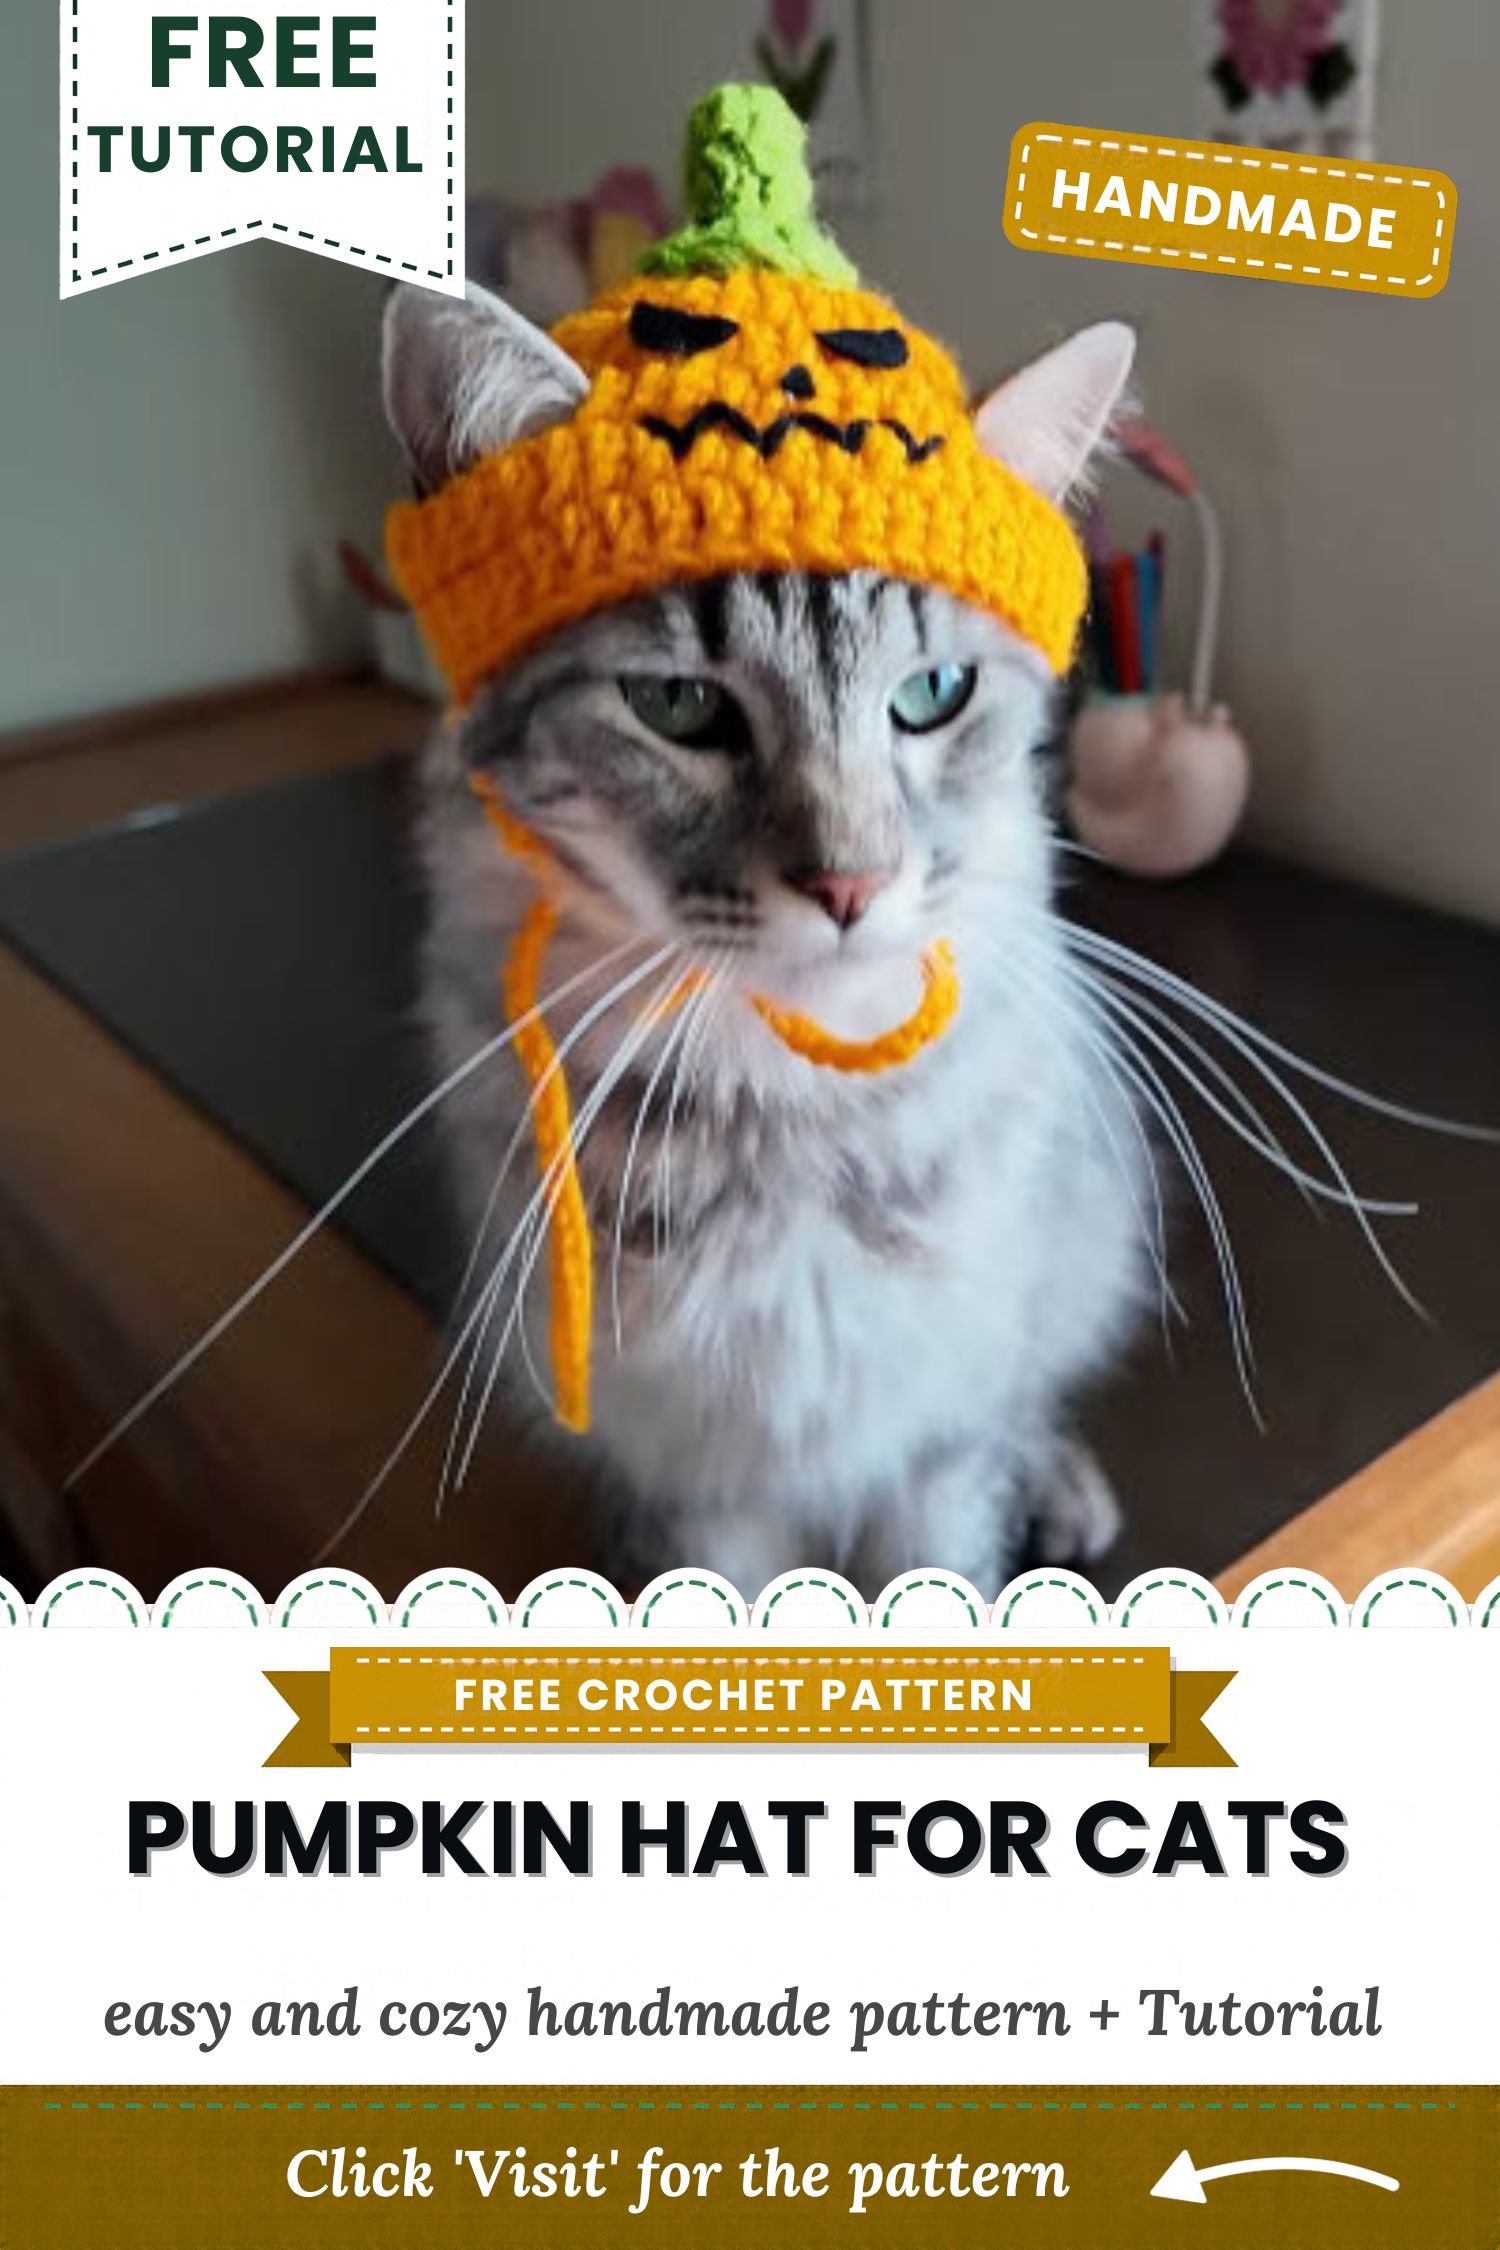
A rounded orange cap, two ear openings, a textured stem, and a stitched grin come together in this crochet pumpkin hat for cats. Take it one section at a time, check the fit as the cap grows, and keep the first fitting short and calm. Once the cap, stem, and face are finished, your little pumpkin is ready for its first photo shoot.