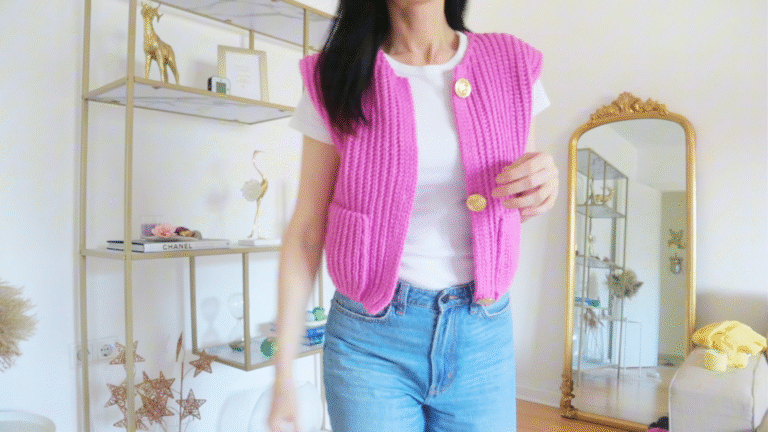
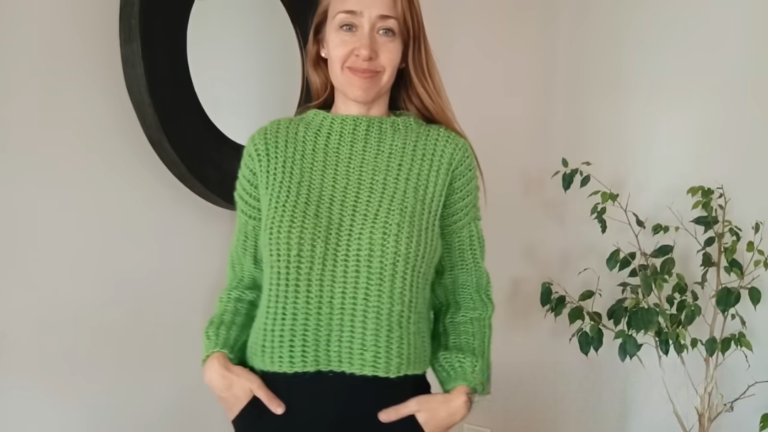
Learn to Crochet Michi sweater Pattern step by step
Soft ribbing hugs the cuffs, cheerful color blocks trade places row by row, and a simple stitch turns into something you’ll actually wear that’s the charm behind the Michi Sweater Crochet Pattern, a snug pullover built for slow mornings and easy layering.
The Michi sweater pairs a stretchy ribbed hem and cuffs with a relaxed, single crochet body, so the fit stays comfortable without any fussy shaping. Color changes happen at clean round breaks, giving the finished piece a bold, graphic stripe effect that looks far more advanced than the stitches actually are.
Every round builds confidence, and the crochet pattern rewards patience with a garment you’ll reach for constantly.
Skill Level
Beginner to confident beginner. Ribbing worked in the back loop only takes a little getting used to, and the color changes ask for one extra step at the end of a round otherwise, the whole project leans on single crochet, increases, and decreases you likely already know.
Materials and Supplies
- Yarn: worsted weight (medium #4) acrylic or acrylic-cotton blend in two contrasting colors the sample uses a warm coral/orange as the main color and soft white as the contrast
- Crochet hook: 4.5mm (US 7) or 5mm (US H-8), depending on tension
- Tapestry needle for weaving in ends and seaming
- Fabric scissors
- Stitch markers (at least 2, in a color that stands out against your yarn)
- Measuring tape
- Optional: matching sew-on buttons or a decorative patch for personalizing the finished sweater
Crochet Techniques Used
- Magic ring, to start the cuffs and neckline
- Single crochet, worked in rows and joined rounds
- Working in the back loop only, for the ribbed texture
- Increase and decrease stitches, for shaping the underarms and neckline
- Color change technique, dropping and picking up yarn at round ends
- Sewing/whipstitch seaming, to join sleeves and side seams
- Weaving in ends, for a clean finish with no visible tails
Step-by-Step Michi Sweater Pattern Instructions
Building the Ribbed Cuffs
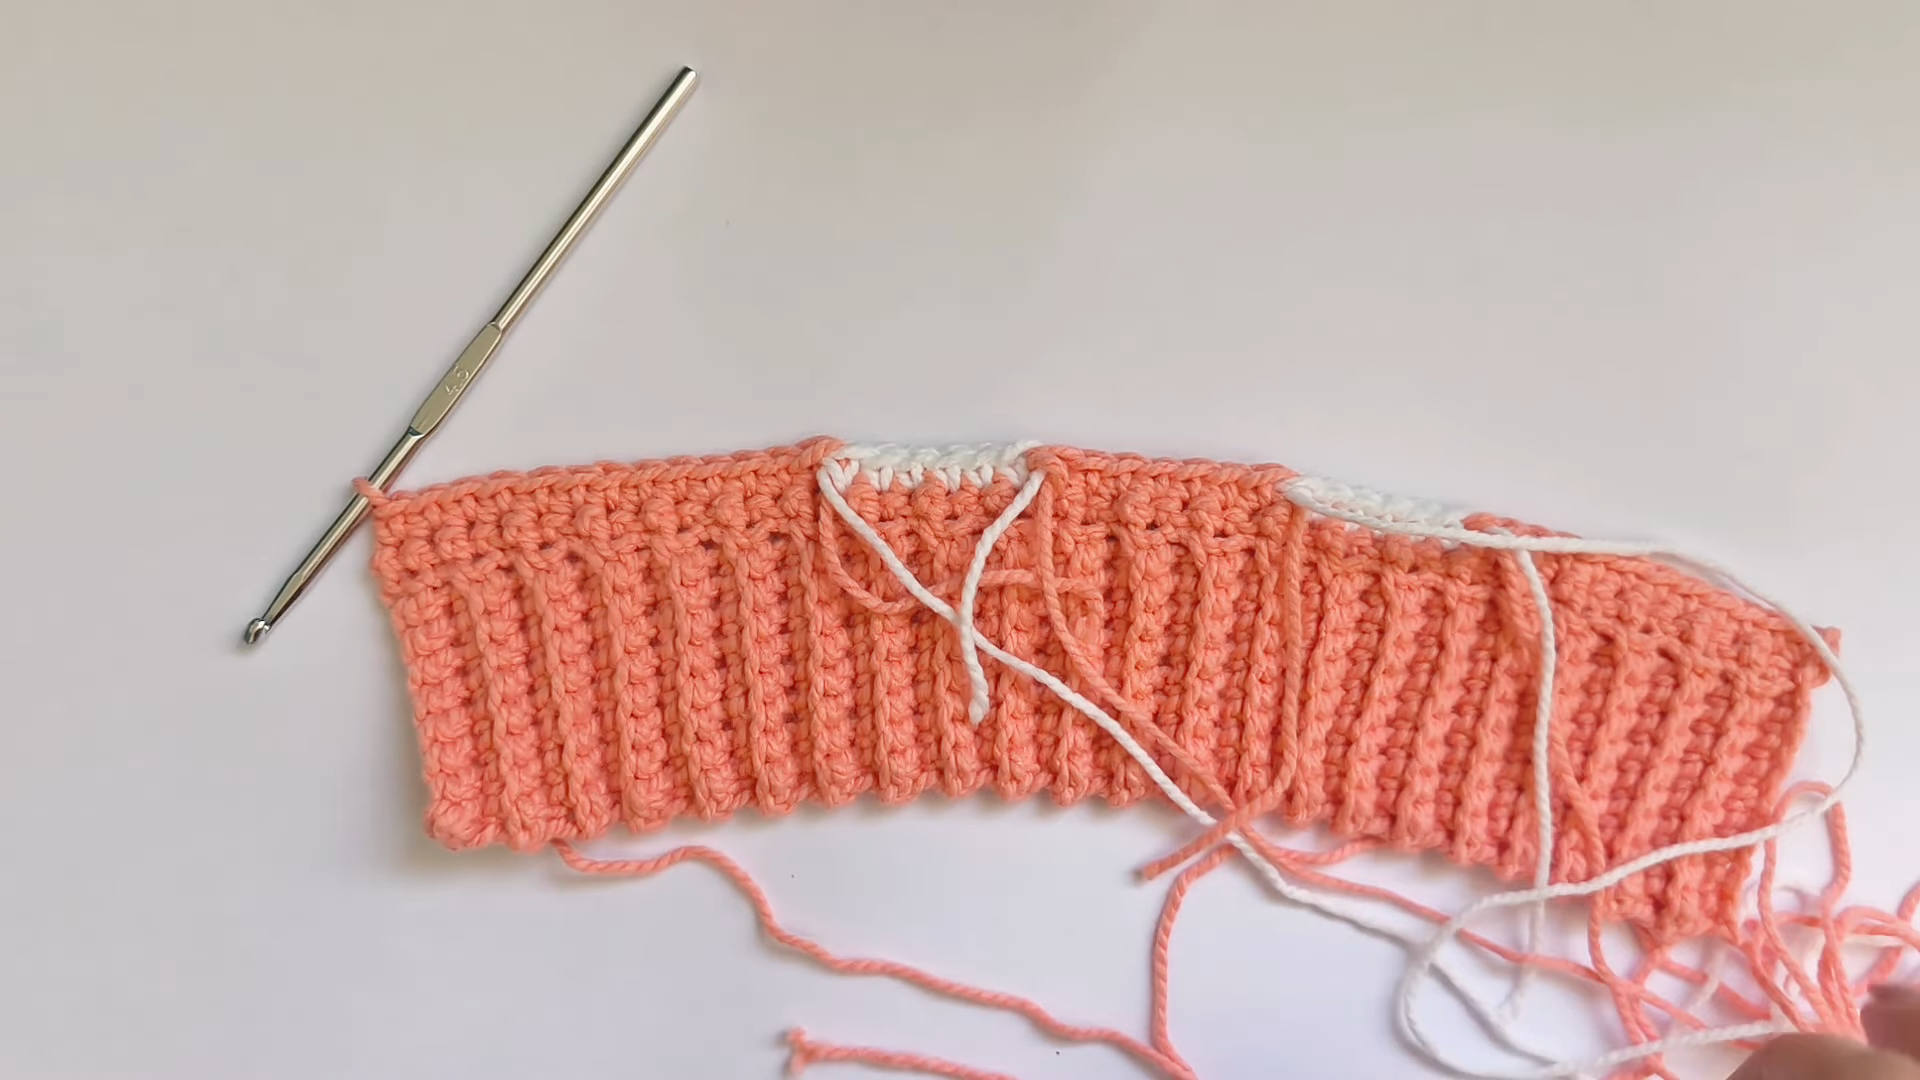
Chain a short foundation row (around 8–10 stitches, depending on your desired cuff width) and single crochet back across, working into the back loop only on every row. Fold this strip so the short ends meet, then join with a slip stitch to form a small tube; this ribbed band becomes your wrist cuff.
Michi sweater crochet pattern”
Instruction: This shows the completed ribbed cuff strip before it’s joined into a loop. Count your rows here to confirm both cuffs match before moving forward.
Stitch check: lay your two cuff strips side by side and count rows before joining either one into a tube mismatched cuffs are the easiest fix to make early and the hardest to fix late.

Shaping the Body
Once both cuffs are ready, work single crochet rounds upward from the cuff edge, increasing gradually at the sides to reach your desired chest measurement. Place a stitch marker at the start of each round so you never lose track of where a round begins this matters even more once color changes enter the picture.
Instruction: this is a second ribbed panel, shown here as a reference for matching gauge across both cuffs and the body’s ribbed hem.
Measure now: hold the growing body panel against a similar-sized sweater or against yourself before you commit to the next increase round.

Adding the Color-Block Stripes
When you reach the point where your stripe should begin, finish the last stitch of the current color, then draw the new color through the final two loops so the new yarn is already active for the next round.

crochet colorwork transition from orange to white yarn”
Instruction: this photo shows the first few stitches of the new color worked cleanly over the previous round keep tension even here so the stripe line stays crisp rather than wavy.
Fit check: before you cut or drop the old color completely, stretch the fabric gently to confirm the stripe sits at the height you planned.
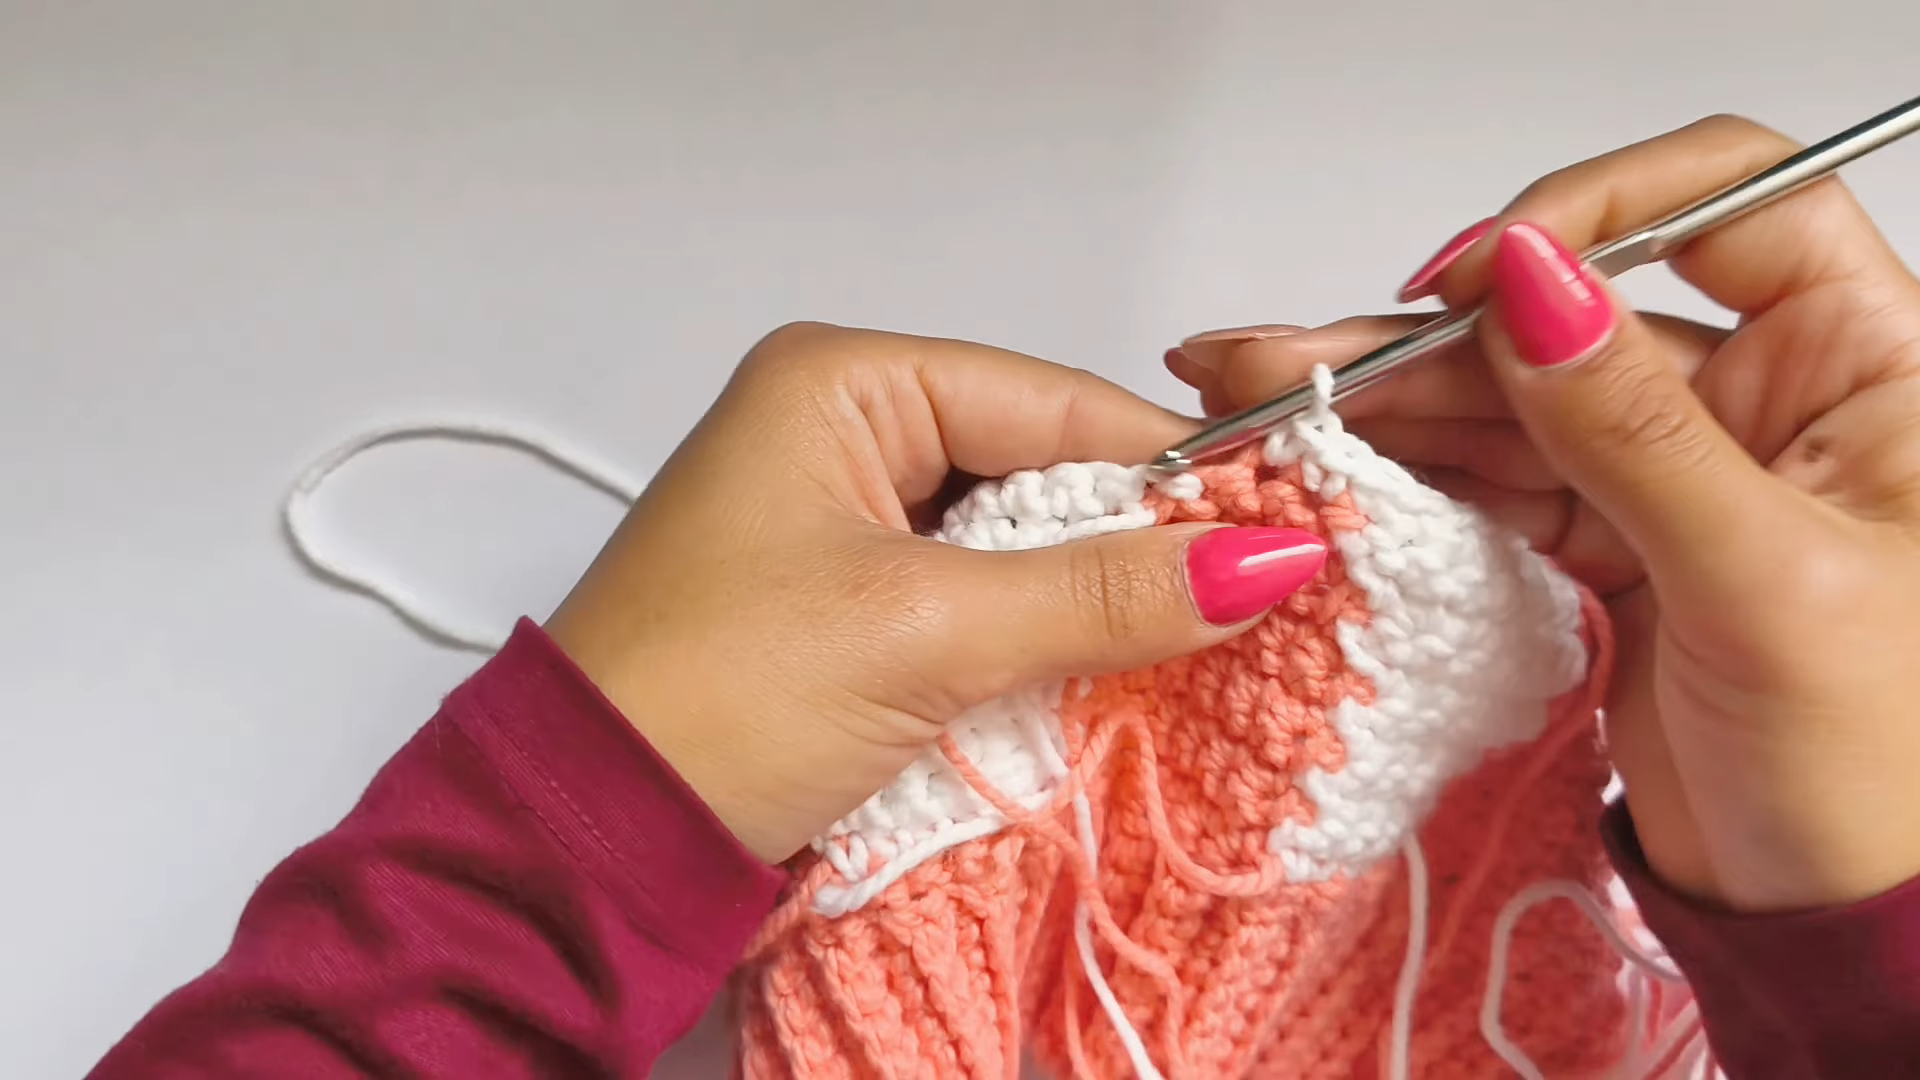
Hands crocheting a color change round on a sweater pattern
Instruction: This close-up shows the working loop being drawn through cleanly during a color swap. Pull the new strand snug but not tight, so the join doesn’t pucker the fabric.
Finishing the Round and Weaving In Ends
As each color section wraps up, leave a tail long enough to weave in securely, then move to the next round without cutting yarn you’ll need again soon.

Weaving in yarn ends on a finished crochet sweater panel
Instruction: This shows a yarn tail being tucked through several stitches on the wrong side of the fabric, weaving in each direction once to lock it in place invisibly.
Assembling the Sweater
Once the front and back panels reach your desired length, line up the shoulder seams and whipstitch them together, leaving openings for the neckline and armholes. Attach the ribbed cuffs to the sleeve openings the same way, matching the ribbing direction on both sides for a mirrored look.
Finishing Touches
Weave in any remaining tails, steam-block the piece lightly to relax the stitches, and add buttons or a small patch if you’re customizing the design. Try the sweater on before your final seam to double-check sleeve length and body drape.
Beginner Tips for a Polished Result
- Keep tension tight and consistent, since loose stitches leave visible gaps in amigurumi-style ribbing and in garment fabric alike
- Use stitch markers at the start of every round, especially once color changes begin
- Count stitches after every increase or decrease round rather than waiting until the end
- Block the ribbed sections lightly so they lie flat instead of curling
Design Customization Ideas
Try New Color Combinations
Swap the coral and white for a muted earth-tone pairing, a pastel duo, or a bold contrast like navy and mustard for a completely different mood.
Add Small Accessories
Sew on wooden buttons at the neckline, add a crocheted patch pocket, or edge the cuffs with a contrasting picot trim.
Make a Mini Version
Scale the stitch and round counts down for a child-sized sweater, or work it up in a bulkier yarn for a quicker, oversized result.
Frequently Asked Questions
What is the best yarn for a beginner sweater like this one?
A worsted weight acrylic or acrylic-blend yarn holds stitch definition well, machine washes easily, and keeps the ribbing bouncy rather than floppy — ideal while you’re still building confidence with garment shaping.
How do I keep the ribbing from stretching out of shape?
Work snugly and consistently in the back loop only, and avoid pulling too hard when you turn each row; a relaxed, even tension keeps the rib texture springy long-term.
How long does the Michi sweater take to finish?
Most crocheters finish the cuffs and body over a few evenings, with total hands-on time landing somewhere between 8 and 14 hours depending on size and how often color changes slow your pace.
Bonus Section: Caring for Your Finished Sweater
Wash the finished piece in cool water on a gentle cycle or by hand, then lay it flat to dry so the ribbing and color-block rows keep their shape instead of stretching under the weight of wet yarn. Store it folded rather than hung, since hanging a heavier crochet garment can pull the shoulder seams out of alignment over time.

Ready to Cast On?
Grab your hook, pick two colors that make you smile, and start stitching your own Michi sweater one ribbed round at a time. Share a photo once you’ve finished nothing beats seeing this pattern come to life in someone else’s colorway.