Adorable Crochet Bunny Plushie Backpack | Handmade Kawaii Bag | Perfect Kids Gift
I will be honest, when I first had the idea of turning a bunny plushie into an actual wearable backpack, I was not sure it would work. And then it did. And now I cannot stop making them.
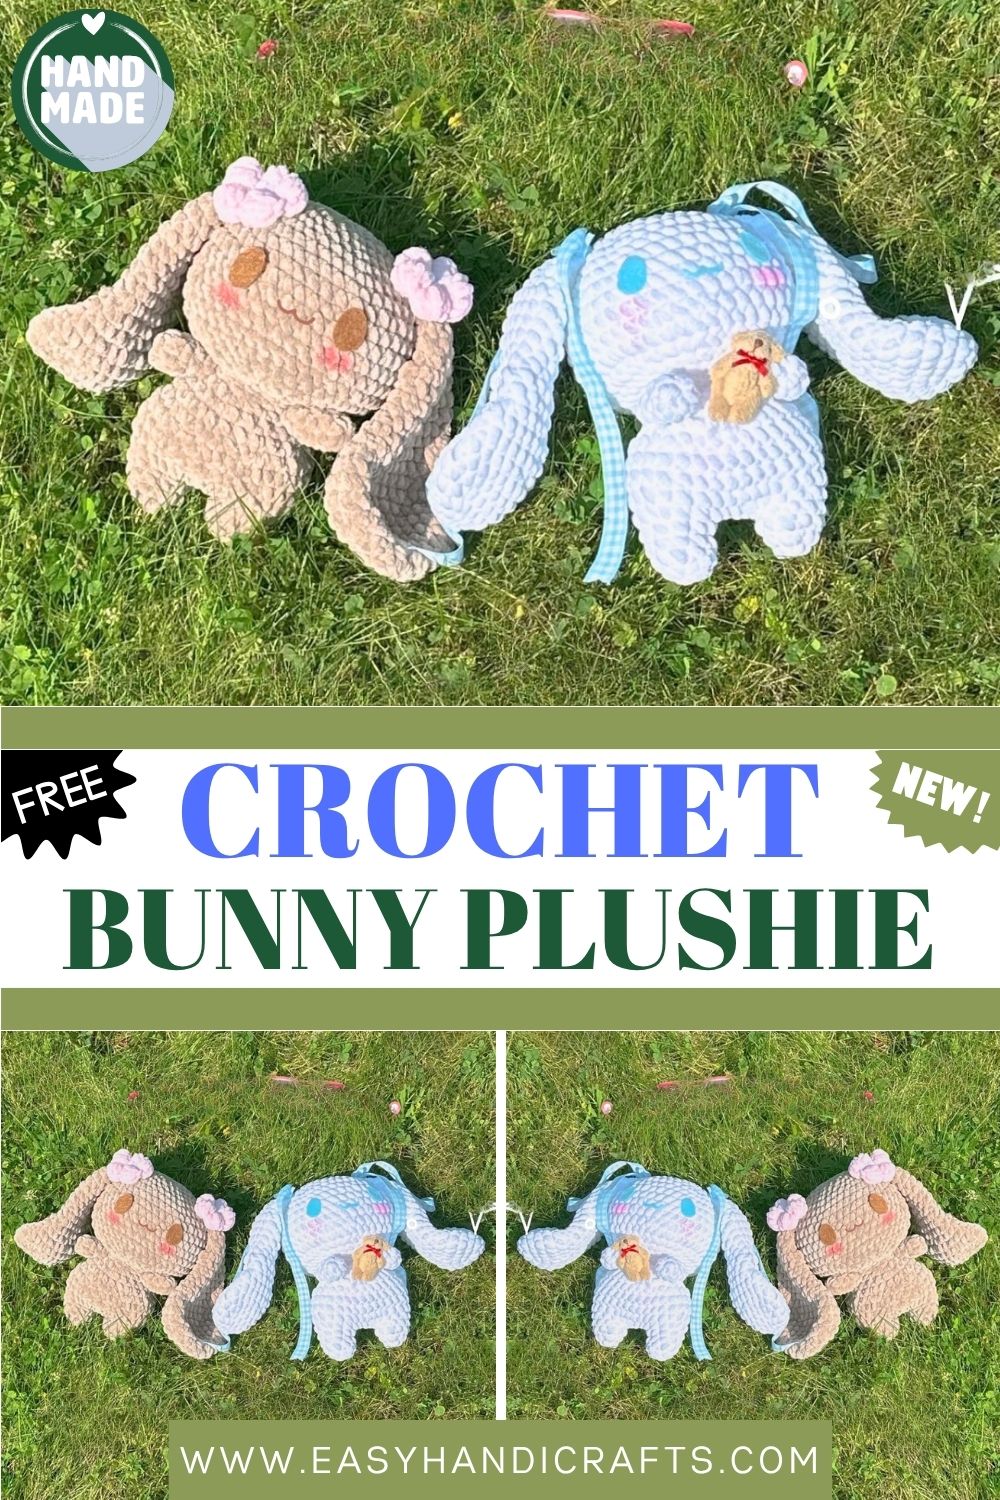
This kawaii bunny plushie backpack is one of those projects that stops people in their tracks. It is soft, it is squishy, it has the most expressive little felt face, and it is also a fully functional bag that kids can actually wear and use. The body is worked in chunky chenille yarn, which gives it that irresistibly plush, velvety texture that just begs to be hugged. The ears are long and floppy, the tail is puffy and curled, and the little flower accessory on top pulls the whole look together beautifully. I originally made this for a friend’s daughter, and the reaction when she saw it was genuinely one of my favorite crochet moments ever. This pattern is my way of sharing that joy with you, so let us get into it.
Skill Level
This pattern sits at a beginner to intermediate level. You will need to be comfortable with single crochet, increases, decreases, and working in the round. The bobble stitch used for the flower accessory sounds fancy, but it is really just four double crochets worked into the same stitch, totally manageable once you try it. If you have made an amigurumi before, this will feel very familiar.
Materials Needed
- 6mm crochet hook
- Size 6 chenille yarn in your chosen colors
- Polyfill stuffing
- Sewing needle
- Scissors
- Stitch marker
- Felt for the eyes and mouth
- Hot glue or tacky glue for attaching the felt face
Abbreviations
- MR — Magic Ring
- sc — Single Crochet
- inc — Increase
- dec — Decrease
- ss — Slip Stitch
- dc — Double Crochet
- bo — Bobble Stitch (4 dc in one stitch)
- fo — Fasten Off
Let’s Make This Bunny
Head
R1. 6 sc in MR (6) R2. inc x 6 (12) R3. (sc, inc) x 6 (18) R4. (2sc, inc) x 6 (24) R5. (3sc, inc) x 6 (30) R6. (4sc, inc) x 6 (36) R7. (5sc, inc) x 6 (42) R8–15. 42 sc — 8 rounds (42) R16. (5sc, dec) x 6 (36) R17. (4sc, dec) x 6 (30) R18. (3sc, dec) x 6 (24) R19. (2sc, dec) x 6 (18)
Fasten off and leave a long tail. Stuff the head firmly.
Stuffing tip: Stuff the sides and center well, but leave the top of the head lightly stuffed. This allows the head to form a natural oval shape rather than a perfect round — it gives the bunny so much more character.
Ears — Make Two
R1. 9 sc in MR (9) R2. inc x 9 (18) R3. (2sc, inc) x 6 (24) R4. (3sc, inc) x 6 (30) R5–8. 30 sc — 4 rounds (30) R9. (3sc, dec) x 6 (24) R10–11. 24 sc — 2 rounds (24) R12. (2sc, dec) x 6 (18) R13–15. 18 sc — 3 rounds (18) R16. (4sc, dec) x 3 (15) R17–19. 15 sc — 3 rounds (15) R20. (3sc, dec) x 3 (12) R21. Fold ear flat and sc across (6)
Fasten off and leave a long tail for sewing.
Ear tip: Do not stuff the ears at all. Leaving them unstuffed is what gives them that natural floppy bunny look that makes this plushie so irresistible.
Body
Chain 2, then join the second leg to the first leg with a sc and continue the body.
R5. 9sc, 2sc in chains, 10sc, 2sc in chains (24) R6. (5sc, inc) x 1, 2sc, inc x 6, (3sc, inc) x 1, 6sc (32) R7–9. 32 sc 3 rounds (32) R10. (8sc, dec) x 1, (2sc, dec) x 4, (dec, 4sc) x 1 (26) R11. (8sc, dec) x 1, (12sc, dec) x 1, 2sc (24) R12. (6sc, dec) x 3 (21) R13. (5sc, dec) x 3 (18)
Fasten off and stuff the body well.
Arms — Make Two
R1. 6 sc in MR (6) R2–5. 6 sc 4 rounds (6)
Stuff lightly, fasten off, and leave a long tail for sewing.
Tail
R1. 6 sc in MR (6) R2. inc x 6 (12) R3. (sc, inc) x 6 (18) R4. (2sc, inc) x 6 (24) R5–7. 24 sc — 3 rounds (24)
Stuff lightly.
R8. (2sc, dec) x 6 (18) R9. 18 sc (18) R10. (4sc, dec) x 3 (15) R11–13. 15 sc 3 rounds (15) R14. (sc, dec) x 5 (10) R15. 10 sc (10) R16. Fold and sc across (5)
Fasten off and leave a long tail. Curl the puffy part of the tail inward and sew R7–8 down to R11–12 with matching yarn to hold the curl in place.
Mocha Tail
R1. 5 sc in MR (5) R2. inc x 5 (10) R3. 10 sc (10) R4. dec x 5 (5)
Fasten off and sew onto R8–9 of the main tail.
Flower Accessory
R1. Starting with your center color — 6 sc in MR. Change to petal color. R2. (SL ST in first stitch, ch 2, bobble stitch into same stitch, SL ST into next stitch) x 5
Leave a tail to sew on, or attach with a small dot of hot glue for a quicker finish.
Face Placement Guide
- Glue eyes at the end of R9–11, about 6 stitches apart
- Attach mouth felt at R11
Eye making options:
- Print an eye and mouth template, trace onto felt, cut out,t and attach with fabric glue
- Design oval shapes in Cricut software, cut out, and attach with fabric glue
- Embroider the eyes directly onto the plushie with black yarn
Assembly
Step 1: Sew the head onto the body. R19 of the head should align with R13 of the body.
Step 2: Sew the ears onto the head between R6–7.
Step 3: Sew the arms onto the last row of the body.
Sew the tail onto the back of the body between R8–9.
Accessorize your bunny however you like:ike attach the flower, add a bow, or keep it simple.
Customization and Variations
- Try a classic white bunny with pink inner ears for a traditional Easter look, or go full pastel rainbow for a more playful kawaii .vibe
- Swap the felt face for embroidered features if you are making this for a very young child, a child completely safe and just as adorable.
- Add a tiny crocheted bow between the ears instead of the flower for a softer, more feminine look. finish
- Use variegated chenille yarn for a subtle color gradient effect across the body without any extra work.
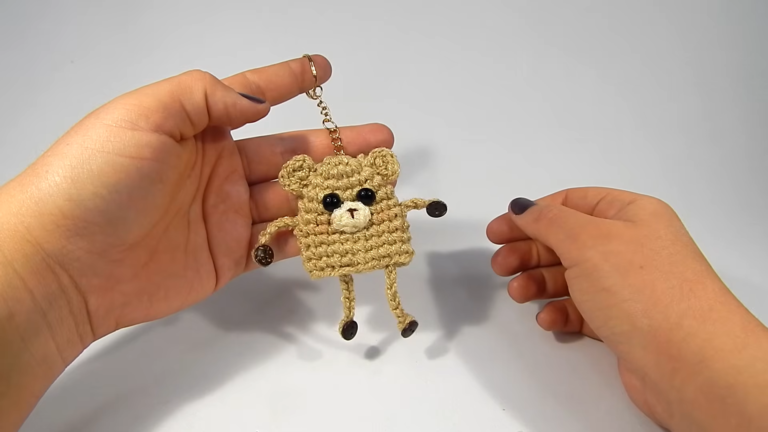
- Make a matching mini keychain version using fingering weight yarn and an mm hook p, perfect as a bag charm to go alongside th.e backpack
- Change the ear length by adding or removing rounds to create different bunny ears. Shorteres shorter earsgiv ee a rounder,r more bear-like look.
Common Mistakes to Avoid
- Chenille yarn is beautiful,l but it is very easy to miss stitches because the fibers hide everything. Count every single round carefully and use a stitch marker without fail.il
- Over-stuffing the head makes it perfectly round instead of oval-shaped. Follow the stuffing tip and leave the top lighter than the sides.
- The ears must not be stuffed. It is a very natural instinct to stuff the m, but doing so ruins the floppy silhouette that makes this bunny so cu. t.e
- When joining the legs to form the body, the chain connection can look a little uneven at first. Work your two sc into the chains slowly aevenlyeve, evenly, and it will smooth out as you continue.
- Attaching the felt face slightly off-center is one of the most common finishing mistakes. Hold the pieces up to the face without gluing first, step back, check from a distance, then glue
- Rushing the assembly stage after spending so long on the individual pieces always shows in the finished result. Take your time with every se. a m
Finishing Tips
- When sewing the head to the body, use a ladder stitch and matching yarn so the seam disappears completely into the joint
- Pin the ears in place and look at the bunny from the front before sewing, as even a small difference in ear placement changes the whole expression of the. bunny face
- The flower accessory looks best positioned slightly to one side rather than perfectly centered on the head. It gives the bunny a more playful, personality-filled look
- Use the same chenille yarn color as the body to sew all the pieces together so no joining stitches are visible.
- Once fully assembled, give the bunny a gentle reshape with your hands, squeeze and smooth the body into an even oval, and fluff up the tail ccurl
- If you are attaching backpack straps, sew them securely to the upper back area of the body with several passes of strong thread for durabili.ty.
Gifting Ideas
- This backpack makes the most memorable birthday gift for a toddler or young child, far more personal and exciting than anything from a toy shop.
- Package it with a small soft toy tucked inside the bag opening for a layered gift that feels extra special when unwrapped.d
- Make one in a child’s favorite color combination and embroider their initial on the ear for a truly personalized keepsake
- These sell incredibly well at craft fairs and children’s markets. Make a small batch in assorted colors, and they will not last long on the table.
- A bunny backpack paired with a matching mini keychain version makes a wonderful sibling gift set
- For a baby shower gift, make one in soft neutral tones like cream and sage, practical, beautiful, and completely one of a kind
Frequently Asked Questions
What yarn weight works best for this pattern? Size 6 chenille yarn is strongly recommended because it gives that signature soft and velvety finish. If you substitute with a different yarn, make sure your tension is tight enough that the stuffing does not show through the stitches.
Can I add real backpack straps to make it functional? Absolutely. Sew two lengths of ribbon, webbing, or crocheted straps securely to the upper back of the body. Make sure to reinforce the attachment points well so the straps hold up to regular use by a child.
My chenille yarn keeps splitting while I crochet. What should I do? This is very common with chenille. Try slowing down your stitch insertion and making sure your hook enters cleanly through the center of each stitch rather than splitting the fibers. A slightly larger hook can also help.
How do I make the tail curl stay in place permanently? After curling the puffy section inward, sew R7–8 down to R11–12 with a few firm stitches of matching yarn. This locks the curl without any glue needed.
Is this pattern safe for babies? If you use embroidered eyes and mouth instead of felt and glue, and ensure all sewn seams are very secure, this plushie is much safer for younger children. Always use your own judgment based on the age and needs of the child.
To Wrap It Up
There is something so special about a handmade bag that a child actually wants to wear every single day. This kawaii bunny backpack is soft enough to cuddle, cute enough to show off, and made with enough love that whoever receives it will treasure it for years. I really hope you enjoy every stitch of this project. When yours is done, please share it. I genuinely cannot wait to see all your beautiful bunnies. Happy crocheting!