
Crochet Ankylosaurus Pattern for Plush Armoured Dino
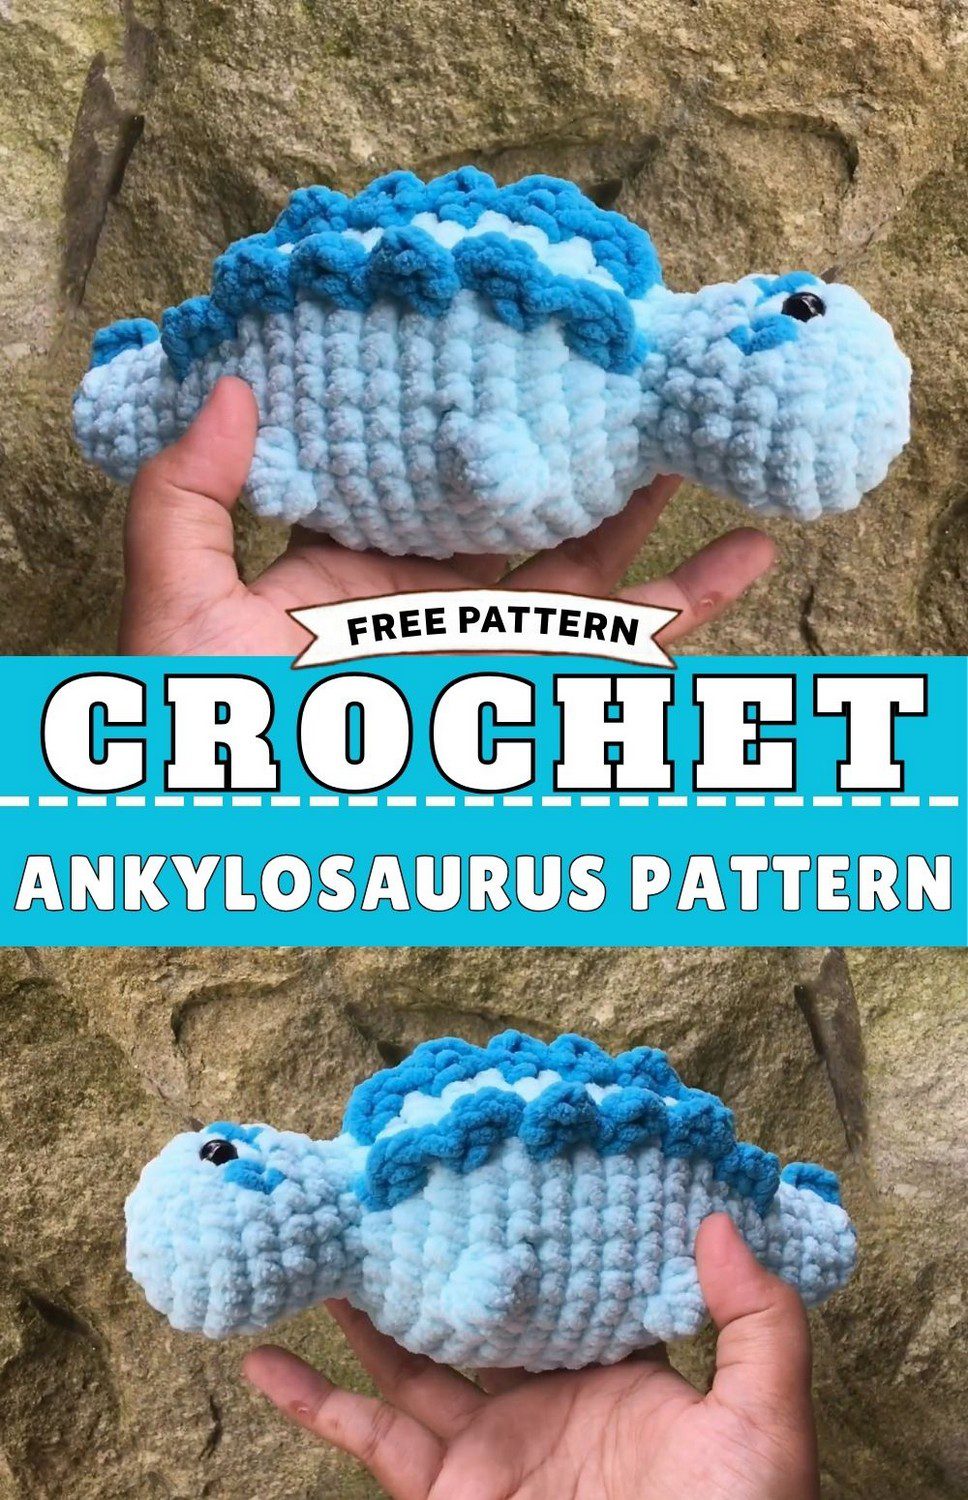
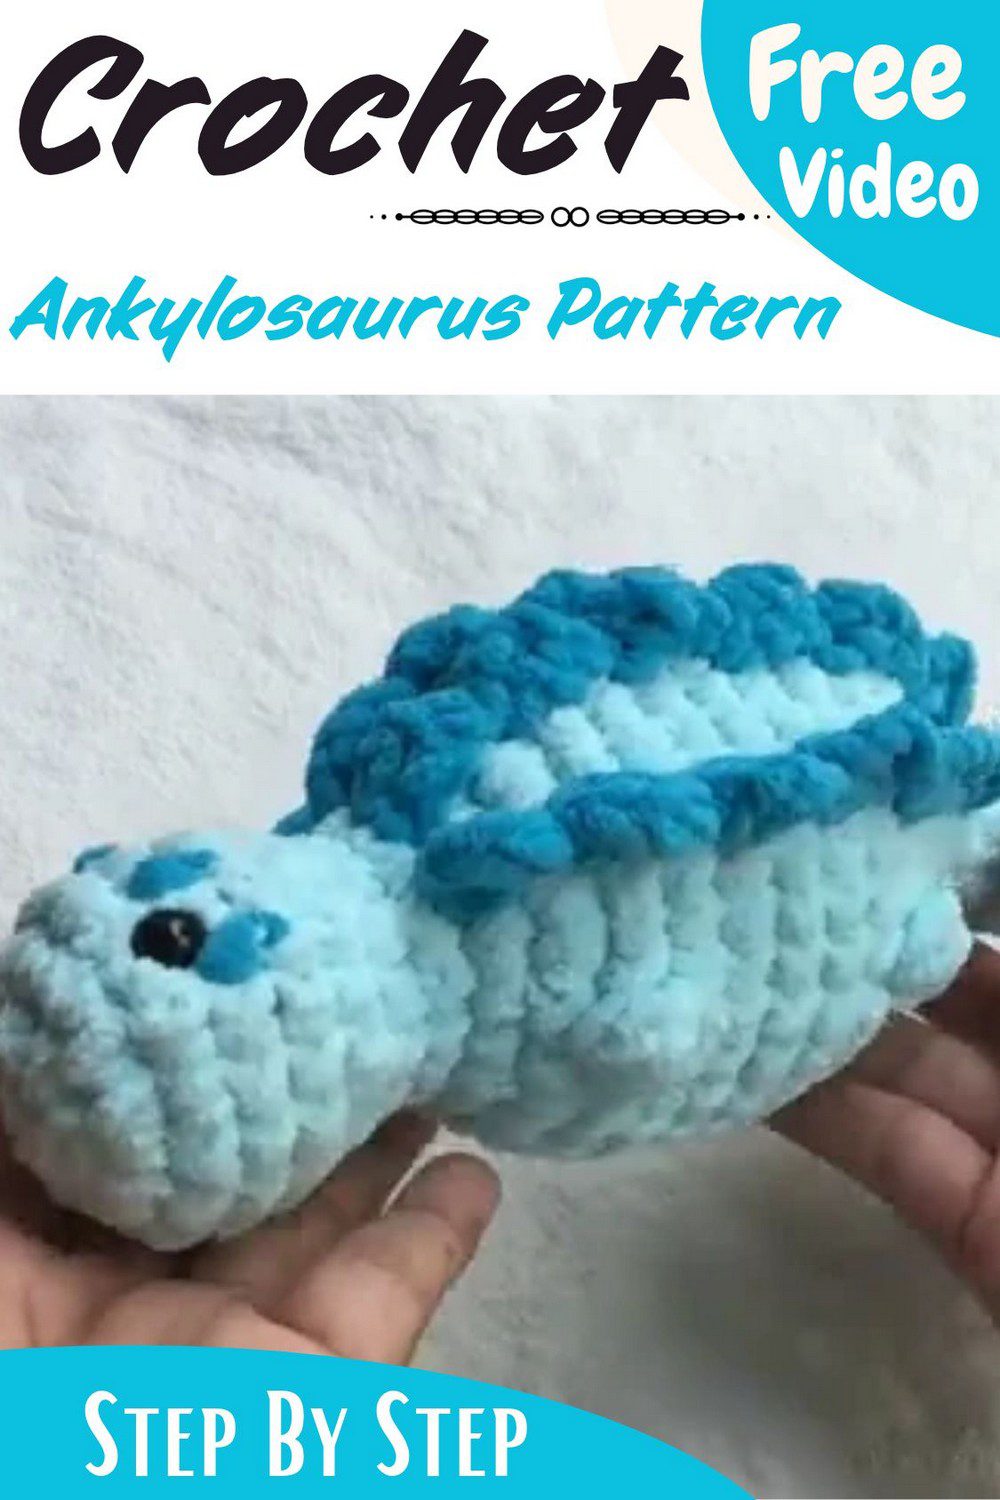
Want to make a toy dino? Try the crochet ankylosaurus pattern. It is blue and soft. The back has dark blue spikes. Kids will love it a lot. It is a nice gift too.
A cute blue dino can be yours. Just follow the crochet ankylosaurus pattern step by step. The body is light blue. The spikes are dark blue. The yarn is thick and soft. It feels so nice to hug too. It is a nice amigurumi dinosaur for kids. You can put the plush dino toy on a shelf. You can also give it as a gift.
Uses and Benefits
A plush ankylosaurus makes a sweet gift for dinosaur fans of any age. Furthermore, it sits well on a shelf, a bed, or a play corner. The project also builds skill, because makers practice the magic ring, color changes, and puff stitches in one pattern. Meanwhile, chunky yarn gives the toy a soft, squishy feel. In addition, the same method can help with other dino toys later. Therefore, the pattern gives both a fun make and useful practice for every stitcher.
Crochet Ankylosaurus Pattern Overview
Skill level: Intermediate (magic ring, color changes, puff stitches)
Finished size: Approximately 8 inches tall
What You Need for the Crochet Ankylosaurus Pattern
Before the first stitch, gather everything in one spot. The list is short, and each item has a clear job. With the tools close by, the rounds stay smooth, so there is no need to stop midway.
- Yarn: Chunky yarn (Rainbow Yarn) in Light Blue and Blue
- Crochet hook: 5mm
- Safety eyes: 10mm
- Other: Fiberfill stuffing, yarn needle, scissors, stitch markers
Stitch Abbreviations
R: Round
MR: Magic Ring
SC: Single Crochet
Inc: Increase (2 SC in one stitch)
Dec: Decrease
Puff Stitch: 4 double crochets worked into the same stitch and closed together (used for the dinosaur’s arms and legs)
Crochet Ankylosaurus Pattern Steps
First, keep three simple notes in mind. Place a stitch marker at the beginning of each round. Next, alternate blue and light blue yarn to create the dinosaur’s skin pattern. Finally, cut the blue yarn after R5. With those notes ready, the rounds below flow easily from one part to the next.
Head (R1 to R8)
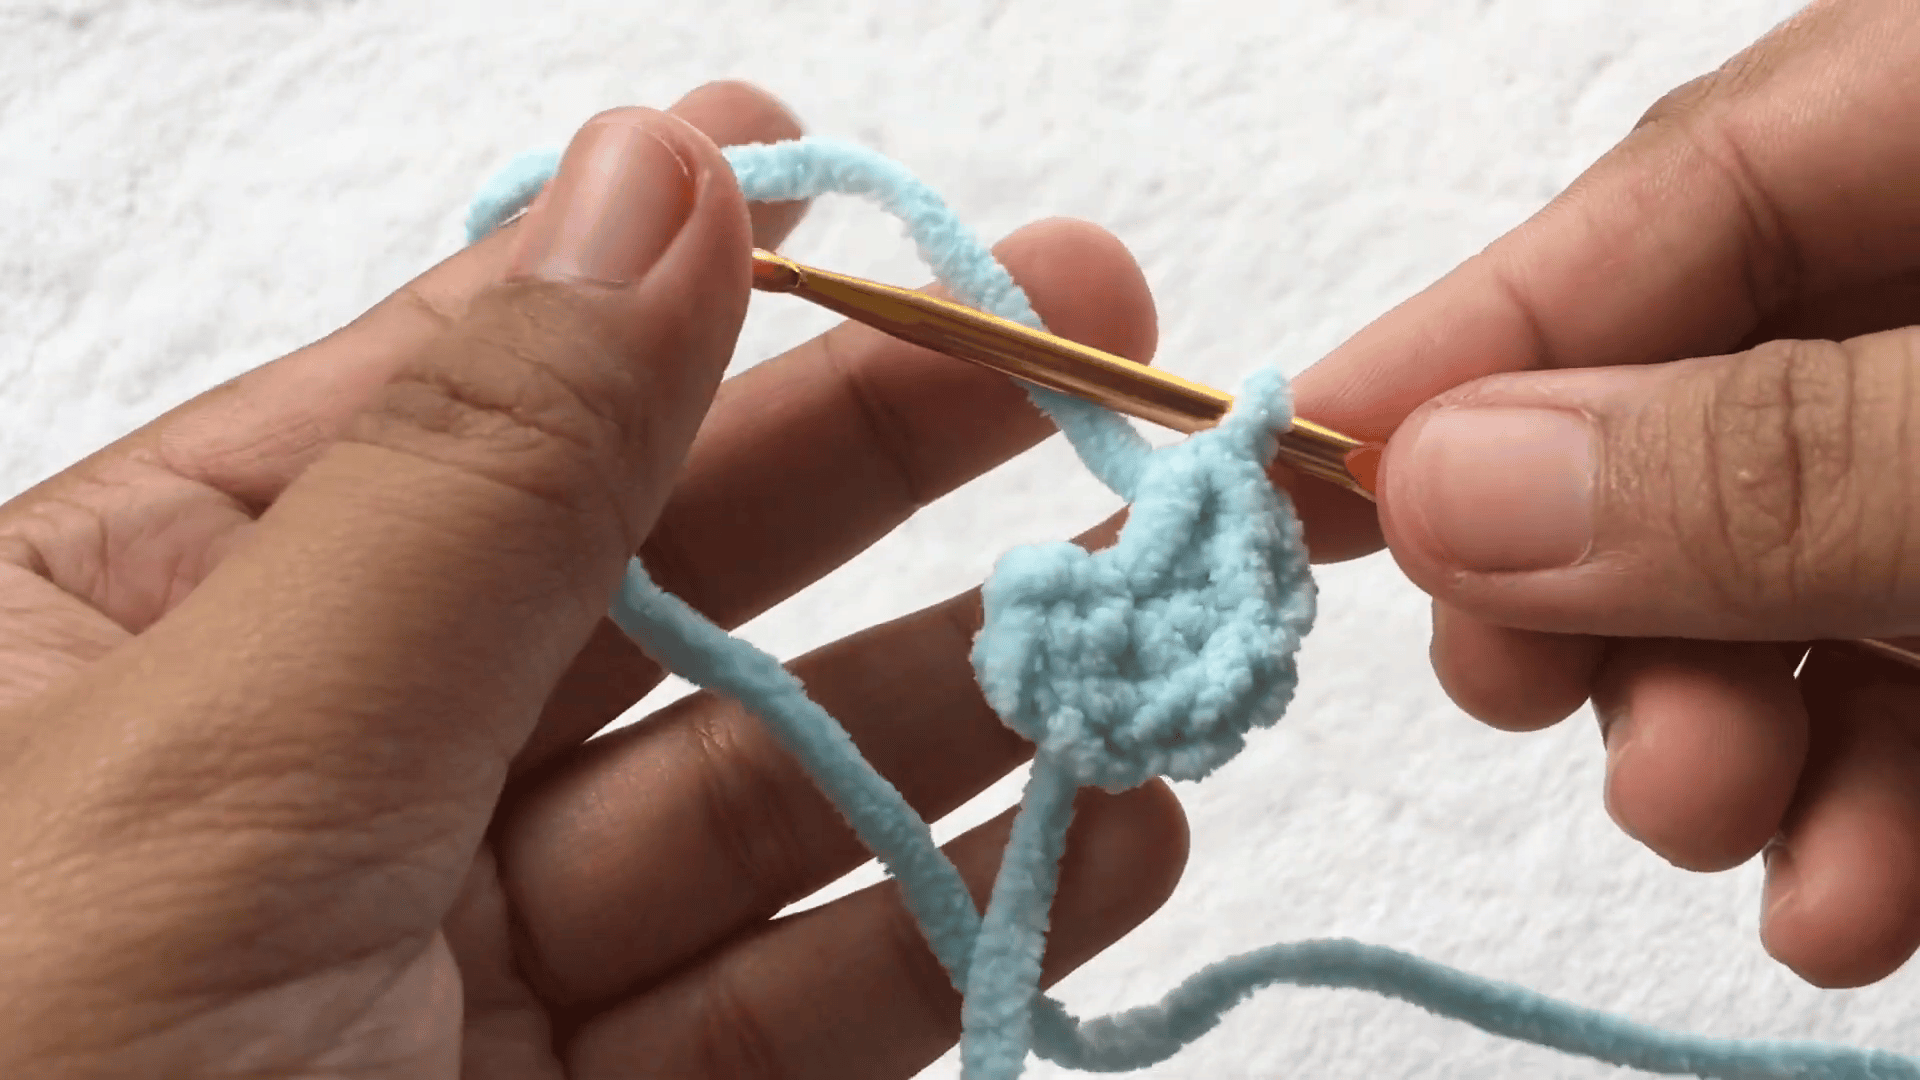
To begin, work the head in rounds.
R1: Work 6 SC into the MR (6 stitches)
R2: Work 6 Inc (12 stitches)
R3: Repeat (1 Inc, 1 SC) 6 times (18 stitches)
R4: Work 18 SC (18 stitches)
R5: Work 6 SC in light blue, then repeat [1 SC in blue, 1 SC in light blue] 6 times, and finish with 5 SC in light blue (18 stitches)
R6: Work 18 SC (18 stitches)
R7: Repeat (1 Dec, 1 SC) 6 times (12 stitches)
R8: Work 12 SC (12 stitches).
Once R5 is done, cut the blue yarn. After that, attach the 10mm safety eyes between R4 and R5, and then stuff the head.
Pro-Tip: R5 mixes two colors, so keep the stitch marker at the start of the round. As a result, the blue and light blue stitches stay in the right order.
Body (R9 to R20)
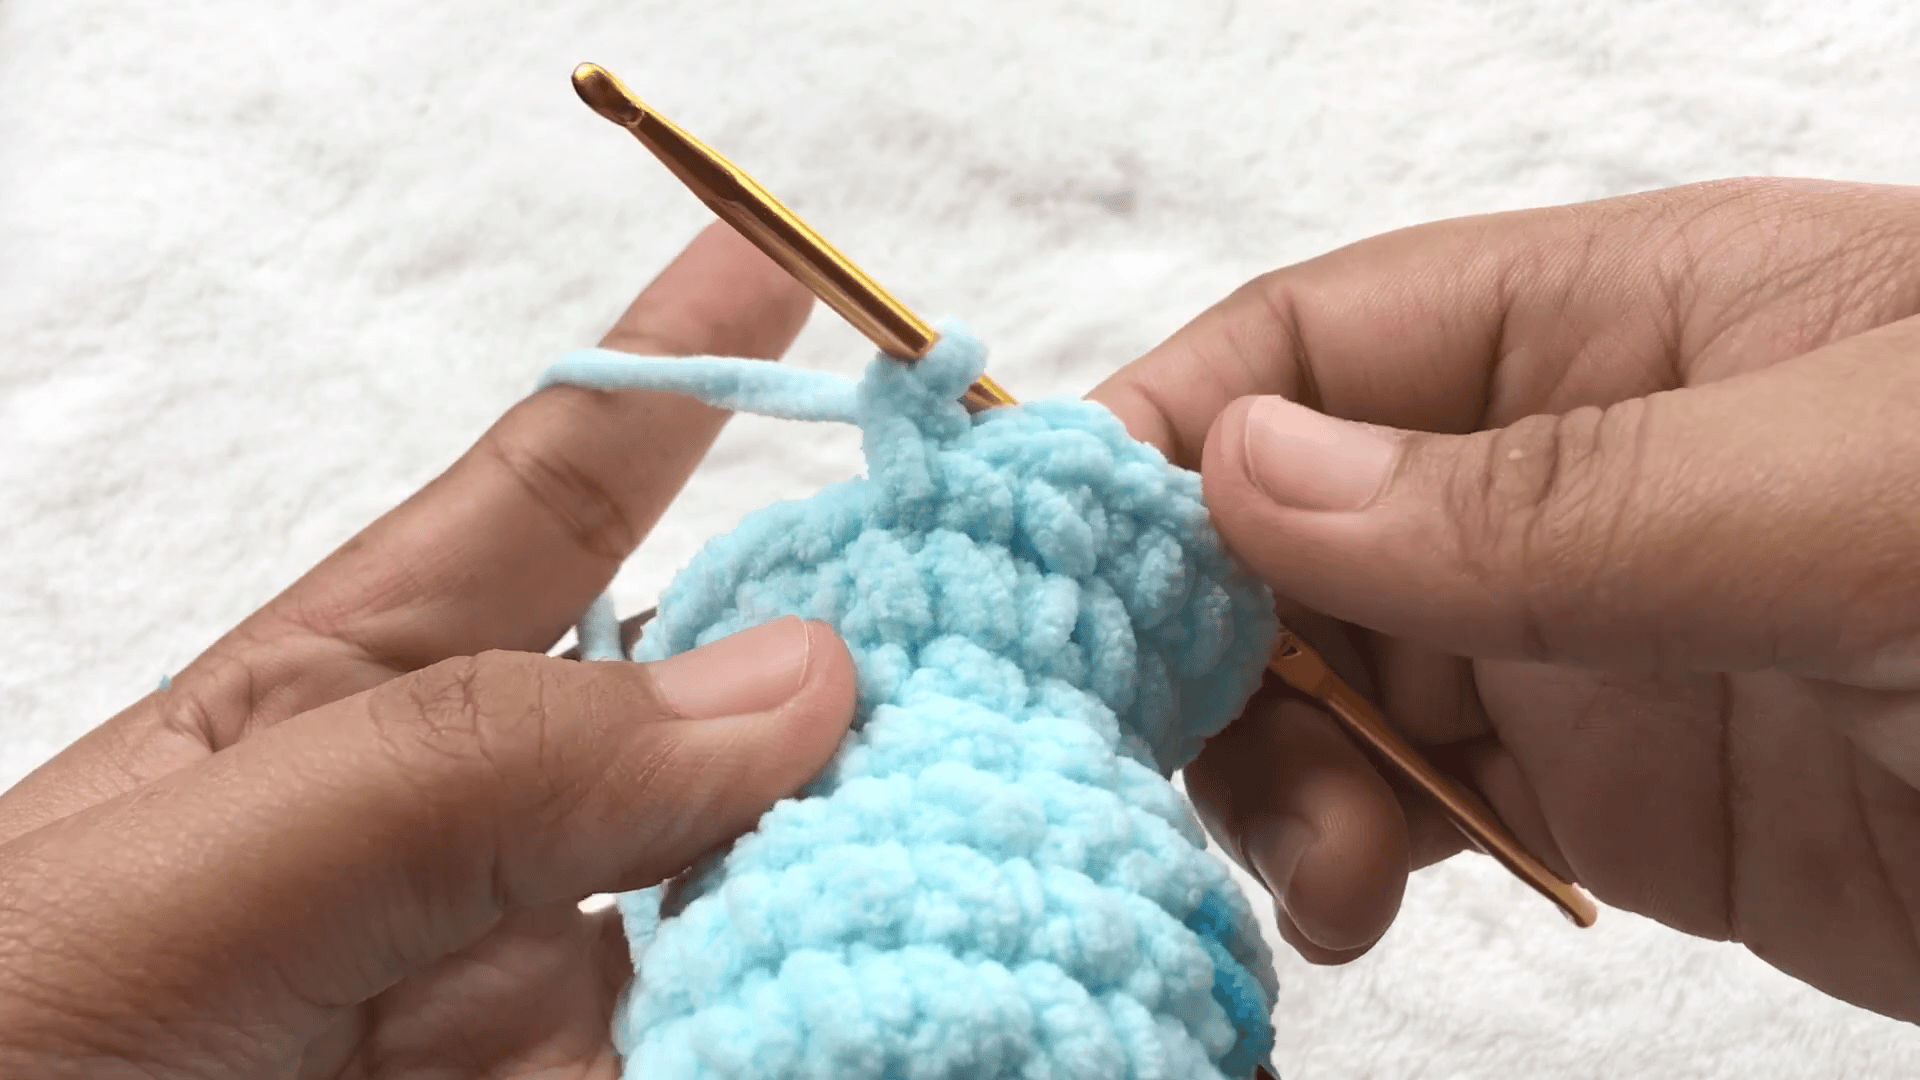
Next, work the body directly off the finished head. Keep the stitch marker routine going as the rounds change.
R9: Repeat (1 Inc, 1 SC) 6 times (18 stitches)
R10: Repeat (1 Inc, 2 SC) 6 times (24 stitches)
R11: Repeat (1 Inc, 3 SC) 6 times (30 stitches)
R12: Work 9 SC, then 1 Puff stitch for a leg or arm, and next work 19 SC, then 1 Puff stitch for the other leg or arm (30 stitches)
R13 to R17: Work 30 SC in each round (30 stitches)
R18: Work 9 SC, then 1 Puff stitch, and next work 19 SC, then 1 Puff stitch (30 stitches)
R19: Repeat (1 Dec, 3 SC) 6 times (24 stitches)
R20: Repeat (1 Dec, 2 SC) 6 times (18 stitches).
At the end of R20, stuff the body.
Pro-Tip: Each Puff stitch takes the place of one stitch in the round. Because of that, the total stays at 30 in R12 and R18. Also, place both Puff stitches in the same spots each time so the arms and legs line up.
Arms and Legs
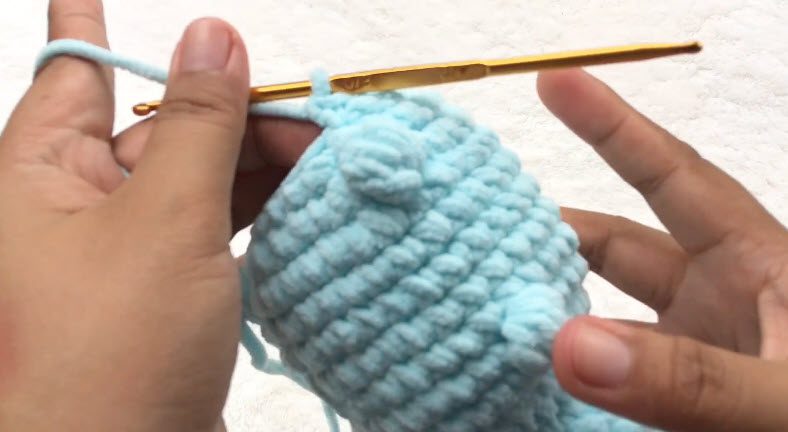
- Work 4 double crochets into the same stitch to start the Puff stitch.
- Then close the 4 double crochets together. The Puff stitch counts as one stitch, so each round stays at 30.
- In R12, work 9 SC, then 1 Puff stitch. Next, work 19 SC, then 1 Puff stitch. These form the first set of arms and legs.
- After that, work R13 to R17 in plain SC, 30 stitches each.
- Finally, in R18, repeat the same pattern: 9 SC, 1 Puff stitch, 19 SC, 1 Puff stitch. These form the second set.
Pro-Tip: Place the Puff stitches in the same spots in R18 as in R12. In that way, the arms and legs line up.
Tail (R21 to R27)
Now move on to the tail, which continues straight from the body.
R21: Work 18 SC (18 stitches)
R22: Repeat (1 Dec, 1 SC) 6 times (12 stitches)
R23 to R26: Work 12 SC in each round (12 stitches).
Stuff again after R26.
R27: Work 6 Dec (6 stitches).
Then thread the yarn needle through the front loops of the remaining 6 stitches. Pull tight to close, and hide the yarn tail.
Pro-Tip: Add the last bit of stuffing before R27, because once the tail is closed, there is no easy way back in.
Back Fins
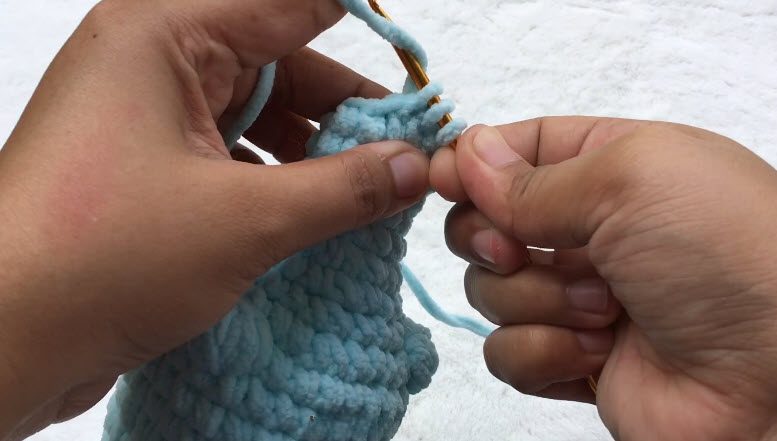
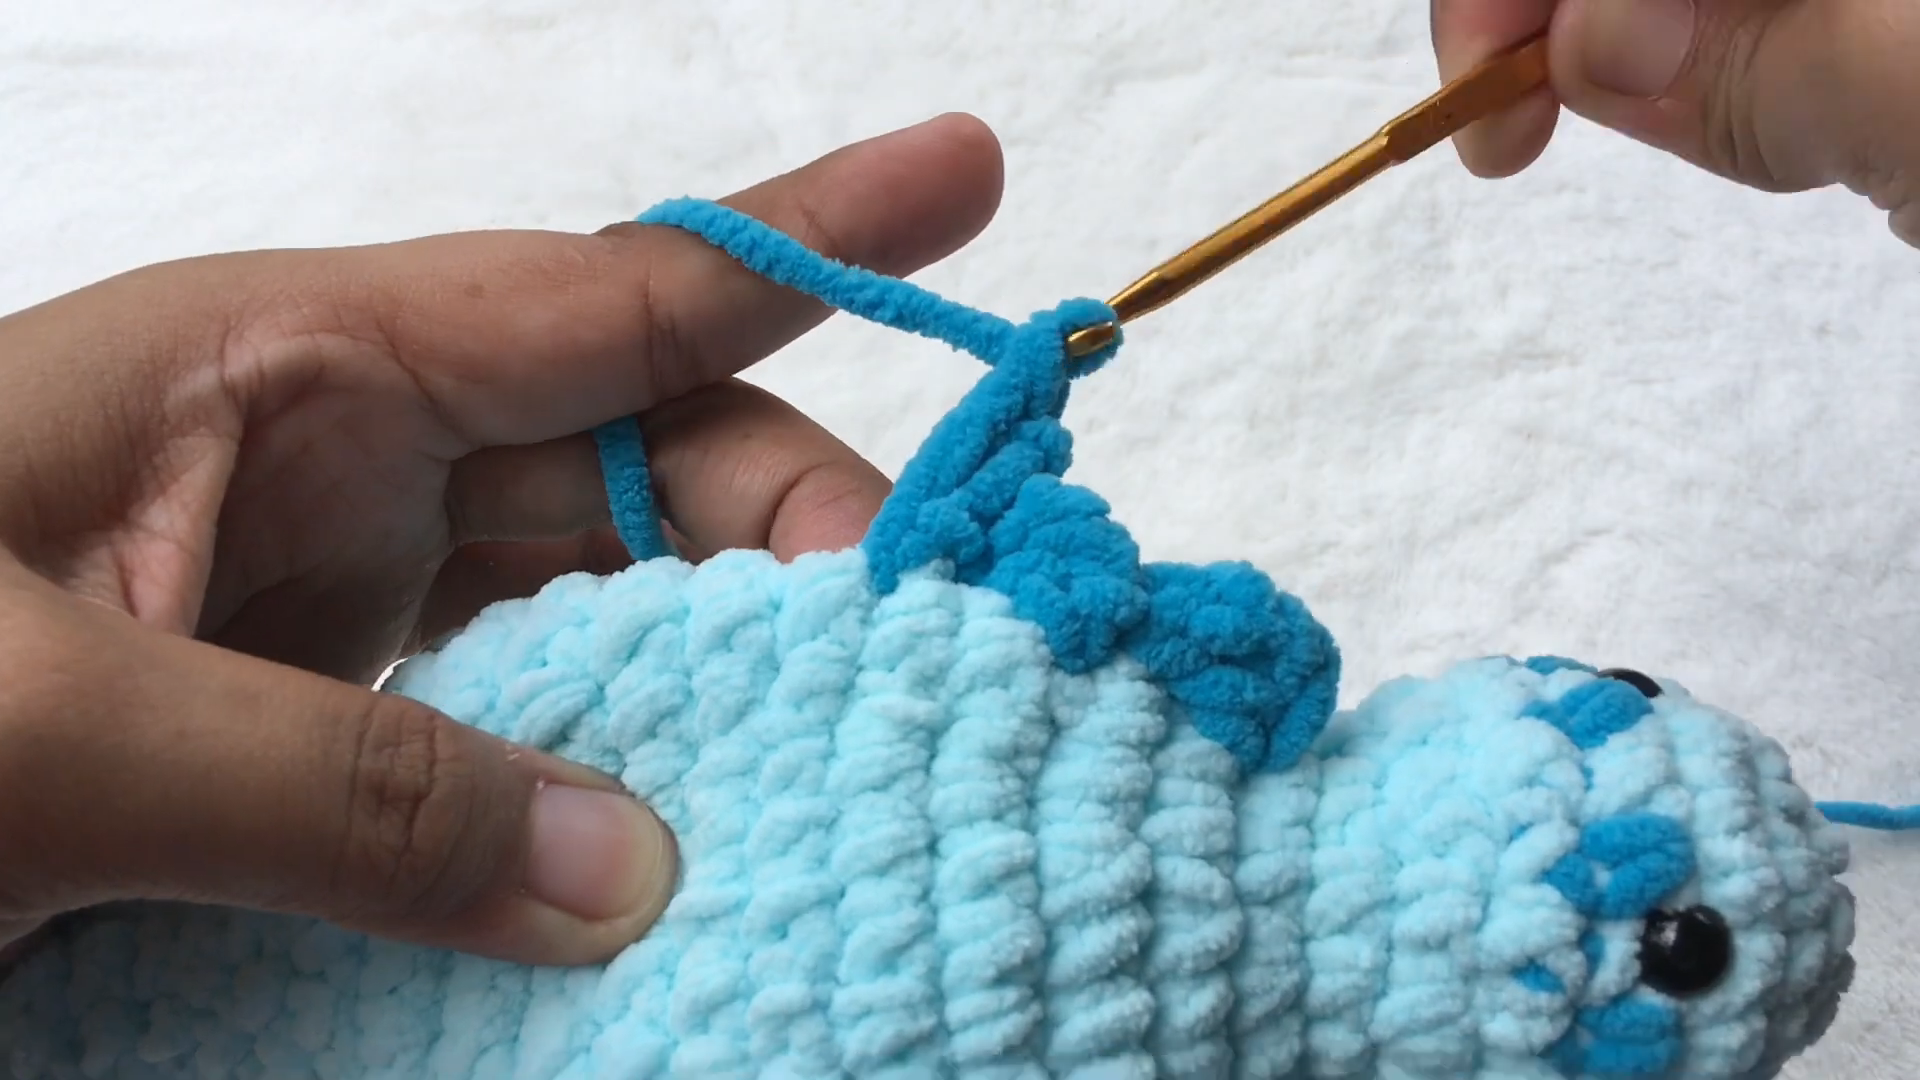
Work the 4 back fins after closing the body. First, attach the blue yarn by inserting your hook between R9 and R10 of the body. Then, chain 3 and work 1 double crochet into the same stitch. Next, skip 2 rounds and make a slip stitch to secure the fin. Repeat this process to create 4 evenly spaced fins along the dinosaur’s back.
Pro-Tip: Use a stitch marker to mark the position of each fin as you work. This will help you keep the spacing even and ensure that all 4 fins are neatly aligned along the back.
Tail Fin
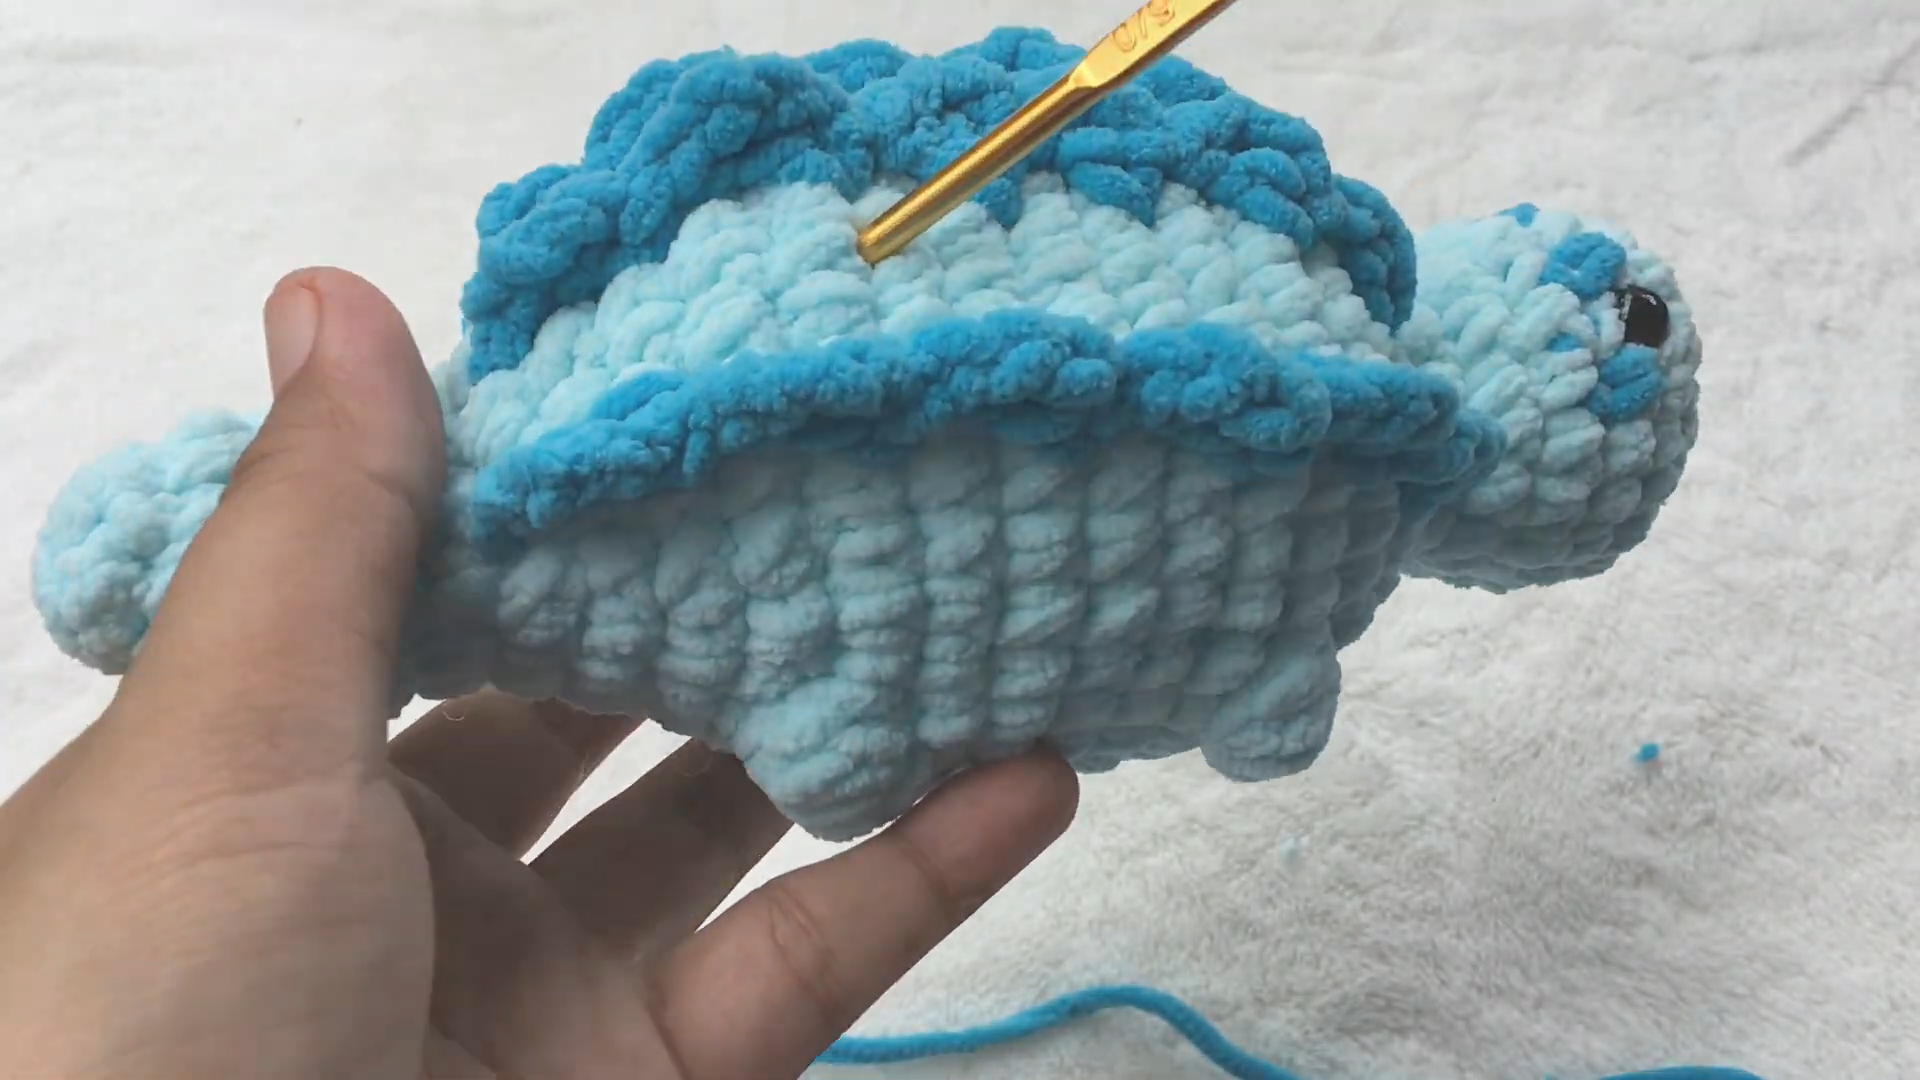
Attach blue yarn between R25 and R26 of the tail. After that, chain 3, then work 1 double crochet in the same stitch. Finally, slip stitch to secure on the closing part of the tail.
Finishing Tips
A neat finish makes the dino look polished. Therefore, follow these steps with care.
- Stuff during construction. Add stuffing after finishing the head, again after completing the body, and once more after R26 before closing the tail.
- Check the eyes. The 10mm safety eyes sit between R4 and R5, so confirm their spot before stuffing the head.
- Hide all excess yarn tails inside the body after the final sewing steps for a clean finish.
- Look over the fins. The back should carry 4 fins, and the tail should carry its own fin near the closing part.
Take a moment at the end to turn the dino around and look at it from every side. Small gaps in the stuffing or loose yarn tails are easy to fix at that stage. Besides, stuffing in stages keeps the shape even from the nose to the tail tip. As a result, the dino sits nicely and looks full.
Common Mistakes in the Crochet Ankylosaurus Pattern
Small slips can change the look of the toy. However, each one is easy to avoid.
- Skipping the stitch marker. Without a marker at the start of each round, the rounds blur together. Consequently, the Puff stitches in R12 and R18 may drift out of place.
- Keeping the blue yarn too long. Cut the blue yarn after R5. Otherwise, the skin pattern may not match the plan.
- Placing the eyes in the wrong spot. The 10mm safety eyes belong between R4 and R5, since any other spot changes the face.
- Stuffing too late. Stuff the head, the body, and again after R26. Closing early leaves little room for stuffing.
- Mixing up the Puff stitch spots. Use 9 SC, 1 Puff stitch, 19 SC, 1 Puff stitch in both R12 and R18. Together, they shape the arms and legs.
- Closing the tail in a rush. R27 is the closing round, so stuff first, then thread the yarn needle through the front loops of the 6 stitches and pull tight.
- Adding fins at the wrong rounds. The back fins start between R9 and R10, while the tail fin goes between R25 and R26.
Bonus: Gift and Display Ideas
Once the dino is done, it is ready for its new home. For example, you can place the plush dino toy on a shelf, where the dark blue spikes catch the eye. On the other hand, you can wrap it up as a gift, since it feels so nice to hug. Either way, kids will love it.
FAQs About the Crochet Ankylosaurus Pattern
What skill level fits the crochet ankylosaurus pattern?
The pattern is rated Intermediate. It uses the magic ring, color changes, and puff stitches, so some basic practice helps.
Which yarn and hook work best?
Use chunky yarn (Rainbow Yarn) in Light Blue and Blue with a 5mm hook. In addition, keep fiberfill stuffing, a yarn needle, scissors, and stitch markers nearby.
Where do the safety eyes go?
Attach the 10mm safety eyes between R4 and R5 of the head. Afterward, stuff the head.
When should the blue yarn be cut?
Cut the blue yarn after R5. By then, the skin pattern on the head is set.
How many times should the dino be stuffed?
Stuff three times. First, stuff after the head. Next, stuff after the body. Last, stuff again after R26, before closing the tail.
Is the body worked separately from the head?
No. The body is worked directly off the finished head, so the toy grows in one piece from R1 to R27.
How many fins does the dino have?
The dino has 4 back fins and 1 tail fin. All of them use blue yarn.
What is a Puff stitch in the pattern?
A Puff stitch is 4 double crochets worked into the same stitch and closed together. The pattern uses it for the dinosaur’s arms and legs.
Time to Make Your Crochet Ankylosaurus Pattern Come Alive
So, that is the whole dino. Start with the head, stuff it, and keep going down the body and tail. The puff stitches make the little arms and legs, and the fins go on at the end. Just take it round by round, and keep the markers handy. Before long, there is a soft blue dinosaur sitting right in front of you. Make one for yourself, or give it away. Either way, this crochet ankylosaurus pattern is a fun one to finish.


