Crochet Chunky Yarn Spider Pattern with Orange Striped Legs
Looking for a quick, spooky make? This chunky yarn spider pattern uses thick black yarn and bright orange stripes, so the finished toy stands out right away. Because the yarn is chunky, you will see the shape grow fast. Even better, each part has its own short steps, which keeps the project friendly for beginners.
Black and orange always look great together, so the body stays black while the legs get orange stripes. Kids will love the soft toy. Meanwhile, grown-ups can place it on a shelf as playful spooky decor, or wrap it up as a handmade gift. So grab your yarn and start today.
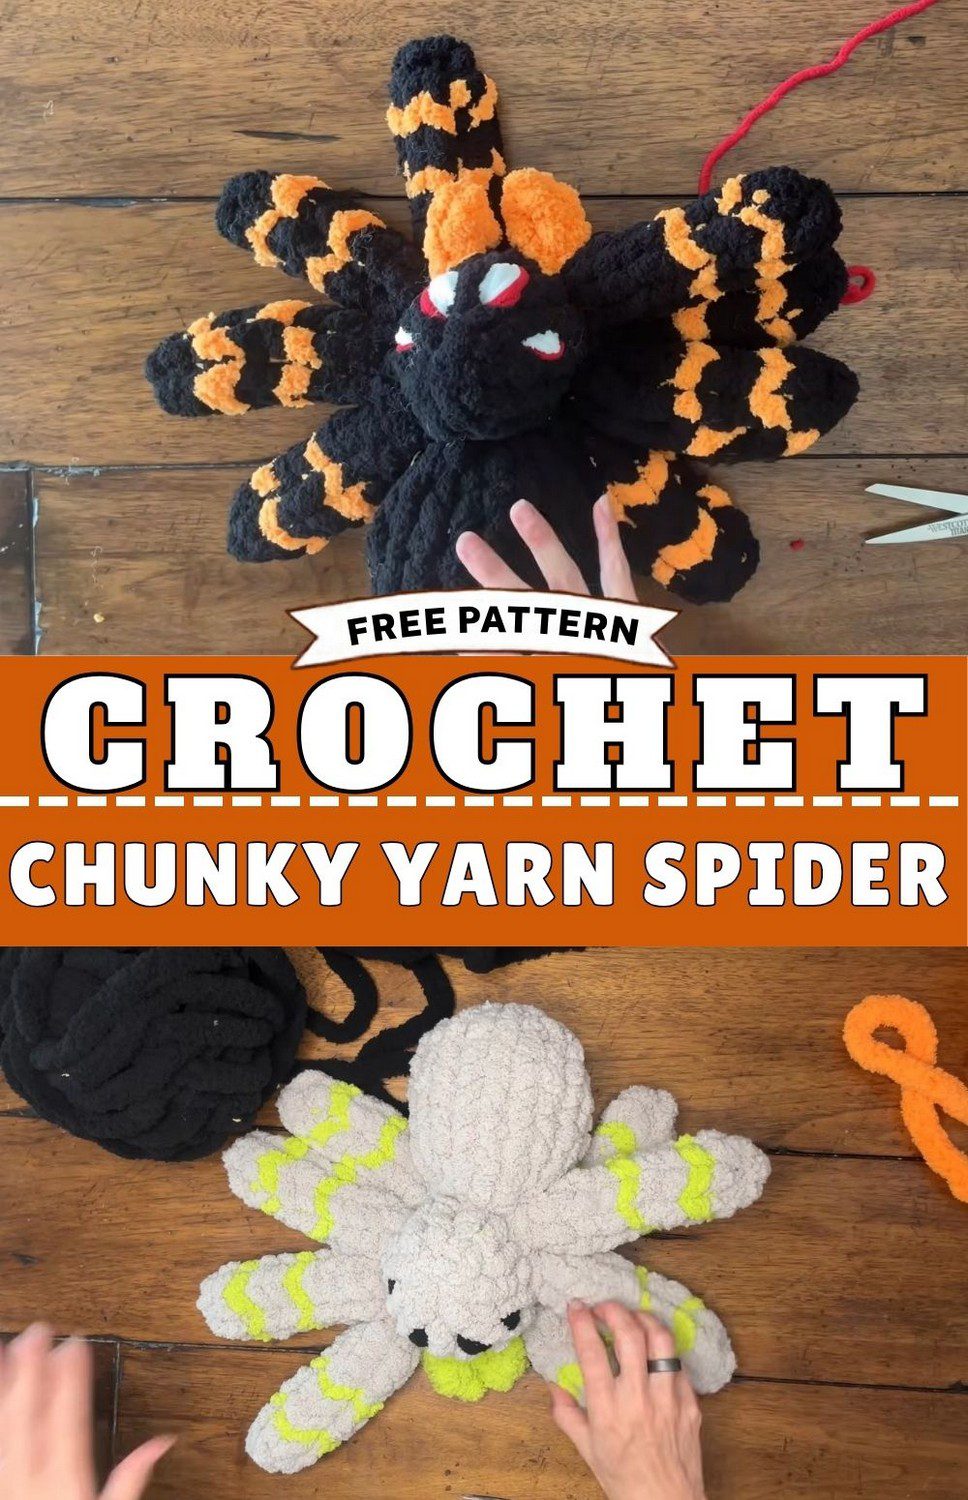
Chunky Yarn Spider Pattern Overview
Skill level: Beginner-friendly
Finished size: Roughly palm-sized body with a wide, chunky leg spread (estimate)
Chunky yarn builds the shape quickly, while the orange stripes on all eight legs give the spider its personality. In addition, every part is written as a separate set of steps, so beginners can follow along comfortably.
Materials for the Chunky Yarn Spider Pattern
- Chunky yarn in black: about 2 skeins for the body
- Accent yarn in orange for the leg stripes
- White and red yarn for the eyes
- Stuffing for the head and body (amount not specified)
The amounts for the accent colours are not listed. Therefore, keep some spare yarn nearby.
Special Techniques You Will Use
Only a few basic skills appear here, so nothing needs advanced practice.
- Slip knot and chain: begin the head with a slip knot, then chain five more loops.
- Joining into a circle: close the starting chain into a ring.
- Increasing and decreasing: the decrease round uses the left-over-right method on the sides.
- Pulling up loops: the body, legs, and fangs all start by pulling up loops from finished work.
- Changing colours: switching between black and orange creates the leg stripes.
- Fastening off and stuffing: stuff the head and body before closing them.
- Embroidered eyes: loop white yarn around set points, then outline the edges in red.
Project Time Breakdown
- Prep: Gather the black skeins, accent yarn, white and red yarn, and stuffing. Having everything within reach makes colour changes smoother.
- Stitching: Make the head and body first, then move on to the legs and fangs. The legs take the longest, because each one repeats the same sequence.
- Finishing: Embroider the eyes, secure every tail, and tidy the loose ends.
Since the project splits into three phases, you can pause between parts and return later without losing your place.
Chunky Yarn Spider Pattern Instructions
Work each part in order. Before picking up the yarn, read the whole mini-step. Also, finish one section completely before starting the next.
Head of the Chunky Yarn Spider Pattern
- First, make a slip knot and chain 5 more loops for 6 total loops. Then join into a circle.
- Round 2: Next, knit 6 loops twice for 12 loops total.
- Increase round: After that, increase to 8 loops by knitting 3, increasing, knitting 3, increasing, and knitting 2.
- Knit rows: Then knit 8 loops for 3 rows (24 total loops).
- Decrease round: Now decrease to 6 loops, using the left-over-right method on the sides.
- Final round: Finally, knit 6 loops once, then fasten off, stuff, and close.
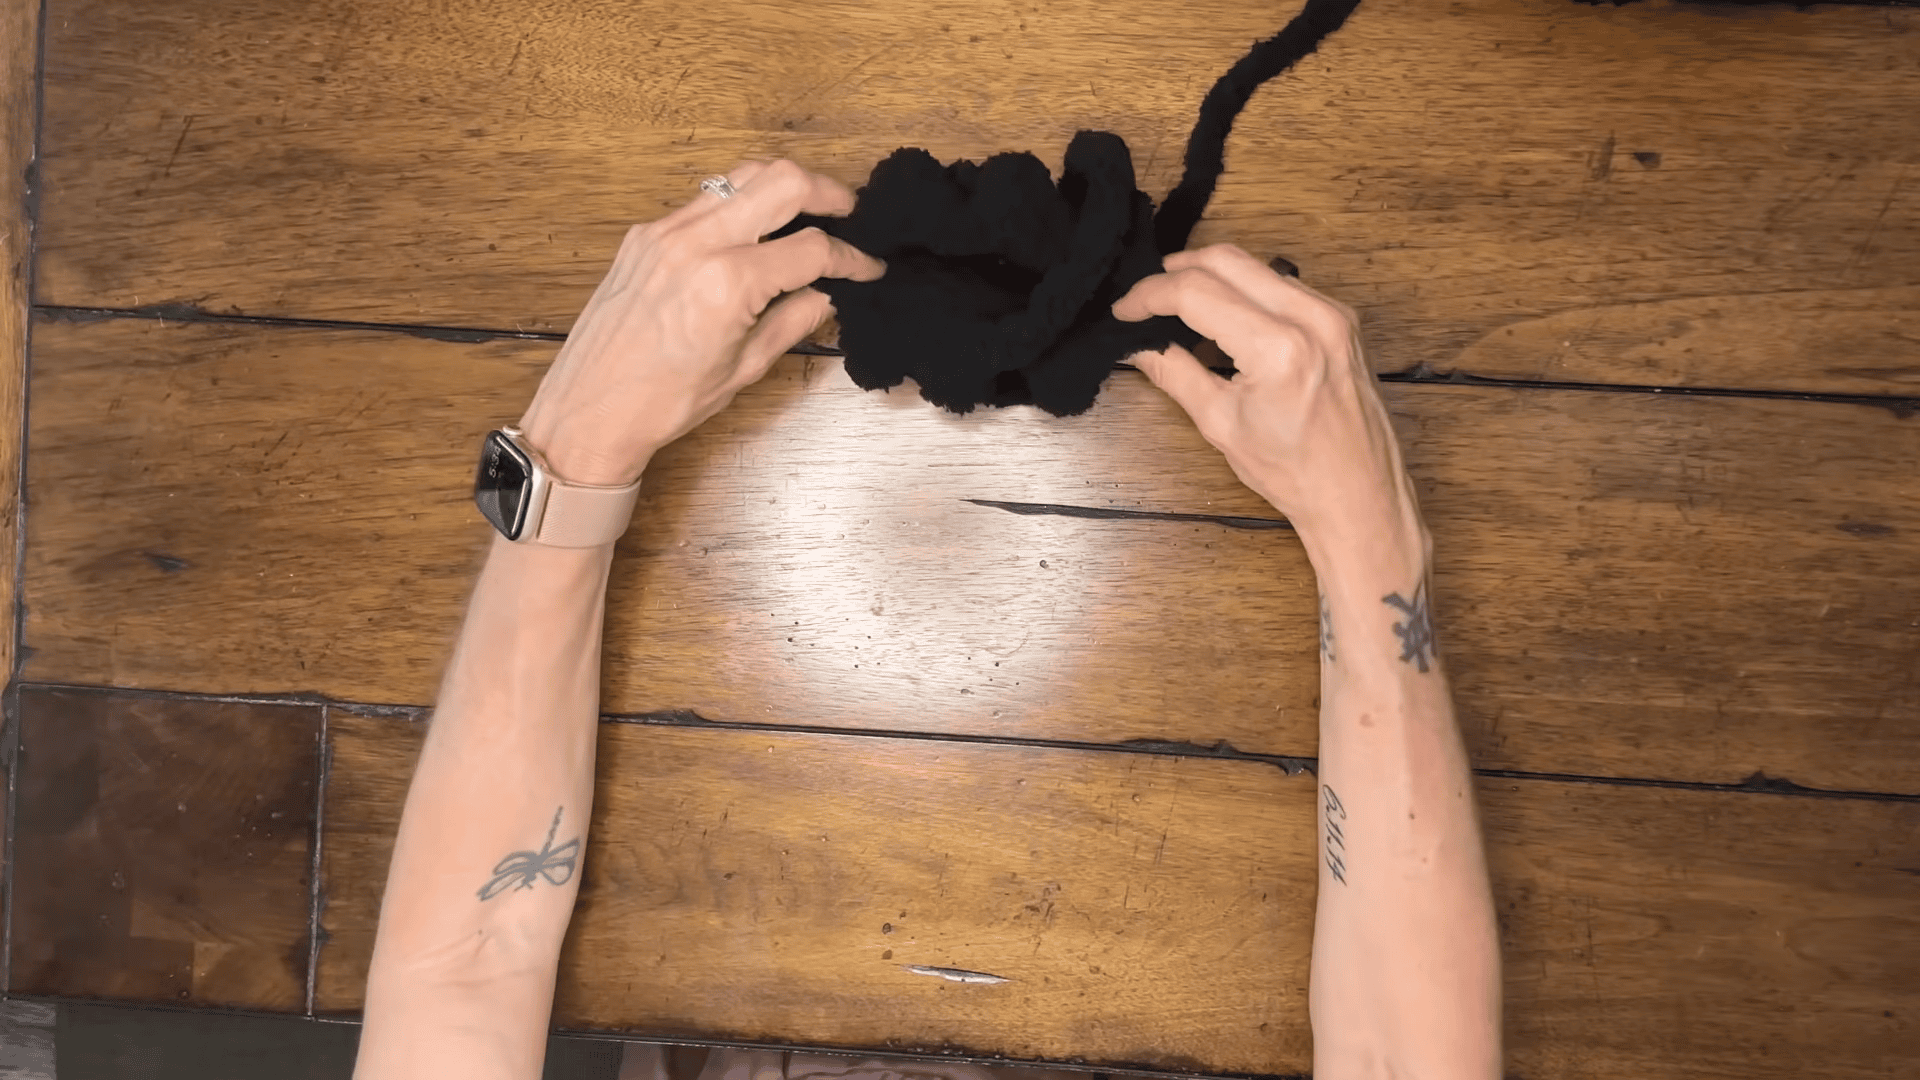
Body of the Chunky Yarn Spider Pattern
- First, pick up 4 loops from the back of the head piece.
- Next, increase to 6 loops, then to 10 loops across several rounds.
- After that, knit 10 loops for 6 rows (60 total loops).
- Then, decrease to 8 loops.
- Finally, knit 8 loops once, then fasten off, stuff, and close.
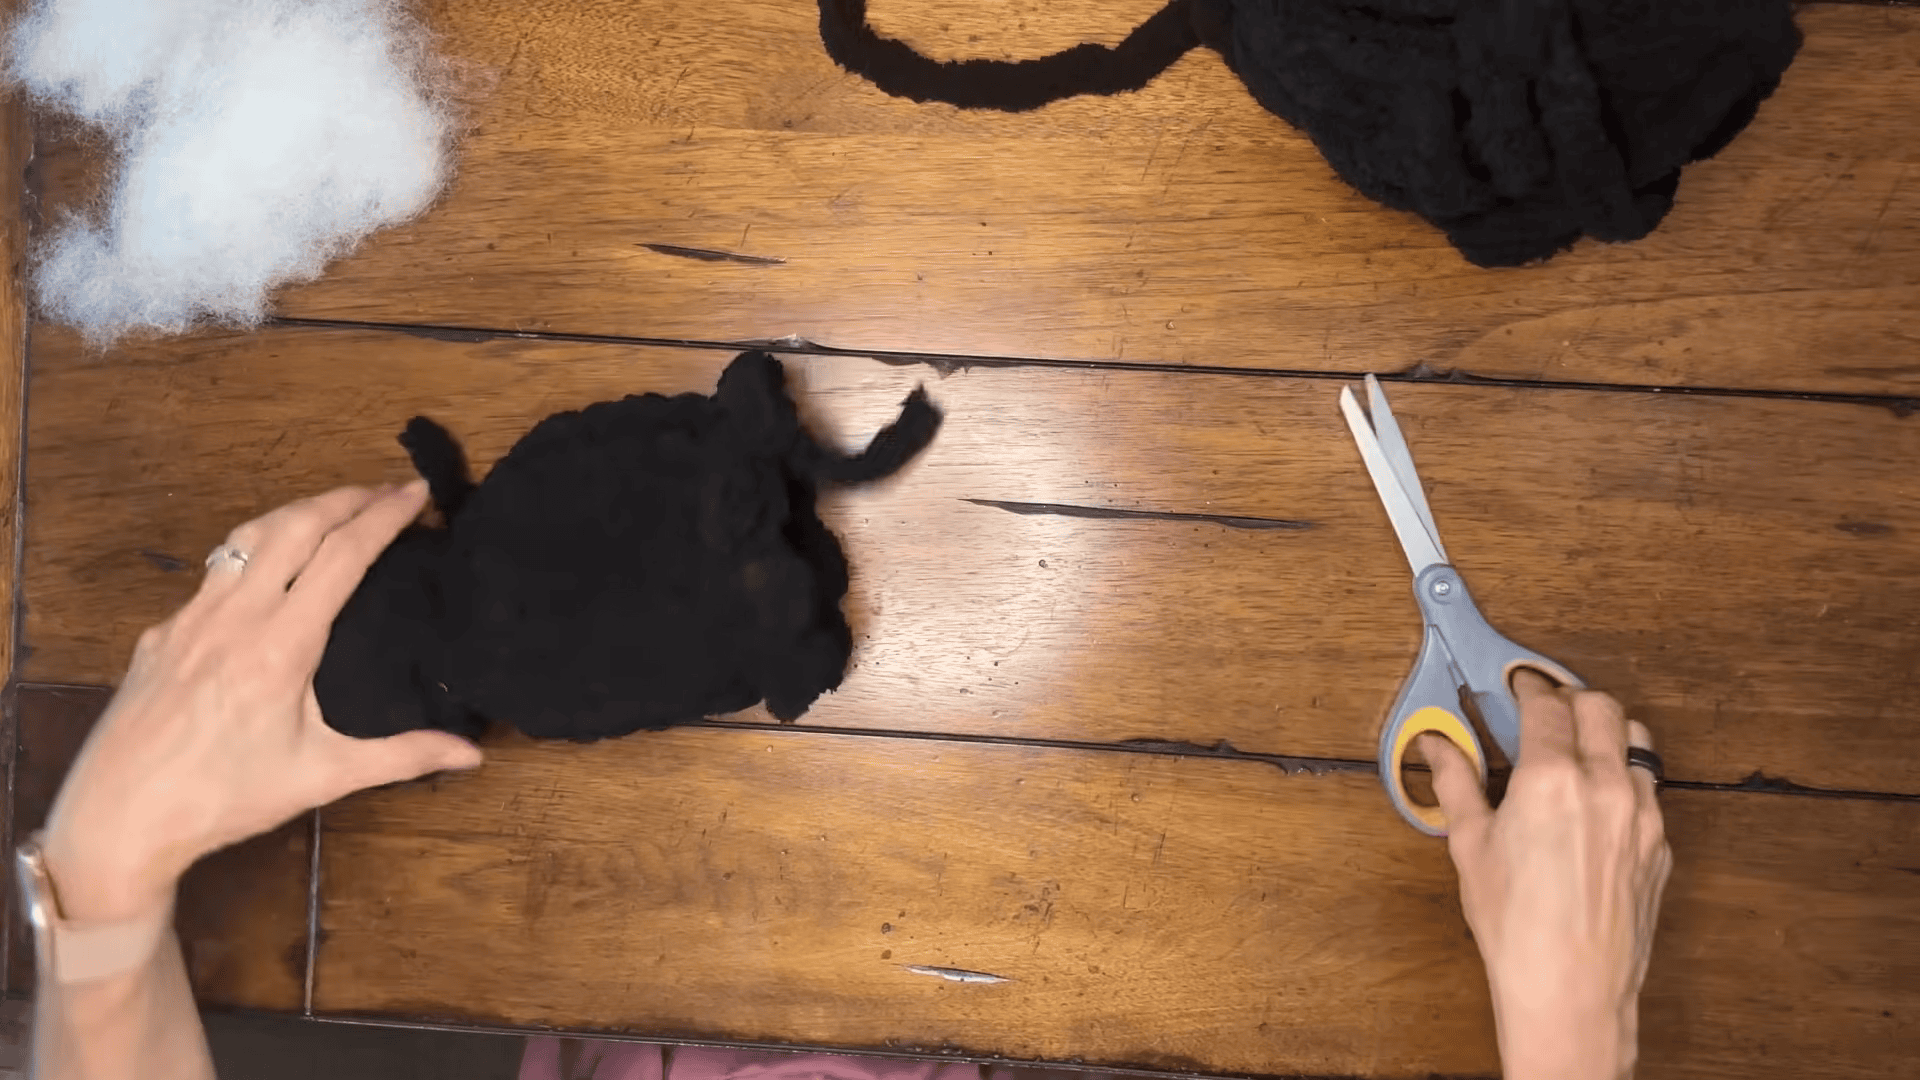
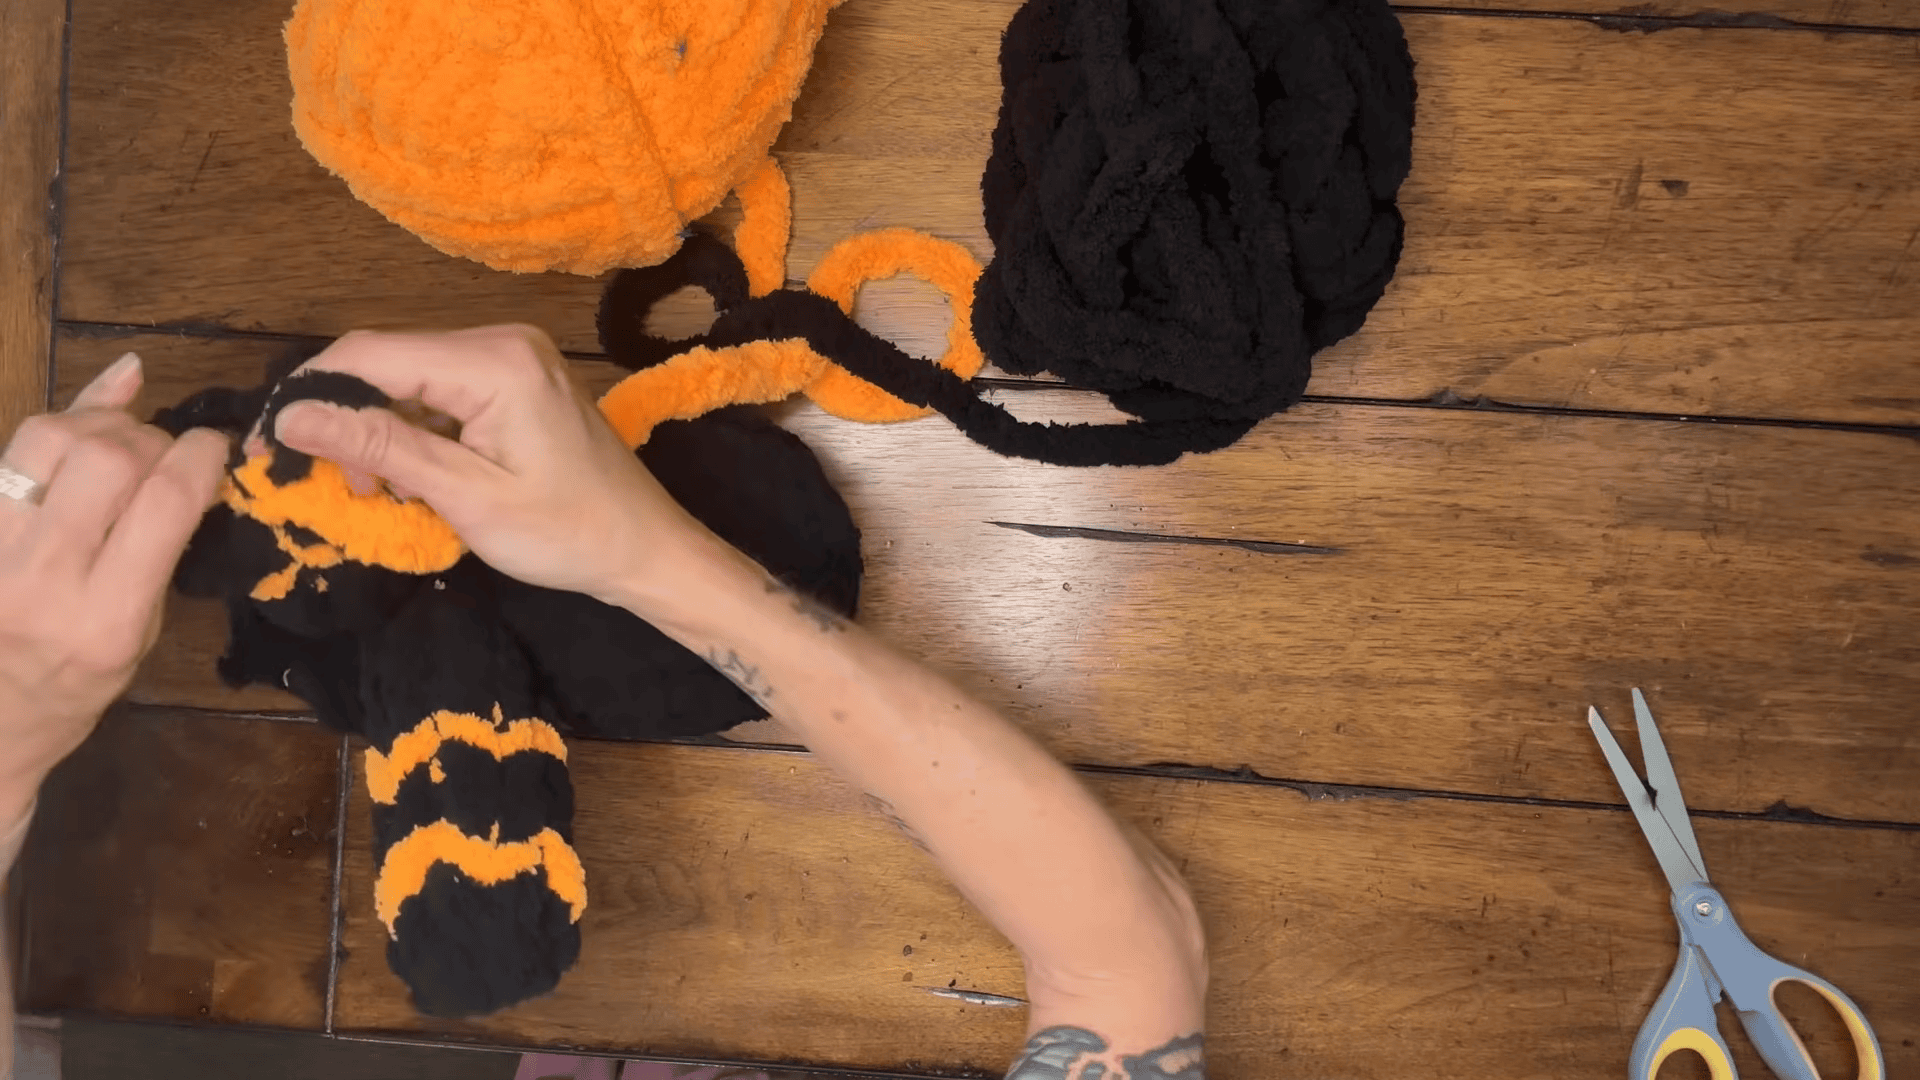
Legs for the Chunky Yarn Spider Pattern
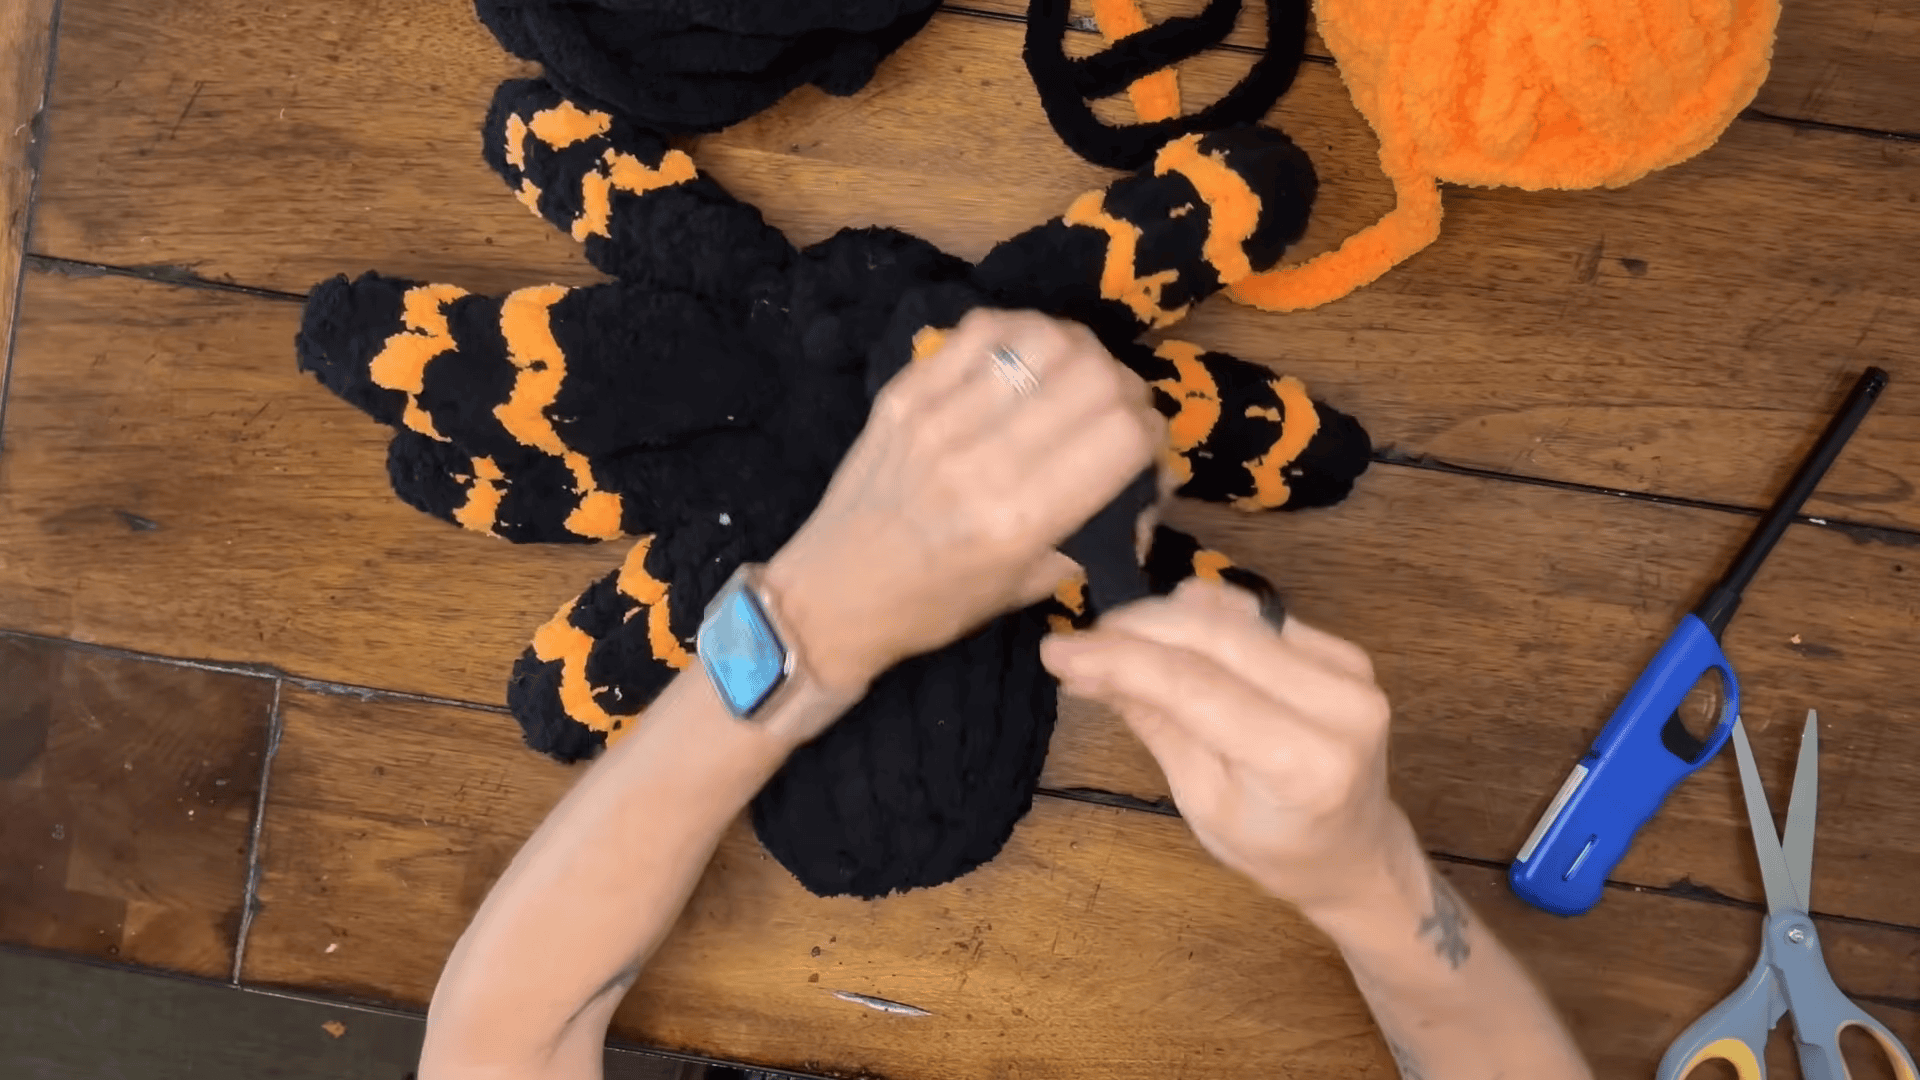
Make four legs on each side. Because each leg follows the same sequence, the work goes quickly after the first one.
- To begin, pull up 2 loops at the neck.
- Next, increase to 4 loops.
- Then, knit 4 loops for 3 rows.
- After that, change to the accent colour and knit 4 loops once.
- Following that, change back to the base colour and knit 4 loops twice.
- Next, change to the accent colour again and knit 4 loops once.
- Afterwards, switch to the base colour and knit 4 loops twice.
- Finally, fasten off and secure.
Pro-Tip: Repeat the stripe order on every leg: accent once, base twice, accent once, base twice. As a result, matching stripes across all eight legs keep the spider balanced.
Fangs
- First, pull up 2 loops on the front near the center.
- Next, knit 2 rows of 2 loops.
- Finally, decrease to 1 loop, pull the tail through, and secure.
Eyes
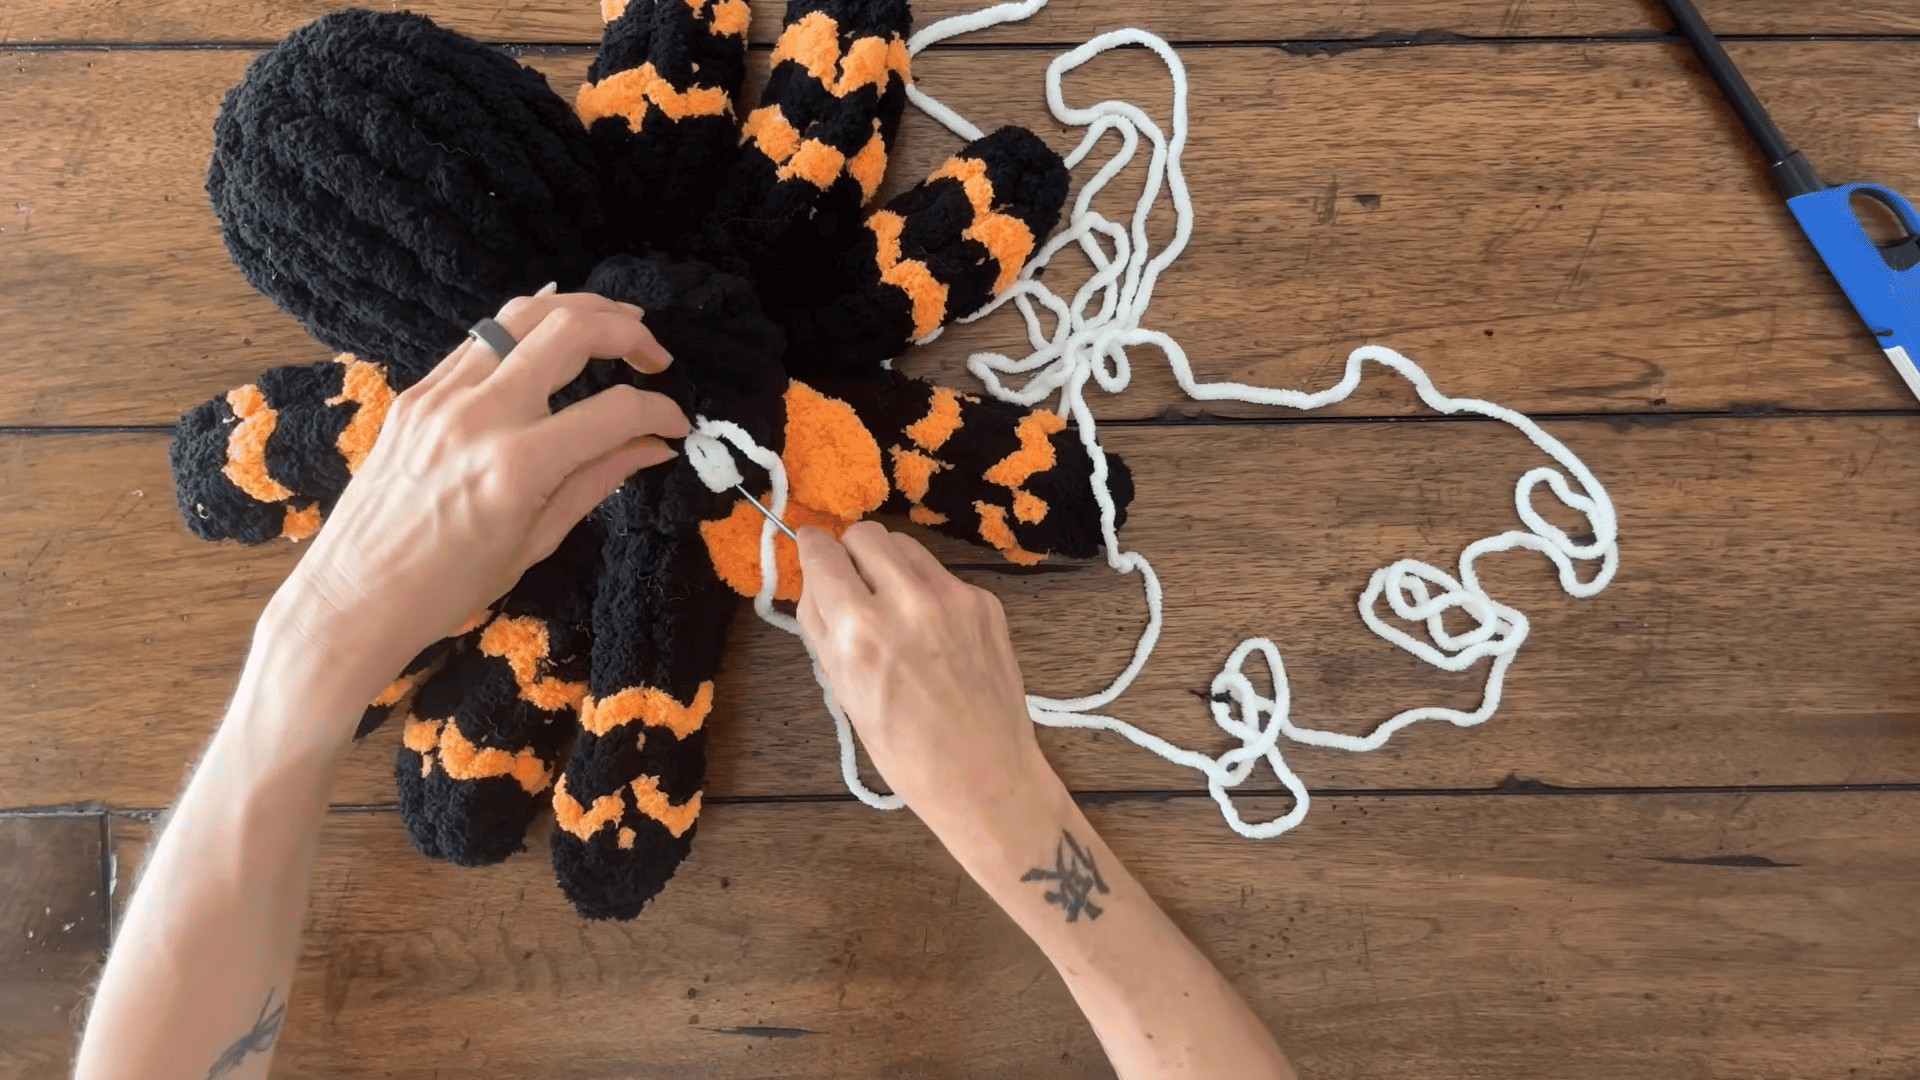
- White embroidery: First, use a long strand to create 4 eyes by looping the yarn around set points on the face, about 6 times per eye.
- Red detail: Then outline the eyes by wrapping red yarn around the outer edges of the white eyes.
Common Mistakes to Avoid
Small slips can change the whole shape, so watch for these traps.
- Skipping the loop count. Each round lists an exact total, so recount before moving on.
- Mixing up the stripe order. Accent once, base twice, accent once, base twice is easy to flip when you rush.
- Changing colours too early. Count rows carefully, because three base rows come first and only then does the first accent stripe begin.
- Under-stuffing. Firm stuffing gives the spider shape instead of a flat, floppy feel.
- Rushing the decrease round. The left-over-right method keeps the sides tidy, so slow down there.
- Forgetting the fangs. They belong on the front near the centre, so add them before embroidering the eyes.
Uses and Benefits of This Chunky Yarn Spider Pattern
Bold color and a soft body give this spider plenty of uses. For example, hang it from a shelf edge for a playful touch, or clip it onto a curtain to surprise guests. Kids enjoy a plush toy that stays sturdy during play. Moreover, chunky yarn works up quickly, so handmade gifts feel easy to finish. You can also dangle it from a backpack zipper or tuck it among cushions. Beyond decor, the project builds skill with colour changes, shaping, and embroidery.
Beginner Tips
Start with the head, since the first steps use only a few loops. Next, say each loop total out loud while you work, which keeps counting simple. Keep a small note nearby that lists the stripe order. Besides that, stuff the head and body in small bits instead of one large clump. Also, keep the accent yarn within reach, so colour changes never break your rhythm. Finally, pause after each part and compare your loop total with the chunky yarn spider pattern before continuing.
Assembling Your Spider
Most parts grow straight from the finished work, so very little joining is left. First, confirm that the head and body are stuffed and closed. Next, check that four legs sit on each side of the neck, each one fastened off and secured. Then make sure the fangs rest near the centre of the front. After that, embroider the white eyes first and wrap red around the outer edges. Finally, give each leg a gentle tug to test the ends.
Personalisation Ideas for the Chunky Yarn Spider Pattern
- Swap the stripes: try another accent shade in place of orange. The stripe order stays the same, so only the colour changes.
- Change the eyes: switch the red outline to another bright shade for a new personality, but keep the white base so the eyes still stand out.
- Go fully dark: skip the stripes and use only black yarn for a sleek, shadowy spider.
- Try red fangs: use the red yarn for the fangs to add drama against the black face.
- Pair them up: make two spiders in different accent colours and give them as a set.
- Pick a spot: attach the spider to a bag strap, tuck it on a bookshelf, or clip it to a curtain.
Bonus: Name Your Spider
A name turns a plush toy into a character. Pick one that fits the orange stripes, such as Pumpkin, Tango, Marmalade, or Zest. For a darker mood, try Shadow, Onyx, or Inky. Gifting the spider to a child? Let them choose, since a self-picked name builds instant attachment. Another fun idea is a short backstory, such as a shy spider who guards the bookshelf at night. Better yet, write the name on a small card and slip it beside the toy.
FAQs About the Chunky Yarn Spider Pattern
How much yarn does this spider need?
The black body calls for about 2 skeins of chunky yarn. The amounts for orange, white, and red are not listed, so keep spare yarn nearby.
How many legs does the spider have?
Eight in total, with four on each side. Every leg repeats the same stripe sequence.
What is the stripe order on each leg?
After three rows of black, the leg runs accent once, base twice, accent once, then base twice.
Does the spider need stuffing?
Yes, the head and body are stuffed before closing. However, the amount is not specified, so fill until firm.
How are the eyes made?
Four eyes are embroidered with white yarn, looped around set points about six times each, then outlined in red.
Can beginners follow this chunky yarn spider pattern?
Yes, each part has its own short steps with exact loop counts, so progress is easy to track.
How are the fangs made?
Pull up 2 loops near the front center, knit 2 rows, then decrease to 1 loop and secure the tail.
Before You Grab Your Hook
Okay, so that’s the whole spider. Honestly, just start with the head and take it one part at a time. Don’t stress about the stripes either, because they sort themselves out after the first leg. Even if that first leg looks a bit wonky, the other seven will fix that feeling fast.
I really think this chunky yarn spider pattern is a fun one to make. So pick up the black yarn, get comfy, and go for it. Pretty soon, eight striped legs will be waving at you from the table. Then pick a spot and show it off.