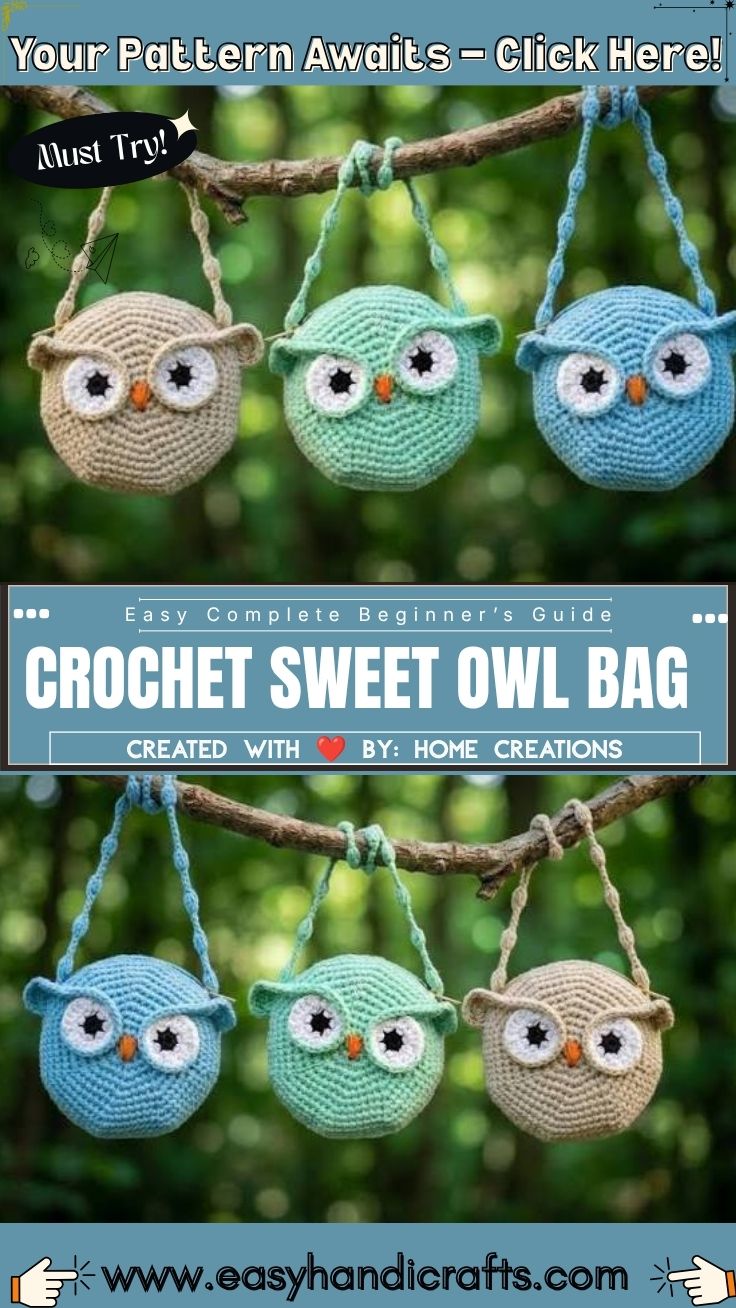
Free Crochet Sweet Owl Bag Pattern for Kids
Two round eyes and a fuzzy orange beak peek out mid-stitch as the Free Crochet Sweet Owl Bag Pattern for Kids grows, round by round, from one small circle into a soft little carryall sized for tiny hands and big imaginations.
Built from basic single crochet rounds and simple amigurumi shaping, the crochet owl bag pattern turns leftover skeins into a weekend project even a confident beginner can finish. Rounded body, folded ear tufts, and an adjustable strap keep the piece genuinely wearable, not shelf-only, making it a quick handmade gift or a first kids’ amigurumi project that builds real hooking confidence.
Special Techniques
- Magic ring (magic circle): the standard closed start for round amigurumi pieces, keeping the center tight with no gap.
- Continuous spiral rounds: worked without joining or turning, which keeps the surface smooth but means using a stitch marker to track round starts.
- Standard amigurumi increase shaping: evenly spaced increases each round to build a dome or sphere rather than a flat disc.
- Color-blocked rounds: swapping yarn color mid-project for a belly patch or striped wings, using a clean color-change technique so the join doesn’t show.
- Sewn-on face pieces: eyes, beak, and ear tufts are typically worked as separate small pieces, then attached giving more control over placement than crocheting them directly into the body.
Time Box
Prep is quick: gathering yarn, swatching, and deciding your closure style. The bulk of the project is the stitching stage: building the base and body, then the face pieces, which is easiest to split across a couple of sittings rather than rushing in one go. Finishing sewing on the face, attaching the strap and closure, and weaving in ends is a focused last session on its own. Exact timing depends heavily on hook comfort and how many color changes you build in, so log your own time on the first make.
Materials
- Yarn: worsted (#4) or bulky (#5) weight cotton or acrylic in your main owl color, plus small amounts of white and black for the eyes and orange for the beak. Confirm your own yardage once you know your finished size.
- Hook: comparable owl bag patterns commonly use hooks in the 4mm–6.5mm range depending on yarn weight – match yours to a swatch; don’t assume.
- Safety eyes (optional): published patterns of this type commonly use 9mm–18mm plastic safety eyes; skip these in favor of embroidered or sewn eyes for very young children (see Kid-Safety Notes below).
- Stuffing: a small amount for structure at the face/base, if you want dimension rather than a flat front.
- Closure hardware: drawstring cord or ribbon, a button and loop, or a magnetic snap.
- Extras: tapestry needle, stitch markers, scissors, and optional lining fabric.
Gauge / Tension Note
At this small a scale, tension swings the finished size more than it would on a garment = a slightly looser hook can turn a palm-sized bag into something noticeably bigger. Swatch first, and record your actual gauge and finished dimensions once you’ve made one; don’t rely on a number pulled from someone else’s yarn and hook combination.
Abbreviations
sc – single crochet · dc – double crochet · hdc – half double crochet · sl st – slip stitch · inc – increase · dec – decrease · st(s) – stitch(es) · rnd(s) – round(s) · MR – magic ring
Before You Start
Read the whole pattern once before picking up your hook. Decide whether you want continuous spiral rounds (smoother surface, needs a stitch marker) or joined rounds (a visible seam, but easier to keep track of). Decide, too, whether you want an open pouch a child can actually use, or a fully stuffed toy-front look; that choice changes how much stuffing and reinforcement the base needs.
How the Bag Is Built
Construction starts at the center of the base with a magic ring, then builds outward in increasing rounds until the body reaches your target width. The face pieces eyes, beak, ear tufts are made separately and sewn on once the body is complete. A closure is worked into the top opening, and the strap is attached last, once you can see how the finished bag actually hangs.
Step-by-Step Pattern
1. Starting the Base
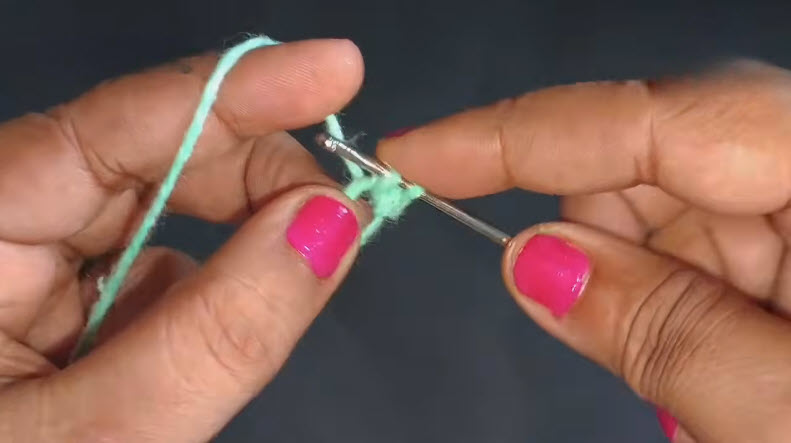
Work a magic ring and close it snugly. Begin your first round of single crochet into the ring, then increase evenly across each following round using the standard amigurumi progression. Count your own stitches at the end of every round rather than assuming a fixed number, since your hook and yarn combination will set the actual count.
2. Shaping the Body
Continue increasing until the base reaches the width you want, then switch to working even rounds (no more increases) to build the height of the bag’s body. This is where a spiral vs. joined-round decision shows up most a spiral keeps the surface seamless; a joined round gives you a clean stopping point each row.
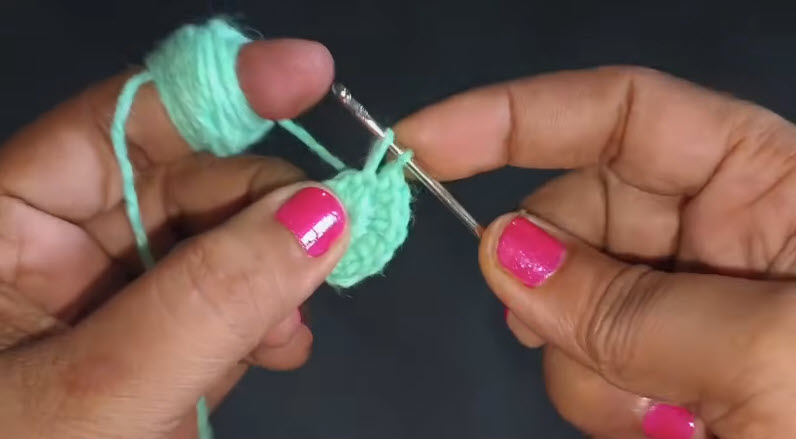
3. Crocheting the Eyes
Work two identical small rounds – typically a white or light base with a black center, added either by crocheting a second color into the piece or embroidering the pupil on afterward. Keep a firm count of rounds and stitches on the first eye and repeat it exactly for the second.
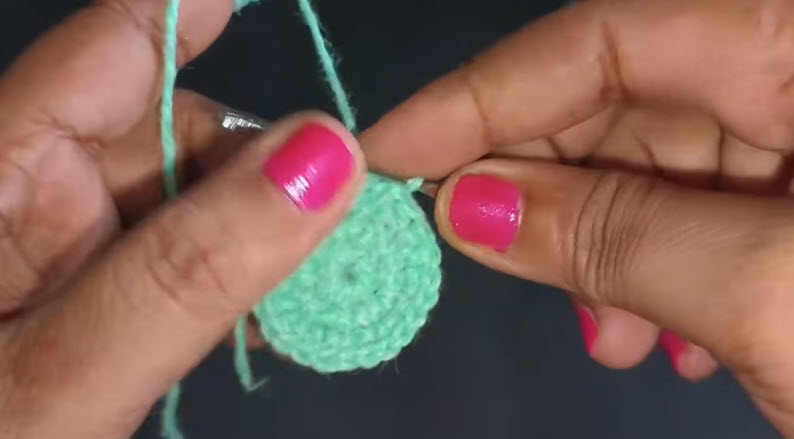
4. Making the Beak
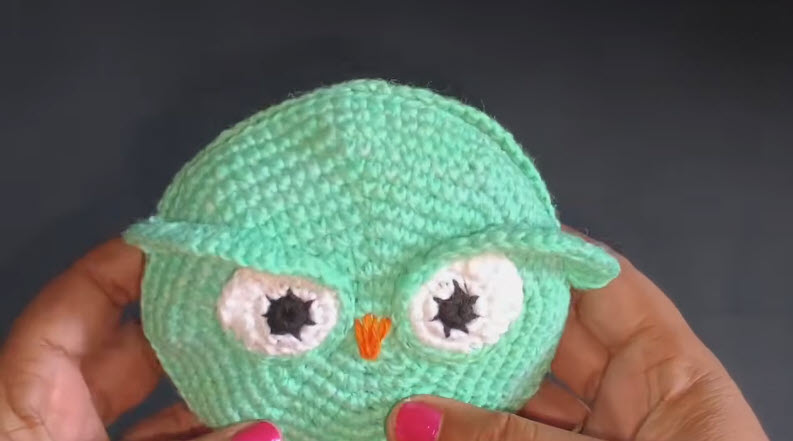
A small triangular shape in orange, worked flat or as a tiny half-round, gives the beak its shape. Keep it small relative to the face an oversized beak is one of the fastest ways an amigurumi face reads as “off.”
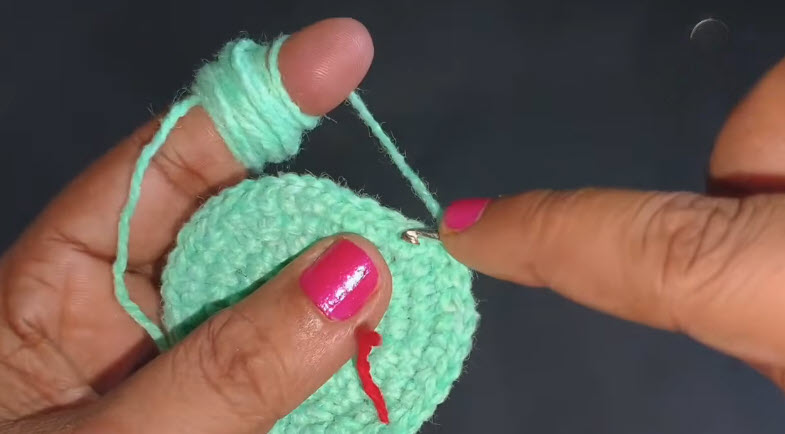
5. Shaping the Ear Tufts
Two small folded or pointed pieces, worked flat and folded at the base before sewing, sit at the top of the head as ear tufts (or wings, if you prefer that look). Keep both pieces the same number of rows so they sit level once attached.
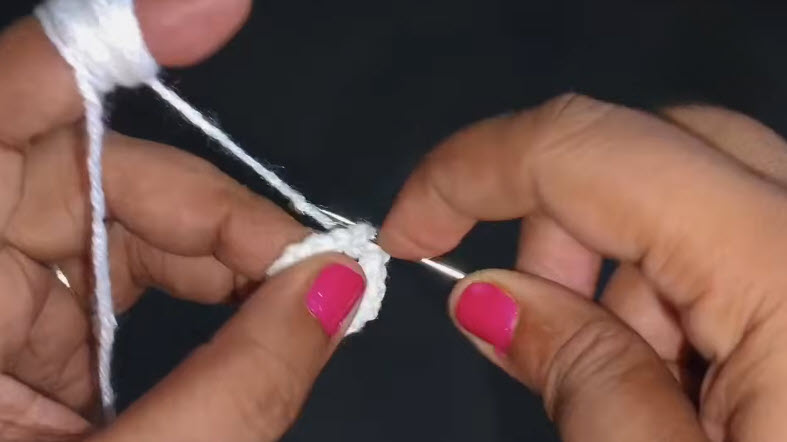
6. Assembling the Face
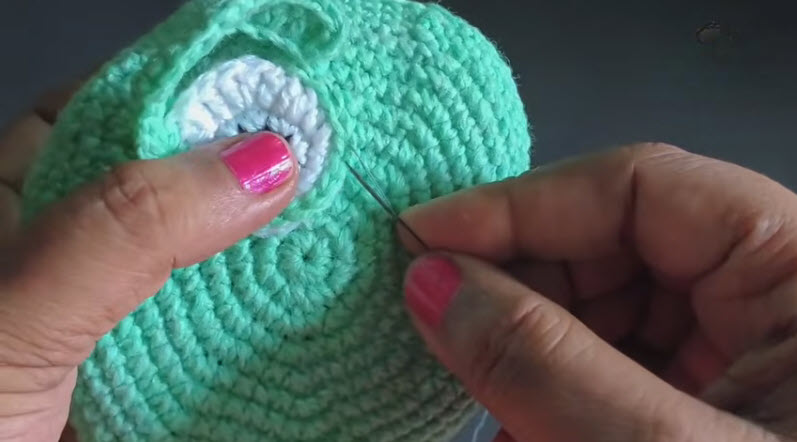
Pin both eyes in place before sewing anything down; check they sit at the same height and the same distance from the center before committing a single stitch. Sew the beak between and slightly below the eyes, and attach the ear tufts at the top.
Pro tip: Sew one eye on with a single loose stitch first, then hold the second piece up beside it (not yet sewn) to compare placement before deciding either one is final. It’s far easier to shift a pinned piece than to unpick a fully sewn one.
7. Adding the Closure
Work your chosen closure a drawstring channel in the top rounds, a flap with a button and loop, or a sewn-in magnetic snap before attaching the strap, so you can see how the opening actually sits once the bag has some shape to it.
8. Attaching the Strap
Crochet a simple chain-and-single-crochet strap, braid one from leftover yarn, or thread ribbon through, then attach it at two points on the back of the bag. Try the bag on (or on the intended child) before sewing the second end down permanently.
Stitch Count Checkpoints
- Count your stitches before closing off the base; a lopsided count here becomes a lopsided bag.
- Compare both eye pieces side by side before sewing either one down.
- Check the ear tufts match in row count before attaching.
- Test the hang of the strap before sewing the second attachment point permanently.
Common Mistakes
Uneven increases in the base rounds are the most common source of a wavy, non-circular bottom. Spacing increases evenly (rather than clustering them) keeps the base flat. Mismatched eye pieces are the next most common issue, usually from not counting rounds identically on both. Curling at the opening edge is often a tension issue rather than a pattern issue a slip stitch finishing round can help flatten it.
Troubleshooting
Fixed the Troubleshooting section was one long unbroken block. Replace it with this (added an H3 per issue):
Troubleshooting
Base Comes Out Wavy or Ruffled
Problem: Base comes out wavy or ruffled instead of flat.
Why it happens: Too many increases too close together.
How to recognize it: The edge ripples or won’t lie flat when set down.
How to fix it: Rip back to the last flat round and re-space increases more evenly around the round.
The Two Eyes Don’t Match
Problem: The two eyes don’t match.
>Why it happens: Different stitch or round counts between the two pieces.
lass=”yoast-text-mark” />>How to recognize it: One eye sits noticeably larger, smaller, or a different shape than the other.
>How to fix it: Remake the mismatched piece using the exact round-by-round count of the correct one, written down as you go.
Opening Edge Curls Instead of Lying Flat
Problem: Opening edge curls instead of lying flat.
Why it happens: Tension is tighter on the last few rounds than on earlier ones.
How to recognize it: The rim rolls inward or outward rather than sitting flush.
How to fix it: Work a slip stitch finishing round, or block the opening lightly with a light steam.
Stuffing Shows Through the Stitches
Problem: Stuffing shows through the stitches, or the face looks lumpy.
>Why it happens: Overstuffing, or stuffing added unevenly.
>How to recognize it: Visible gaps in the stitch pattern, or a bumpy rather than smooth surface.
>How to fix it: Remove excess stuffing and redistribute in small pieces rather than one large clump, working from the center outward.
Closure Won’t Stay Shut
Problem: Closure won’t stay shut, or the drawstring pulls loose.
>Why it happens: Channel or loop sized too loosely for the closure hardware.
>How to recognize it: The bag gapes open under its own weight or light movement.
>How to fix it: Tighten the channel by working it over fewer stitches, or size up the button relative to the loop.
Strap Twists or Stretches Unevenly
Problem: Strap twists or stretches unevenly.
>Why it happens:</strong> Strap worked too loosely, or attached at uneven points on the body.
>How to recognize it: The bag hangs crooked when worn.
>How to fix it: Re-crochet the strap at a slightly firmer tension, and re-check that both attachment points sit at matching heights on the back.
A finished owl bag earns its keep well past playtime. Kids can tuck snacks, tiny toys, or crayons inside on a car ride, hang it from a bedroom hook when it’s not in use, clip it to a backpack strap for an extra pop of color, or dangle it from a scooter handlebar on the way to the park. Handed down between siblings, it holds up as both a soft toy and a functional first bag — sturdy enough for real use, small enough that a child doesn’t feel weighed down carrying it.
<h3 dir=”ltr”>Beginner Tips
Work a small test swatch b
efore committing to your final hook size — it’s cheap insurance against a bag that ends up too big or too tight. Use a stitch marker from round one if working in a spiral; losing track of the round start is the single easiest way to end up with a mismatched increase count. Keep a running tally of stitches per round on paper or in a notes app rather than trusting memory.
ir=”ltr”>style=”font-size: 14pt;”>Kid-Safety Notes
Plastic safety eyes are secure once properly backed, but for a bag intended for a child under three, sewn or embroidered eyes remove any risk of a piece working loose over time. Skip small buttons as a closure for the same age group, and favor a drawstring, a fabric loop, or a magnetic snap sewn well inside the fabric layer. Keep the strap short enough that it can’t loop around a small neck, and check stitching at all attachment points periodically once the bag’s in regular use.
ir=”ltr”>Washing and Care
Hand wash in cool water with a mild detergent, and reshape while damp before laying flat to dry — machine washing can distort the round shape and loosen sewn-on pieces over time. Acrylic yarn holds up better to repeated washing than cotton for a bag that’ll see daily use; check safety eye backs periodically if you’ve used them, since repeated handling by small hands is exactly the kind of wear that can loosen them.
Color-Blocked Wings
Swap a single contrasting color into the wing or ear-tuft pieces for a two-tone look without touching the main body pattern.
Nighttime Glow Owl
Work the eyes in glow-in-the-dark yarn for a bag that does double duty as a small nightlight companion.
Add a small crocheted or felt initial to the belly area for a gift that reads as personalized without much extra work.
Mini Keychain Version
Scale the same construction down without the closure or strap length adjustments, finishing it as a zipper-pull-sized charm instead of a full bag.
FAQs
Can beginners make this owl bag?
Yes — the core techniques are magic ring, single crochet in the round, and basic increasing, all standard beginner-level skills. The face assembly (matching eyes, attaching pieces) takes a bit more patience than the stitching itself.</span>
What yarn weight works best?
Worsted or bulky weight both work well for a kid-sized bag; bulkier yarn finishes faster but with less fine detail in the face, while worsted gives crisper features at a smaller overall size.
How do I keep both eye pieces matching?
Write down your round-by-round stitch count on the first eye and follow it exactly for the second, rather than eyeballing it by comparing the two pieces after the fact.
Can the bag hold real kids’ items like snacks or small toys?
It can, within reason. A lined base and a slightly denser stitch (like single crochet rather than a more open stitch) will hold shape better under actual daily use than a very loose gauge.
How do I make it bigger or smaller?
Adjust your hook size and yarn weight rather than changing the stitch pattern itself a bigger ho
Is it safe for toddlers?
With adjustments sewn rather than snap-in eyes, no small loose buttons, and a strap short enough to avoid any entanglement risk it can be made toddler-appropriate. Supervise use as you would with any small handmade item.
Conclusion
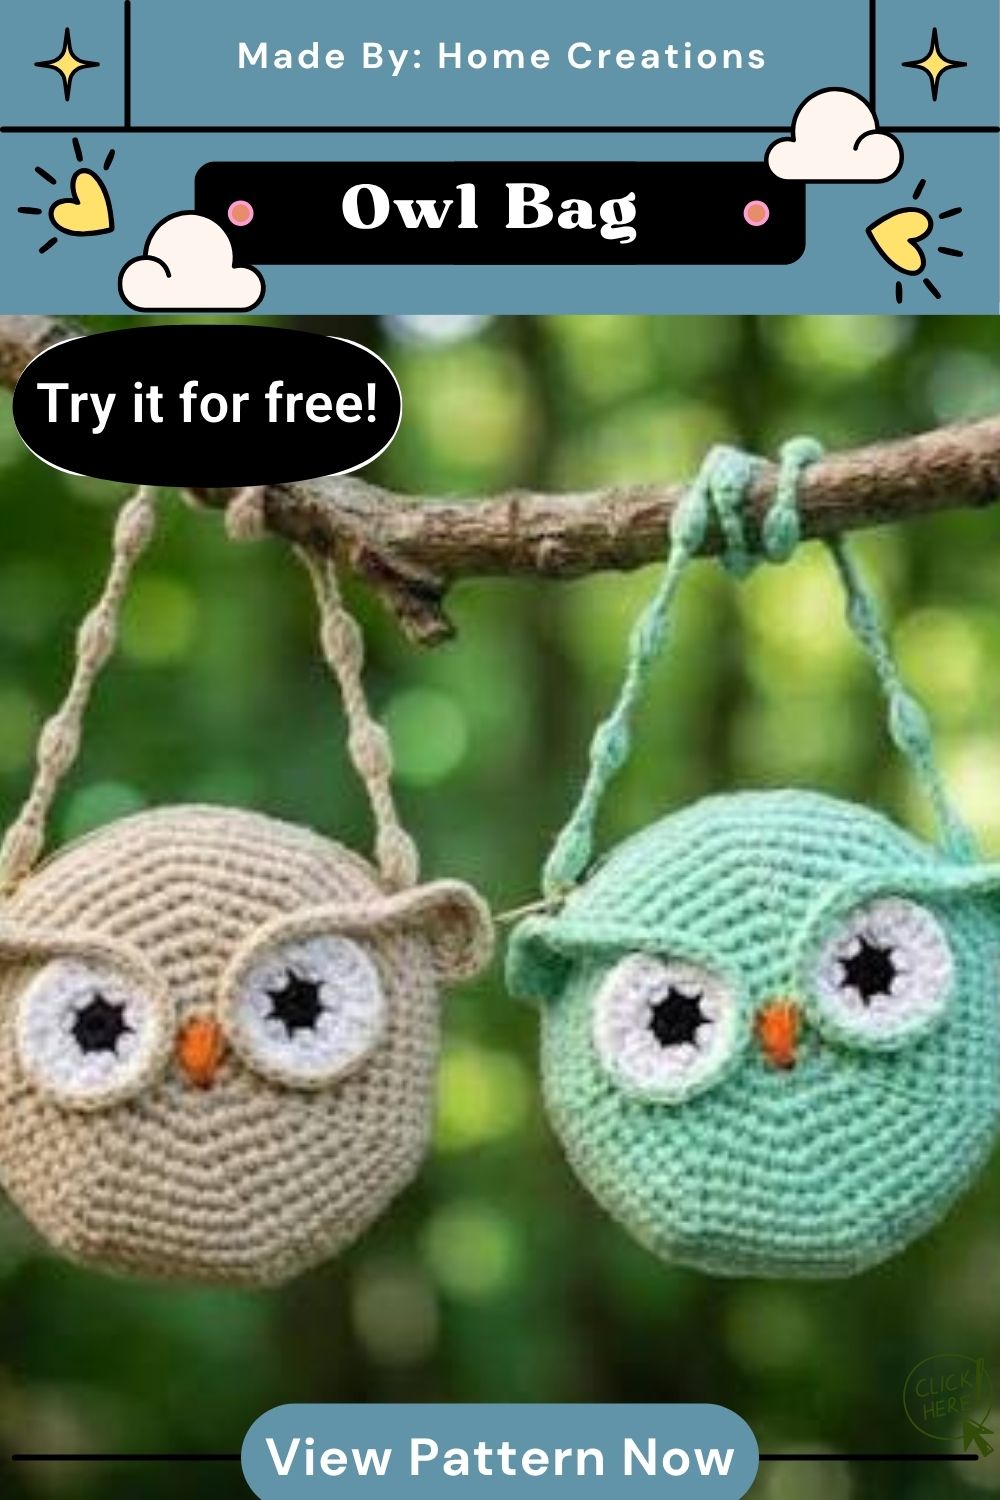
A round base, a few careful shaping rounds, and a handful of small sewn-on pieces can turn simple stitches into a bag a child will want to carry. Take time to match the eyes and count your rounds. Test the strap before securing it in place. These small checks help prevent a lopsided first attempt and give the bag a genuinely finished look.