Crochet Fingerless Gloves Pattern With Ribbed Cuffs
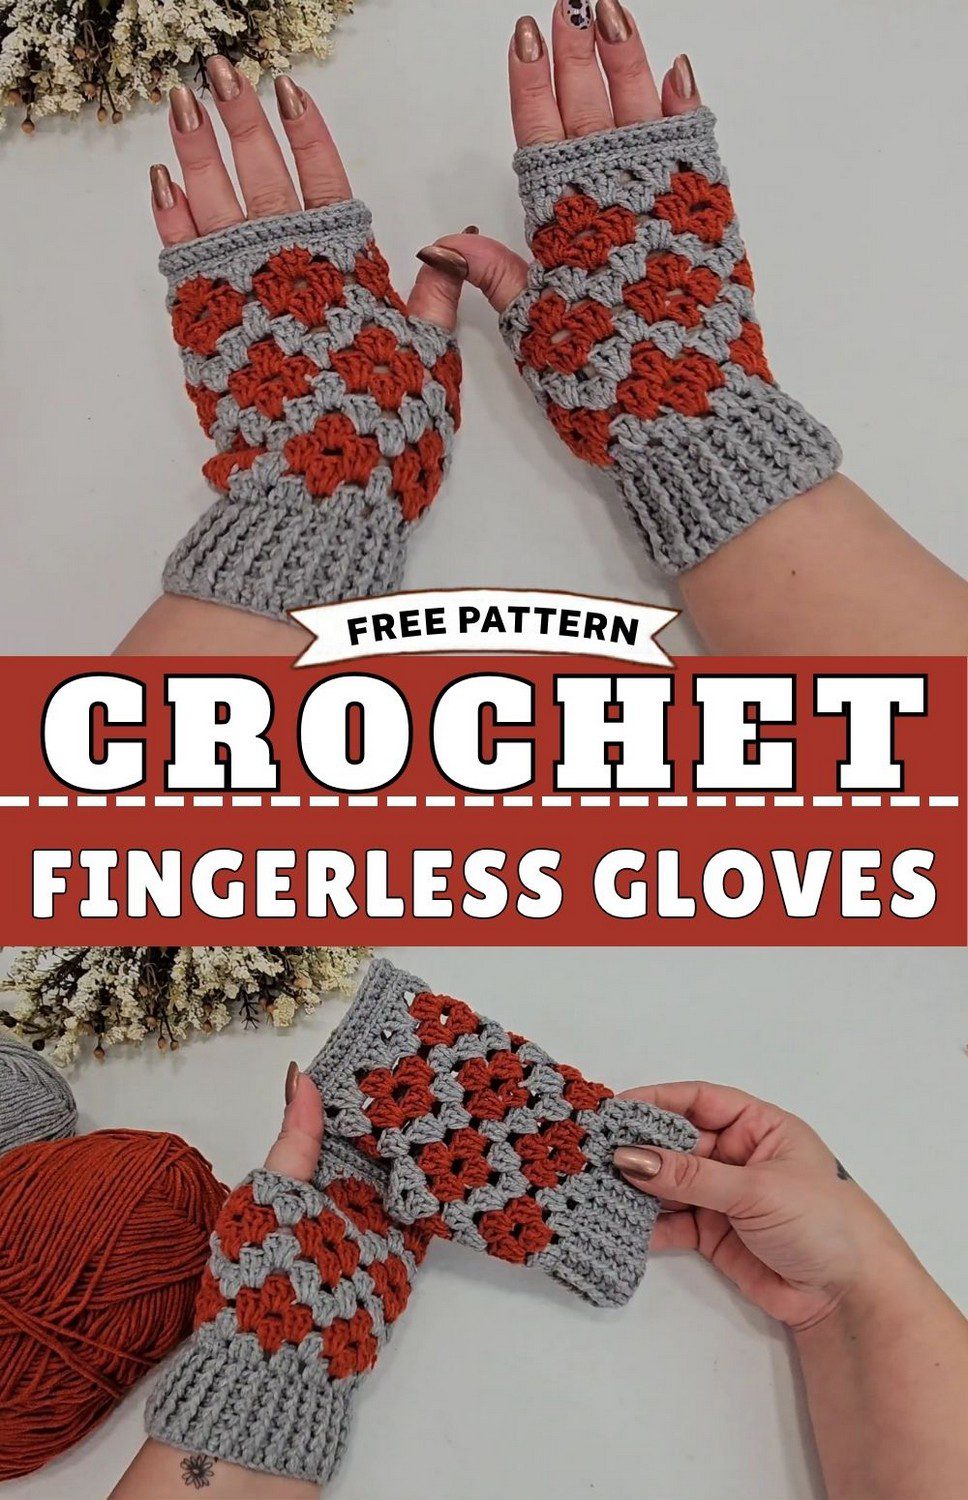
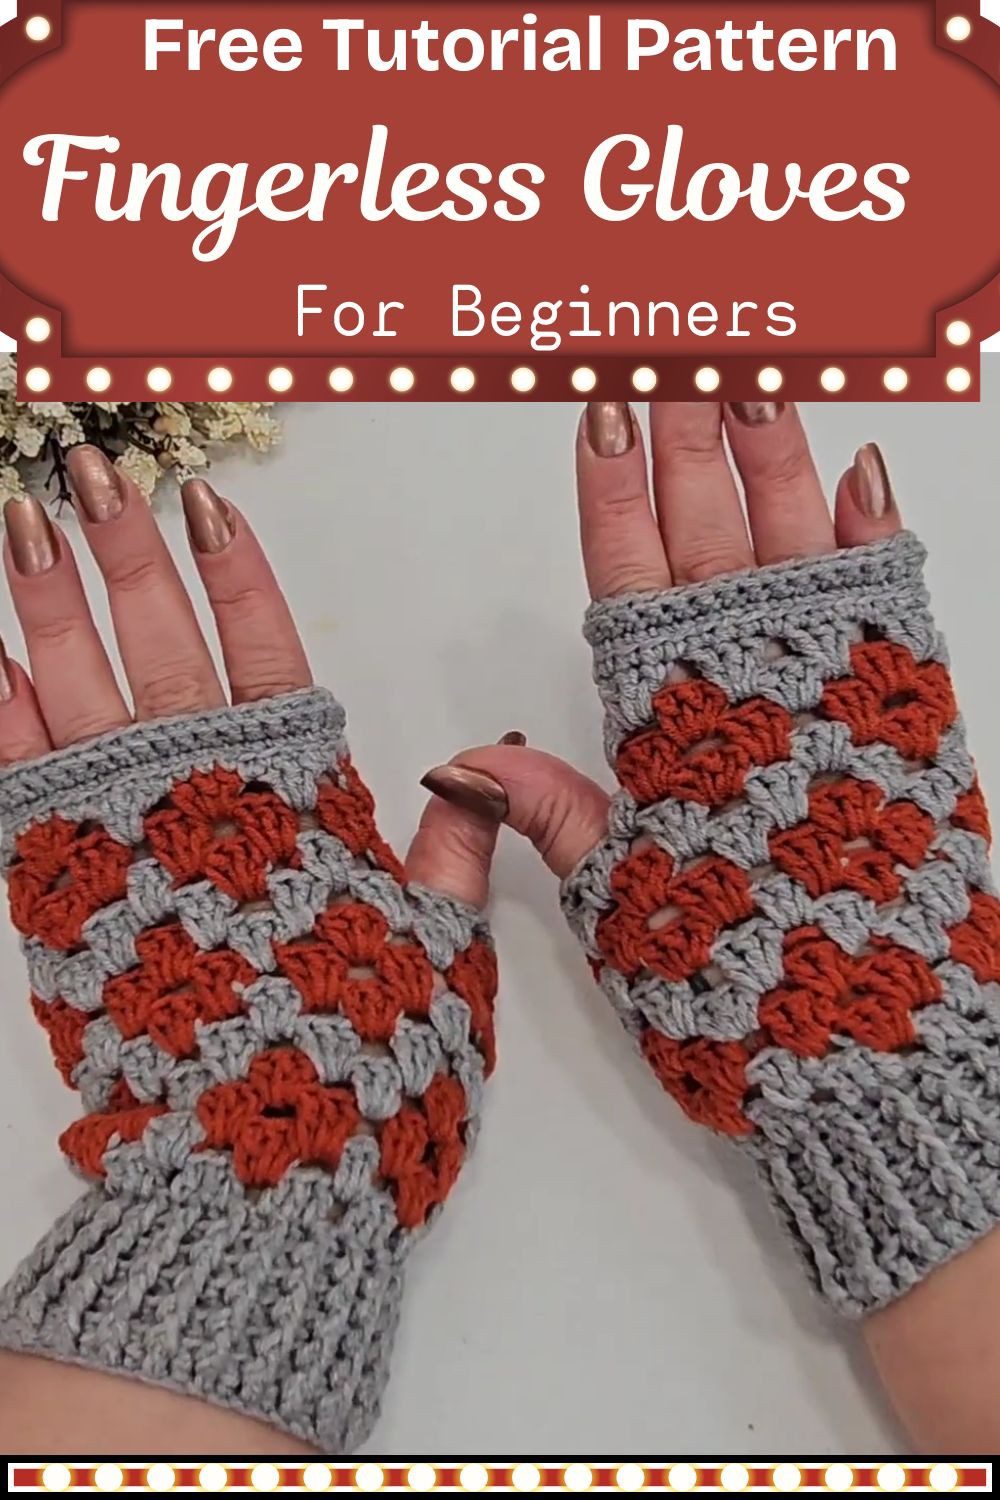
This crochet fingerless gloves pattern makes soft, stretchy gloves with ribbed cuffs and small rust flowers across the hand. The cuff fits snugly around your wrist, while a small thumb opening keeps your fingers free and comfortable. This free pattern is beginner friendly, and it works beautifully for cozy winter crochet accessories or as a handmade Christmas gift idea.
This crochet fingerless gloves pattern is perfect for beginners who want a simple and rewarding project. The ribbed cuffs stretch gently to hug your wrists, while the grid-style hand is decorated with small rust flowers that look charming and warm. A thumb opening keeps your fingers free, so you can type, drive, or sip coffee comfortably. These gloves keep cold weather away and make cozy winter crochet accessories for daily wear. They also work beautifully as a handmade Christmas gift idea. Follow the easy steps and choose any two colours.
About the Crochet Fingerless Gloves Pattern With Ribbed Cuffs
The finished gloves pair a beige body with cinnamon flower motifs. You work each glove in rounds from the cuff upward, so the shape builds in clear stages: ribbed cuff, flower rows, thumb opening, and top edging. Because the fingers stay open, the top ends with a textured rim instead of finger shaping.
Colourwork appears in the hand section, where two yarns travel through the same round. The designer adapted this flower stitch for gloves herself, and she had not seen it used on a glove before. The sample has 3 rows of flowers, so the colourwork stays in small, manageable pieces.
Crochet Fingerless Gloves Pattern With Ribbed Cuffs Features
Ribbed Cuff With Post Stitches
First, you repeat alternating front-post and back-post double crochets for 6 rows to form a stretchy wristband. In addition, the base round goes into the back loops of the starting chain, which leaves a clean bottom edge.
Flower Rows With Two Colours
Groups of 3 double crochets worked together, with a chain between groups, form the flowers. Then beige and cinnamon alternate around the round, and the unused colour travels along the back.
Built-In Thumb Opening
In the second flower row, you replace a few stitches with chains to make the thumb gap. Next, the following rows are worked into those chains.
Textured Top Rim
Finally, a round of single crochet and a few flat rows worked in the back loops add a ribbed look along the top edge.
Materials and Yarn for the Crochet Fingerless Gloves Pattern With Ribbed Cuffs
- Alize Cotton Gold yarn in beige (main body) and cinnamon (flower motifs)
- 2.0 mm crochet hook for the ribbed cuff (the sample’s cuff came out small and tight)
- 2.5 mm crochet hook for the rest of the glove (the sample was worked with this size)
- Tapestry needle for weaving in ends
- Scissors
- Stitch marker (optional)
The designer suggests a looser option: start the cuff with a 2.5 mm hook and work the rest with a 3.0 mm hook for a more comfortable fit. The source does not give yarn weight or yardage, so exact amounts cannot be listed. As general guidance, cotton yarn has less natural stretch than wool, so a short swatch in your chosen yarn helps you confirm the fit before you start.
Skill Level and Stitches Used
The source labels the pattern as easy and beginner-level. However, post stitches and carrying a second colour add a little practice, so a short swatch is a smart first step. For example, you work a front-post double crochet around the front of the stitch below, while you work a back-post double crochet around the back. These abbreviations appear in the instructions:
- ch: chain
- sl st: slip stitch
- dc: double crochet
- FPdc: front-post double crochet
- BPdc: back-post double crochet
- sc: single crochet
Sizing and Fit Notes
The pattern gives no gauge or finished measurements. It starts with a chain of 40, and the stitch repeats over multiples of 8 chains, so you can go bigger or smaller by adding or removing 8 chains at a time. The sample is small. It fits a child of about 10 to 11 years, or an adult with small hands. For a bigger hand, add more multiples of 8.
The designer worked her first sample tightly, while her second glove, made off-camera, came out looser and wider with the same pattern. Try the cuff around your wrist before you start the flower rows, because a wider or narrower cuff changes everything above it.
Both gloves are identical, so there is no separate right or left glove.
Tips Before You Start the Crochet Fingerless Gloves Pattern With Ribbed Cuffs
Keep your starting chain neither too tight nor too loose, and make sure it is not twisted before you join. Also, place a stitch marker in the first stitch of each round so the rounds stay easy to count.
Next, tie the loose yarn ends together as you go, which makes hiding them much easier later. Keep the carried strand relaxed, because a tight strand makes the fabric pucker. Take care that the two strands do not tangle while you carry them.
Step-by-Step Crochet Fingerless Gloves Pattern With Ribbed Cuffs Instructions
Step 1: Chain, Join, and Start the Cuff
Using the 2.0 mm hook and beige yarn, chain 40, or use any multiple of 8 to adjust the size. Then join the ends with a slip stitch to form a ring, and take care not to twist the chain.
Next, chain 3 and work a double crochet into each chain, going into the back loop each time. This keeps the base neat, and you should have 40 stitches. Join with a slip stitch to the top of the first stitch after the starting chain, not to the chain itself.
Step 2: Work the Ribbed Band
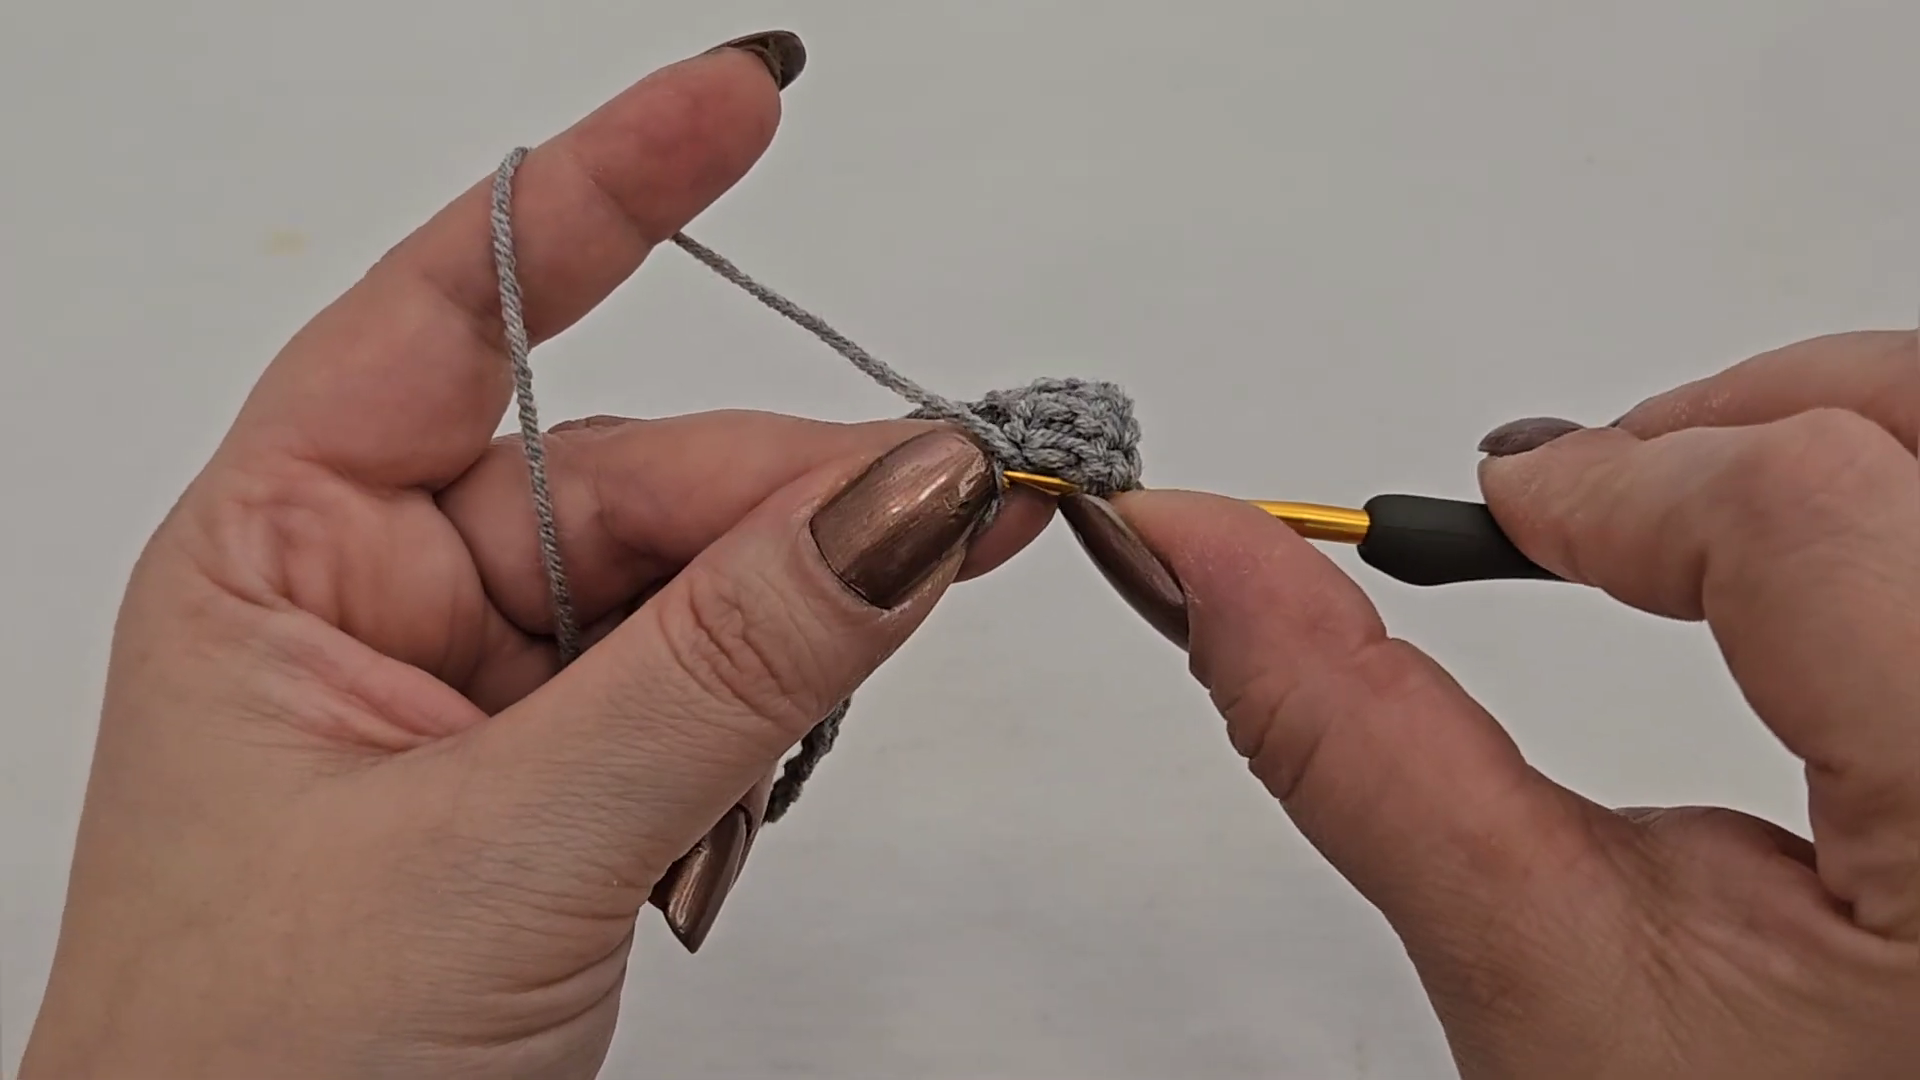
Chain 3, then work double crochets alternately around the post of the next stitch, first from the front and then from the back, across the whole round. Join each round the same way, finishing the last stitch so the ribbing stays unbroken.
Repeat until you have 6 ribbing rows. The designer likes a short cuff, but you can make yours longer.
Pro-Tip: Pull each post stitch snug so the ribs stand out clearly and the band keeps its stretch.
Step 3: Work the First Flower Row
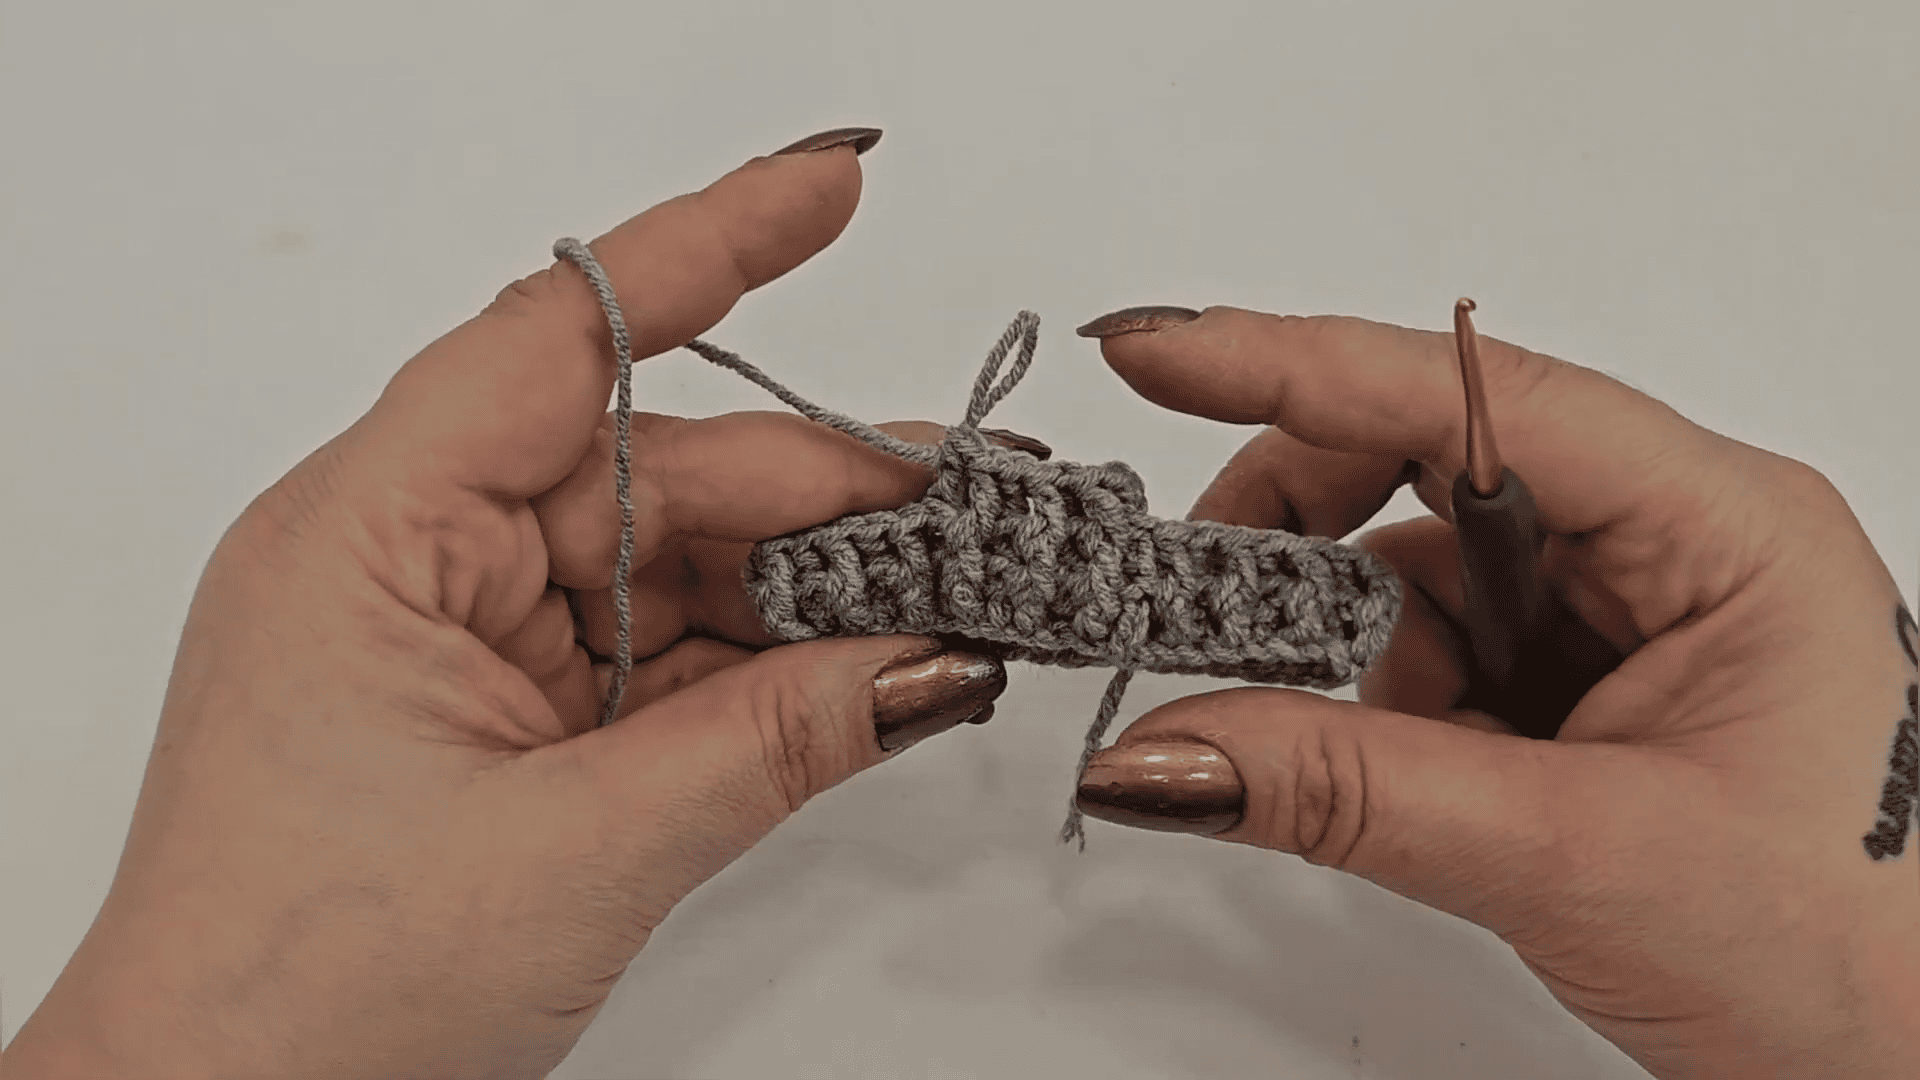
Chain 3. Work 3 double crochets together as one group, skip one stitch, and work the next group in the following stitch, with a chain between groups. Repeat around the round.
At the end of the round there will be one extra stitch. Without chaining, slip stitch into the top of the first chain, pull up a loop, and close it off.
Now bring in the cinnamon yarn using the loop-through method. Alternate cinnamon and beige groups around, carrying the unused colour neatly along the back. End with a complete round and slip stitch to join.
Pro-Tip: Keep the carried strand loose so the back stays flat, and tie the loose ends together as you go.
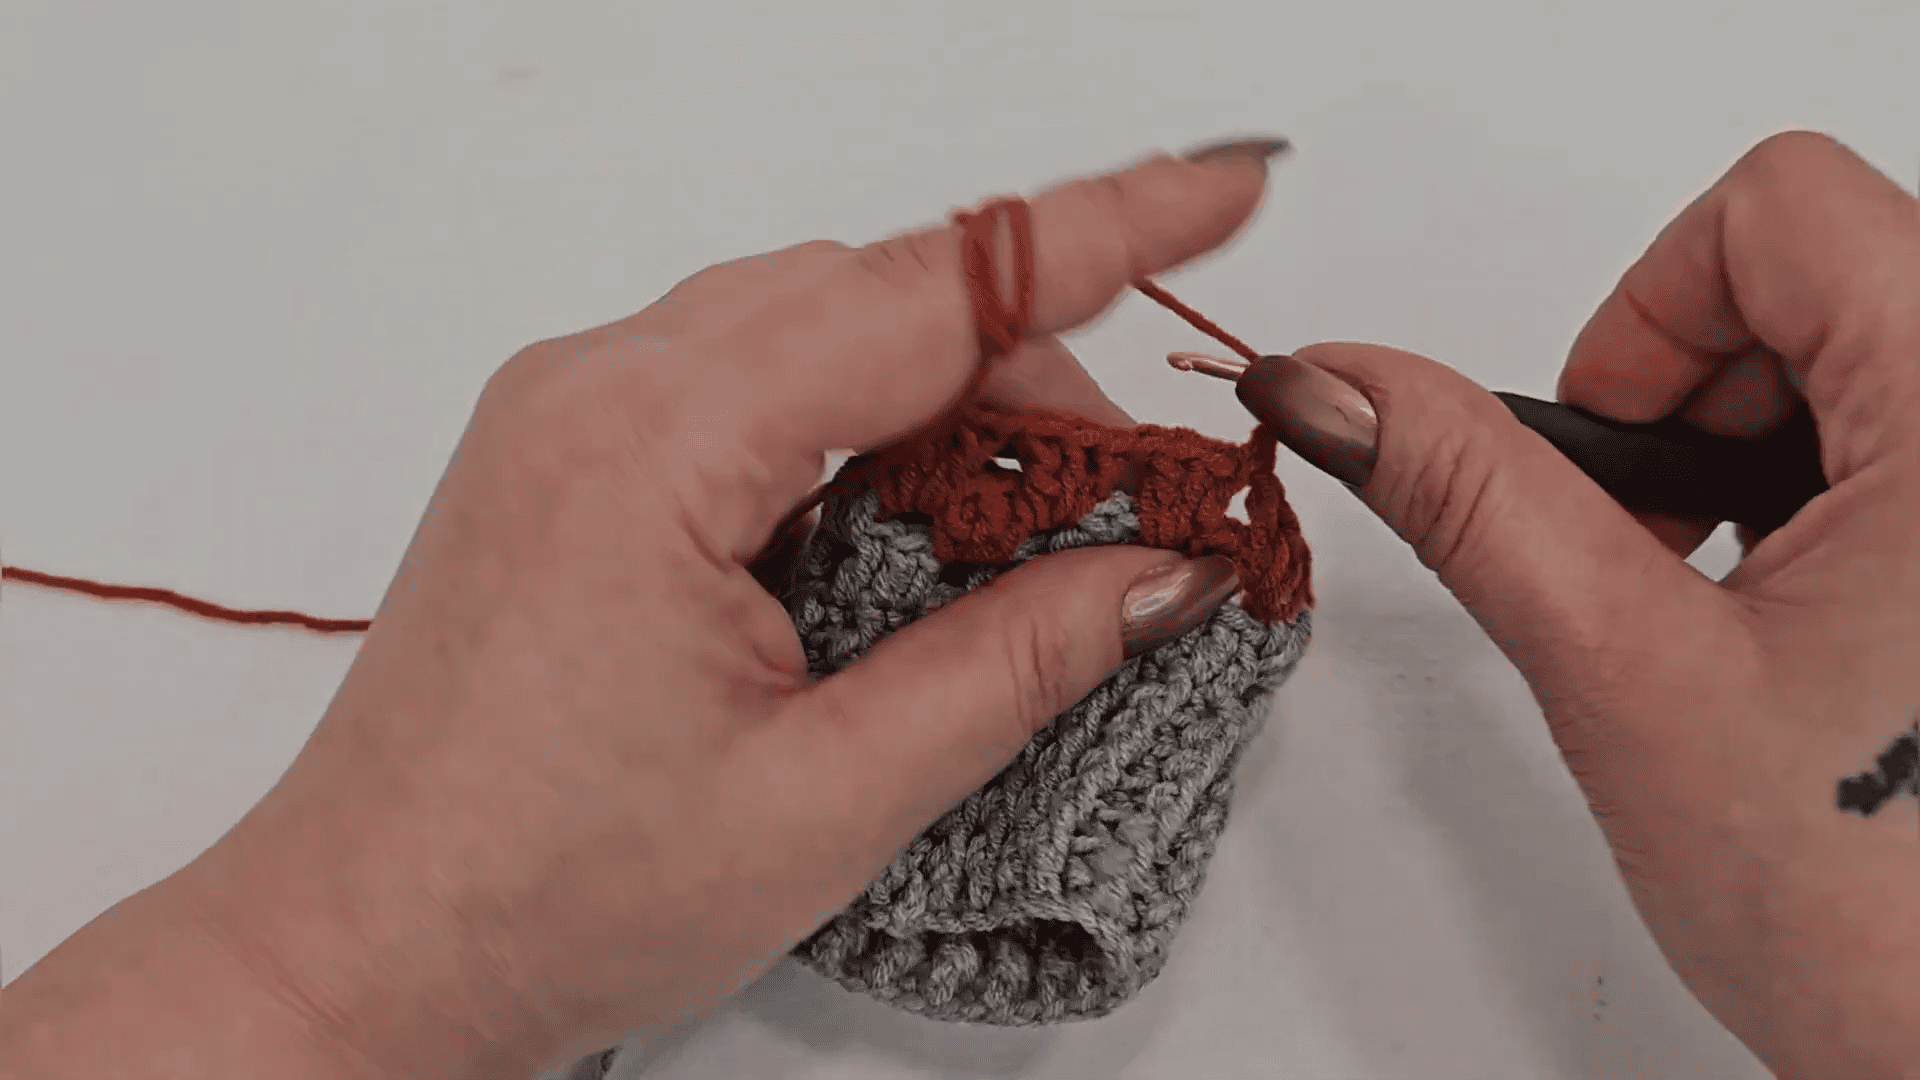
Step 4: Alternate Rows and Make the Thumb Opening
After the first flower row, work one round entirely in beige to settle the pattern. Then start the second flower row with cinnamon over the gaps between the flowers, so the flowers do not overlap. Beige goes between the flower groups, and cinnamon shows on the flower tops.
The thumb opening goes in this second flower row. Where the opening belongs, replace the stitches with chains. The designer’s gap is about 3 stitches wide, which suits a small hand, so make yours wider for a bigger hand. Keep the colour order exactly as before, beige, cinnamon, beige, and so on, so the pattern does not break.
In the following rows, work into the chains and carry on with the flower pattern. Repeat the sequence of a flower row followed by a plain connecting row, working through the stitches below so no loops show.
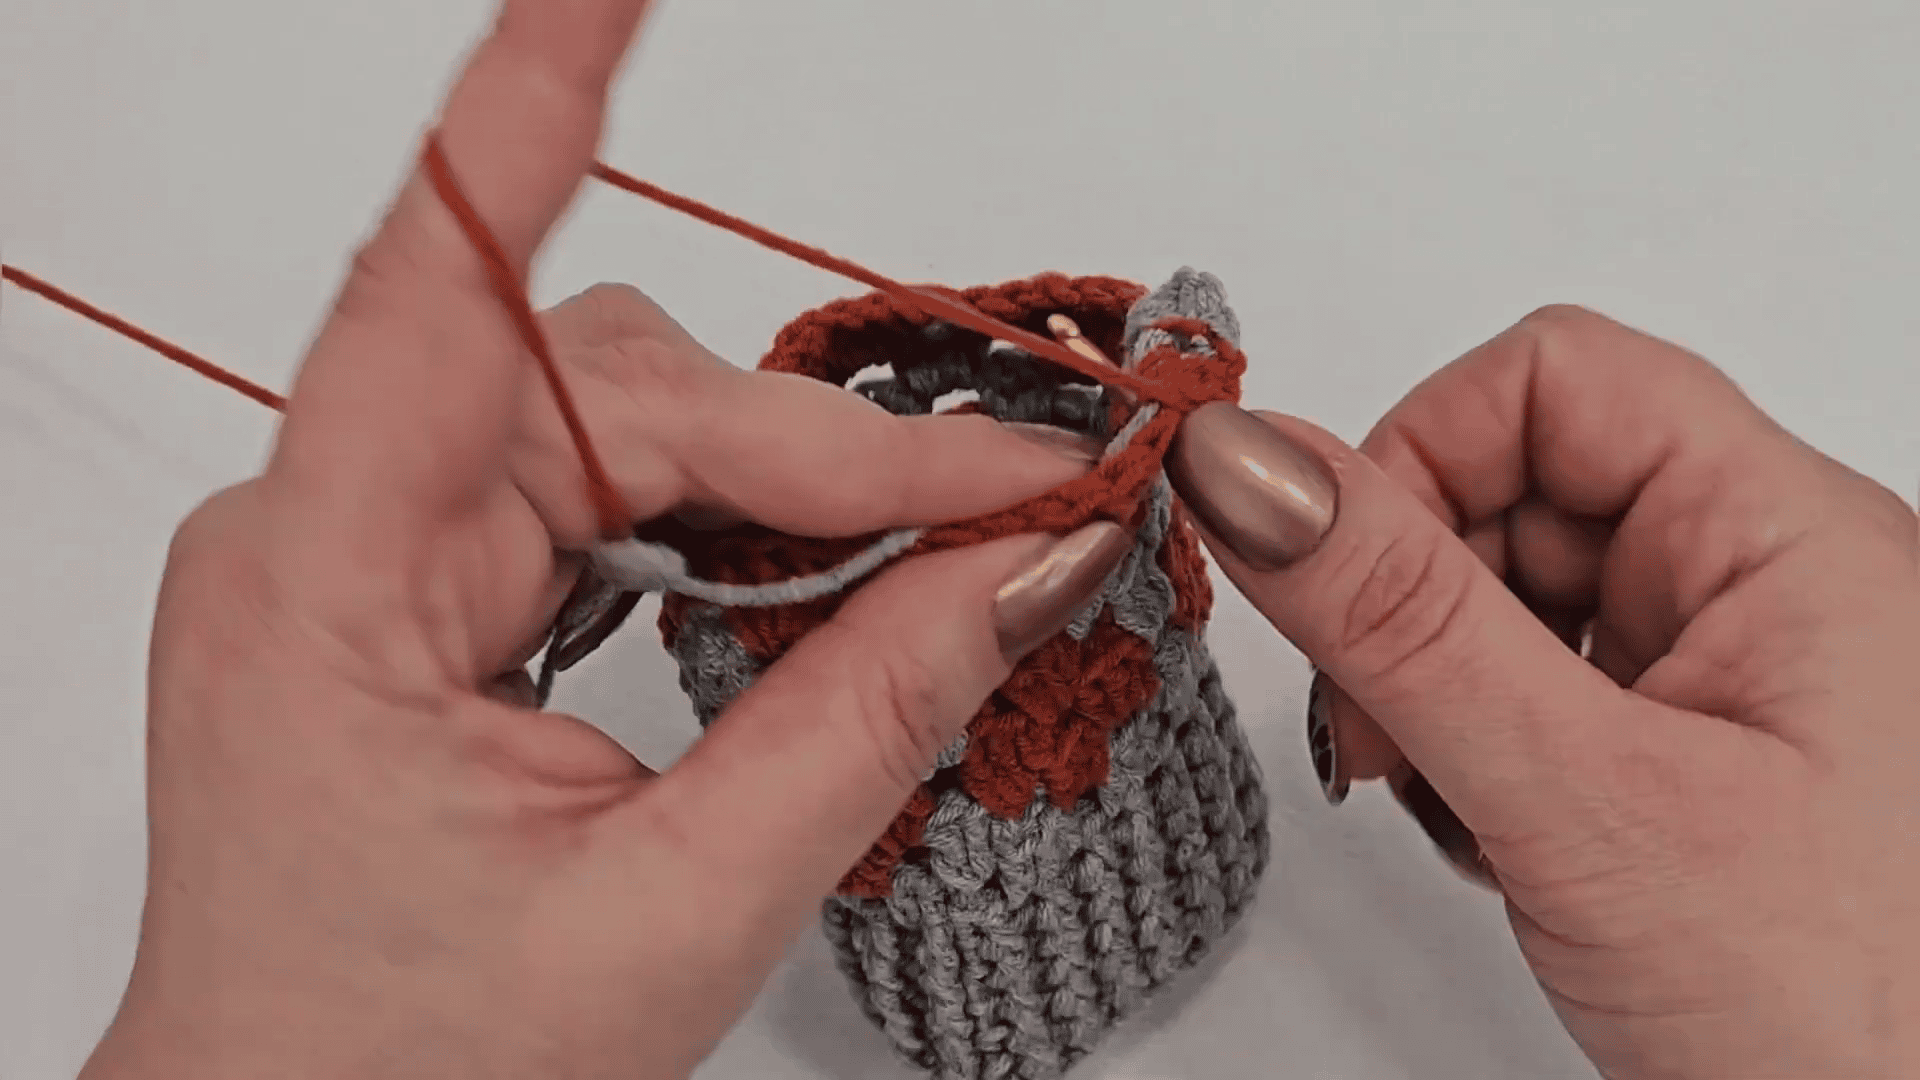
Step 5: Finish the Flower Rows and Add the Textured Rim
Complete 3 flower rows in total. You can make 4 or 5 rows for a longer glove. Finish with one plain beige row and one cinnamon row, then fasten off the extra yarn and tie a double knot so it will not unravel.
For the top edging, work one round of single crochet, with one stitch in the top of each double crochet and one in each chain space. Next, work flat rows of single crochet in the back loop only, chaining 1 and turning at the end of each row. This makes the top edge look ribbed. After a few rows, slip stitch to close the round.
Cut the yarn, thread it onto a needle, and sew it down neatly to close the edge. Weave in all loose tails on the inside of the glove, then repeat all five steps for the second glove.
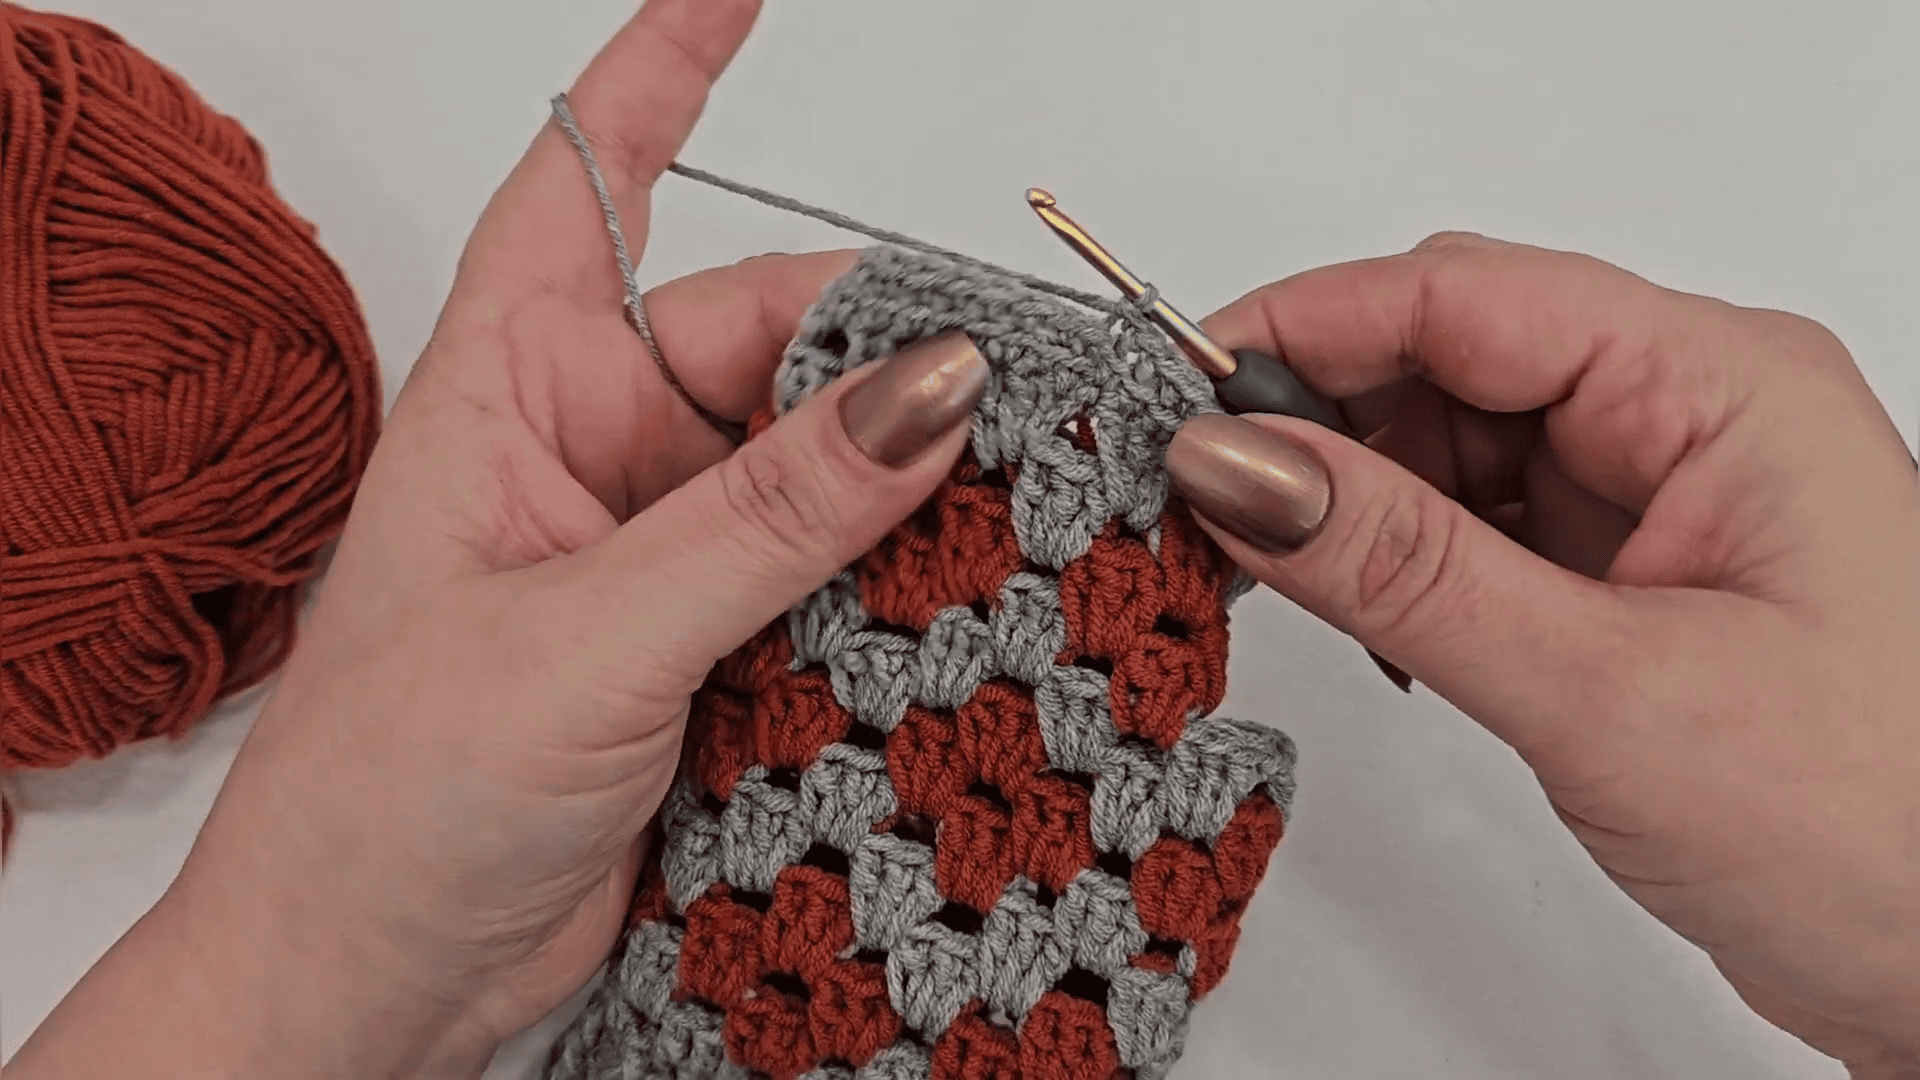
Colourwork Tips for the Flower Motifs
In this colourwork, both yarns stay in the fabric, and you carry the unused strand along the back. Check that every flower lines up with the one below before you move on. Also, a short practice swatch in beige and cinnamon helps you set an even tension.
Customization Ideas for the Crochet Fingerless Gloves Pattern With Ribbed Cuffs
Color Swaps
Any two colours with good contrast keep the flower motifs readable.
Size and Length
Choose another multiple of 8 for the starting chain to fit a smaller or larger hand, and add a 4th or 5th flower row for a longer glove.
Yarn and Hook Options
Other smooth cotton-style yarns can replace the named yarn. However, you may need to adjust the hook sizes after a swatch.
Bonus: Two-Tone Stripes for the Crochet Fingerless Gloves Pattern With Ribbed Cuffs
For a fun twist, swap yarn colours every two rows of the ribbed cuff. As a result, the wristband shows soft stripes that echo the flower colour. Then keep the hand section exactly as written so the flower rows stay easy to count.
Troubleshooting the Crochet Fingerless Gloves Pattern With Ribbed Cuffs
A cuff that spirals usually comes from a twisted ring, so check that the chain lies flat before you join. Similarly, loose ribbing often means you worked the post stitches too gently, so pull each one snug. Puckering across the hand points to a carried strand that is too tight, so loosen it and spread the stitches along the hook.
If the cuff feels too tight, remember that the designer’s sample cuff came out small, so try the larger hook combination mentioned in the materials list. Likewise, if the top rim flares outward, try a smaller hook for the final single crochet rows.
Gift and Styling Ideas
Roll the pair together and tie them with a ribbon, or tuck them into a mug as a small gift. Alternatively, slip them into a card envelope. Wear them under a coat sleeve on cool days, or pair them with a beanie in the same two colours.
Care Instructions
The pattern gives no fibre details beyond the yarn name, so follow the label of the yarn you use. Hand washing in lukewarm water is a gentle general choice. Then lay the gloves flat to dry and reshape the ribbed cuffs by hand. Finally, store them flat so the ribbing keeps its stretch.
FAQs About the Crochet Fingerless Gloves Pattern With Ribbed Cuffs
Is the crochet fingerless gloves pattern with ribbed cuffs free?
Yes, it is a free crochet pattern, and every stage is explained above.
Which hooks do I need?
Use a 2.0 mm hook for the cuff and a 2.5 mm hook for the body. For a looser fit, start the cuff with 2.5 mm and work the rest with 3.0 mm.
Can I change the size of the crochet fingerless gloves pattern with ribbed cuffs?
Yes, chain any multiple of 8 instead of 40 to make the gloves larger or smaller.
Is there a left and a right glove?
No, both gloves are identical, so you simply make the same glove twice.
How do I make the thumbhole?
In the second flower row, replace about 3 stitches with chains for a small hand, or more for a bigger one. Then work into those chains in the next rows.
Cozy Wrists and Happy Fingers
A ribbed cuff, two-colour flower rows, a small thumb gap, and a textured rim give these gloves a clear path from start to finish. So work the cuff snugly and keep the carried yarn loose. Soon you will have a pair that is ready for cool days.