Free Crochet Bear Keychain Amigurumi Pattern for Beginners
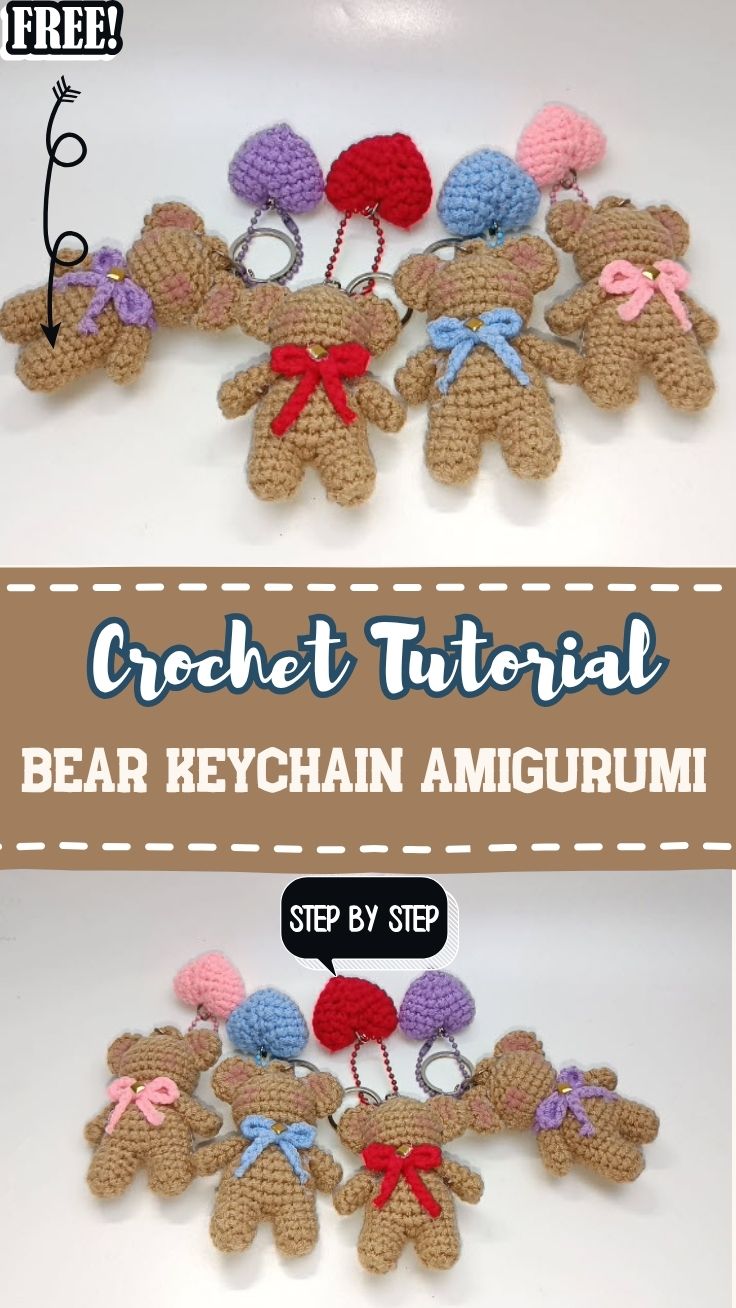
Small, portable projects rarely feel this rewarding, but this Crochet Bear Keychain Amigurumi Pattern: A Free Guide for Beginners proves otherwise. Built from a tight magic ring base, it comes together quickly while still teaching the core skills every amigurumi maker needs. Anyone looking for a quick, giftable project will enjoy stitching this little bear.
This crochet bear keychain stands out because of its compact size, which makes it a fast finish compared to larger amigurumi projects. What makes this particular pattern special is how the small scale still includes shaping details like rounded limbs and a defined head, giving the finished piece real charm despite its size.
The simple construction also makes it an ideal first amigurumi project.
Pattern Overview
- A small, huggable bear shape designed as a keychain accessory
- Compact size that works up in a single sitting
- Rounded limbs and head for a soft, friendly look
- Beginner-friendly amigurumi construction
Materials Needed
- Worsted weight yarn in tan or your preferred bear color
- Small amount of contrast yarn or floss for facial details
- A crochet hook sized to match your yarn weight
- Fiberfill stuffing
- Tapestry needle
- Stitch markers
- Sharp scissors
- Keychain ring or clasp hardware
Crochet Stitches and Techniques
- Magic ring – forms the tight starting point for each body piece
- Single crochet – the main stitch used throughout the pattern
- Increase – widens each round to shape the head and body
- Invisible decrease – narrows rounds smoothly for a clean finish
- Stuffing – fills each piece for a firm, huggable shape
- Sewing pieces together – joins the limbs and head to the body
- Fastening off – secures the final stitch before trimming
Time Box
- Prep Time: 10 minutes for yarn prep and hook selection
- Stitching Time: 1.5–2 hours for all pieces combined
- Finishing Time: 20–30 minutes for stuffing, sewing, and attaching hardware
Common Mistakes to Avoid
- Losing count during increase or decrease rounds on such a small scale
- Understuffing the body, leaving the keychain floppy instead of firm
- Sewing limbs on unevenly, causing a lopsided stance
- Trimming yarn tails too short before fully securing them
Uses and Benefits
A finished bear keychain works well as a bag charm, a small handmade gift, or a fun addition to a keyring. Because the scale is so small, it uses very little yarn, making it a great way to use up leftover scraps. Making this piece also builds core amigurumi skills, like shaping and sewing pieces together, that carry over into larger stuffed animal projects.
Helpful Beginner Tips
- Count your stitches at the end of every round, especially during increases.
- Stuff firmly but avoid overstuffing, which can distort the round shape.
- Use a stitch marker to track where each round begins.
- Sew limbs on with the piece turned to check placement before securing.
Instructions
Step 1: Starting the Head with a Slip Knot
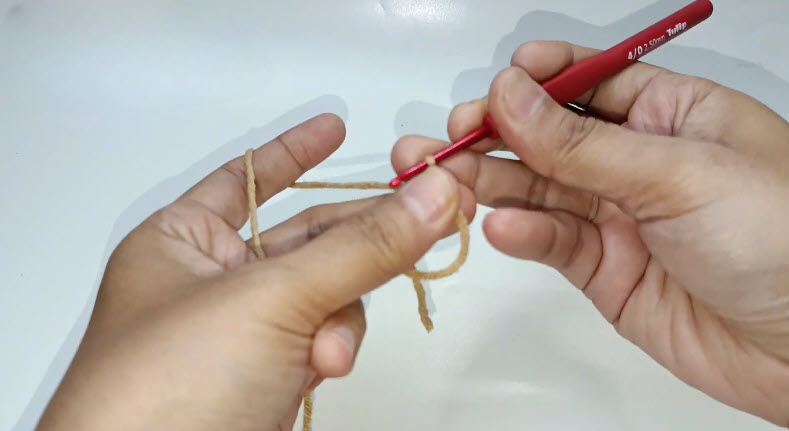
Place a slip knot on your hook and hold it with a relaxed grip. This starting loop sets the tension for your magic ring, so keep it snug without pulling too tight.
Step 2: Working the Magic Ring
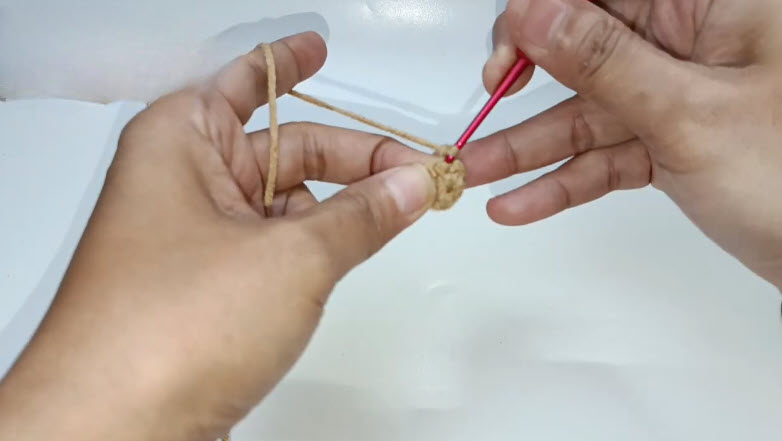
Work your first round of stitches into the ring, then pull the tail to close it tightly. This small, gap-free circle becomes the base for the head or body piece.
Step 3: Shaping the Body and Limbs
Continue increasing and decreasing according to your round counts, building the rounded shape of the body and small limbs. Stuff lightly as you go so each piece holds its form.
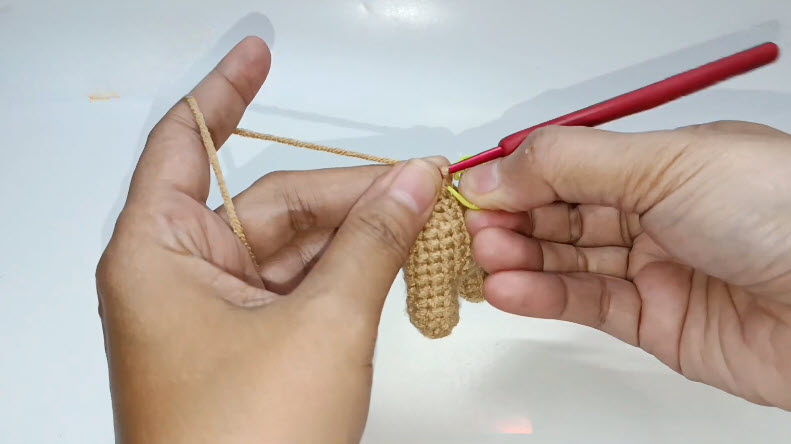
Step 4: Finishing and Trimming
Once your final piece is complete, fasten off and trim the yarn tail neatly, leaving enough length to sew pieces together. Attach your keychain hardware securely before weaving in any remaining ends.
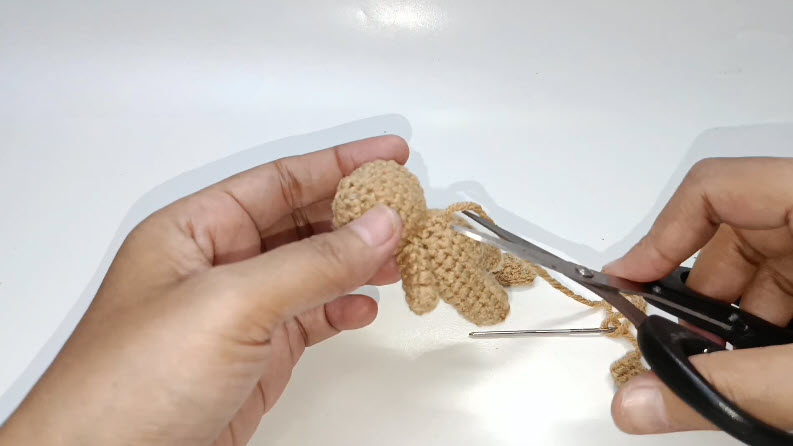
Tips and Tricks for Success
- Use a smaller hook than recommended for your yarn weight to keep stitches tight and stuffing hidden.
- Sew facial details on before attaching limbs for easier handling.
- Keep a small notebook of your round counts in case you want to repeat the pattern.
- Double-check hardware attachment strength before gifting or using daily.
Why This Pattern Is Trending
Tiny amigurumi keychains have become a favorite among crocheters who want quick, giftable projects without a large time commitment. This bear design fits that trend well, offering a cute result in a fraction of the time of a full-size stuffed animal.
- It uses minimal yarn, making it budget-friendly.
- The small scale makes it easy to carry and work on anywhere.
- It works well for craft fairs, gift bags, and party favors.
How to Keep Small Amigurumi Pieces Symmetrical
Working on such a small scale makes uneven stitches more noticeable, so check your piece against a mirror image or a reference photo often. Pin limbs in place before sewing to confirm both sides match in length and angle, adjusting placement before committing to permanent stitches.
Conclusion
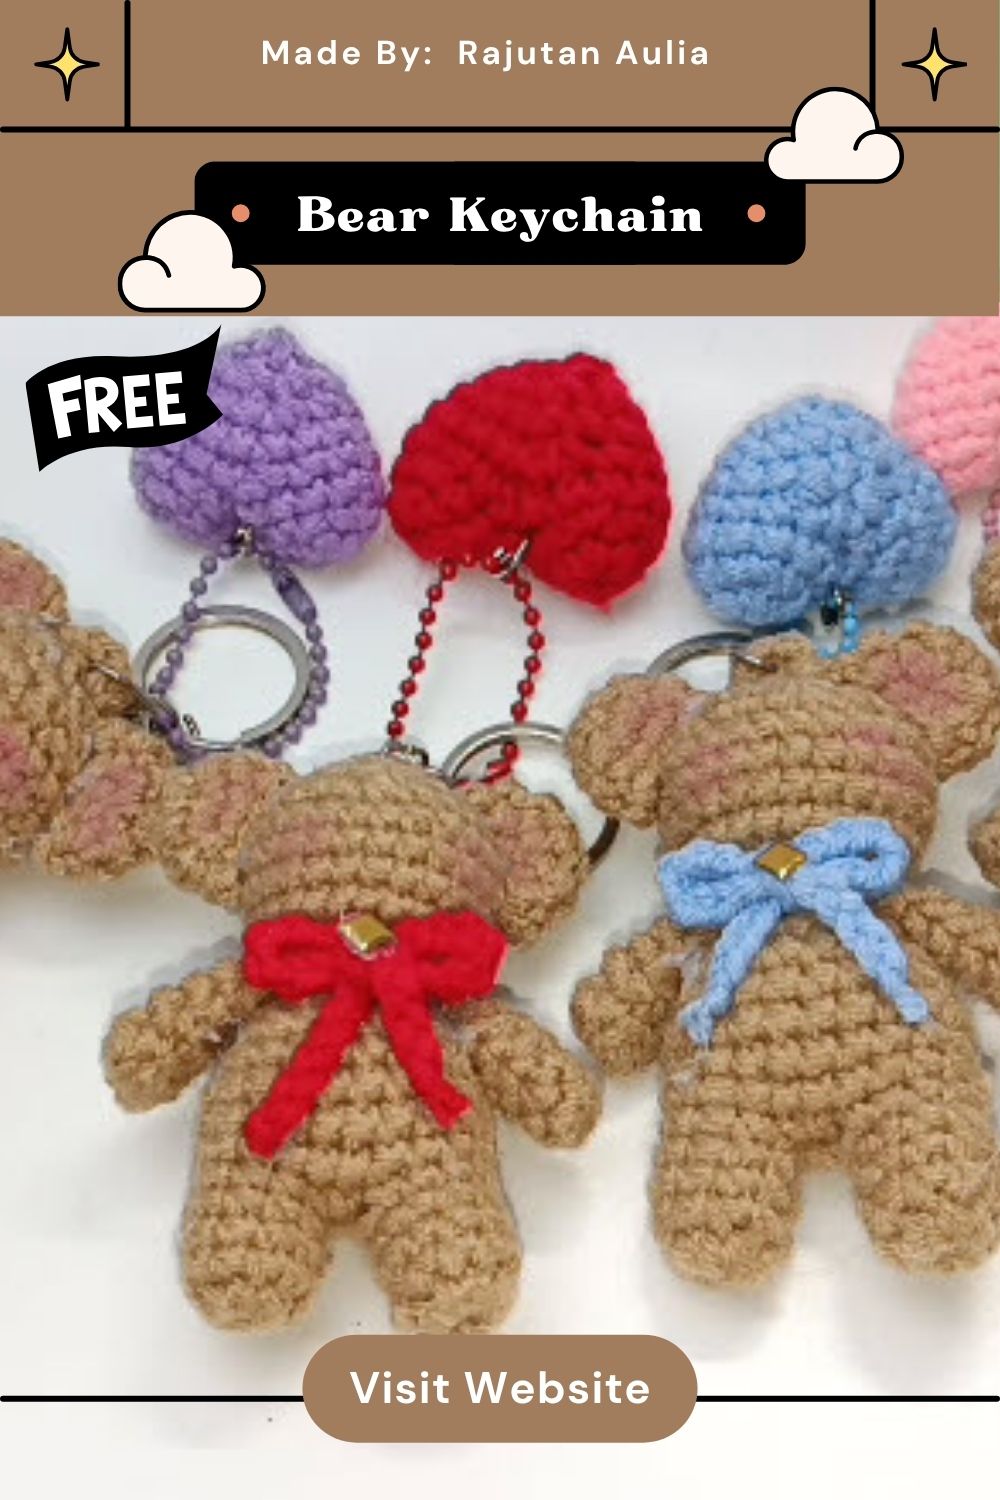
The Crochet Bear Keychain Amigurumi Pattern proves that a small project can still teach real amigurumi skills, from shaping to sewing pieces together. Every step, from the first magic ring to the final trimmed end, builds confidence for bigger stuffed animal projects down the line. Take your time with the stuffing and sewing steps, since those details make the biggest difference in the finished look. Once complete, this little bear makes a sweet gift or a fun addition to your own keys.