Crochet Bear Face Keychain Amigurum Pattern Toy
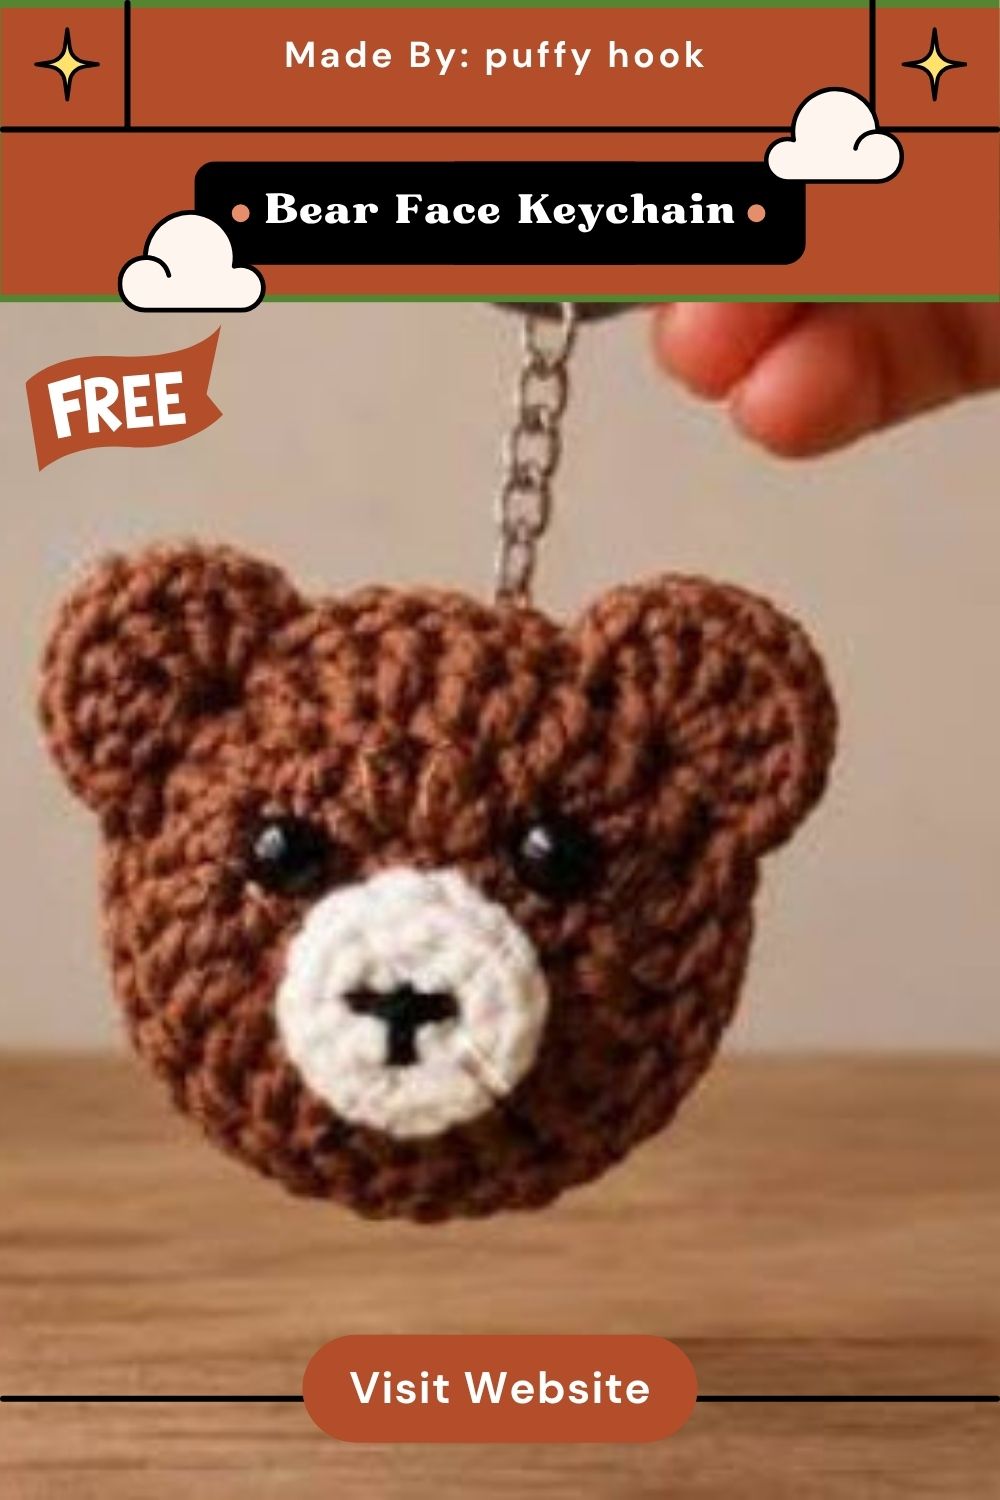
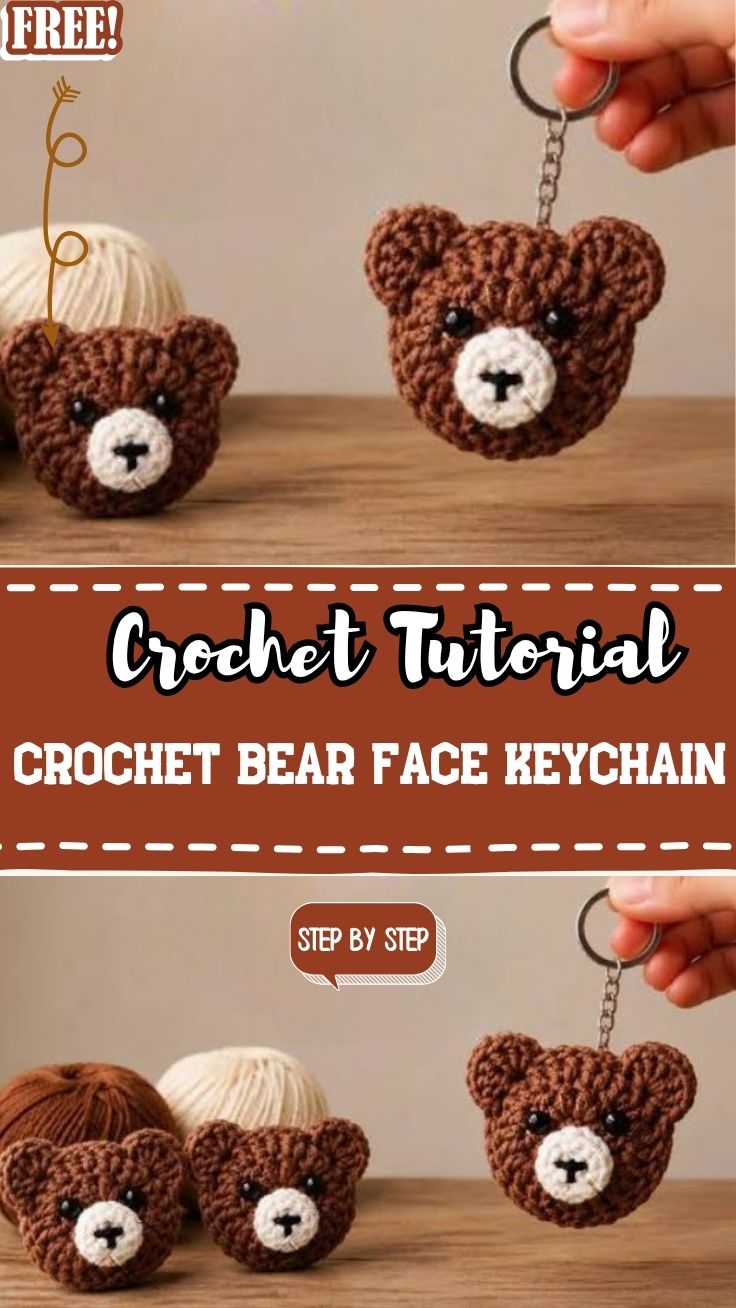
Rounded ears and a soft brown snout give this Crochet Bear Face Keychain Amigurumi Pattern Toy an instantly recognisable teddy bear charm in a size small enough for any keyring. A single button eye detail and a simple stitched face turn a basic rounded shape into a genuinely huggable little bear face keychain that works equally well as a gift or a personal bag accessory.
Warm brown yarn forms the entire base of this small charm, with a slightly flattened, face-forward shape that reads clearly as a bear from any angle. A neat white or cream button anchors one side of the face, standing in for an eye detail that adds a touch of handmade personality without requiring any embroidery skill. This kind of amigurumi bear keychain works up quickly enough to batch several in one sitting, making it a satisfying quick crochet keychain pattern for gifting season or personal use alike.
About This Crochet Pattern
A single rounded piece forms the entire bear face, worked in continuous single crochet rounds before two small ears attach to the top edge. Light stuffing gives the finished piece just enough dimension to feel plush and huggable despite its compact, keychain-friendly size.
Skill level stays firmly in beginner territory here, since the whole project relies on basic single crochet rounds and simple ear shaping. Attaching the button and finishing the small details takes only a little patience, making this an easy project for a first attempt at amigurumi keychains.
Project Details
- Skill Level: Beginner
- Finished Size: Approximately 2 inches wide
- Estimated Time Required: 45 minutes to 1 hour
- Recommended Yarn Weight: DK or lightweight cotton yarn
- Crochet Hook Size: 2.0mm to 2.5mm
Materials Needed
- Brown yarn (main face color)
- Small white or cream button (eye/nose detail)
- Black embroidery thread (facial features)
- Crochet hook (2.0mm–2.5mm)
- Fiberfill stuffing
- Tapestry needle
- Stitch markers
- Scissors
- Keychain clasp or jump ring
Crochet Stitches & Techniques
- Magic Ring (MR): Starts the tight center point of the face.
- Single Crochet (sc): Builds the entire rounded shape of the face and ears.
- Increase (inc): Widens the rounds as the face grows to its full size.
- Fastening Off: Secures the yarn once each piece is complete.
- Sewing Pieces Together: Attaches the ears, button, and keychain hardware to the finished face.
Only these techniques appear throughout the pattern, which keeps this small charm quick to finish even for a first-time amigurumi maker.
Pattern Instructions
Starting the Face
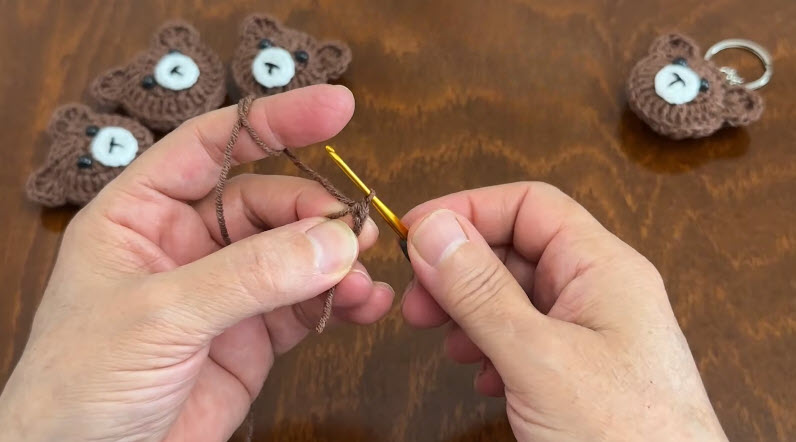
Form a magic ring with brown yarn and work six single crochets into it, pulling the loop closed and marking the first stitch of the round. Increase steadily over the next several rounds to build the face outward into a smooth, rounded shape.
Building the Rounded Shape
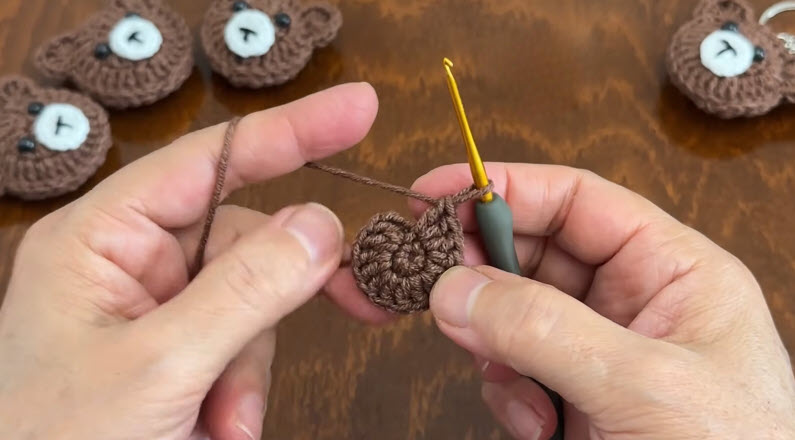
Continue increasing at regular intervals as the piece widens, checking stitch counts periodically to keep the shape even and symmetrical rather than lopsided on one side. Work a round or two even once the widest point is reached, giving the face a fuller, more rounded silhouette.
Adding Light Stuffing
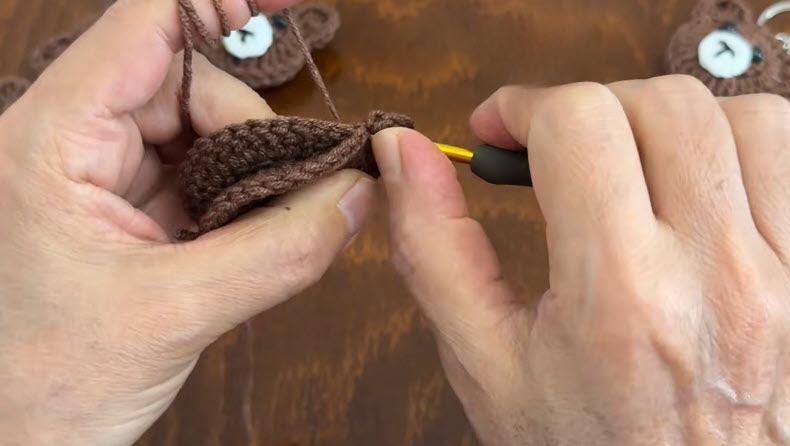
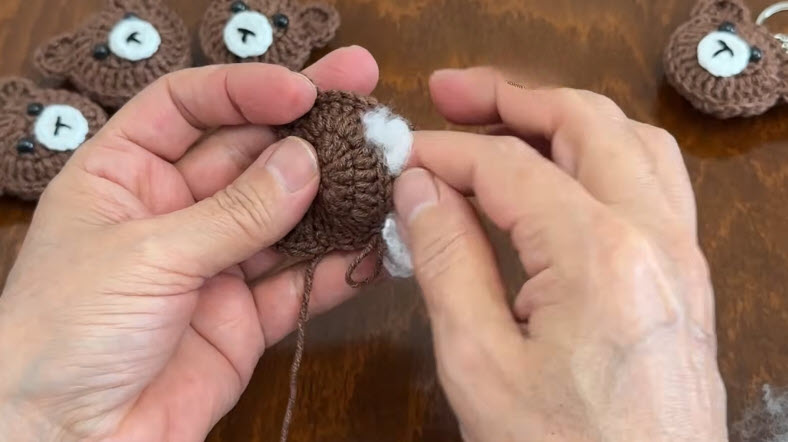
Add a small amount of fiberfill as the final rounds close in, filling the piece just enough to give it a soft, dimensional feel without becoming stiff or overly firm. A gentle amount of fill actually suits this small scale better than heavy stuffing, keeping the finished piece light on a keyring.
Closing the Face
Decrease steadily over the final rounds to taper the shape smoothly, adding any remaining stuffing right before the opening closes completely. Fasten off and weave the tail back through the final round to hide it neatly.
Adding the Button and Features
Sew the small button securely onto the lower front of the face to serve as a nose or eye accent, stitching through several times to keep it firmly anchored. Embroider a simple mouth line and any remaining facial details using black thread to complete the expression.
Final Assembly
Attach both ears to the top of the face at evenly spaced, slightly angled points, checking symmetry before securing them firmly. Add a keychain clasp or jump ring at the top center of the face, reinforcing that attachment point since it carries the full weight of the finished charm.
Tips for Success
- Keep the magic ring tight at the start to avoid a visible gap on the face.
- Stuff lightly and evenly so the small piece stays soft rather than stiff.
- Sew the button through several passes for a secure, long-lasting attachment.
- Check ear placement and angle before sewing, since slight asymmetry is easy to spot at this small scale.
- Reinforce the keychain attachment point with several extra stitches for lasting durability.
Personalization Ideas
Color Variations
Swapping brown for gray or cream yarn creates a completely different bear look using the same construction.
Size Adjustments
A larger hook and thicker yarn turns this small face pattern into a bigger standalone plush rather than a keychain.
Expression Changes
Adding a tiny embroidered blush or a wider smile gives each finished charm its own individual personality.
Alternate Attachments
Swapping the keychain clasp for a bag charm hook or hair clip changes how the finished piece gets worn or displayed.
Common Mistakes to Avoid
Rushing the increase rounds sometimes causes the face shape to widen unevenly, so checking stitch counts carefully after each increase round helps catch mistakes before they compound. Skipping the button reinforcement stitches can lead to it working loose with regular handling, so sewing through multiple passes keeps that detail secure over time. Attaching the keychain hardware too loosely often results in it pulling free with everyday use, so reinforcing that point with extra stitches keeps the finished charm sturdy.
Frequently Asked Questions
What yarn works best for a small keychain like this?
DK or lightweight cotton yarn gives clean stitch definition at this small scale, making the rounded face and ear shapes easier to work neatly.
Can I use safety eyes instead of a button?
Certainly. Safety eyes work well as an alternative, though buttons add a distinct handmade charm that pairs nicely with this design.
How do I keep the face shape symmetrical?
Counting stitches after every increase round and using a stitch marker to track round starts helps maintain even, balanced shaping.
Is this pattern suitable for a first amigurumi project?
Yes, the simple round shaping and minimal detail work make this an excellent starting point for complete beginners.
How much yarn do I need for one bear face keychain?
Only a small amount is needed, since the finished piece measures just about two inches wide.
Can I turn this into a bag charm instead of a keychain?
Yes, swapping the keychain clasp for a bag charm hook or clip works perfectly with the same construction.
How long does the whole Crochet Bear Face Keychain project usually take?
Most makers finish within 45 minutes to an hour, making this a great quick project for batching multiple charms.