Free Crochet Octopus Keychain Amigurumi Pattern for Marine Life Lovers
Project Details
- Skill Level: Beginner to Confident Beginner
- Finished Size: Approximately 3–4 inches tall (excluding legs)
- Estimated Time Required: 2–3 hours
- Recommended Yarn Weight: DK or Worsted Weight (Weight 3 or 4)
- Crochet Hook Size: 2.75mm–3.5mm (adjust based on yarn weight for a tight fabric)
Materials Needed
- Worsted or DK weight yarn in your chosen octopus color (coral, purple, or teal work beautifully)
- Small amount of contrasting yarn for the underside of the legs (optional)
- Crochet hook matching your yarn weight
- 6mm safety eyes (or embroidered eyes for young children’s toys)
- Fiberfill stuffing
- Tapestry needle for weaving in ends and sewing pieces
- Stitch marker to track the start of each round
- Scissors
- Keychain clip or split ring hardware
- Small bit of black or dark embroidery thread for a mouth (optional)
Crochet Stitches & Techniques
This Free Crochet Octopus Keychain project relies on a handful of core amigurumi techniques, so no need to feel intimidated:
- Magic Ring – forms a tight, gap-free starting point for the head
- Chain Stitch (ch) – used at the base of each leg
- Slip Stitch (sl st) – joins rounds and finishes off leg tips
- Single Crochet (sc) – the main stitch throughout the head and legs
- Increase (inc) – shapes the rounded top of the head
- Invisible Decrease (inv dec) – closes the bottom of the head smoothly
- Color Changes – for two-tone legs, if desired
- Fastening Off – securing yarn at the end of each piece
- Sewing Pieces Together – attaching legs and features to the head
Pattern Instructions
Creating the Head
Start with a magic ring and work 6 single crochet stitches into it, pulling the tail snug to close any gap. From there, increase every stitch in round two to reach 12, then continue increasing at regular intervals through rounds three and four until you land around 24 stitches. Work several rounds even, without increasing, to build up the rounded shape of the head. This is where the octopus really starts to take form.
Shaping the Decrease Rounds
Once the head reaches its widest point, switch to invisible decreases spaced evenly around the round. Insert the safety eyes a few rounds before closing, spacing them roughly four stitches apart for a wide-eyed, friendly expression. Stuff firmly as you decrease, adding small amounts at a time so the shape stays even rather than lumpy in one spot.
Making the Legs
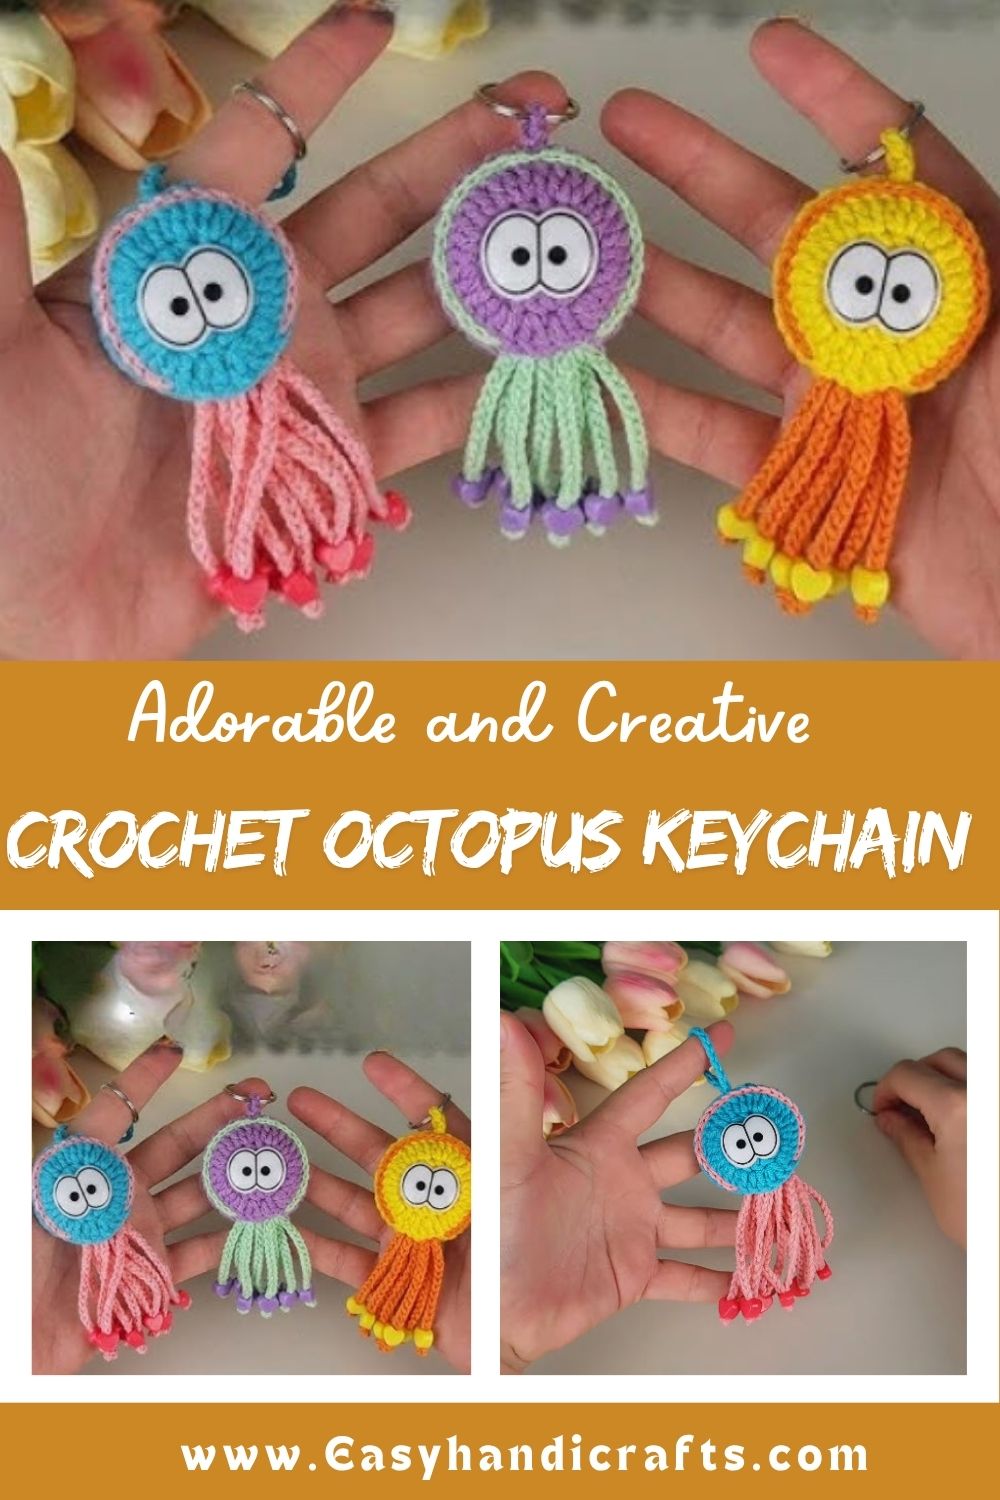
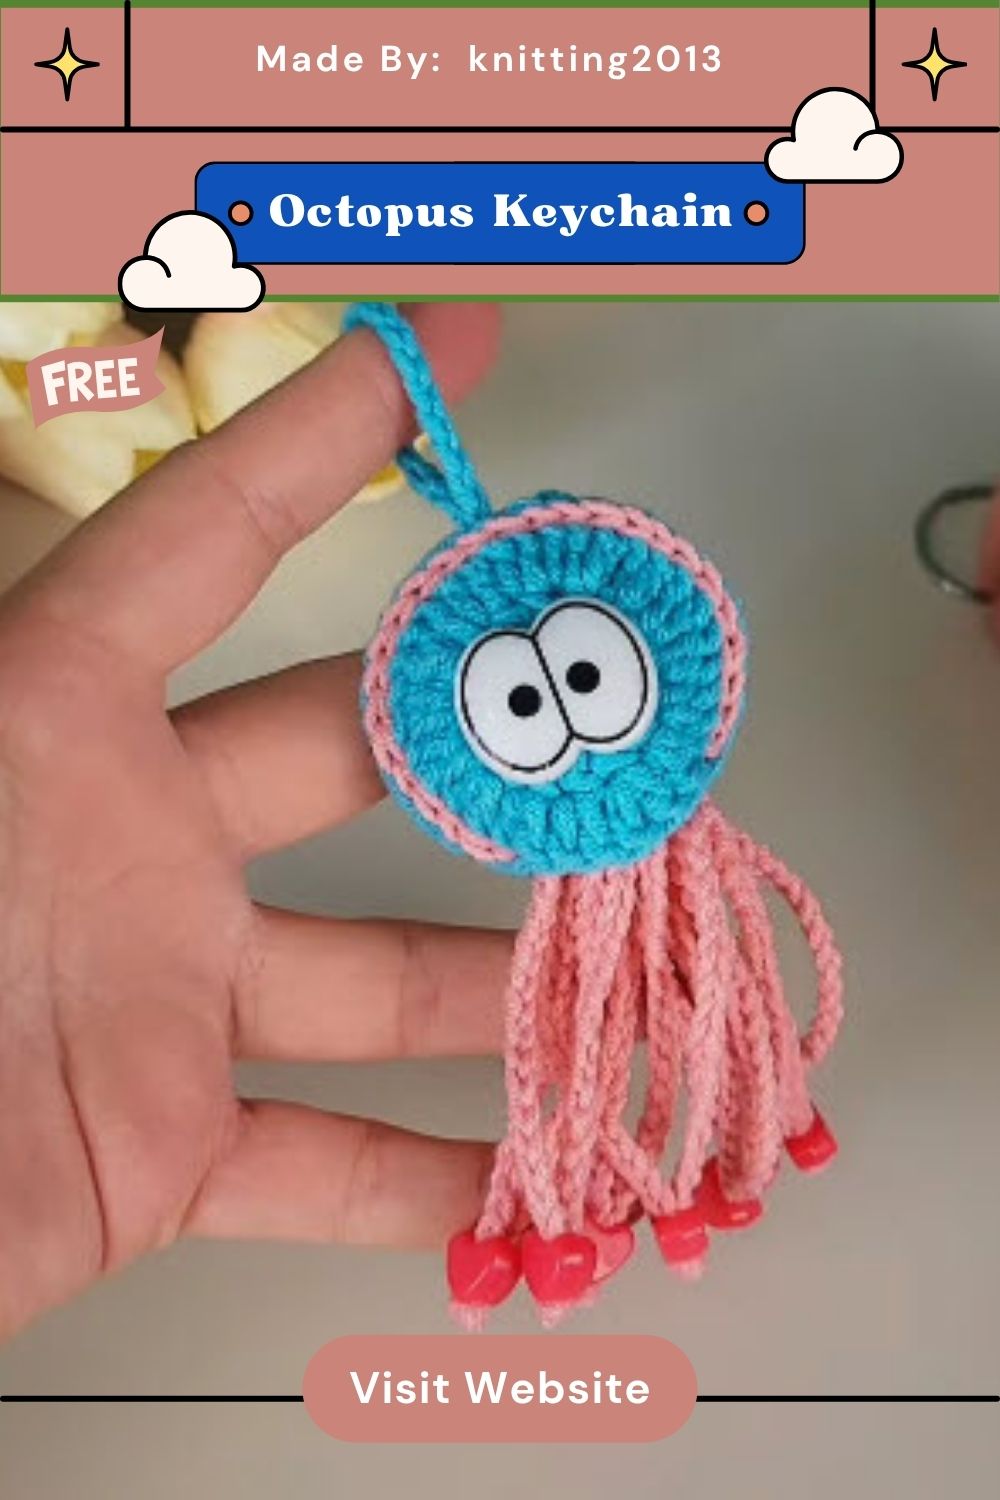
For a classic look, eight legs work best, though six is a fun shortcut for a quicker project. Chain 10–14 stitches for each leg, then single crochet back down the chain, skipping the first chain from the hook. Slip stitch loosely if you want a curled, relaxed leg, or keep tension firm for legs that stand out straighter. Repeat until all eight legs are complete, fastening off and leaving a tail for sewing.
Attaching the Legs
Arrange the legs evenly around the base opening of the head before sewing, alternating direction slightly so they don’t all point the same way. A natural octopus has legs that splay outward in a relaxed, uneven pattern, so resist the urge to make them perfectly symmetrical. Sew each one securely, weaving the tail through several stitches at the base for extra strength.
Facial Features
Safety eyes give the octopus a bright, cartoonish look, though embroidered eyes work well for gifts intended for babies or toddlers. Add a small curved mouth using a few stitches of embroidery thread beneath the eyes for extra charm. Some makers add tiny cheek blushes with a bit of pink yarn or fabric marker for a softer expression.
Final Assembly
Attach a keychain clip through the top of the head using a small loop of yarn or a jump ring, reinforcing the attachment point since this area takes the most wear. Weave in any remaining loose ends, and give the whole piece a gentle shape with your hands to settle the stuffing evenly.
Tips for Success
- Count stitches at the end of every round, especially during increase rounds
- Use a stitch marker consistently, moving it up each round rather than guessing
- Stuff a little at a time rather than cramming fiberfill in all at once
- Keep tension consistent across all eight legs for a uniform look
- Hide yarn ends by weaving them through several stitches in different directions
- Steam-block the head lightly if the shape looks uneven after stuffing
Personalization Ideas
- Swap the classic coral or purple for pastel shades for a softer, nursery-friendly version
- Try a jumbo size using bulky yarn and a larger hook for a huggable stuffed toy instead of a keychain
- Give it a Halloween twist with orange and black stripes
- Add tiny suction cup details using French knots along each leg
- Turn it into a Christmas ornament with a loop of ribbon instead of a keychain clip
- Experiment with googly eyes for a playful, wide-eyed variation
Common Mistakes to Avoid
New crocheters sometimes lose track of stitch count during the increase rounds, which throws off the entire shape of the head. Counting after every round prevents this from snowballing into a bigger problem. Others tend to under-stuff the head, leaving it soft and floppy rather than firm and huggable, so add fiberfill generously but evenly.
Legs that are all sewn at identical angles often end up looking stiff rather than natural. Varying the direction slightly, the way a real octopus splays its limbs, makes a noticeable difference. Skipping the reinforcement at the keychain attachment point is another common slip, since that spot takes constant tugging and stress once it’s clipped onto a bag or keys.
Frequently Asked Questions
Can beginners really finish this pattern in one sitting?
Yes, most makers with basic single crochet experience finish the whole octopus in two to three hours.
What yarn works best for a keychain-sized project?
DK or worsted weight yarn with a smaller hook than usual keeps the stitches tight enough to hold stuffing without gaps.
Do I need safety eyes, or can I embroider instead?
Embroidered eyes are safer for young children since safety eyes are technically a small parts hazard.
How do I keep the legs from looking floppy?
Slip stitching along the chain instead of single crocheting creates a slightly firmer, more structured leg.
Can this Free Crochet Octopus Keychain pattern be turned into a bag charm instead of a keychain?
Absolutely, just swap the keyring hardware for a lobster clasp or lanyard clip.
What’s the best way to store extra stuffing so it doesn’t clump?
Keep fiberfill in a sealed bag and fluff it gently with your fingers before stuffing each section.
Is this pattern suitable for selling at craft fairs?
Many makers do sell similar amigurumi keychains, so it’s worth checking your pattern designer’s terms of use for commercial permissions first.
Conclusion
This little Free Crochet Octopus Keychain packs a lot of charm into a small, quick project, making it perfect for gifting, selling, or simply keeping for yourself. Give it a try, experiment with your own color combinations, and don’t hesitate to share your finished octopus with fellow crafters online. Every wiggly leg tells its own little story, and no two turn out quite the same.