Crochet Bunny Ice Cream Keychain Amigurumi Pattern for Bags
A little amigurumi dangling from your bag always has a special charm of its own. The Crochet Bunny Ice Cream Keychain beautifully combines two adorable designs in a single project: a cute bunny face and a soft, swirling ice cream cone. This soft, colorful, and compact design appeals to all ages, while its simple pattern makes it easy to create. It’s a lovely handmade keychain that works perfectly for your bag, keys, or as a thoughtful gift.
Bag charms have become a huge trend lately, and handmade crochet ideas like this one give your accessories a personal touch nobody else will have. Whether you’re crocheting for yourself, a friend, or your Etsy shop, this pattern checks every box: quick, cute, and beginner-friendly.
Grab your hook and a few scraps of yarn, because this project is about to become your new favorite quick make.
What Is This Crochet Project About
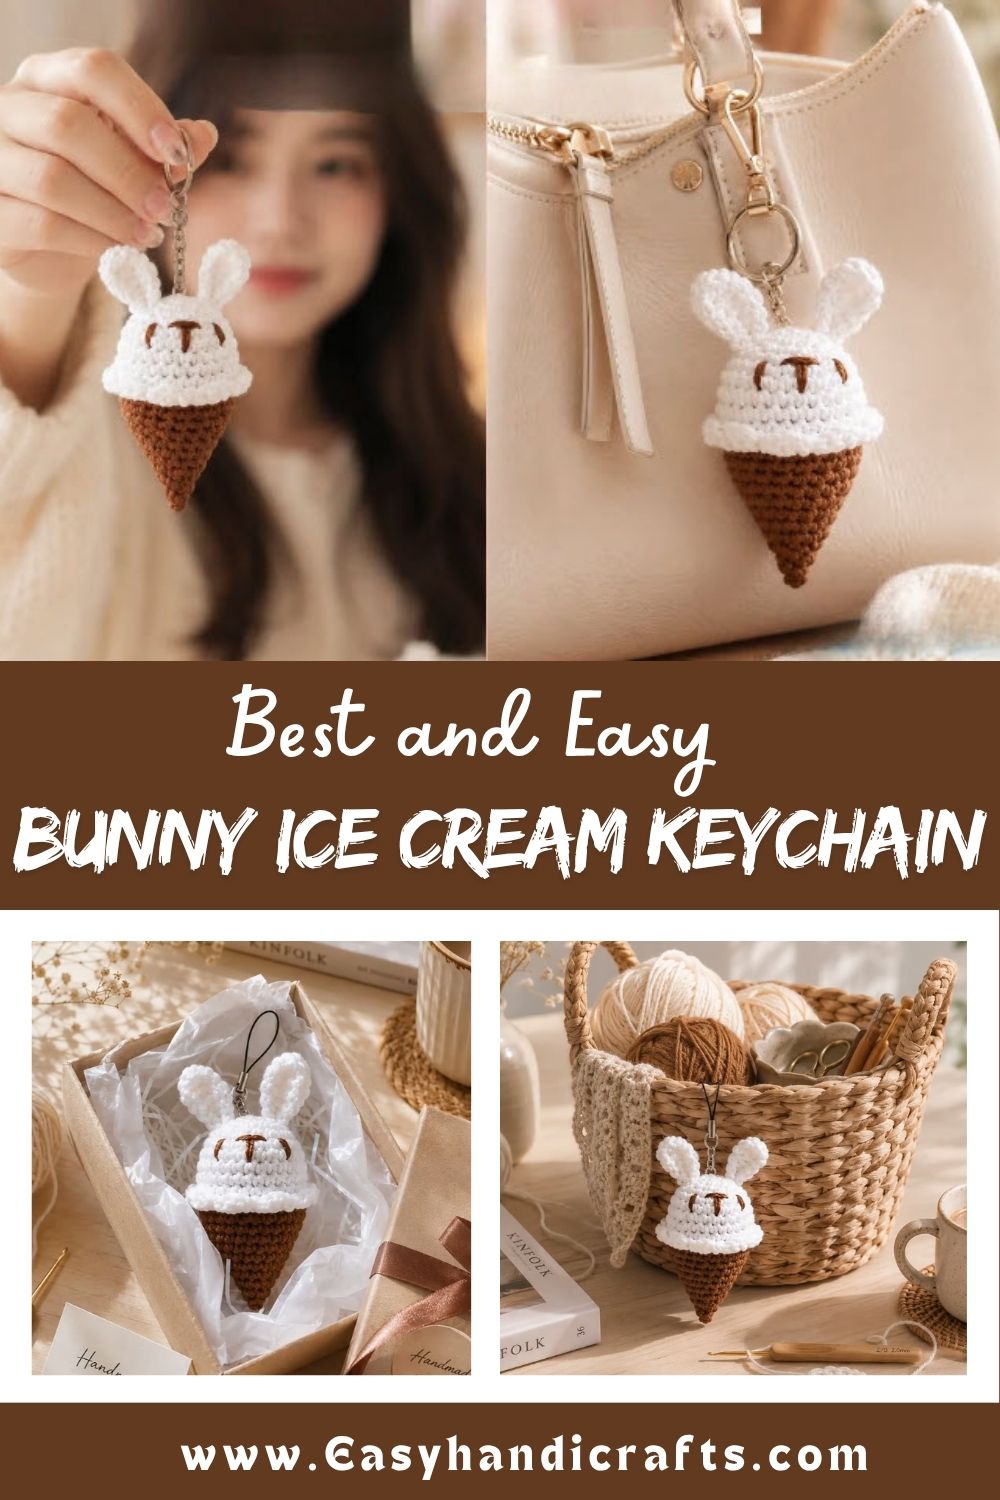
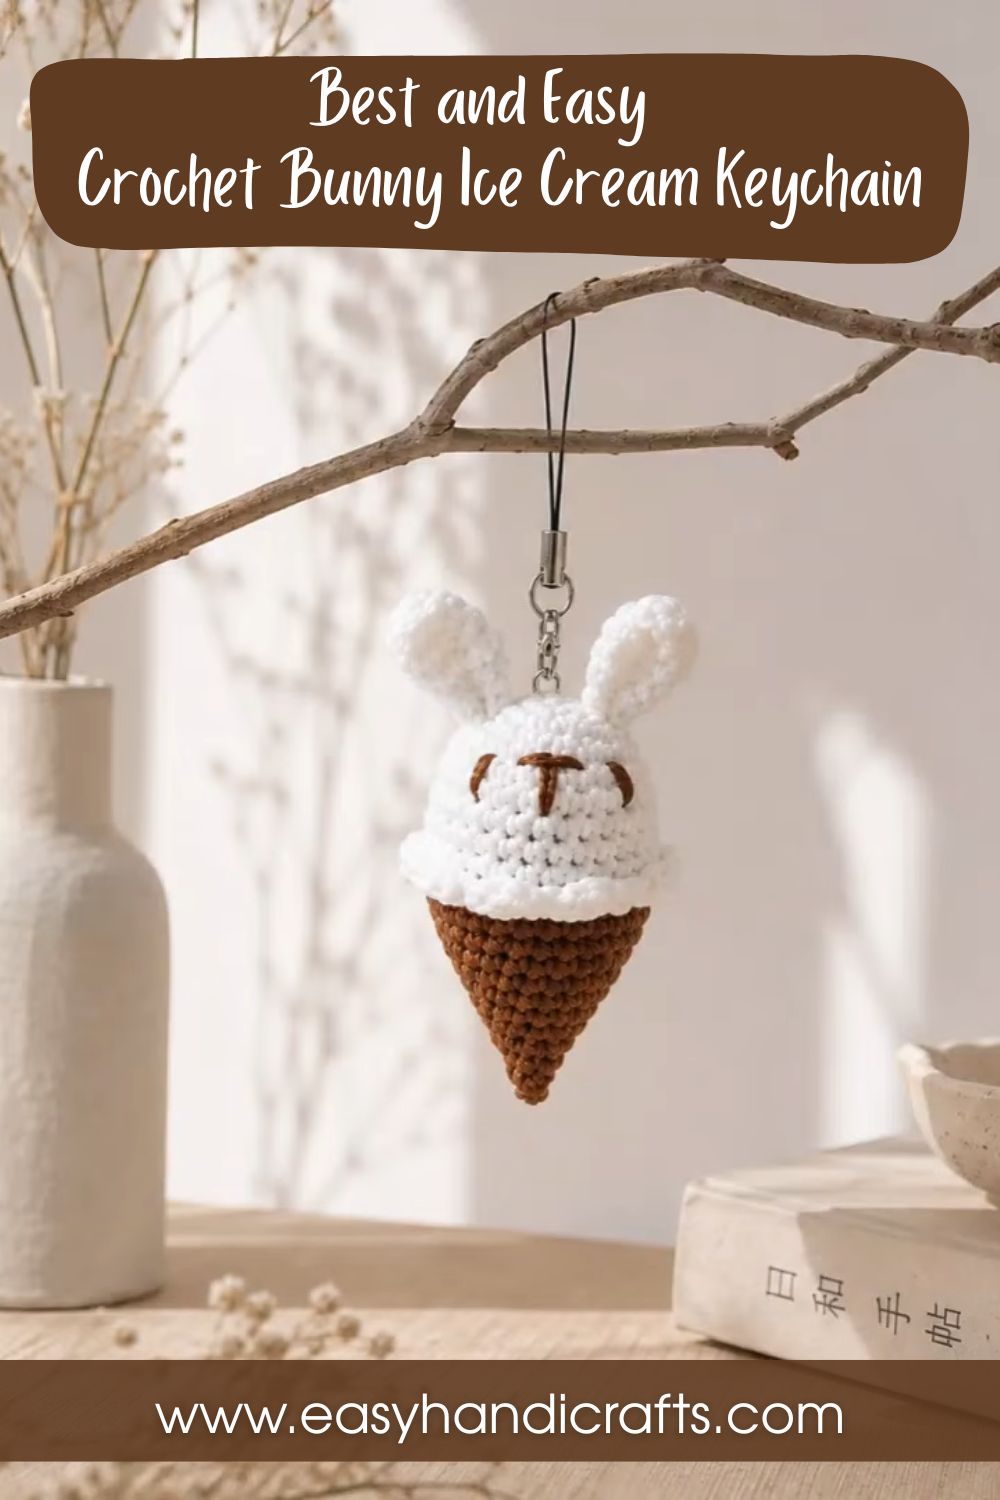
This pattern creates a small amigurumi charm shaped like a soft-serve ice cream cone topped with a bunny face, complete with two long ears and a happy expression. A metal keyring attaches at the top of the cone, turning the finished piece into a bag charm, keychain, or zipper pull.
Low-key, this is one of those crochet tutorial projects that teaches a bunch of core amigurumi skills in one small package. You’ll practice color changes, shaping increases and decreases, and simple embroidery for the face. It’s a fantastic project if you want to build confidence before moving on to bigger toys.
Skill Level
This bunny ice cream keychain sits comfortably at the beginner level, needing only basic single crochet stitches, simple increases, and decreases. No joke, if you can chain and single crochet, you already have what it takes to finish this piece in one or two short sessions. A little sewing experience for the face helps but isn’t required, since a simple running stitch works just fine.
Materials and Supplies Needed
Yarn Type
- Soft cotton or acrylic amigurumi-weight yarn (worsted weight, 4-ply) works best for firm stitch definition
- Main colors: cream or white for the ice cream swirl, light pink or tan for the bunny face, and a soft brown or pink for the cone
- Small amounts of black and pink yarn or embroidery floss for facial details
Hook Size
- A 2.5mm or 3.0mm crochet hook, sized down from the yarn label recommendation for tight, toy-safe stitches
Extra Tools
- Polyester fiberfill stuffing
- Stitch marker or small safety pin
- Yarn needle for sewing pieces together
- Small scissors
- Metal keyring or lobster clip attachment
- Optional: safety eyes or small black beads for the bunny’s eyes
Crochet Stitches and Abbreviations Used
- ch – chain stitch
- sc – single crochet
- inc – increase (2 sc in one stitch)
- dec – decrease (sc2tog, two stitches worked together)
- st(st) – stitch(es)
- rnd(s) – round(s)
- sl st – slip stitch
- BLO – back loop only
- FO – fasten off
Step-by-Step Crochet Instructions
Making the Ice Cream Swirl Top
- Using cream yarn, ch 2. Rnd 1: 6 sc in second chain from hook (6 sts)
- Rnd 2: inc in each st around (12 sts)
- Rnd 3: sc, inc repeat around (18 sts)
- Rnd 4: sc 2, inc repeat around (24 sts)
- Rnds 5–7: sc in each st around, working in BLO for a few rounds to create the swirl texture (24 sts)
- Rnd 8: sc 2, dec repeat around (18 sts)
- Stuff lightly as you close the top
- Rnd 9: sc, dec repeat around (12 sts), FO leaving a long tail
Crocheting the Cone Base
- Switch to brown or tan yarn. Ch 2. Rnd 1: 6 sc in second chain from hook (6 sts)
- Rnd 2: inc in each st around (12 sts)
- Rnds 3–5: sc in each st around, decreasing gradually every other round to form a cone taper (12 sts down to 8 sts)
- Stuff the cone firmly
- FO leaving a long tail for sewing
Making the Bunny Face
- Using pink or tan yarn, ch 2. Rnd 1: 6 sc in second chain from hook (6 sts)
- Rnd 2: inc in each st around (12 sts)
- Rnd 3: sc in each st around (12 sts), FO leaving a tail
Crocheting the Bunny Ears (Make 2)
- Ch 2. Rnd 1: 4 sc in second chain from hook (4 sts)
- Rnds 2–5: sc in each st around, no increases (4 sts), flatten the last round before fastening off
- FO, leaving a long tail for attaching
Assembling the Keychain
- Sew the cone base to the bottom of the swirl top using the long tail and yarn needle
- Attach the bunny face flat disc onto the front of the swirl top
- Sew both ears to the top of the bunny face, angled slightly outward
- Embroider a small nose, mouth, and cheek blushes using pink and black yarn or floss
- Attach safety eyes or sew small black French knots for the eyes
- Sew the keyring loop securely to the very top of the swirl using strong thread or the leftover yarn tail
Helpful Beginner Tips
- Keep your stitches tight and even, since amigurumi should never show gaps where stuffing peeks through
- Count your stitches at the end of every round before moving forward
- Use a stitch marker at the start of each round so you never lose your place
- Stuff a little at a time rather than all at once, for smoother, rounder shaping
- Test your color combination on a scrap swatch first if you’re unsure how the swirl will look
Common Mistakes and Solutions
- Loose stitches: switch to a smaller hook size for firmer, tighter fabric
- Visible color jog between rounds: use a standing color change and hide the join along the back
- Lumpy stuffing: pull fiberfill into small pieces before pushing it in, instead of stuffing one big clump
- Wobbly keyring attachment: reinforce the loop with a few extra stitches and doubled thread before adding weight
- Uneven ears: count rounds carefully so both ears match in height and shape
Pattern Customization Ideas
- Swap the bunny face for a cat, bear, or panda for a whole matching collection
- Add rainbow sprinkles using tiny French knots across the swirl top
- Try a chocolate-dipped cone look using two-tone brown shades
- Make a mini version as an earring or a larger version as a stuffed keychain gift
- Add a tiny bow or flower between the bunny ears for extra charm
Size and Color Suggestions
A finished keychain typically measures around 6 to 8 centimeters tall, ideal for bags, backpacks, and lanyards without feeling bulky. Pastel shades like baby pink, mint, and lavender give a soft kawaii look, while bold colors like red and chocolate brown suit a bolder, playful style. Neutral cream and tan combinations keep things classic and easy to match with any bag color.
Frequently Asked Questions
Is this pattern good for absolute beginners?
Yes, this is one of the easier beginner crochet projects since it only uses single crochet, increases, and decreases throughout.
What yarn weight works best for this keychain?
Worsted-weight cotton or acrylic yarn gives the cleanest stitch definition and holds its shape well for small amigurumi.
Can I make this without safety eyes?
Absolutely, embroidered eyes using black yarn or floss work just as well and are safer for gifts intended for young children.
How long does this project usually take?
Most crocheters finish this easy crochet project in about two to three hours, depending on experience level.
What can I use instead of a keyring?
A lobster clip, lanyard hook, or even a simple loop of yarn all work as bag charm attachments.
Conclusion
This crochet bunny ice cream keychain proves that small projects can bring big joy. It’s a wonderful beginner crochet pattern that builds real skills while creating something genuinely cute to carry around every day. Once you finish your first one, you’ll probably want to make an entire batch in different colors for friends, family, or your handmade shop shelf.