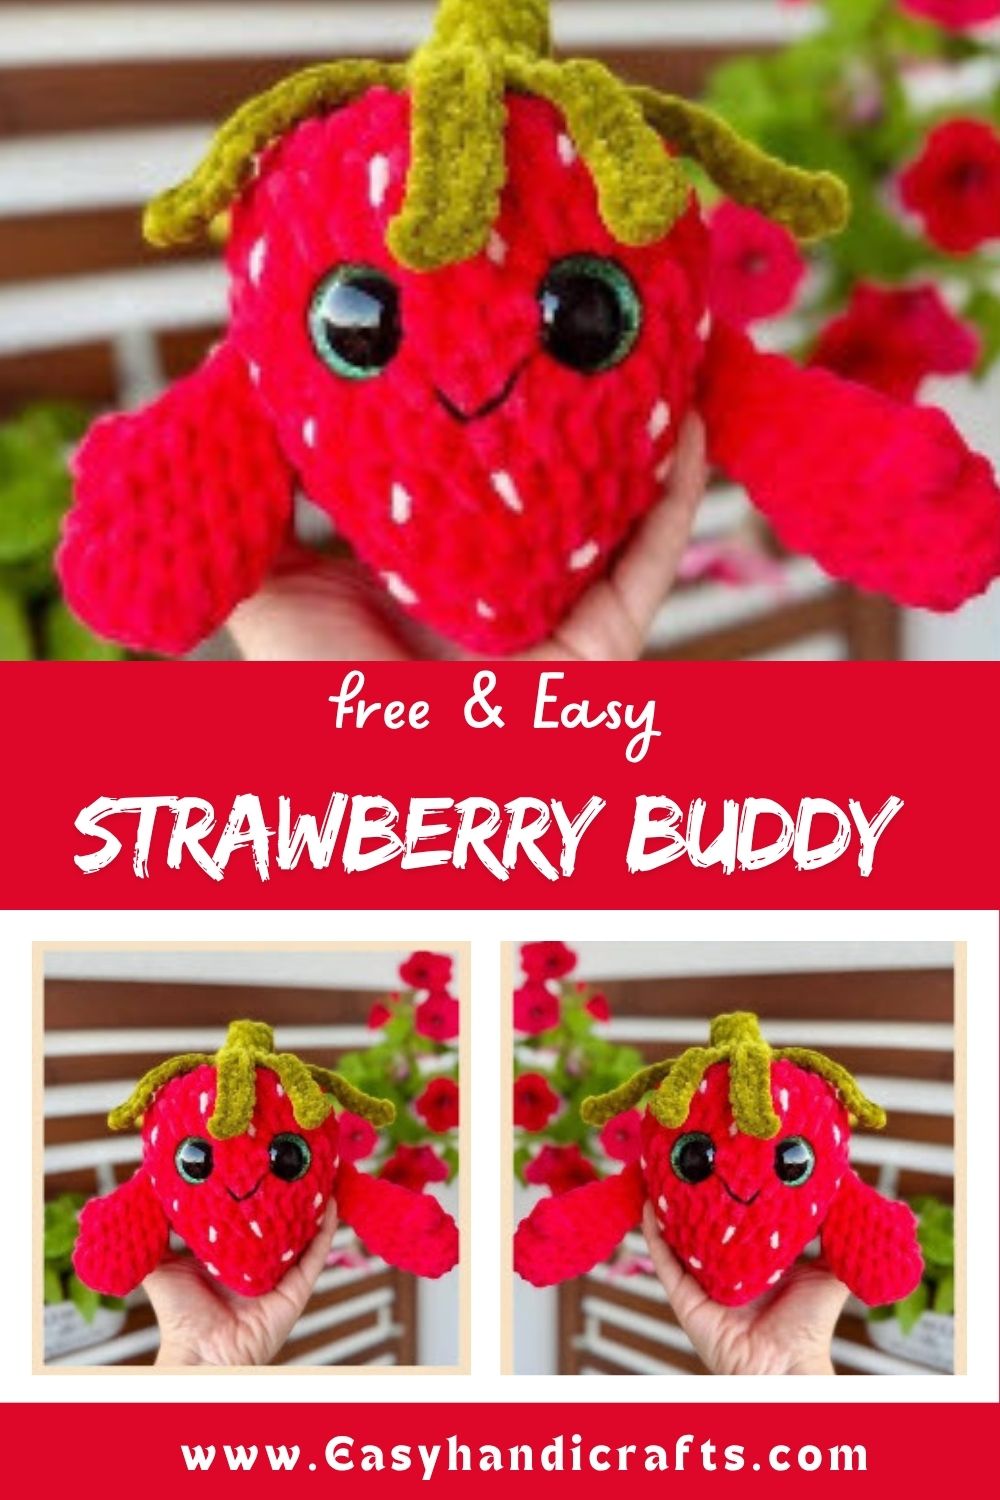
Crochet Strawberry Buddy Amigurumi Pattern for Handmade Gifts
Some amigurumi projects make you smile the moment you see them, and this little Crochet Strawberry Buddy Amigurumi is one of them. With its chunky, soft, squishy shape, it’s full of character and charm. Bright chenille yarn makes it even cuter, which makes it a perfect pick for shelf decor, handmade gifts, or adding to any amigurumi collection.
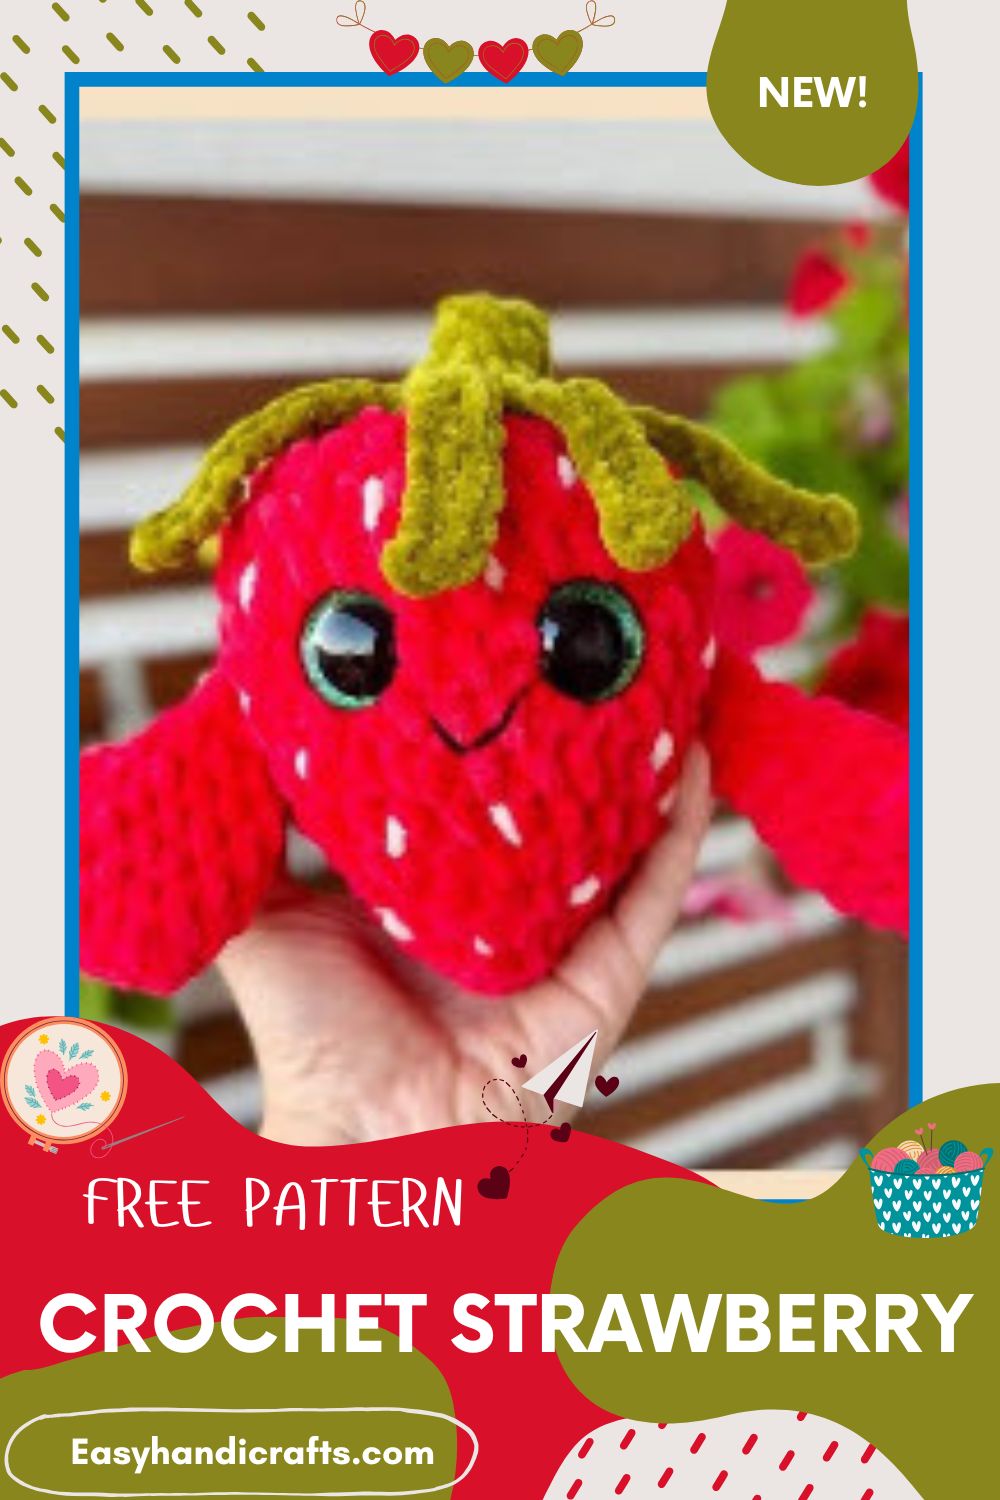
Strawberry amigurumi has a way of charming everyone who sees it. This Crochet Strawberry Buddy Amigurumi pattern walks you through a plump body, a leafy stem, and two waving arms. Chenille yarn keeps the texture velvety, while tiny white seeds add the finishing detail. Real talk, the bobble stitch thumbs give this little buddy serious personality. Follow the rounds slowly, and you end up with a squishy friend ready to gift or keep forever.
Skill Level
This Crochet Strawberry Buddy Amigurumi suits adventurous beginners ready to try bobble stitches and back loop work. Basic increases, decreases, and tidy stuffing carry you through every single round with full confidence.
Pattern at a Glance
Here is the shape of the project before your hook touches the yarn.
- The body grows from a magic ring into a plump, rounded berry
- Safety eyes sit high on the face for that cheerful look
- A leafy green stem caps the top with eight little leaves
- Two arms feature a clever bobble stitch shaped like a thumb
- White seeds scatter across the body for a classic strawberry finish
- Chenille yarn keeps everything velvety, soft, and huggable
- The full project finishes in an afternoon, so it suits quick gifting
What You Will Need
Pull these supplies together first, then settle in for a quick, satisfying make.
- Chenille yarn in three colors: red, green, and white
- Cotton yarn in black for the seeds, if you prefer fine detail
- Polyfill stuffing for a firm but squishy body
- 25 mm safety eyes for the face
- 5.5 mm crochet hook
- Darning needle, stitch markers, and scissors
Abbreviations used throughout:
- ch means chain
- mr means magic ring
- sc means single crochet
- hdc means half double crochet
- inc means increase
- dec means decrease, worked invisibly
- sl st means slip stitch
- BBL means bobble stitch
- BLO means back loop only
- FLO means front loop only
- F.O means fasten off
How to Crochet the Strawberry Buddy
Work in continuous rounds and drop a stitch marker at the start of each one. Keep your tension snug, since chenille hides loose stitches but loves to fray.
Body
The body builds the whole strawberry shape, so take it round by round.
- 8 sc in mr (8)
- sc x8 (8)
- inc x8 (16)
- sc x16 (16)
- (sc, inc) x8 (24)
- sc x24 (24)
- 1 sc, 1 inc, (2 sc, inc) x7, 1 sc (32)
- sc x32 (32)
- sc x32 (32)
- sc x32 (32)
- sc x32 (32) and start stuffing here
- (2 sc, dec) x8 (24)
- (1 sc, dec) x8 (16)
- dec x8 (8)
Fasten off, cut the yarn, and weave in the tail. Insert the eyes between rounds 9 and 10, roughly 3 to 5 stitches apart.
Stem
The stem sits on top and carries the leaves, so switch to green now.
- 8 sc in mr (8)
- BLO: sc x8 (8)
- sc x8 (8)
- FLO: inc x8 (16)
- Now the leaves begin
For the leaves, work 2 sc, then ch 10. Starting from the 2nd chain from the hook, sc 9 back down. Repeat this across the whole round until you have 8 leaves. Slip stitch, fasten off, and leave a long tail for sewing the stem to the body.
Arms
Make two arms in your main red color, complete with bobble thumbs.
- ch 4 (4)
- From the 2nd chain from the hook: 2 sc, then 3 sc in the last stitch. On the other side: 2 sc, then 3 sc in the last stitch (10)
- sc x10 (10)
- sc x9, BBL (10)
- sc x10 (10)
- (3 sc, dec) x2 (8)
- (2 sc, dec) x2 (6)
To make the BBL, work 3 hdc into the very same stitch. Position it on the side of the hand, so it sticks out like a little thumb.
Finishing the Arms
Bring each arm to a clean, flat finish before sewing.
Fold the hand and work 3 sc through both sides to join them. Do not fasten off yet. Chain 1, turn, then work 3 sc. Chain 1, turn, and work 3 sc again. Fasten off and leave a long tail for sewing.
Stitch Notes Worth Knowing
A handful of small techniques keep this buddy looking crisp and professional.
- The BLO and FLO rounds on the stem create a clean lip where the leaves flare out
- The bobble stitch sits sideways, so each arm reads as a tiny thumb
- Chenille hides your stitch markers, so use bright plastic ones you can spot fast
- Stuffing during round 11 lets you shape the berry before it closes too far
- A slightly smaller hook keeps the chenille fabric dense and gap free
- Counting stitches out loud on round 7 prevents the tricky increase from drifting
These habits feel fiddly at first. After a round or two, they turn into pure muscle memory.
Slip Ups to Watch For
No joke, these little errors catch out plenty of crocheters mid project.
- Forgetting to start stuffing at round 11, which leaves the body hard to fill
- Splitting chenille strands with a sharp hook, which fuzzes the surface
- Placing the eyes too low, which drops the cheerful look off the face
- Working the bobble on the wrong side, so the thumb points inward
- Sewing the leaves down, when they should stay loose and lifelike
- Pulling decreases too tight, which puckers the rounded berry shape
- Rushing the leaves, which leaves them uneven in length and droopy
Every one of these fixes comes down to slowing down. Calm, counted rounds beat fast, frustrated ones each time.
Putting It All Together
Now join every piece into one happy little strawberry.
- Stuff the body firmly, then close it and weave in the tail
- Sew the stem flat onto the top of the body using its long tail
- Attach the arms to the sides, placed between rows 8 and 10
- Stitch the white seeds randomly across the whole red body
- Leave the green leaves unsewn, so they sit free and natural
- Check the eyes one last time before locking everything in place
Pin each piece before stitching it down for good. A quick preview saves you from unpicking crooked arms later.
A Few Final Notes
Keep these reminders close for the smoothest possible finish.
- Weave each tail deep into the body, so chenille fuzz never frees them
- Use cotton yarn for seeds when you want sharper, smaller dots
- Steam the finished buddy gently if any round looks slightly uneven
- Skip safety eyes and embroider instead for a baby safe version
- Store the strawberry in a dust free spot to protect the soft pile
- Make a whole berry family in different sizes by adjusting your hook
No kidding, a row of these buddies looks adorable on any shelf. Vary the seed placement, so each one feels unique.
Pro Tip
Block the chenille body lightly with steam before assembly, so every round sits smooth and the seeds lie perfectly flat.
Wrapping Up
This Crochet Strawberry Buddy Amigurumi proves that a beginner-friendly make can still feel full of charm. The plump body, leafy stem, and bobble thumb arms come together into a genuinely cheerful little friend. Ngl, the chenille texture alone makes the whole project worth it. Each soft round feels good to work with and even better to squeeze. Gift it to a fruit lover, perch it on a shelf, or pass the pattern to a crafting pal. Whatever you choose, your StrawBuddy carries that handmade warmth in every soft stitch.