Handmade BMO Inspired Crochet Plush — Pastel Blue & Pink Kawaii Amigurumi
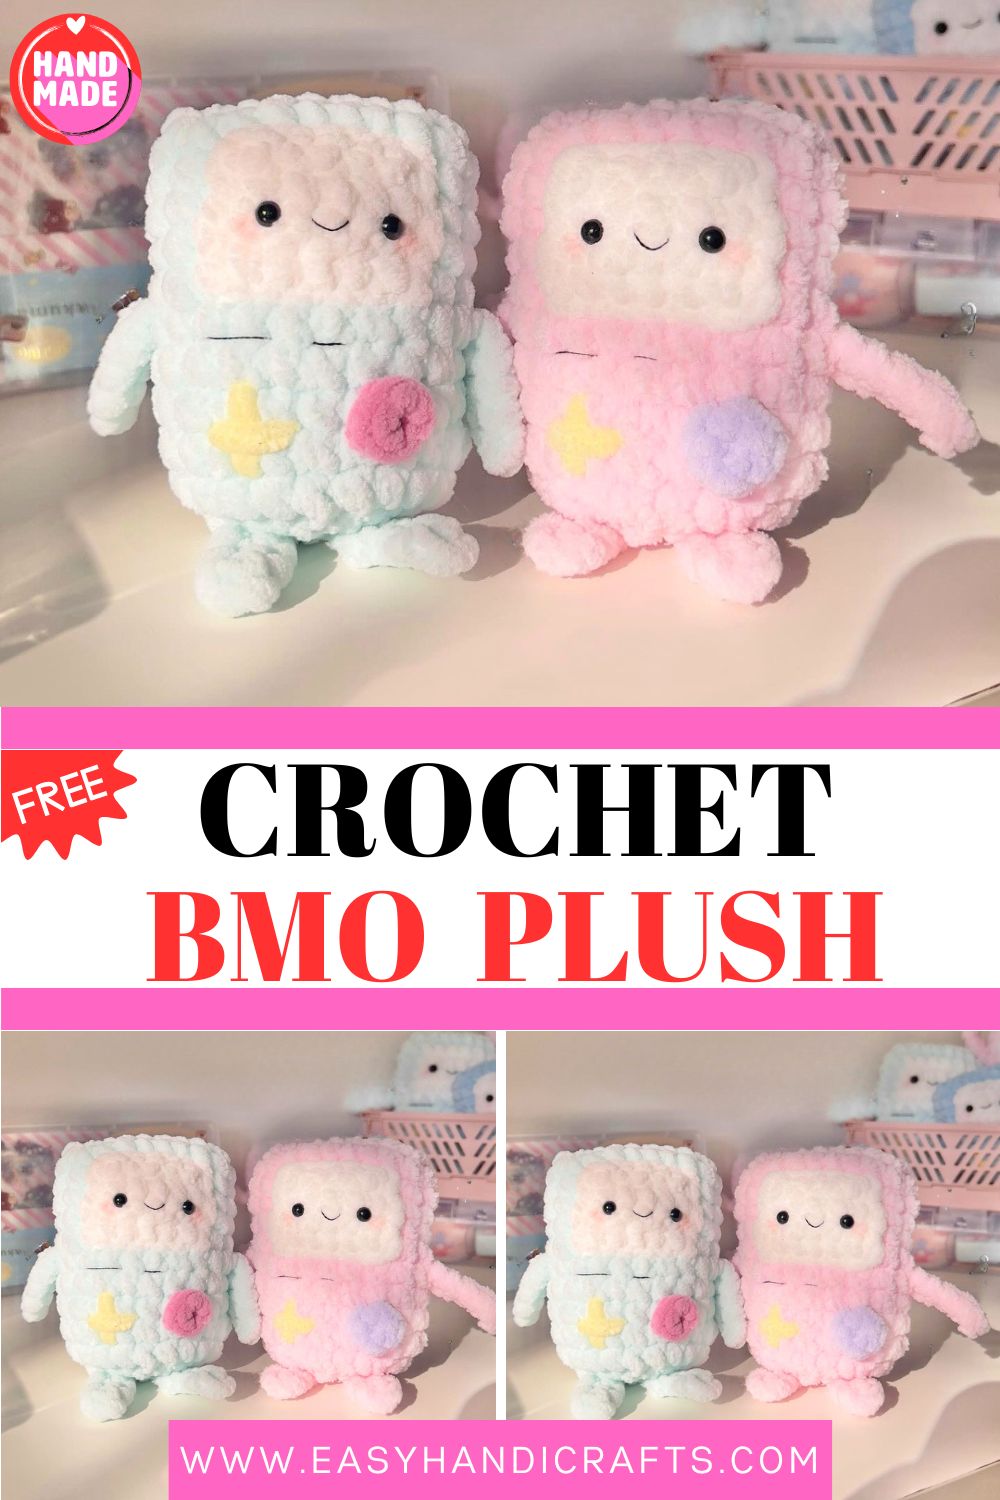
BMO said, “I am a little living boy,” and I said, “Okay, let me crochet you in two colourways: Mint blue and blush pink, chunky and fluffy and full of that same quiet, happy energy. These BMO-inspired plushies are everything. Who’s getting one?
If you grew up watching Adventure Time, you already know exactly why BMO holds such a special place in so many hearts. This crochet BMO-inspired plush captures every bit of that charm in a small, squishy, handmade package. The rectangular body is built on a foundation chain rather than a magic ring, which gives it the clean, flat sides that make BMO instantly recognizable. Furthermore, the arms and legs are created directly within the body rounds using simple chain and slip stitch sequences, which means the entire figure is worked as one continuous piece with very minimal sewing required. In addition, the screen is worked separately as a small flat rectangle and either sewn on or crocheted directly into the body using the no-sew color change method. The result is a finished plush that looks detailed, accurate, and genuinely impressive while remaining completely accessible for confident beginner and intermediate crochet makers. Whether you make this as a gift for a fan, a desk companion for yourself, or a show-stopping piece for your handmade shop, this little BMO plush delivers a result that is impossible not to love.
Skill Level
Intermediate. Foundation chain construction, color changes, and in-round arm and leg techniques are used throughout. Additionally, basic embroidery adds the face and screen details that bring the whole character to life.
Materials You Will Need
Yarn:
- Blue yarn for the main body, Alize Velluto recommended
- White yarn for the screen
- Red yarn for the button
- Yellow yarn for the cross detail embroidery
Other Supplies:
- Crochet hook — 6mm for the body, 5mm for the screen and details
- Safety eyes — 5–6mm
- Black embroidery thread for the face and screen lines
- Scissors
- Stuffing
- Pins and sewing needles
- 2 stitch markers
- Optional: powdered blush and craft glue
Hook size note: Use two hooks with 1mm difference between them. For Alize Velluto, use 6mm for the body and 5mm for the screen. For the Himalaya Dolphin Baby, use 5mm for the body and 4mm for the screen.
Abbreviations
- SC — Single Crochet
- MR — Magic Ring
- R — Row / Round
- INC — Increase
- ST / STS — Stitch / Stitches
- FO — Fasten Off
- CH — Chain
- SLST — Slip Stitch
- DEC — Invisible Decrease
- B/W — Between
- FLO — Front Loop Only
- (X) — Total stitches in a round
Pattern: BMO Body — Low Sew Version
Using blue yarn and a 6mm hook
Chain 10.
R1: Skip first chain, 8 sc, 3 sc in last chain, 7 sc on the other side of the foundation chain, 2 sc in the last stitch (20)
R2–5: sc around for 4 rounds (20)
R6: Start right arm ch 6, skip first chain, 5 slst down. Work 10 sc across the front of the body. Place a stitch marker on any stitch on this side — this is the front where the screen will be sewn later. Make left arm ch 6, skip first chain, 5 slst down. Work 10 sc to complete the round (20)
R7: Skip right arm, 10 sc, skip left arm, 10 sc (20)
R8–11: sc around for 4 rounds (20)
Stuff the body fully at this point. Make sure all stuffing stays within R11 before continuing.
R12: Make right leg ch 6, skip first chain, 5 slst down. Work 5 Dec. Make left leg ch 6, skip first chain, 5 slst down. Work 5 Dec (10)
Fasten off and leave a long tail to sew the opening closed.
There should be exactly 5 decreases between each leg. Use the front loops only of the decreases to sew the opening closed neatly. Twist the second leg slightly so both feet face forward for the most natural finished stance.
Pattern: BMO Body — No Sew Version
Using blue yarn and a 6mm hook. Switch to a 5mm hook for white screen color change sections.
Chain 10.
R1: Skip first chain, 8 sc, 3 sc in last chain, 7 sc on the other side of the foundation chain, 2 sc in the last stitch (20)
R2: sc around (20)
R3–5: 2 sc, (CC to white) 6 sc, (CC to blue) 12 sc per round (20)
R6: Make right arm ch 6, skip first chain, 5 slst down. Work 2 sc, (CC to white) 6 sc, (CC to blue) 2 sc. Make left arm ch 6, skip first chain, 5 slst down. Work 10 sc (20)
Insert safety eyes between R4–5 while working this section.
R7: Skip right arm, 10 sc, skip left arm, 10 sc (20)
R8–11: sc around for 4 rounds (20)
Stuff the body fully within R11.
R12: Make right leg ch 6, skip first chain, 5 slst down. Work 5 Dec. Make left leg ch 6, skip first chain, 5 slst down. Work 5 Dec (10)
Fasten off and leave a long tail. Sew the opening closed using the FLO of the decreases.
Pattern: Screen — Low Sew Version Only
Using white yarn and 5mm hook
Chain 7.
R1: Skip first chain, 6 sc, turn (6) — do not chain 1 before turning
R2–4: sc across, turn (6)
Fasten off and leave a long tail for sewing.
Sew the screen onto the front of the body at R2–6, starting 2 stitches out from each arm. The screen should measure 6 stitches horizontally and 4 stitches vertically. Start sewing from the top right corner for the neatest finish.
Pattern: Button
Using red yarn and 5mm hook
R1: 4 sc in MR (4)
Slip stitch. Fasten off and leave a long tail for sewing, or weave in ends and glue the button in place instead.
Attach the button at R9 on the front of the body, centered below the screen.
Assembly and Face Details
Insert safety eyes between R4–5 for the low sew version, or during R6 construction for the no sew version. Space them approximately 4–5 stitches apart.
Embroider a small curved smile using thin black embroidery thread directly below the eyes.
Embroider two short straight lines just below the screen using black thread as shown in the character reference.
Using yellow yarn, sew a plus sign cross shape onto the body at R8–10 for the directional pad detail.
Sew or glue the red button at R9 in the correct position.
Apply a small amount of powdered blush to the cheeks using a dry brush for a soft, kawaii finishing touch if desired.
Customization and Variation Ideas
- First, make BMO in a soft mint green instead of blue for a pastel kawaii version that has its own gentle charm while remaining instantly recognizable.
- Additionally, use self-striping yarn for the body so the color shifts naturally through the rounds. This creates a subtle gradient effect without any extra color change work.
- Moreover, add a tiny crocheted star or heart shape on the screen instead of a blank white rectangle for a more personalized, decorative version.
- Furthermore, embroider the screen in different colors to represent different game screens — a red and yellow flame design or a simple pixel landscape both look wonderful.
- Also, make a miniature version using fingering-weight yarn and a 2mm hook. A tiny BMO sitting beside a full-size version creates an adorable display pair.
- Finally, add a small keychain ring to the top of the finished plush for a handmade bag charm that Adventure Time fans will reach for every single day.
Common Mistakes to Avoid
- First, losing track of the front and back during construction: Place a stitch marker on the front face of the body during R6 and leave it there until assembly is complete. This prevents accidentally sewing the screen onto the back.
- Additionally, skipping the hook size change for the screen: The smaller hook for the white screen section is essential. Using the same large hook creates loose, visible gaps along the screen edges that are very difficult to fix after assembly.
- Also, forgetting to stuff before closing: The body must be firmly stuffed before working R12. Once the legs are attached the opening becomes too small to add stuffing properly.
- Furthermore, uneven arms: Both arm chains should be worked with identical tension. A loose arm hangs lower than a tight one and creates an imbalanced finished figure.
- Moreover, placing eyes after the body is closed: Safety eyes must go in during construction while there is still easy access to the inside of the body. Mark the position with pins during R4–5 and lock them before moving on.
- Finally, pulling the leg twist too far: The second leg needs only a gentle forward twist. Over-twisting creates a leg that spirals around rather than pointing cleanly forward alongside the first leg.
Finishing Tips
- First, when sewing the opening closed after the legs, work the mattress stitch through the front loops only of the decrease stitches. This creates a flat, invisible seam along the base of the figure.
- Additionally, use a single strand of black embroidery thread for all face details. A single strand gives you far more control over line weight and curve than a full strand does.
- Moreover, after gluing the safety eyes in place, allow the glue to dry completely before handling the figure. Rushing this step causes the eyes to shift position before setting.
- Furthermore, press the finished screen rectangle lightly with a damp cloth before sewing it onto the body. This removes any curl from the edges and makes it lie perfectly flat against the blue body.
- Also, photograph the finished BMO plush against a white or neutral background to show off the blue and white color contrast and all the embroidered details as clearly as possible.
- Finally, if using powdered blush on the cheeks, seal it with a very light mist of hairspray from a distance. This prevents the blush from rubbing off with handling over time.
Gifting Ideas
- First, package the finished BMO plush in a small gift box lined with yellow tissue paper for a presentation that feels cohesive with the Adventure Time color palette.
- Additionally, pair the plush with a small enamel pin or a printed postcard featuring Adventure Time artwork for a fan gift set that feels genuinely curated and thoughtful.
- Moreover, these plushies make wonderful birthday gifts for anyone who grew up with the show. A handmade BMO carries a level of care and intention that no store-bought merchandise can match.
- Furthermore, make a matching set of three BMO, a small cube, and a tiny star displayed together on a small wooden tray for a complete handmade collection that looks stunning on a shelf.
- Also, attach a handwritten tag with a short quote from the show for a personal touch that will make any Adventure Time fan genuinely emotional upon receiving it.
- Finally, these plushies sell consistently well at anime and pop culture conventions and craft fairs. The recognizable character design draws immediate attention from across a display table.
Conclusion
This BMO-inspired crochet plush is one of those patterns that feels special from the very first foundation chain. The rectangular construction, the in-built arms and legs, and the embroidered screen details all work together to create a finished piece that is both technically satisfying and emotionally rewarding to make. Furthermore, the choice between the low-sew and no-sew versions means you can adapt the pattern to suit your own preferred working style. Therefore, mark your front panel carefully, keep your hook sizes consistent, and take your time with the face embroidery; every stitch on that tiny screen matters. In conclusion, whether this little BMO ends up in your own hands or someone else’s, it will always carry the warmth and care that went into every single round.
Happy crocheting! Cannot wait to see your little BMO come to life.