Sitting Flower Babies Crochet Plush | Handmade Cute Amigurumi
These tiny sitting flower babies are pure crocheted charm, soft, squishy, and impossible not to love the moment you finish them!
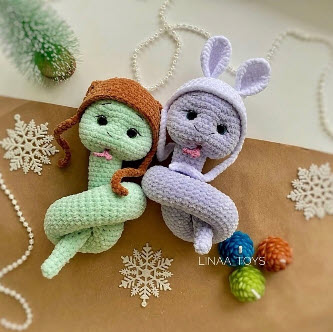
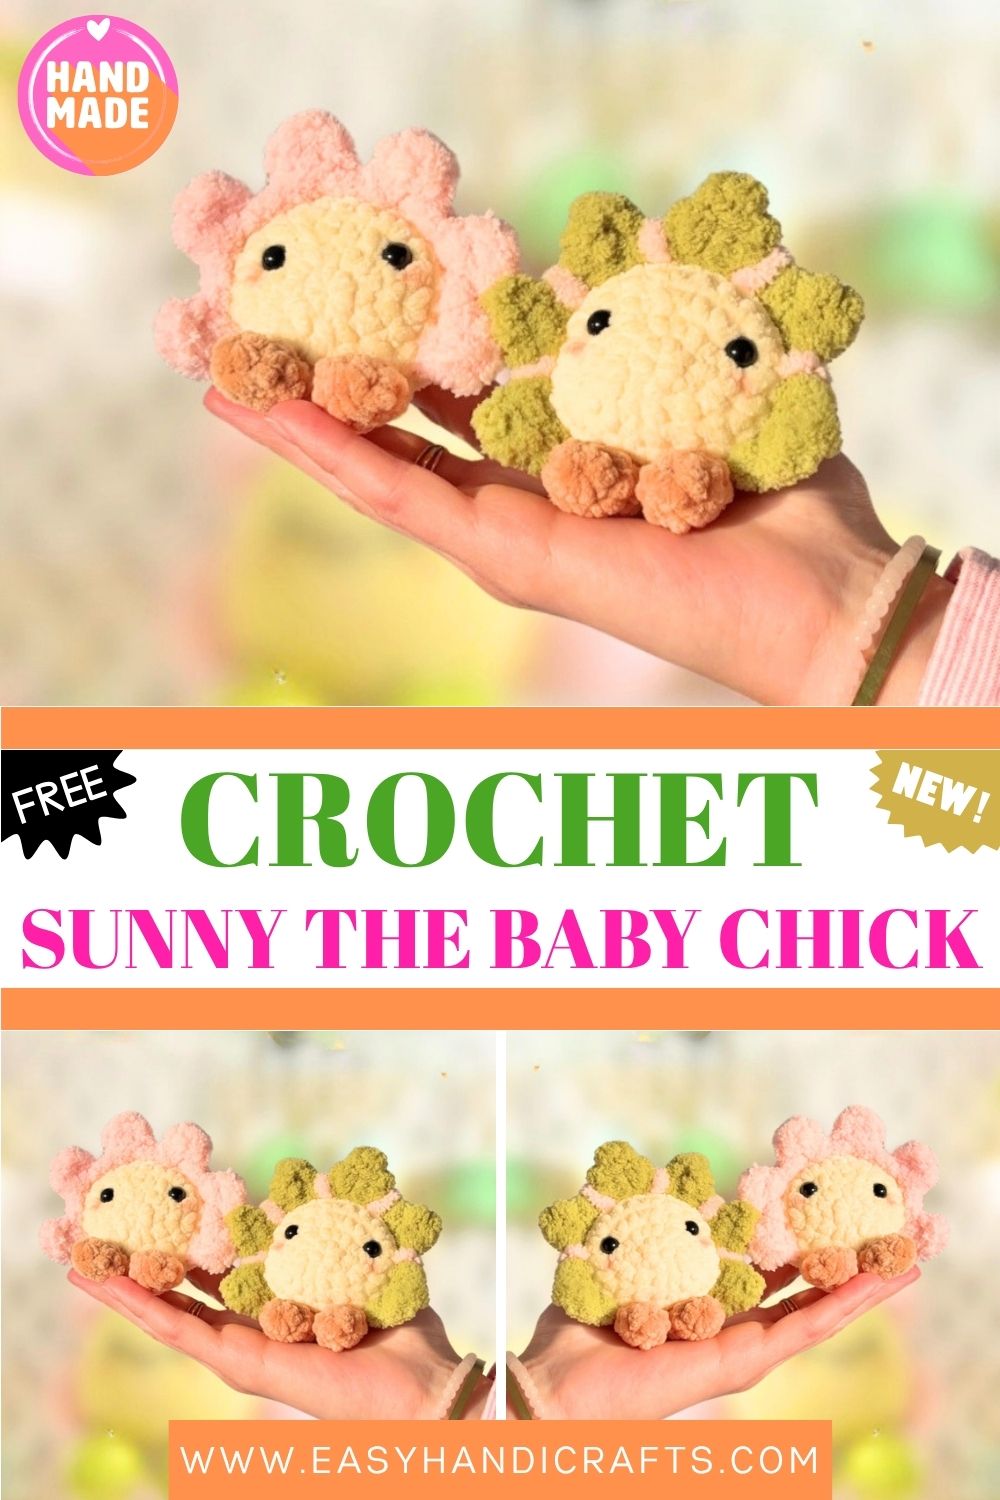
Some crochet projects are wonderfully simple yet incredibly rewarding, and these Sitting Flower Baby Amigurumi are exactly that kind of make. With their chubby little bodies, soft flower-petal hats, dangling tiny feet, and the sweetest little faces, they are impossible not to fall in love with. This pattern lets you create two adorable flower baby styles using the same base design. The pink version features soft, looped petals for a delicate and playful look, while the green flower baby has a more structured petal style that gives it its own unique personality.
Skill Level
Beginner to intermediate. If you are comfortable with single crochet and magic rings, you can absolutely make this. Front loop only rows and petal shaping add a lovely new skill to your toolkit.
Materials You Will Need
Yarn:
- Any chunky or bulky chenille yarn in colors you love, Honey Bunny Chenille from Hobbii, and Frida’s No. 16, both work beautifully
- Thinner yarn for embroidered details and decorative bobbles
- Light brown yarn for the feet
Other Supplies:
- Crochet hook — 4.5 mm
- Safety eyes — 8 mm
- Polyfill stuffing
- Scissors
- Tapestry needle for closing and finishing
Abbreviations
- R — Round
- MR — Magic Ring
- SC — Single Crochet
- INC — Increase (2 sc in same stitch)
- DEC — Decrease
- CC — Color Change
- HDC — Half Double Crochet
- SLST — Slip Stitch
- BLO — Back Loop Only
- FLO — Front Loop Only
- (…) x N — Repeat N times
- (N) — Total stitch count for that round
Pattern: Body Same for Both Flower Babies
Starting with yellow yarn (or any color you like)
R1. 6 sc in MR (6) R2. inc x 6 (12) R3. (sc, inc) x 6 (18) R4. (2sc, inc) x 6 (24) R5. sc around (24) R6. BLO sc around (24) R7. sc around (24)
Place safety eyes between R3 and R4, approximately 4 stitches apart.
R8. (2sc, dec) x 6 (18)
Begin stuffing at this point.
R9. (sc, dec) x 6 (12) R10. dec x 6 (6)
Fasten off and close the hole securely.
Important: The front loops left over from R6 are what you will use to attach the flower petals in the next section. Do not skip or tighten this row — it is the foundation for the entire flower effect.
Pattern: Feet — Make 2, Same for Both Flowers
Using light brown yarn
R1. 4 sc in MR (4) — for bigger feet use 6 sc in MR R2–R3. sc around for 2 rounds (4 or 6)
No need to stuff the feet.
Fold in half and work 2 sc (or 3 sc) through both layers to close. Fasten off and leave a long tail for sewing onto the body.
Sew both feet next to each other on the right side of the body. Important: sew the feet below the FLO row of R6 — if you attach them on the front loops, the flower baby will not be able to sit flat.
Pattern: Pink Flower Petals
Using the FLO of R6 — 6 petals total
Each petal uses 2 front loop stitches, with 1 sc between each petal.
Start on the right bottom of the body, leaving 4 front loop stitches free at the bottom for the feet placement.
For each petal: insert hook into FLO and pull up a loop, sc, ch3 then working down the chain starting from the second chain from your hook, work 2 hdc slst into the next FLO stitch, then work 1 sc between petals.
Repeat x 6 around the front loop row.
Depending on your tension, you may have room for one extra petal — add it if the space allows. Fasten off and weave in all ends neatly.
Pattern: Green Flower Petals
Using the FLO of R6 — 6 petals total, each worked separately
Start at the very top center of the front loop row, exactly between the eyes, and work 3 petals in each direction.
Each petal uses 3 front loop stitches.
For each petal: work 3 sc into the FLO stitches, turn your flower, skip one stitch, work 2 sc back, turn again, skip one stitch, work 1 sc at the top.
Fasten off and hide the tail after each petal before starting the next one.
Make 6 petals total, evenly distributed around the R6 front loop row.
After all petals are attached, sew small decorative details between the petals using thinner yarn bobbles, French knots, or simple straight stitches; all work beautifully, depending on the look you want.
Customization and Variation Ideas
- Mix and match petal styles to give one flower baby pink petals and green feet, or use the green petal technique in a purple yarn for a completely different botanical feel.
- Use variegated chenille yarn for the body so the color shifts naturally as you work up the rounds, creating a gradient flower effect with zero extra effort.
- Add a tiny crocheted ladybug or bee on top of the head using scrap yarn for a garden-themed version that makes the whole thing even more charming.
- Make a collection of six in different colors and arrange them together on a shelf. They look like a little flower garden and photograph beautifully.
- Swap the safety eyes for embroidered French knot eyes for a softer, more toy-safe version suitable for very young children.
- Use the same body base but skip the petals entirely and embroider a tiny face with closed, sleepy eyes for a relaxed, minimal version with a completely different mood.
Common Mistakes to Avoid
- Working into the wrong loop on R6: The BLO row is critical — working back loop only on this round leaves the front loops free for petal attachment. If you accidentally work both loops, you will have no place to attach the petals.
- Attaching feet to the FLO row: This is the most common assembly mistake. The feet must go below R6, not on the front loops, or the finished flower baby will tip forward and cannot sit upright.
- Rushing the petal attachment: Take your time lining up the petals evenly before committing to each one. Uneven petal spacing is the first thing the eye notices in a finished piece.
- Overstuffing the small body: These bodies are compact; too much stuffing creates lumpy, misshapen rounds. Stuff firmly but gently, stopping when the shape feels smooth and round.
- Skipping eye placement until too late: Safety eyes must go in between R3 and R4 before the body closes up. Mark the placement with straight pins before locking them in.
- Leaving petal tails visible: Weave every petal tail in carefully, ideally running the needle through several stitches in two different directions before trimming. Chenille yarn hides ends well, but only if they are properly secured.
Finishing Tips
- After sewing on the feet, set the flower baby on a flat surface and check that it sits evenly before the yarn is fully secured. Adjust the angle slightly if needed before pulling the final knot tight.
- Use matching yarn to sew on all body parts so joining stitches disappear completely into the chenille texture.
- If your petal loops look slightly uneven after finishing, use a blunt tapestry needle to gently stretch and shape each petal while the yarn is still a little flexible.
- A very light misting of water followed by gentle reshaping and air drying can smooth out any tension inconsistencies in the body rounds.
- For the decorative details between the green petals, try using a contrasting, thinner yarn in a bright color; it catches the eye in the best possible way and adds a handcrafted quality that photographs stunningly.
- Keep a small piece of matching yarn aside before finishing, in case any seam needs reinforcing after the flower baby has been handled, chenille seams can occasionally loosen with frequent touching.
Gifting Ideas
- Place a finished flower baby inside a small terracotta pot lined with moss or tissue paper for a spring gift that looks like something straight out of a garden boutique.
- Make a matched pair, one pink flower and one green flower, and gift them together in a small linen drawstring bag tied with ribbon.
- These make genuinely lovely Mother’s Day gifts, especially when presented on a small wooden tray alongside a candle or a handwritten poem.
- Attach a handmade tag with the yarn details and your name as the maker; it adds a professional, personal touch that elevates the whole gift.
- Consider gifting a flower baby with a small packet of real flower seeds for a themed nature gift that feels cohesive and thoughtful from start to finish.
- A set of four flower babies in seasonal colors, spring yellow, summer coral, autumn rust, and winter white, makes a stunning year-round gift for someone who loves handmade home décor.
Conclusion
These sitting flower baby amigurumi manage to be both beginner-friendly and genuinely impressive, which is exactly the kind of pattern every crafter needs in their collection. The shared body base means you can make a whole garden of different flower babies without learning a completely new pattern each time, just switch up your petal style, change your colors, and watch an entirely different character emerge. Take your time with the front loop petal rows, keep your stitch count honest, and do not forget to have a little fun with the decorative details between the petals. Every single one of these little flower babies is worth every stitch.
Happy crocheting! Cannot wait to see your flower garden growing.