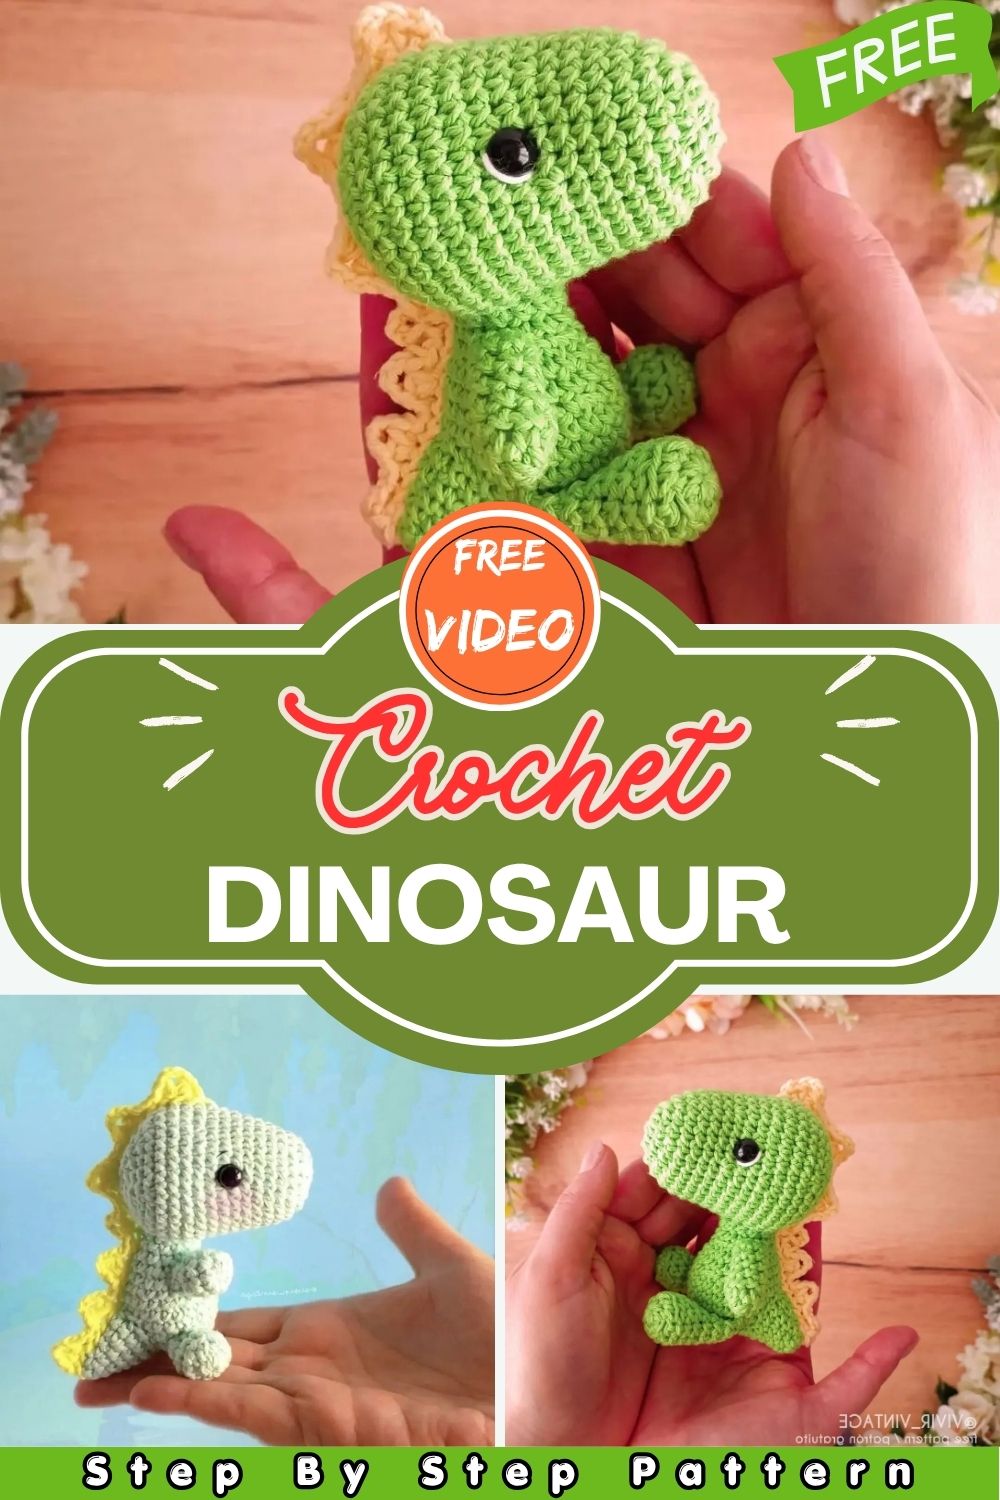
Meet Crochet Dinosaur Amigurumi Pattern, a tiny, lovable crochet dinosaur that is impossible not to adore. With his apple green body and cheerful yellow spiky back, this little dino makes the perfect handmade gift, a sweet nursery decoration, or a fun weekend crochet project. Grab your hook and let’s make some magic.
Antonio Felipe Gutierrez is the sweetest little amigurumi dinosaur, originally designed by Vivir Vintage. Made with green apple cotton yarn and a cheerful yellow spiky back, this beginner-friendly pattern uses simple stitches single crochet, increases, and decreases. He is small, sturdy, and full of personality. Whether you are making him as a gift for a child, a baby shower present, or simply as a fun project for yourself, Antonio is guaranteed to bring smiles to everyone who sees him. Below you will find the complete written pattern in English, laid out step by step so you can follow along with ease.
Materials / Supplies
Before you begin, gather everything you need so your crocheting session flows smoothly from start to finish.
- Green apple cotton yarn (6-strand weight)
- White cotton yarn (6-strand weight)
- Yellow cotton yarn (6-strand weight)
- Polyester fiberfill/silicone stuffing
- 3.5 mm crochet hook
- Scissors
- Stitch marker
- Tapestry needle
- Embroidery needle
- 10 mm safety eyes
A quick note on yarn: cotton yarn is highly recommended for amigurumi because it holds its shape well, shows stitch definition clearly, and is gentle enough for children’s toys. If you are making this dino for a baby under three years old, consider embroidering the eyes instead of using safety eyes, just to be safe.
Abbreviations
MR: Magic Ring
SC: Single Crochet
INC: Increase (2 SC in the same stitch)
DEC: Decrease (2 SC together)
CH: Chain
SLST: Slip Stitch
HDC: Half Double Crochet
The Pattern
Arms (Make 2)
Using green cotton yarn
- R1: 6 SC in MR. (6)
- R2-7: 1 SC in each stitch from the previous round. (6)
Fasten off and leave a tail for sewing. Fill half of the piece with polyester fiberfill. The arms are intentionally left lightly stuffed so they remain flexible and sit naturally against the body once sewn in place.
legs (Make 2)
Using green cotton yarn
- R1: 5 SC in MR. (5)
- R2: 5 INC. (10)
- R3: Back Loop Only — 1 SC in each stitch from the previous round. (10)
- R4: 1 SC in each stitch from the previous round. (10)
- R5: 2 SC, 3 DEC, 2 SC. (7)
- R6-9: 1 SC in each stitch from the previous round. (7)
Fasten off and leave a tail for sewing. Fill only the foot part with polyester fiberfill. Working Round 3 through the back loop only creates a neat ridge that defines the sole a small detail that makes a big difference in the finished look.
Body for ( Crochet Dinosaur Amigurumi Pattern)
Using green cotton yarn
- R1: 6 SC in MR. (6)
- R2: 6 INC. (12)
- R3: 1 SC, 1 INC — repeat 6 times. (18)
- R4: 2 SC, 1 INC — repeat 6 times. (24)
- R5-7: 1 SC in each stitch from the previous round. (24)
- R8: 2 SC, 1 DEC — repeat 6 times. (18)
- R9-10: 1 SC in each stitch from the previous round. (18)
- R11: 1 SC, 1 DEC — repeat 6 times. (12)
- R12-13: 1 SC in each stitch from the previous round. (12)
Fasten off and leave a tail for sewing. Fill the piece firmly with polyester fiberfill so the body holds its rounded shape. Do not overstuff or the seams will stretch and distort.
Tail
Using green cotton yarn
- R1: 6 SC in MR. (6)
- R2: SC in each stitch from the previous round. (6)
- R3: 6 INC. (12)
- R4: SC in each stitch from the previous round. (12)
- R5: SC, 1 INC — repeat 6 times. (18)
- R6: SC in each stitch from the previous round. (18)
Fasten off and leave a tail for sewing. Fill with polyester fiberfill. The tail tapers thanks to the magic ring, starting naturally, giving Antonio his signature dino silhouette.
Head
Using green cotton yarn
- R1: 6 SC in MR. (6)
- R2: 6 INC. (12)
- R3: SC, 1 INC — repeat 6 times. (18)
- R4: 2 SC, 1 INC — repeat 6 times. (24)
- R5-8: SC in each stitch from previous round. (24)
- R9: 3 SC, 1 INC — repeat 6 times. (30)
- R10-11: SC in each stitch from previous round. (30)
- R12: 4 SC, 1 INC — repeat 6 times. (36)
- R13-15: SC in each stitch from previous round. (36)
Place safety eyes between rounds 9 and 10 before continuing. Position them evenly on either side of the head, making sure they are symmetrical before pressing the washers on firmly.
- R16: 4 SC, 1 DEC — repeat 6 times. (30)
- R17: 3 SC, 1 DEC — repeat 6 times. (24)
- R18: 2 SC, 1 DEC — repeat 6 times. (18)
- R19: SC, 1 DEC — repeat 6 times. (12)
Fill the head with polyester fiberfill at this point. Add enough stuffing to give the head a nice round shape without pulling the stitches.
- R20: 6 DEC. (6)
Close the last 6 stitches with a tapestry needle and hide thread securely inside the head.
Back Spikes
Using yellow cotton yarn
The spiky back is what gives Antonio his full dinosaur character, and it is easier to make than it looks.
- Once the tail is sewn onto the body, use pins to mark a straight line running from round 12 of the head, passing through the central back of the body, and ending at the tip of the tail.
- Insert your hook through the fabric along this marked line and work SC stitches from the tip of the tail up to the top center of the head. Work in multiples of 3 — approximately 27 stitches is the recommended count.
- After completing the SC row, CH 1, turn the work, and begin crocheting in the third chain from the hook.
- 1st stitch: HDC, CH 3, HDC
- 2nd stitch: SLST
- 3rd stitch: SLST
- Repeat this sequence from end to end along the full length of the back.
- Fasten off and weave in all ends neatly.
The combination of HDC and chain-3 creates a pointed spike effect that runs beautifully all the way from the head down to the tail.
Assembly
Once all pieces are complete, it is time to bring Antonio together.
- Sew the head firmly on top of the body, making sure it sits centered and upright.
- Sew the tail to the central lower back of the body.
- Sew the arms on each side of the body at an even height, angling them slightly forward if you like.
- Sew the legs to the outer bottom of the body so Antonio can stand up on his own.
- Using white cotton yarn, embroider a small curved highlight on each safety eye to give them a lifelike shine.
Take your time with the assembly neat and secure seams make all the difference in the final result. Use your tapestry needle to weave in all remaining yarn ends before declaring Antonio complete.
Customization and Variations
One of the best things about this pattern is how easy it is to personalize. Here are a few ideas to make your Antonio truly one of a kind.
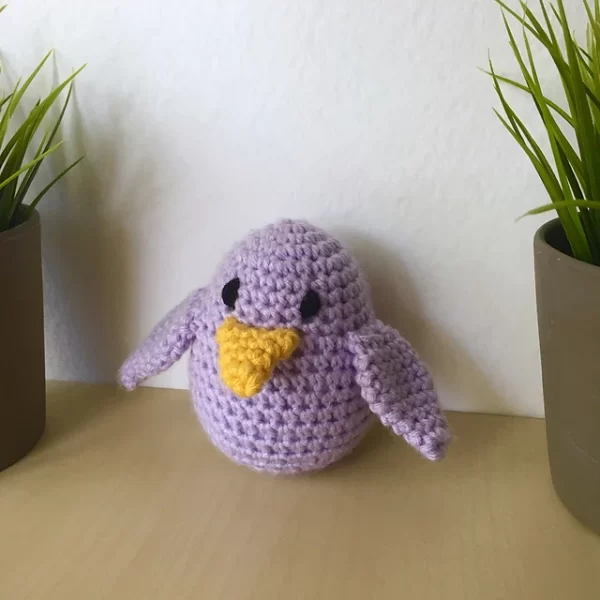
Color Changes: There is absolutely no rule that says your dino has to be green. Try a soft lavender body with a pink spiky back, a warm terracotta with mustard yellow spikes, or even a classic grey with white details for a more modern look. The pattern works beautifully in any color combination you choose.
Size Variations: If you want a larger dino, simply go up a hook size or use a thicker yarn weight. Moving from a 3.5 mm hook to a 5 mm hook with chunky yarn can nearly double the finished size. For a miniature version, use fingering-weight yarn with a 2 mm hook for a tiny pocket-sized dino.
No Safety Eyes Option: For toys made for babies or very young children, replace the safety eyes with embroidered eyes using black yarn. This is a much safer alternative and gives the dino a soft, handmade look that is equally charming.
Added Details: You can embroider a small smile using black yarn to give Antonio a happy expression. Some crafters also add tiny nostrils or rosy cheeks using pink yarn for extra personality.
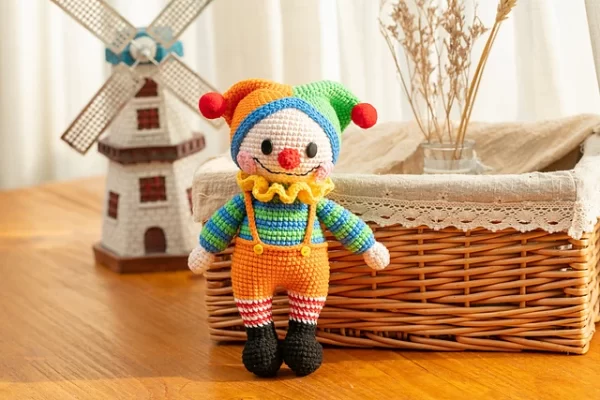
Seasonal or Themed Versions: Dress Antonio up for the holidays by adding a tiny crocheted scarf or hat. A miniature Santa hat for Christmas or a small bow tie for a birthday version can make him an extra special gift.
The pattern is simple and forgiving, which makes it an ideal base for experimenting with your own creative ideas.
Conclusion
Crochet Dinosaur Amigurumi Pattern is now ready to take on the world. This little Crochet Dinosaur Amigurumi Pattern is proof that crochet does not have to be complicated to be absolutely charming. With just a few basic stitches and a bit of patience, you have created something truly special a handmade toy filled with love and personality that will be treasured for years.
If you get stuck at any point, the full video tutorial is available on YouTube by Vivir Vintage, and the original pattern can also be found at vivir-vintage.blogspot.com. Do not hesitate to rewatch the video for the trickier steps like the back spikes seeing them in motion makes everything much clearer.
Share your finished Antonio in the comments below or on social media. Seeing your versions is always the best part.