Free Crochet Chubby Chick Amigurumi Pattern
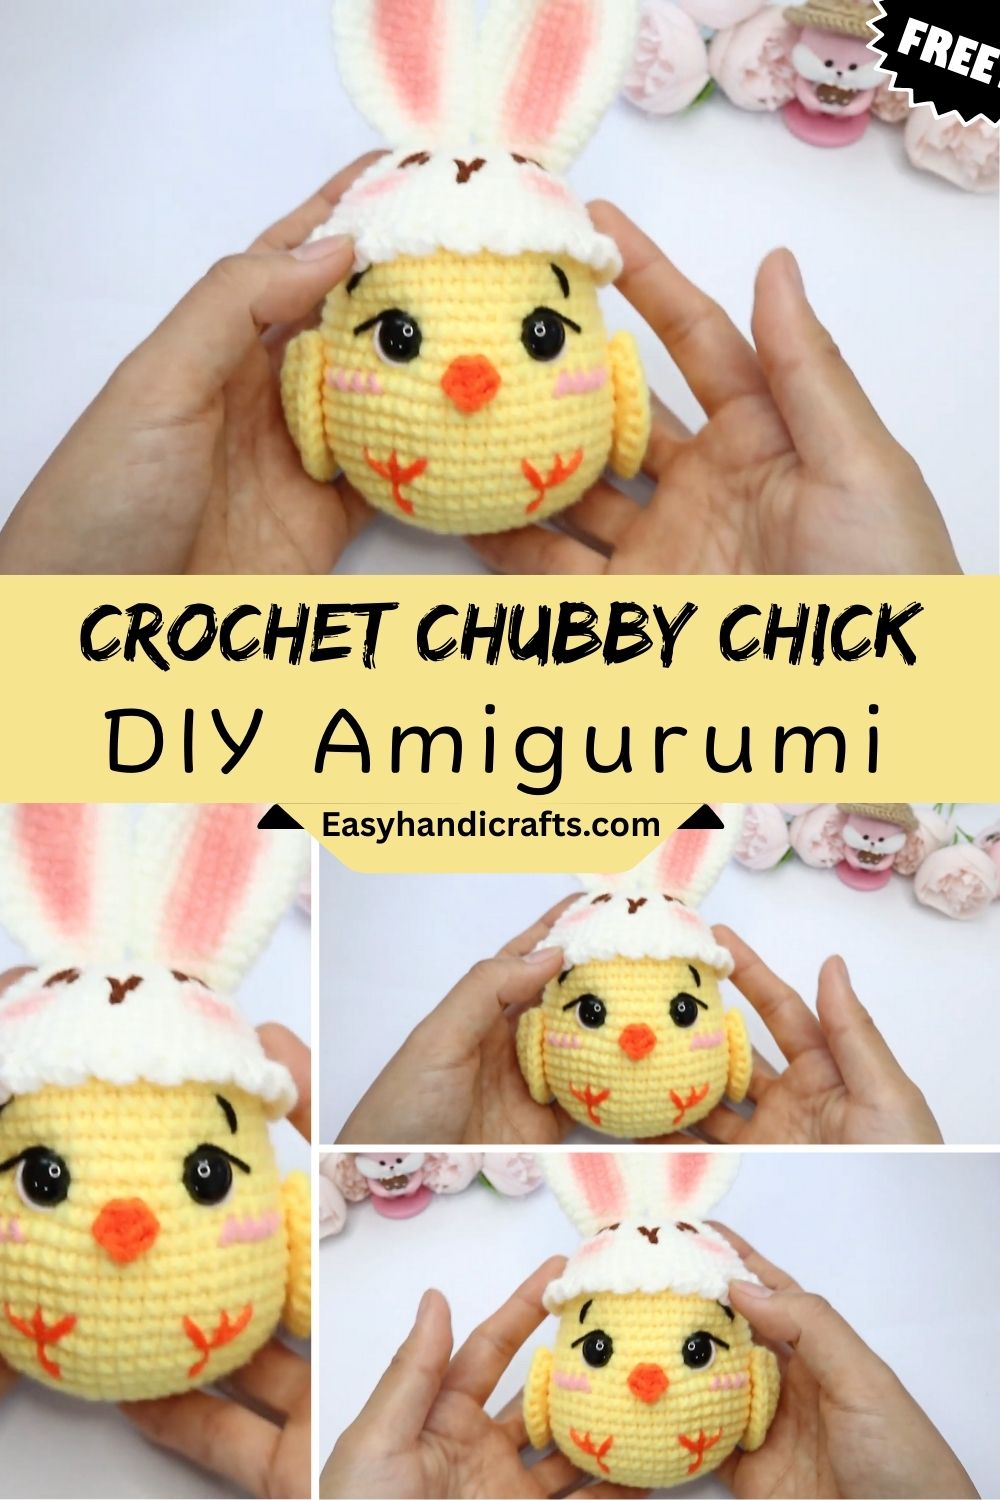
Fuzzy little chicks have a way of stealing hearts the moment spring arrives, and this round, huggable amigurumi version does exactly that in yarn form. Soft curves, a tiny beak, and a shape that practically begs to be squeezed make this Free Crochet Chubby Chick Amigurumi pattern one crafters keep coming back to season after season.
Small, sweet, and full of personality, this Crochet Chick Amigurumi is a charming project that comes together beautifully with just a few simple stitches. Its simple design makes it especially suited for beginners, while experienced crocheters will love it too for how quickly it works up. It’s a great choice for Easter decor, adding to your amigurumi collection, or putting together a sweet gift for kids. Especially for anyone who loves cute and playful crochet designs, this little chick delivers a beautiful, polished result in no time at all.
Brief Explanation of the Crochet Project
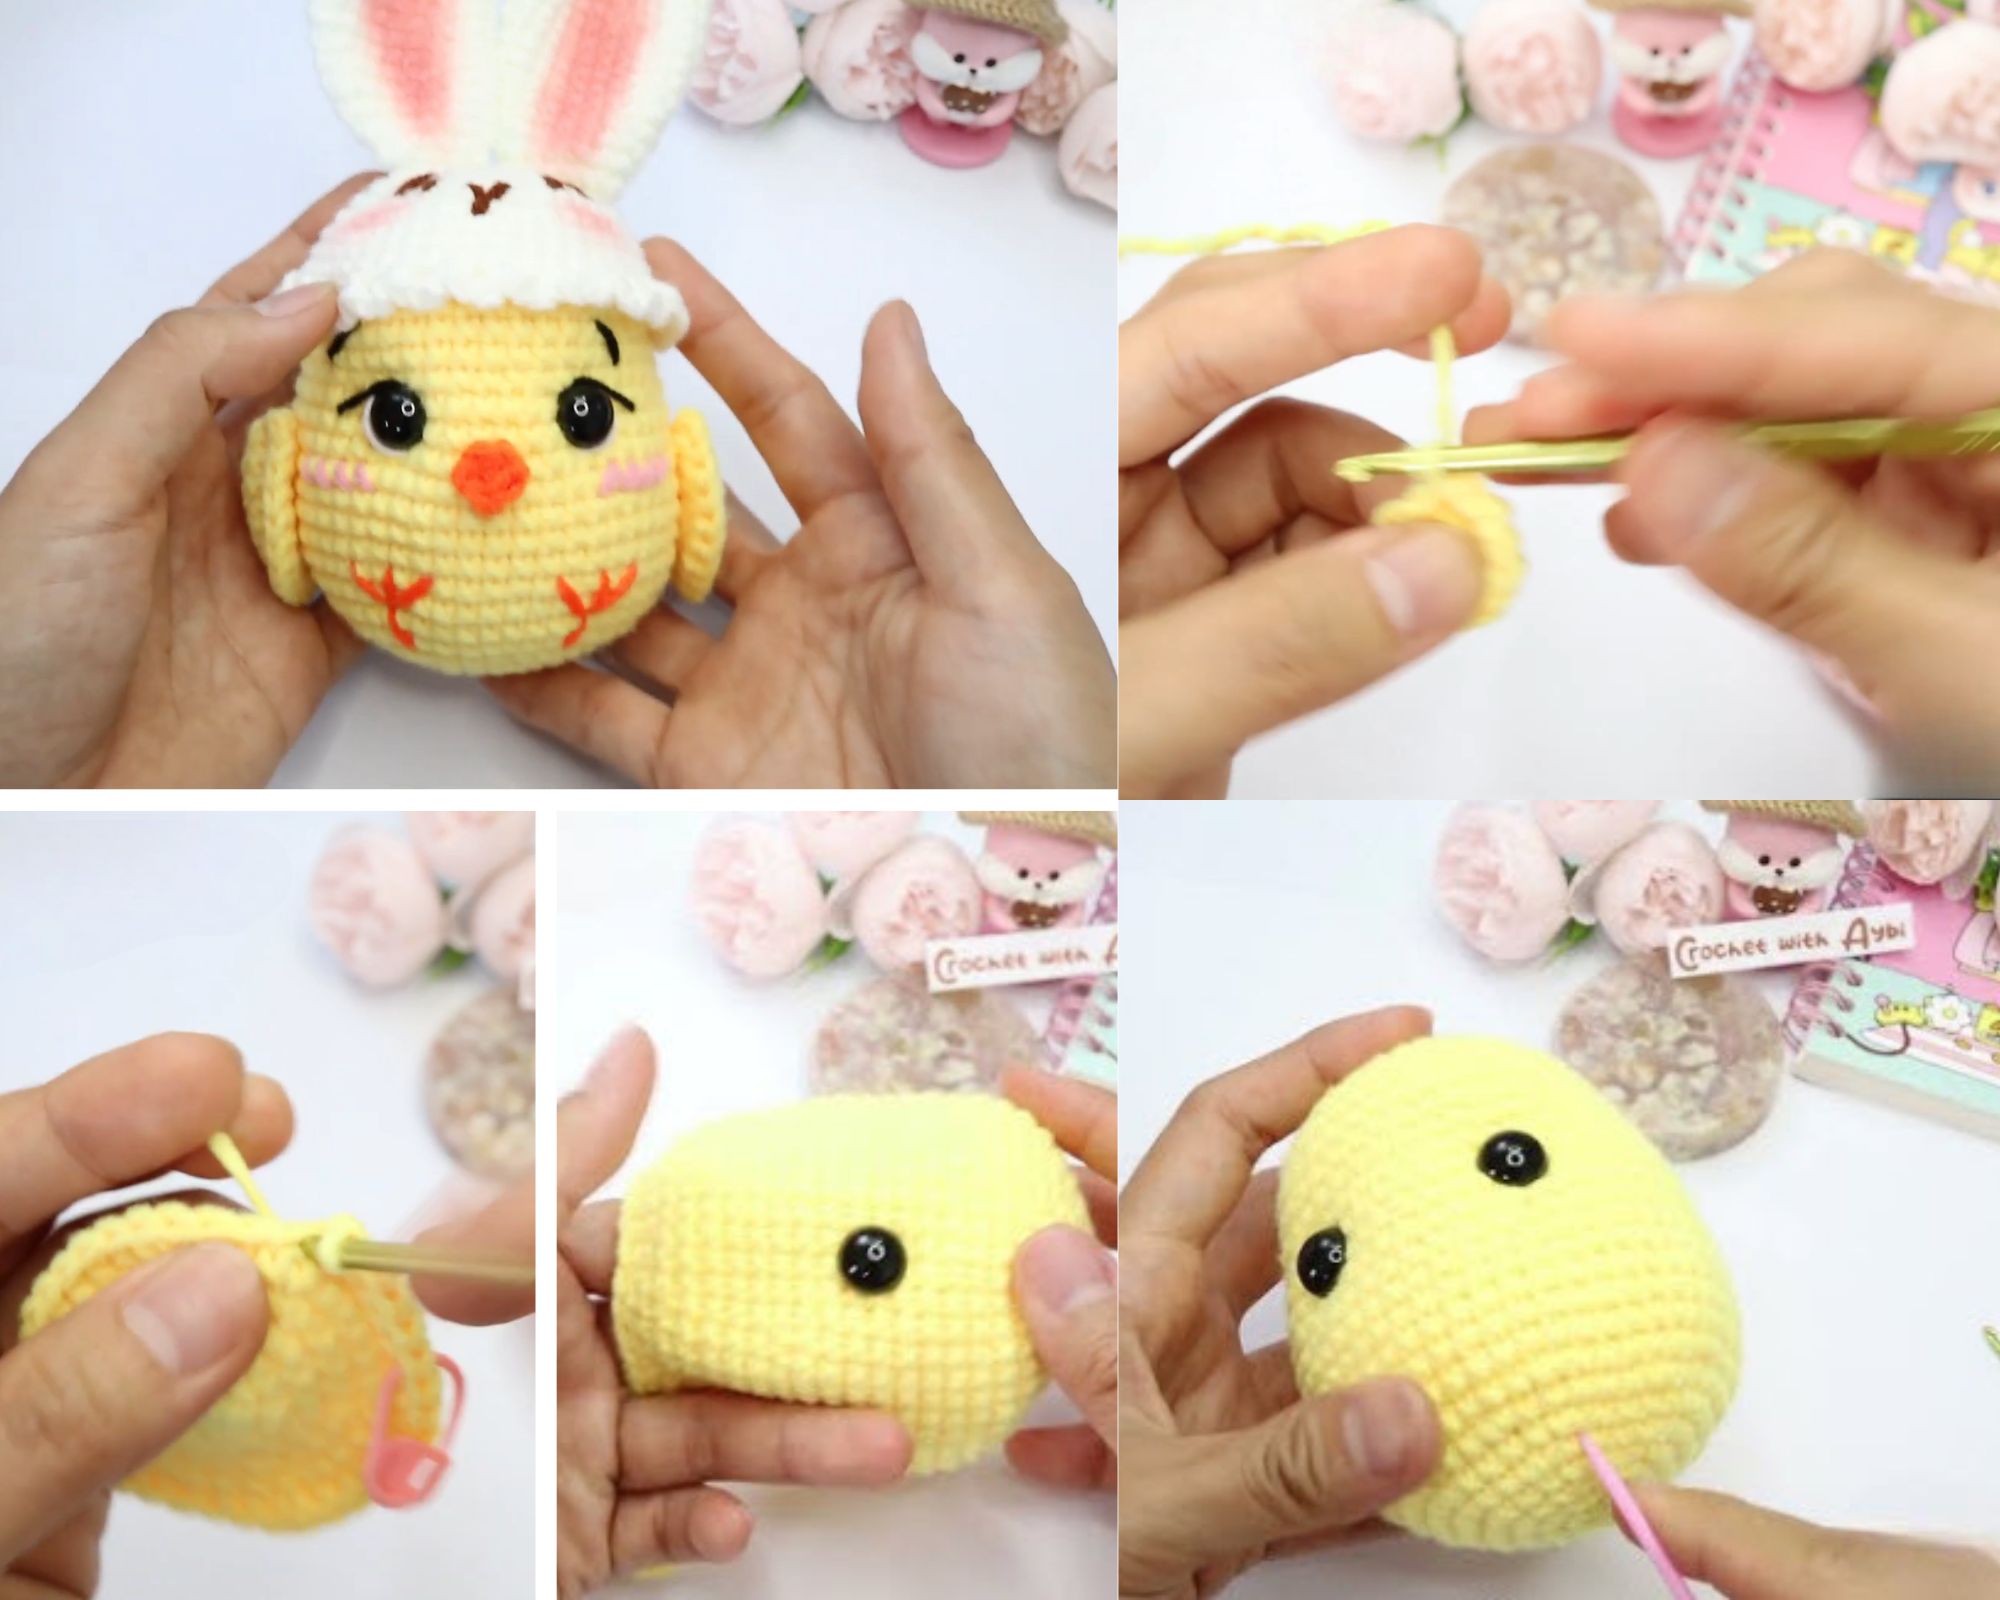
At its heart, this amigurumi chick is built from simple rounds of single crochet worked in a spiral, shaped through gradual increases and decreases until it forms a plump, egg-like body. Small details like the beak, wings, and feet are added afterward, giving the finished plushie its personality without complicating the process.
The chubby silhouette comes from stuffing the piece firmly and shaping the rounds so the body curves outward before tapering back in near the base. It’s the kind of project that teaches core amigurumi skills: magic rings, invisible increases, and closing off rounds neatly while still finishing quickly enough to keep motivation high.
Materials You’ll Need
Before diving into the stitches, it helps to gather everything so the project flows smoothly from start to finish.
Yarn
- Worsted weight (4) cotton or acrylic yarn in yellow for the body
- Small amounts of orange yarn for the beak and feet
- Optional black yarn or embroidery floss for the eyes
Hook
- 3.5mm to 4.0mm crochet hook, depending on your yarn thickness and desired tension
Extra Tools
- Polyester fiberfill stuffing
- Yarn needle for weaving in ends
- Stitch marker to track the start of each round
- Safety eyes (6mm) or black embroidery floss for facial features
- Small scissors
Having these items within reach before you start keeps the process relaxed instead of stop-and-go, which matters a lot on a project built around momentum.
Skill Level
This Free Crochet Chubby Chick pattern sits comfortably in beginner territory, making it approachable even for someone holding a hook for the first time. A little comfort with basic single crochet and counting stitches goes a long way. Anyone who has practiced a magic ring even once will find this project manageable and genuinely enjoyable to complete.
Crochet Stitches and Abbreviations Used
MR (magic ring), ch (chain), sc (single crochet), inc (increase — 2 sc in one stitch), dec (invisible decrease), st/sts (stitch/stitches), rnd (round), sl st (slip stitch), BLO (back loop only), FO (fasten off)
Special Techniques
A few techniques give this chick its signature chubby shape, and getting comfortable with them early makes the rest of the pattern feel effortless.
- Magic ring: Keeps the starting round tight and gap-free, which matters for a small amigurumi where every stitch shows.
- Invisible decrease: Produces smoother shaping around the head and base compared to a standard decrease, avoiding visible bumps.
- BLO shaping: Used on select rounds to create a subtle ridge that separates the body from the head, adding structure to the silhouette.
- Firm stuffing technique: Small pieces of stuffing added gradually, rather than one large clump, help the chick hold its round shape without lumps.
Step-by-Step Crochet Instructions
Body (Worked from the Bottom Up)
- Start with a magic ring, 6 sc into the ring. (6)
- Rnd 2: inc in each st around. (12)
- Rnd 3: (sc, inc) repeat around. (18)
- Rnd 4: (2 sc, inc) repeat around. (24)
- Rnd 5: (3 sc, inc) repeat around. (30)
- Rnds 6–10: sc in each st around. (30)
- Rnd 11: (3 sc, dec) repeat around. (24)
- Rnd 12: (2 sc, dec) repeat around. (18)
- Stuff the body firmly before continuing.
- Rnd 13: (sc, dec) repeat around. (12)
- Rnd 14: dec around. (6)
- Add remaining stuffing, then fasten off using the invisible finish and weave in the tail.
Beak
- With orange yarn, magic ring, 5 sc into the ring. (5)
- Rnd 2: dec, sc in each remaining st. (4)
- Fasten off, leaving a tail for sewing.
- Attach between rounds 6 and 7 of the body, centered at the front.
Wings (Make 2)
- With yellow yarn, chain 6.
- Sc in the second chain from the hook and each chain across. (5)
- Turn, sc across again. (5)
- Fasten off, leaving a long tail for attaching to the sides of the body.
Feet (Make 2)
- With orange yarn, magic ring, 6 sc into the ring. (6)
- Sl st to close and fasten off, leaving a tail.
- Flatten slightly and sew to the bottom of the chick for stability.
Assembly
-
- Sew or embroider the eyes above the beak, spacing them evenly for a balanced expression.
- Attach the wings to either side of the body, angled slightly outward for a playful look.
- Secure the feet flat against the bottom so the chick can sit upright on its own.
- Weave in every loose end and give the finished piece a gentle shape by pressing it lightly with your hands.
Helpful Beginner Tips
- Use a stitch marker on every round; amigurumi worked in a spiral is easy to lose track of otherwise.
- Choose yarn and hook sizes that create tight stitches, since loose fabric lets stuffing peek through.
- Count stitches after every round for the first few attempts until the increases and decreases feel natural.
- Keep a small notebook or note on your phone to track which round you stopped on if you need a break.
Common Mistakes and How to Fix Them
- Visible gaps between stitches: Switch to a smaller hook or tighten your tension slightly.
- Lumpy or uneven shape: Add stuffing in small pinches instead of one large handful, working it evenly with your fingers as you go.
- Losing track of rounds: Place a stitch marker at the start of each round and move it up as you finish.
- Wobbly head or wings: Sew attachments through multiple layers of the body for a sturdier hold, rather than just the surface stitches.
Pattern Customization Ideas
This chick pattern is wonderfully easy to personalize once the basic shape feels familiar.
- Swap yellow for pastel shades like mint, lilac, or baby pink for a non-traditional spring look
- Add a tiny bow, hat, or scarf using scrap yarn for extra character
- Use variegated or speckled yarn for a one-of-a-kind, marbled appearance
- Turn it into a keychain by adding a small clasp instead of feet
- Make a whole flock in different sizes using yarn of varying weights
Size and Color Suggestions
Worked with worsted weight yarn and a 4.0mm hook, this chick typically finishes around 3 to 4 inches tall, small enough for a basket display yet substantial enough to feel huggable. Switching to bulky yarn and a larger hook produces a bigger, cuddlier version, while fingering weight yarn creates an adorable mini keychain size.
Classic yellow remains the most popular choice, but soft cream, buttery gold, or even speckled farmhouse-style yarns give the design a fresh, modern feel that suits home decor as easily as it suits a child’s toy basket.
Where Can You Use This
This little chick fits naturally into Easter baskets, spring table displays, nursery shelves, and craft fair tables where quick, giftable items sell well. It also works beautifully clipped onto a bag as a cheerful little accessory.
Why Beginners Will Enjoy This Pattern
New crocheters tend to love this project because it builds real amigurumi confidence in a short amount of time, without the frustration that comes from complicated shaping or fiddly pieces.
Tips and Tricks for Success
- Work on a flat, well-lit surface, so stitch counting stays accurate
- Test your tension on a small swatch before starting if you’re using new yarn
- Save the invisible finish technique for last, since it gives the cleanest possible closure
- Take photos as you go so you can retrace steps if something looks off
Why This Crochet Pattern Is Trending
Round, chubby amigurumi shapes have taken over crochet feeds lately, and this chick fits perfectly into that wave of soft, minimalist designs that photograph beautifully and finish quickly.
- It requires very little yarn, making it budget-friendly and stash-friendly
- The rounded shape appeals to the current “cute and simple” aesthetic popular on social platforms
- It works as both a toy and a decorative piece, widening its appeal
FAQ
How long does this Free Crochet Chubby Chick pattern take to complete?
Most crocheters finish the body and all the small pieces within one to two hours, depending on experience.
Can I use safety eyes instead of embroidering them?
Yes, safety eyes work well and are a great option if the finished chick will not go to a very young child, since embroidered eyes are safer for that purpose.
What yarn weight gives the best results?
Worsted weight yarn offers the most balanced size and stitch definition, though bulky and fingering weights both work for size variations.
Is this pattern suitable for complete beginners?
Absolutely. It’s designed with straightforward shaping and no complicated stitches, making it a great first amigurumi project.
Can I sell items made from this Free Crochet Chubby Chick pattern?
Many amigurumi designers allow finished items to be sold in small batches; always check the specific pattern’s terms before selling.
Conclusion
Few projects deliver as much charm for as little effort as this Free Crochet Chubby Chick amigurumi. Its simple shaping, quick finish, and endless customization options make it a pattern worth keeping in your regular rotation, whether you’re crocheting for Easter, a nursery shelf, or simply the joy of making something round and adorable. Once you finish your first one, don’t be surprised if a whole flock follows soon after.