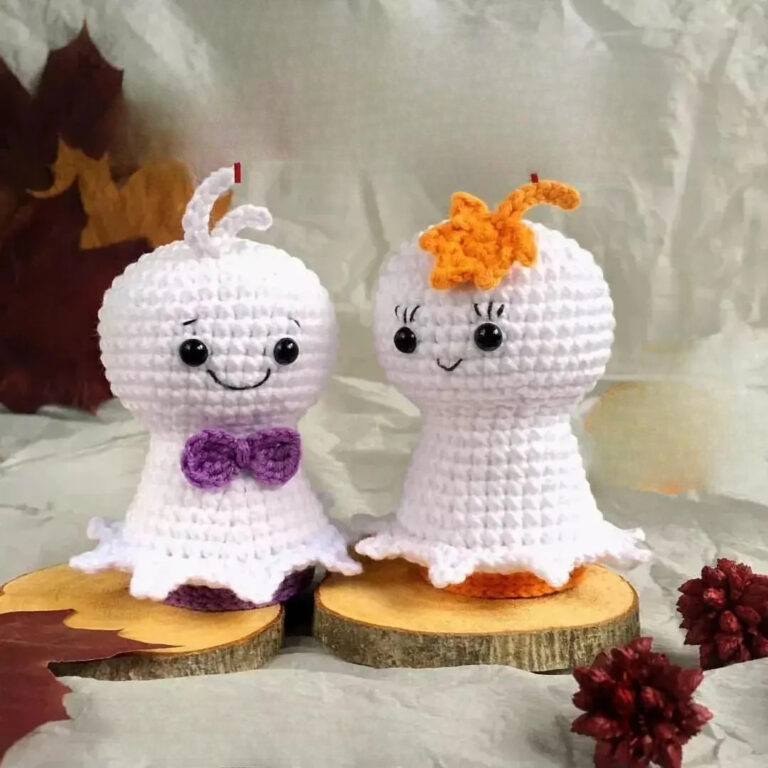
Adorable Crochet Ufufy Sphere Amigurumi Pattern Toy
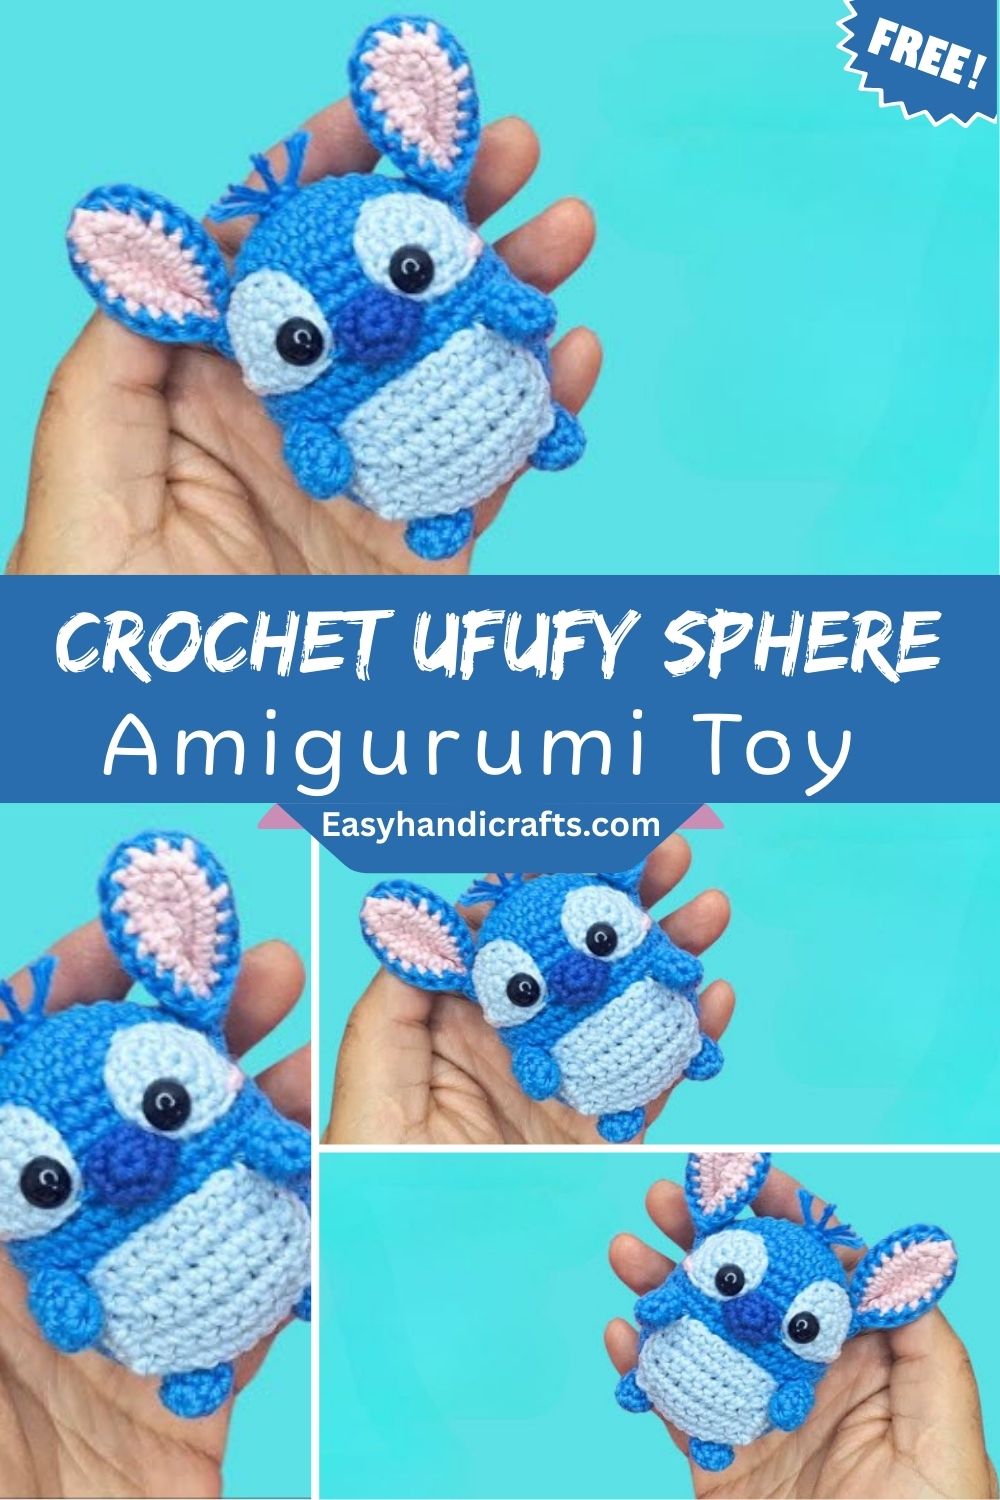
What Is the Ufufy Sphere Amigurumi Project?
The Ufufy style refers to those irresistibly round, chibi-inspired crochet figures where the entire body is built from a smooth sphere shape. Unlike amigurumi that requires separate limbs, joints, or complicated shaping, this project keeps things wonderfully simple. You work in a continuous spiral, shaping the yarn into a ball through a series of increases and decreases, then stuff it and close it up.
This particular pattern is a fantastic entry point into amigurumi because the technique you learn here the magic ring, single crochet in the round, and invisible decreasing — becomes the backbone of nearly every other toy you’ll ever make. Master the sphere, and heads, bodies, cheeks, and even fruit-shaped amigurumi become second nature.
Skill Level
Beginner.
This project was designed with new crocheters in mind. There’s no complicated shaping, no color changes to manage, and no assembly of multiple pieces. If you know how to make a slip knot and chain a stitch, you’re already halfway there. That said, intermediate and advanced crocheters often enjoy this pattern too, since it’s a relaxing, meditative make that’s perfect for using up leftover yarn.
Materials and Supplies Needed
Getting your supplies organized before you start makes the whole process smoother, so let’s go through exactly what lands in your project basket.
Grabbing the right yarn weight matters more than most beginners expect, since it directly affects how your stitches sit against each other and how visible your stuffing will be underneath.
Yarn type:
- A medium worsted weight (category 4) cotton or acrylic yarn works beautifully for a firm, well-defined sphere
- Chenille or velvet yarn is a lovely option if you want an extra plush, huggable finish
- Choose a color that suits your character idea — solid shades show off the round form best
Hook size:
- A 3.5mm to 4mm hook is ideal for worsted weight yarn
- Always size down slightly from the yarn label’s suggestion amigurumi needs tight stitches so stuffing doesn’t peek through
Extra tools you’ll want on hand:
- Polyester fiberfill stuffing
- A yarn or tapestry needle for weaving in ends and closing the sphere
- Stitch markers (a small safety pin works in a pinch)
- Small sharp scissors
- Optional: safety eyes and a bit of felt if you’re turning your sphere into a character face
Crochet Stitches and Abbreviations Used
Here’s a quick reference of everything you’ll need to know before diving into the rounds:
- MR – Magic Ring
- ch – Chain
- sc – Single Crochet
- inc – Increase (2 sc in the same stitch)
- dec – Invisible Decrease
- st(s) – Stitch(es)
- rnd – Round
- BLO – Back Loop Only (optional, for a ribbed texture)
Step-by-Step Crochet Instructions
Now for the fun part. Work each round continuously in a spiral, without joining or turning, and place a stitch marker in the first stitch of every round so you never lose track.
Starting the Base
Begin with a magic ring and work 6 sc into it, then pull the ring tight. This gives you your foundation of 6 stitches to build from.
Building the Bottom Half
- Round 1: inc in each st around (12 sts)
- Round 2: sc 1, inc repeat around (18 sts)
- Round 3: sc 2, inc repeat around (24 sts)
- Round 4: sc 3, inc repeat around (30 sts)
- Round 5: sc 4, inc repeat around (36 sts)
Shaping the Middle (the Equator)
- Rounds 6–10: sc in each st around, no increasing (36 sts)
This is where your sphere really starts to look like a ball. Keep your tension even here, since these plain rounds are what give your toy its roundest, fullest section.
Closing the Top Half
- Round 11: sc 4, dec repeat around (30 sts)
- Round 12: sc 3, dec repeat around (24 sts)
- Round 13: sc 2, dec repeat around (18 sts)
Pause here and stuff your sphere firmly, pushing the fiberfill into every corner so there are no lumps or soft spots.
- Round 14: sc 1, dec repeat around (12 sts)
- Round 15: dec around (6 sts)
Add a little extra stuffing if needed, then fasten off, leaving a long tail. Thread it onto your yarn needle, weave through the remaining front loops, pull tight to close the hole, and secure with a knot before weaving in the end.
Helpful Beginner Tips
- Count your stitches after every single round — catching a mistake early saves you from unraveling several rows later
- Use a locking stitch marker rather than scrap yarn, since it’s easier to move and won’t slip out mid-round
- Stuff a little at a time as you go rather than waiting until the very end, so the filling distributes evenly
- Hold your work loosely at first; amigurumi tension improves naturally with practice, so don’t fight your hands too hard on your first attempt
- Keep a small notebook or note on your phone to track which round you’re on if you need to put your project down
Common Mistakes and How to Fix Them
Visible gaps between stitches: This usually means your hook is too large for the yarn. Drop down half a millimeter and your fabric will tighten right up.
A lopsided or wonky sphere: This often happens when increases or decreases aren’t spaced evenly. Double-check your stitch count at the end of each round before moving forward.
Stuffing peeking through the fabric: Your tension may be too loose, or you may need a smaller hook. Cotton yarn with a snug hook size solves this almost every time.
Losing track of the round: A stitch marker in the very first stitch of every round is non-negotiable for amigurumi — don’t skip this step, even on a small project like this one.
Pattern Customization Ideas
One of the best parts of this project is how endlessly adaptable it is. Once your basic sphere is done, you can turn it into almost anything.
- Add small triangle ears and a tail to transform it into a fox or a cat
- Stitch on a simple face with embroidery floss or attach safety eyes for a character look
- Sew two spheres together, one smaller than the other, for a bear or bunny shape
- Add short crochet legs or arms in a contrasting color
- Turn a plain sphere into a fruit shape by adding a leaf and stem on top
Size and Color Suggestions
The finished size of your sphere depends on your yarn weight and hook choice. A worsted weight yarn with a 3.5mm hook typically produces a sphere around 3 to 4 inches across, perfect for a keychain or small shelf decoration. Switch to a bulkier yarn and a larger hook, and you can easily size up to a 6-inch sphere for a plush pillow-style toy.
As for color, pastel shades give a soft, nursery-friendly look, while bold primary colors work well for playful character toys. Variegated or speckled yarns also create a fun marbled effect across the rounded surface, since the color shifts follow the spiral naturally.
Frequently Asked Questions
Do I need to use stitch markers for this pattern?
Yes, they’re essential. Since amigurumi is worked in a continuous spiral rather than joined rounds, a stitch marker is the only way to know where each new round begins.
Can I make this Crochet Ufufy Sphere Amigurumi pattern with any yarn weight?
Absolutely. Just remember to adjust your hook size to match, and keep in mind the final sphere size will shift depending on the yarn thickness you choose.
Why does my sphere look bumpy instead of smooth?
This is often a tension issue. Try tightening your stitches slightly, or drop to a smaller hook size for a denser, smoother fabric.
How much stuffing should I use?
Enough that the sphere feels firm to the touch but not so much that the stitches stretch apart. Add it gradually in small handfuls as you close the top rounds.
Is this Crochet Ufufy Sphere Amigurumi pattern suitable for kids’ toys?
Yes, though if it’s intended for a young child, use safety eyes rated for children or embroider the face instead, and stitch the closing seam extra securely.
Conclusion
The Crochet Ufufy Sphere Amigurumi pattern proves that some of the most charming crochet projects come from the simplest techniques. With just a hook, some yarn, and a handful of stitches you’ll use again and again, you can create a perfectly round, huggable toy that’s entirely your own. Whether you keep it as a simple ball ornament or turn it into a full character with ears and a face, this pattern is a wonderful foundation to build your amigurumi skills on. Grab your yarn, cast that magic ring, and enjoy every round of this cozy, rewarding little project.