Free Crochet Student Pig Amigurumi Pattern
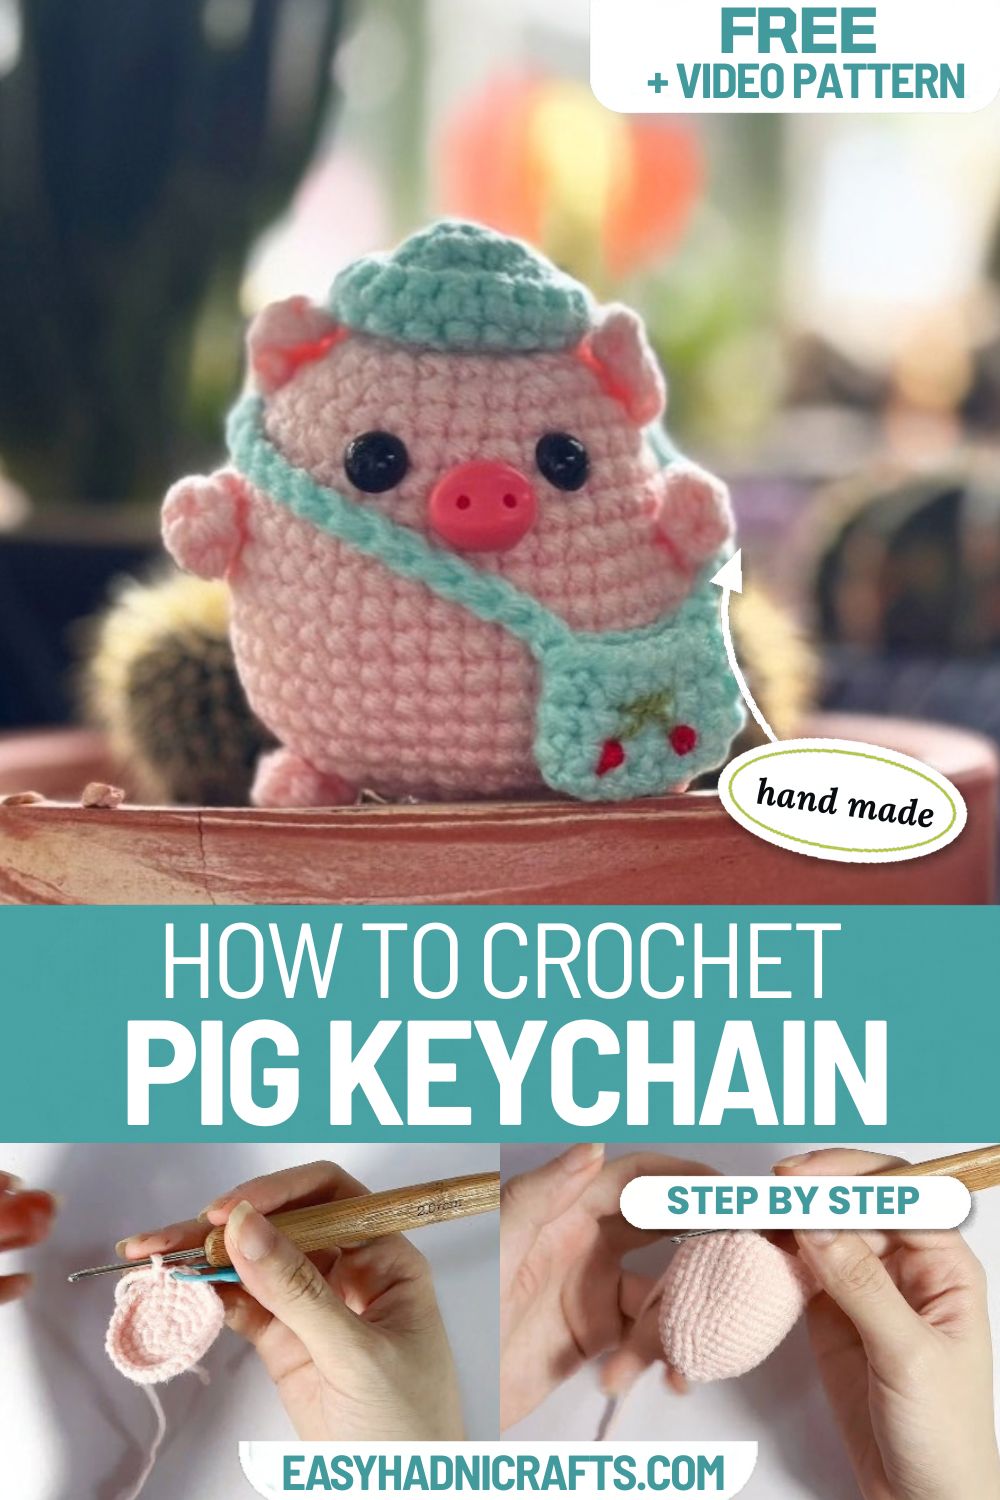
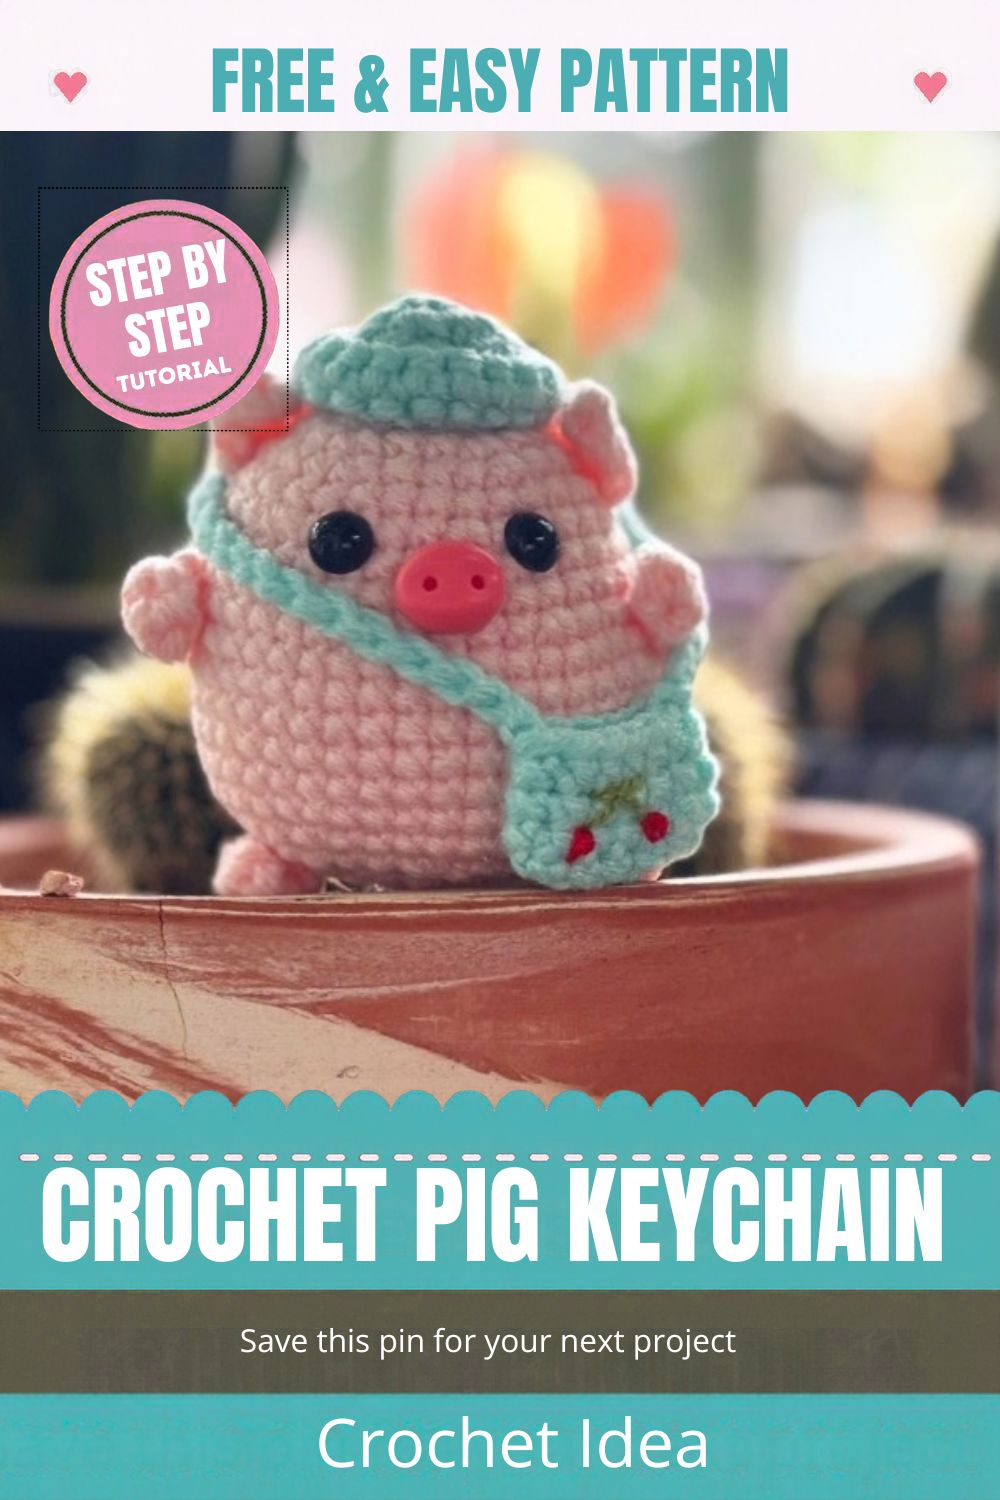
This student pig amigurumi is a quick, happy make. It is a round pink piggy in a little blue cap, built from simple shapes and put together with glue instead of heavy sewing.
The guide shows how to crochet the head and body in one piece, make the cap, and add the snout, ears, and paws. After that, you will glue every part in place and finish with a tiny backpack. A video is embedded below, so you can watch the steps while you work.
Student Pig Amigurumi Materials
Gather everything before you start. Otherwise, you may have to stop in the middle of a round.
- Yarn: Cotton or light DK weight yarn in pink for the body, blue or a contrast color for the cap, and a few scraps for a backpack.
- Hook: 2.0 mm to 2.5 mm.
- Safety eyes: 5 mm to 6 mm.
- Stuffing: Polyester fiberfill.
- Extras: Tapestry needle, stitch markers, scissors, and craft glue or a glue gun.
Abbreviations (US Terms)
Because the pattern uses US terms, check this list before you begin.
- MR: magic ring
- sc: single crochet
- inc: two single crochets in the same stitch
- dec: two stitches single crocheted together
- FLO: front loop only
- ch: chain
- sl st: slip stitch
- st(s): stitch(es)
- R1, R2, and so on: round 1, round 2, and so on
Student Pig Amigurumi Pattern: Step-by-Step Instructions
Step 1: Crochet the Head and Body of the Student Pig Amigurumi
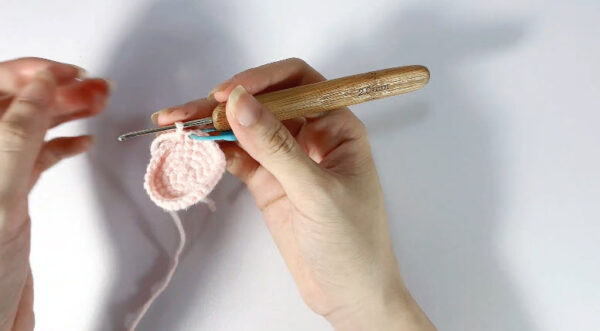
The head and body are worked as one piece in pink. Use a stitch marker, and move it up each round, so you always know where the round begins.
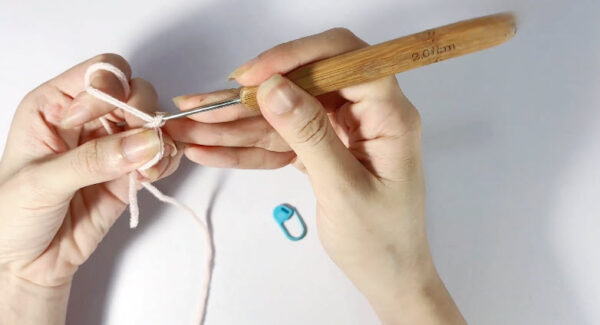
- R1: First, work 6 sc in a magic ring. (6 sts)
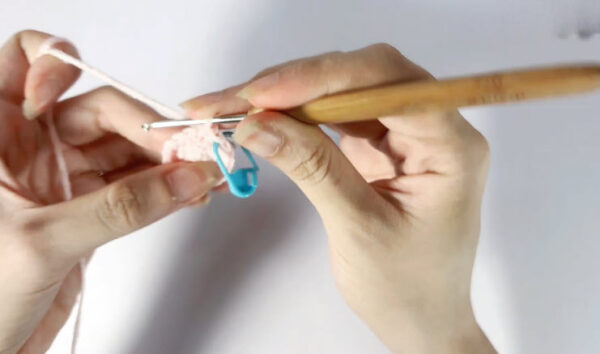
- R2: Then work inc in every stitch. (12 sts)
- R3: Next, work [1 sc, inc] 6 times. (18 sts)
- R4: After that, work [2 sc, inc] 6 times. (24 sts)
- R5: Now work [3 sc, inc] 6 times. (30 sts)
- R6: Sc in each stitch. (30 sts)
- R7: Then work [2 sc, inc, 2 sc] 6 times. (36 sts)
- R8–R9: Sc in each stitch. (36 sts)
- R10: Next, work [5 sc, inc] 6 times. (42 sts)
- R11–R17: Sc in each stitch for 7 rounds. (42 sts)
- R18: After that, work [5 sc, dec] 6 times. (36 sts)
- R19: Now work [4 sc, dec] 6 times. (30 sts)
- R20: Then work [3 sc, dec] 6 times. (24 sts)
- R21: Next, work [2 sc, dec] 6 times. (18 sts) Before the next round, add the safety eyes between R7 and R8. Then stuff the body firmly, especially the cheeks.
- R22: Finally, work [1 sc, dec] 6 times. (12 sts)
Fasten off, close the opening, and weave in the end.
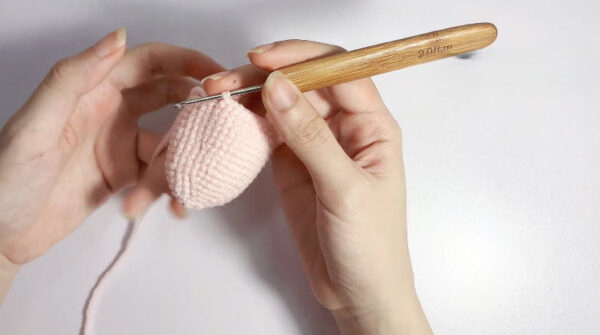
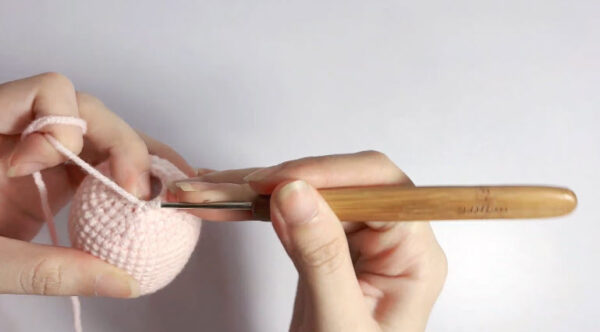
Step 2: Make the Student Cap
- R1: First, work 6 sc in a magic ring with blue yarn. Join with a sl st, and then ch 1. (6 sts)
- R2: Then work inc in every stitch. (12 sts)
- R3: Next, work [3 sc, inc] 3 times. (15 sts)
- R4: Sc in each stitch. (15 sts)
- R5 (FLO): After that, work [4 sc, inc] 3 times. (18 sts)
- R6: Finally, work sc in each stitch to finish the brim. (18 sts)
Fasten off, and weave in the ends.
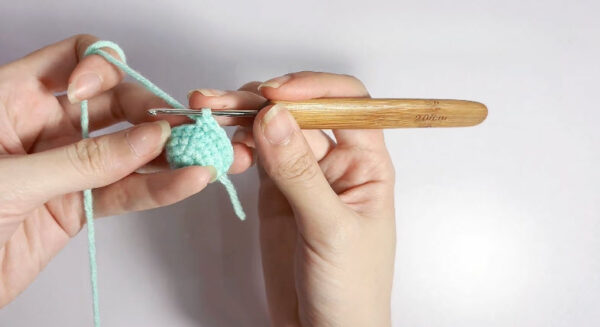
Step 3: Make the Snout, Ears, and Paws
- Snout: Crochet a small pink oval or circle. Make it flat and slightly wider than it is tall.
- Ears: Next, crochet two small triangles in pink with magic rings and single crochets.
- Paws: Then crochet two tiny pink limb pieces the same way. Keep them short, so they sit neatly on the body.
Step 4: Assemble Your Student Pig Amigurumi
- First, glue the snout to the center of the face, just below the eyes.
- Next, glue the ears to the top sides of the head.
- Then glue the paws to the front of the body.
- After that, place the cap on top of the head and glue it down.
- Finally, make a mini backpack from your scrap yarn and attach it to complete the student look.
Hold each piece in place for a few seconds, so the glue sets properly.
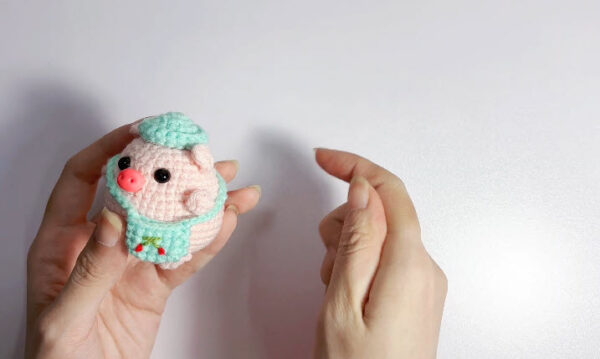
Back-to-School Gift Ideas
This pig makes a sweet gift for the first day of school. You can clip it to a backpack zipper, or tuck it into a lunchbox or a teacher’s gift basket. Also, you can swap the cap color to match a school uniform. If the toy is for a very young child, embroider the eyes instead of using safety eyes.
Student Pig Amigurumi FAQ
What yarn is best for a student pig amigurumi?
Cotton yarn gives tight, neat stitches, so it holds the pig’s round shape. Light DK yarn in other fibres can work too.
Is this pig pattern beginner-friendly?
It uses only basic stitches and magic rings, so it suits crocheters who know those. Also, glue makes the assembly easier.
Can I sew the pieces instead of gluing them?
Yes, you can use a tapestry needle and matching yarn. However, glue is faster.
How big is the finished pig?
The size depends on your yarn and hook. A thicker yarn and a bigger hook make a larger pig, while a lighter yarn and a smaller hook make a smaller one.
Can I change the cap colour?
Yes, any colour works. So you can match the cap to a school uniform.
Ready for the First Bell
That’s your little scholar, from the round pink head to the tiny cap. The shapes are simple, and the glue keeps the finishing quick. So make a whole class in different cap colours, and share your finished pig with us.