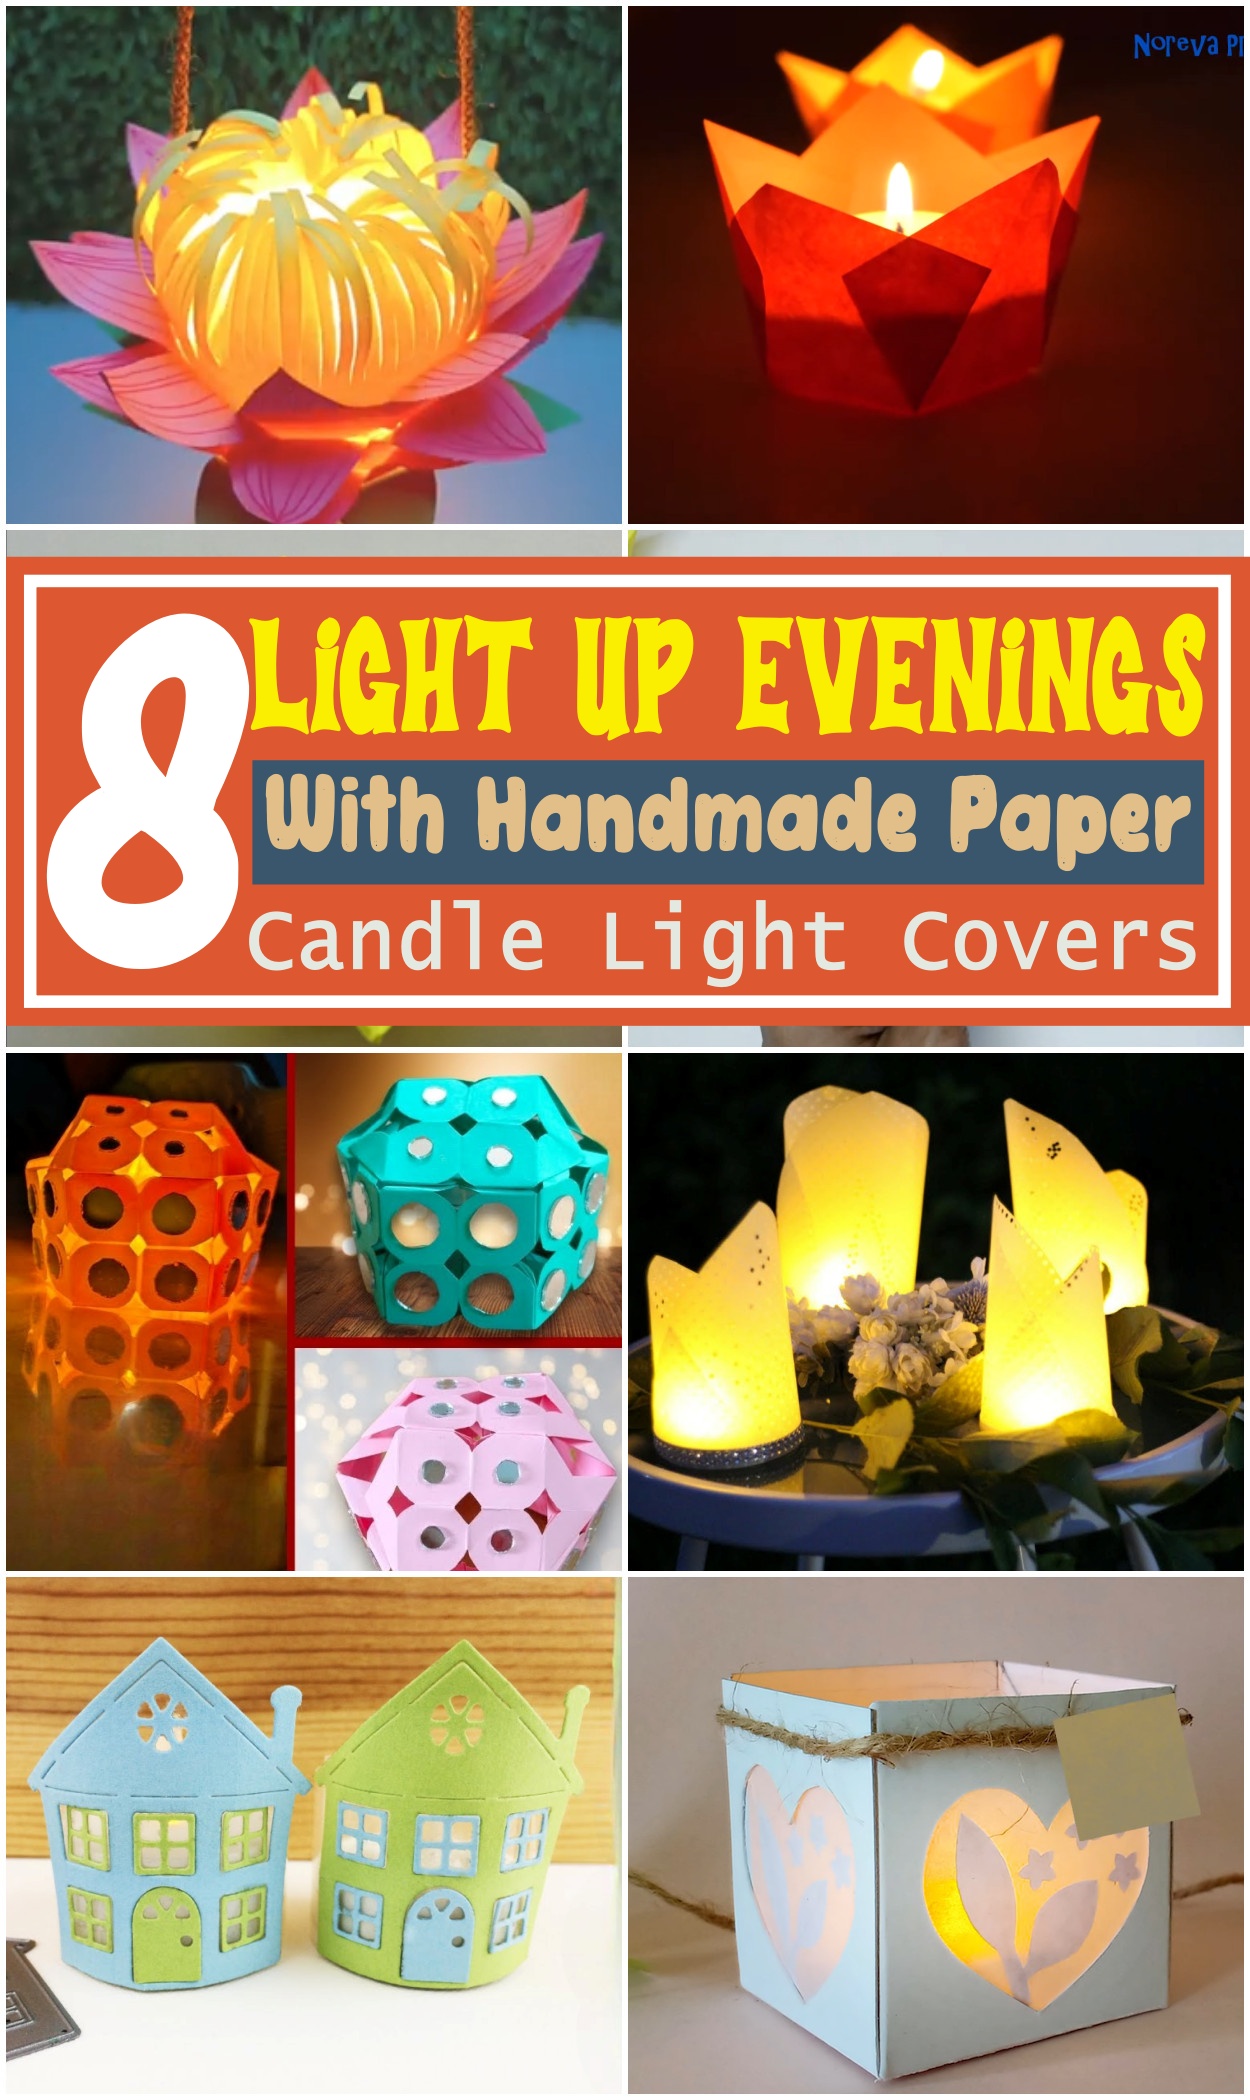
Light Up Evenings With Handmade Paper Candle Light Covers
Light up evenings with handmade paper candle light covers that bring warmth, charm, and a soft glow to any room or event. These delicate covers slip over LED tealights or flameless candles to create a cozy atmosphere, perfect for dinner settings, festive gatherings, or quiet nights at home. Made using simple materials like tracing paper, colored sheets, glue, and scissors, these paper candle light covers are a fun and relaxing way to add beauty to everyday spaces. The process of making them is quick and enjoyable, taking about 20 to 30 minutes from start to finish. With just a little effort, anyone can turn ordinary paper into something elegant and calming.
To make these covers, start by cutting the paper to size, then fold or roll it into shapes like cylinders, cones, or lanterns. Add small details such as cut-out patterns, pressed leaves, or hand-drawn designs to give each piece a unique look. Light colors work best to let the glow shine through gently, while layered or tinted paper can add depth. These paper candle covers can be changed to fit any season or style—bright tones for parties, soft shades for a peaceful corner, or themed designs for holidays. Whether placed on a table, shelf, or windowsill, they instantly add charm and mood to the space.
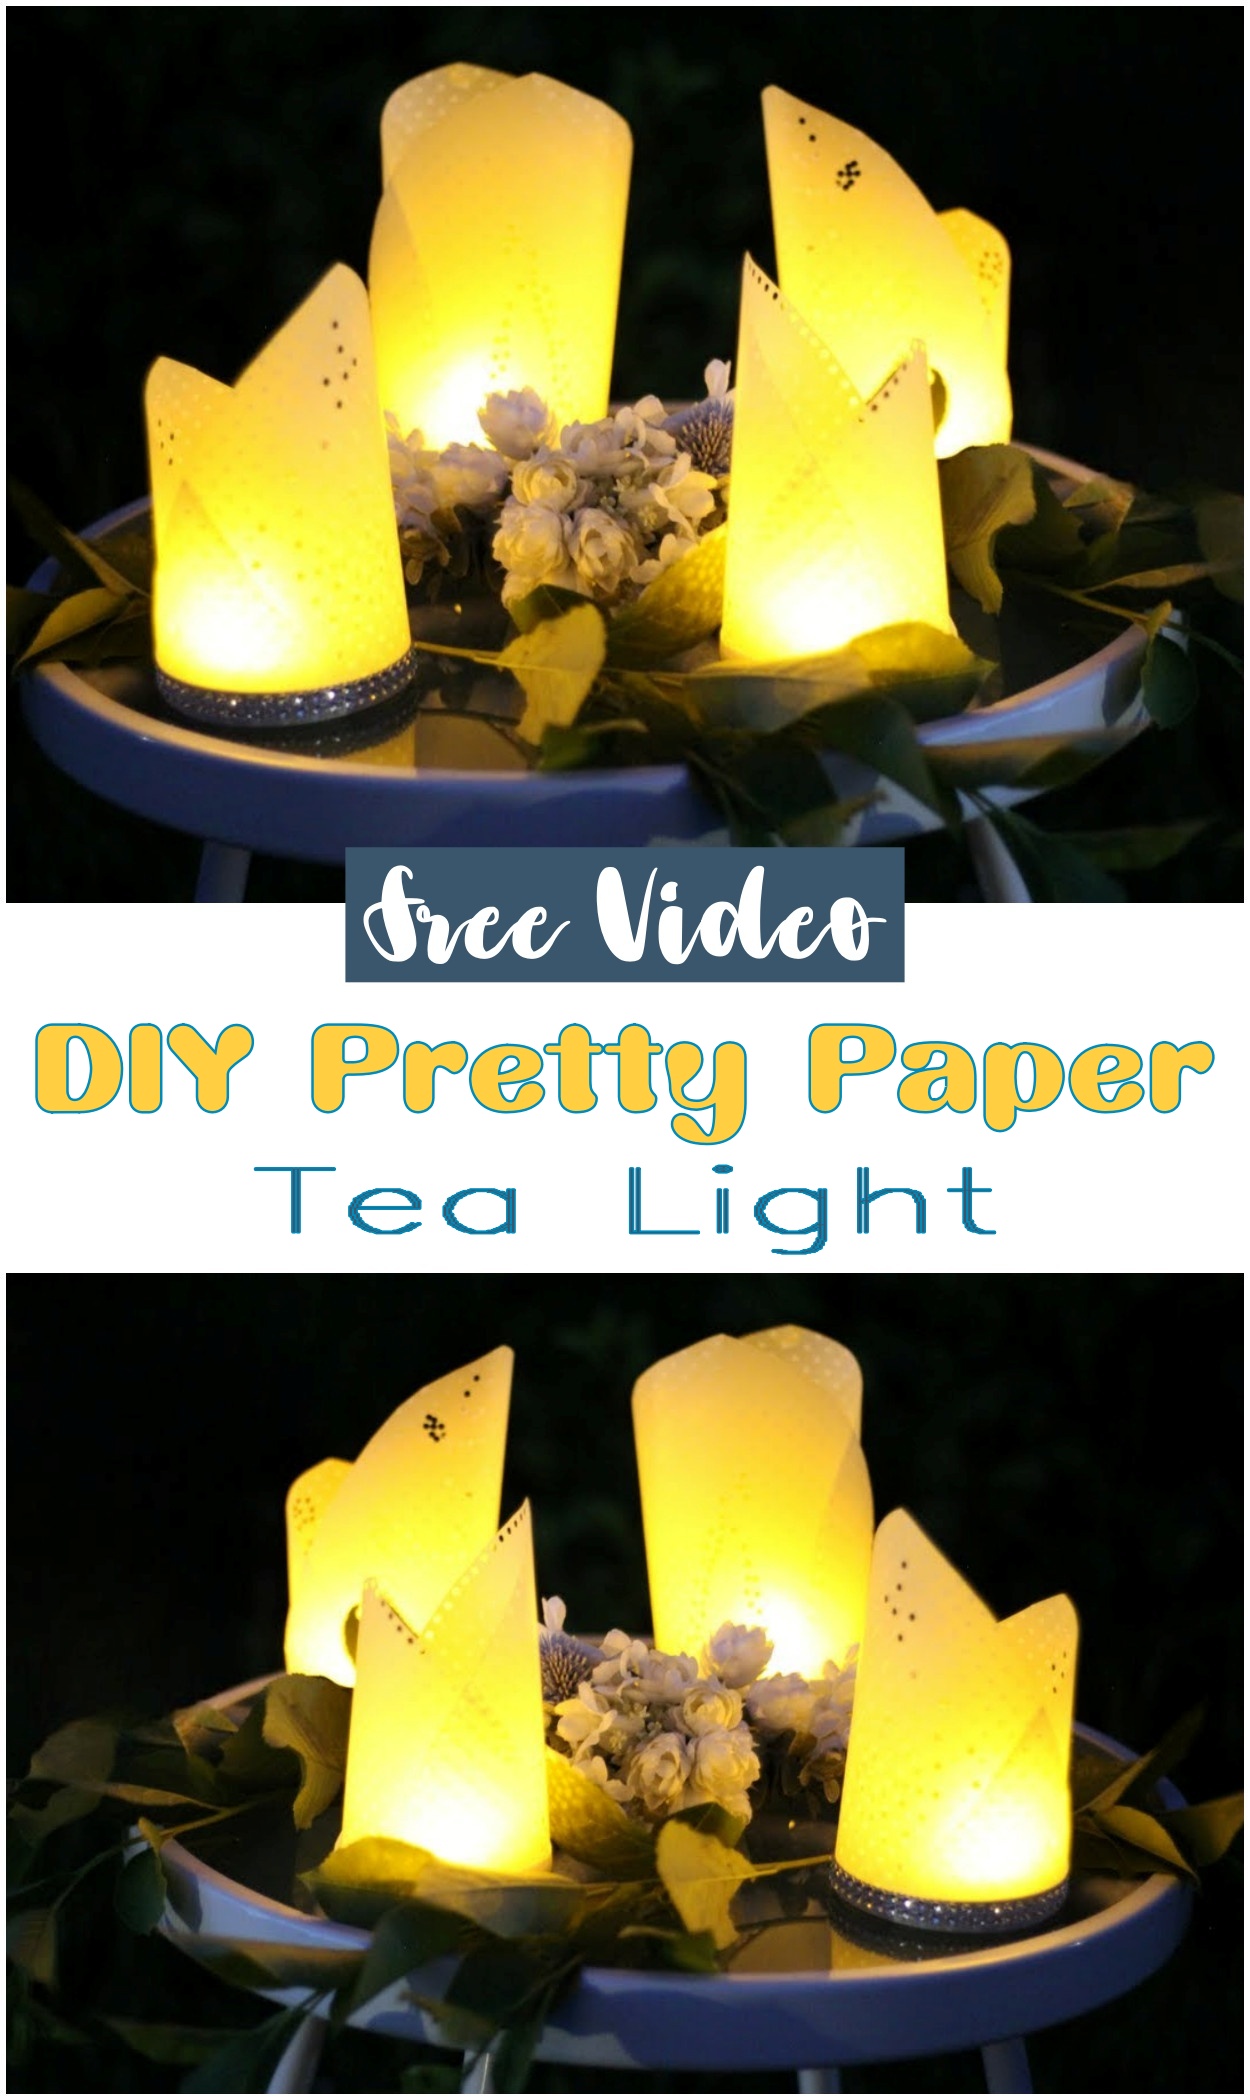
DIY Pretty Paper Tea Light
- Measure and Cut: Begin by measuring the height and circumference of your LED tea light. Cut a strip of decorative paper to these dimensions, adding a slight overlap for securing the ends.
- Design the Pattern: Using a pencil, lightly sketch your desired pattern onto the paper strip. This could be simple geometric shapes, floral designs, or any motif that suits your style.
- Cut Out the Design: Carefully cut along your sketched lines using a craft knife or scissors to create openings in the paper. These cutouts will allow the light to shine through, creating beautiful patterns.
- Assemble the Cover: Wrap the decorated paper around the LED tea light and secure the ends with glue or double-sided tape. Ensure the paper is snug but not too tight, allowing for easy removal if needed.
Different Design Ideas:
- Seasonal Themes: Incorporate motifs like snowflakes for winter, leaves for autumn, or flowers for spring.
- Festive Occasions: Design covers with hearts for Valentine’s Day, stars for festive holidays, or lantern shapes for cultural celebrations.
- Personalized Touches: Add initials, names, or special dates to make the tea light covers unique for events like weddings or birthdays.
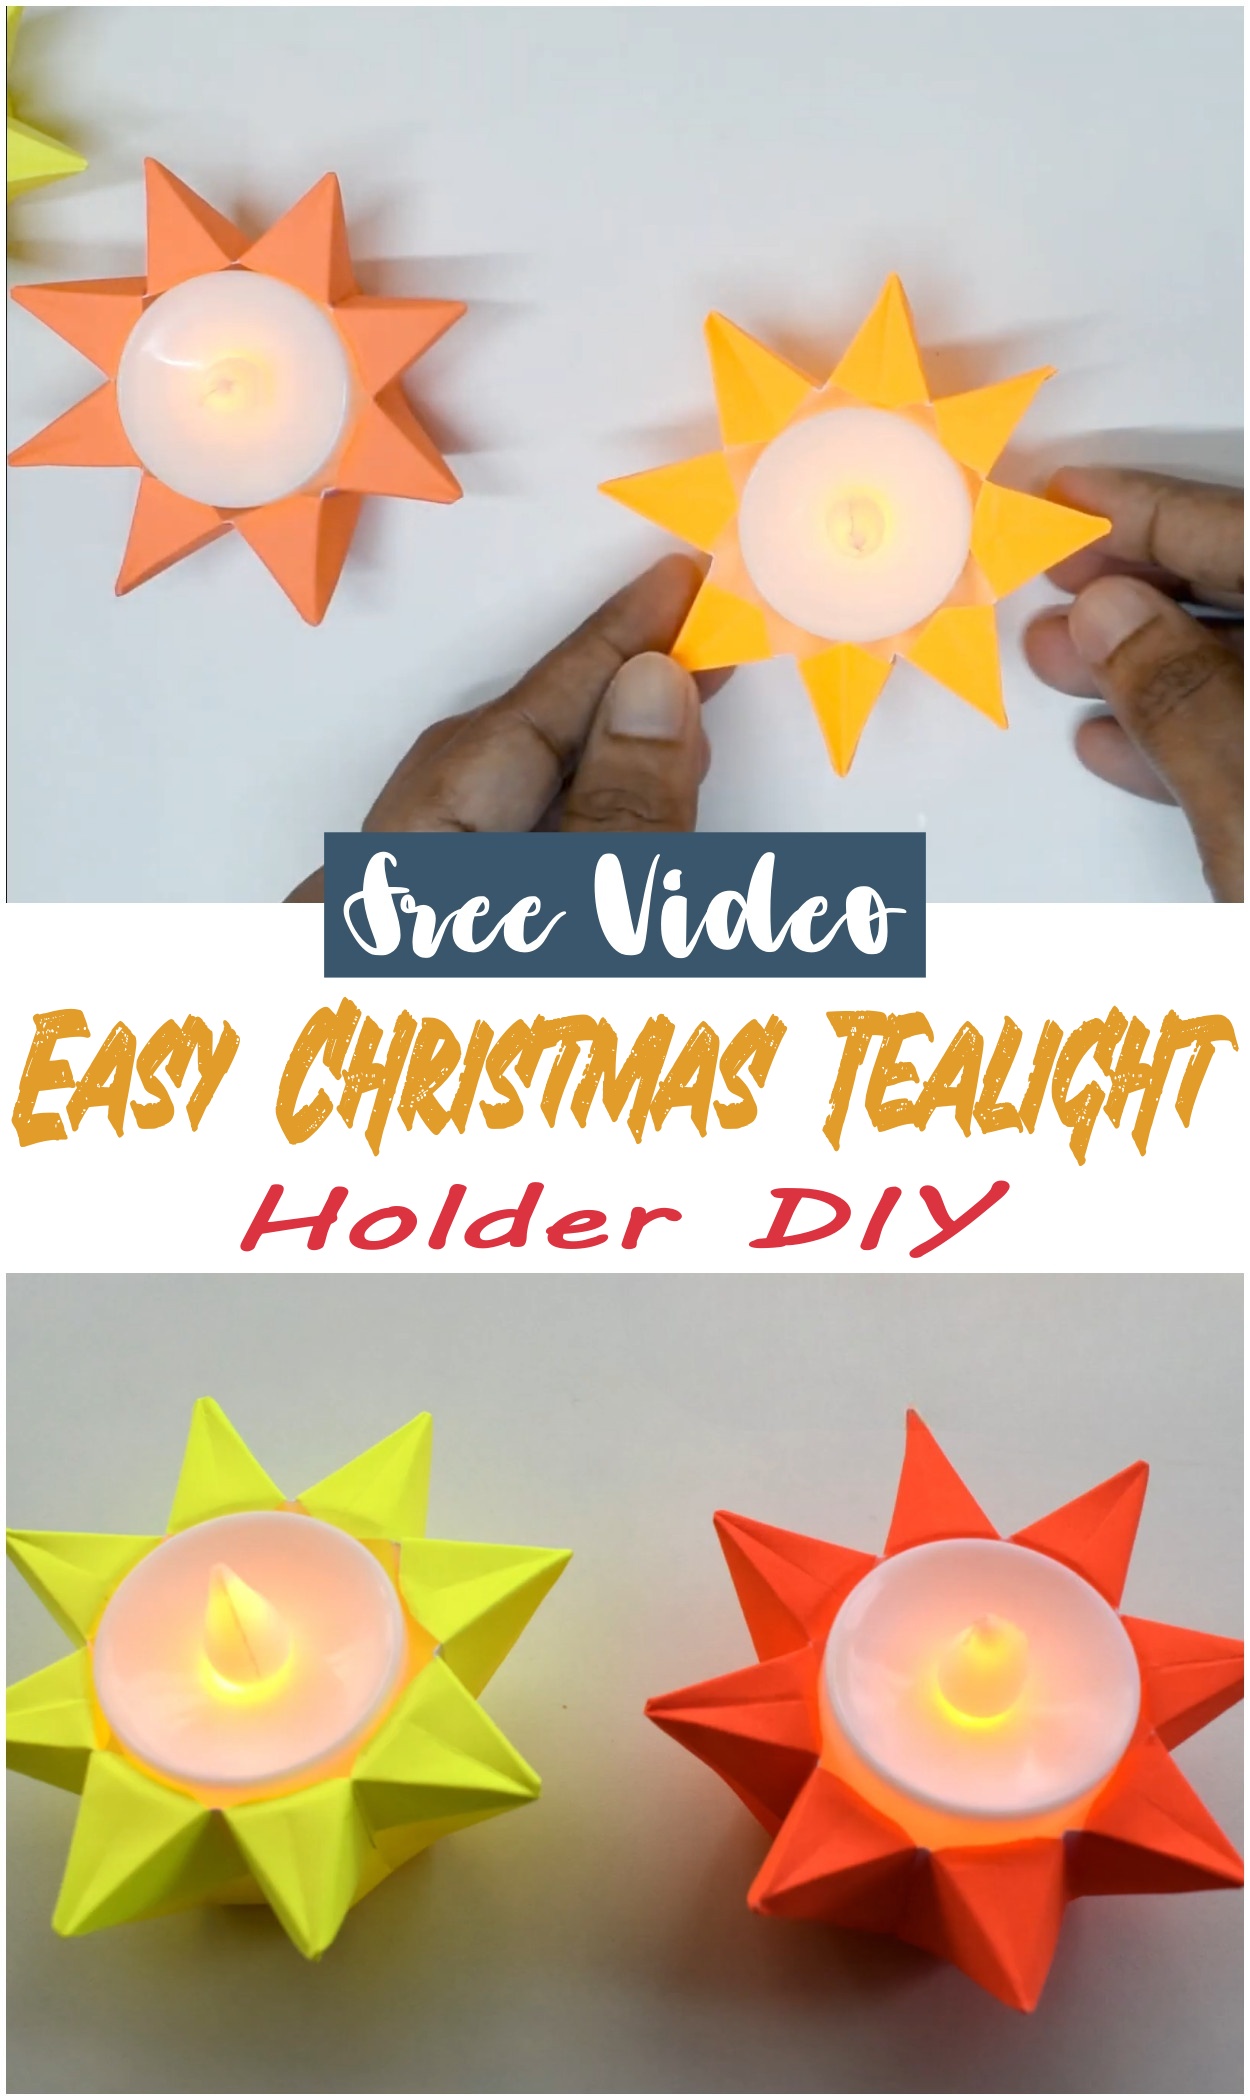
Easy Christmas Tealight Holder DIY
Different Design Ideas:
-
Rustic Charm: Use burlap and pinecones for a natural, rustic look.
-
Elegant Sparkle: Incorporate metallic paints and sequins for a glamorous touch.
-
Whimsical Fun: Add colorful buttons and playful patterns for a cheerful vibe.
Precautions:
-
Safety First: Always use battery-operated LED tealights to prevent fire hazards.
-
Secure Decorations: Ensure all embellishments are firmly attached to avoid falling off.
-
Supervise Children: If involving kids, supervise closely, especially when using adhesives or small decorations.
This Easy Christmas Tealight Holder DIY not only brings a festive ambiance to your home but also offers a fun and engaging activity for the holiday season. With minimal materials and a dash of creativity, you can craft beautiful decorations that illuminate your space with holiday cheer.
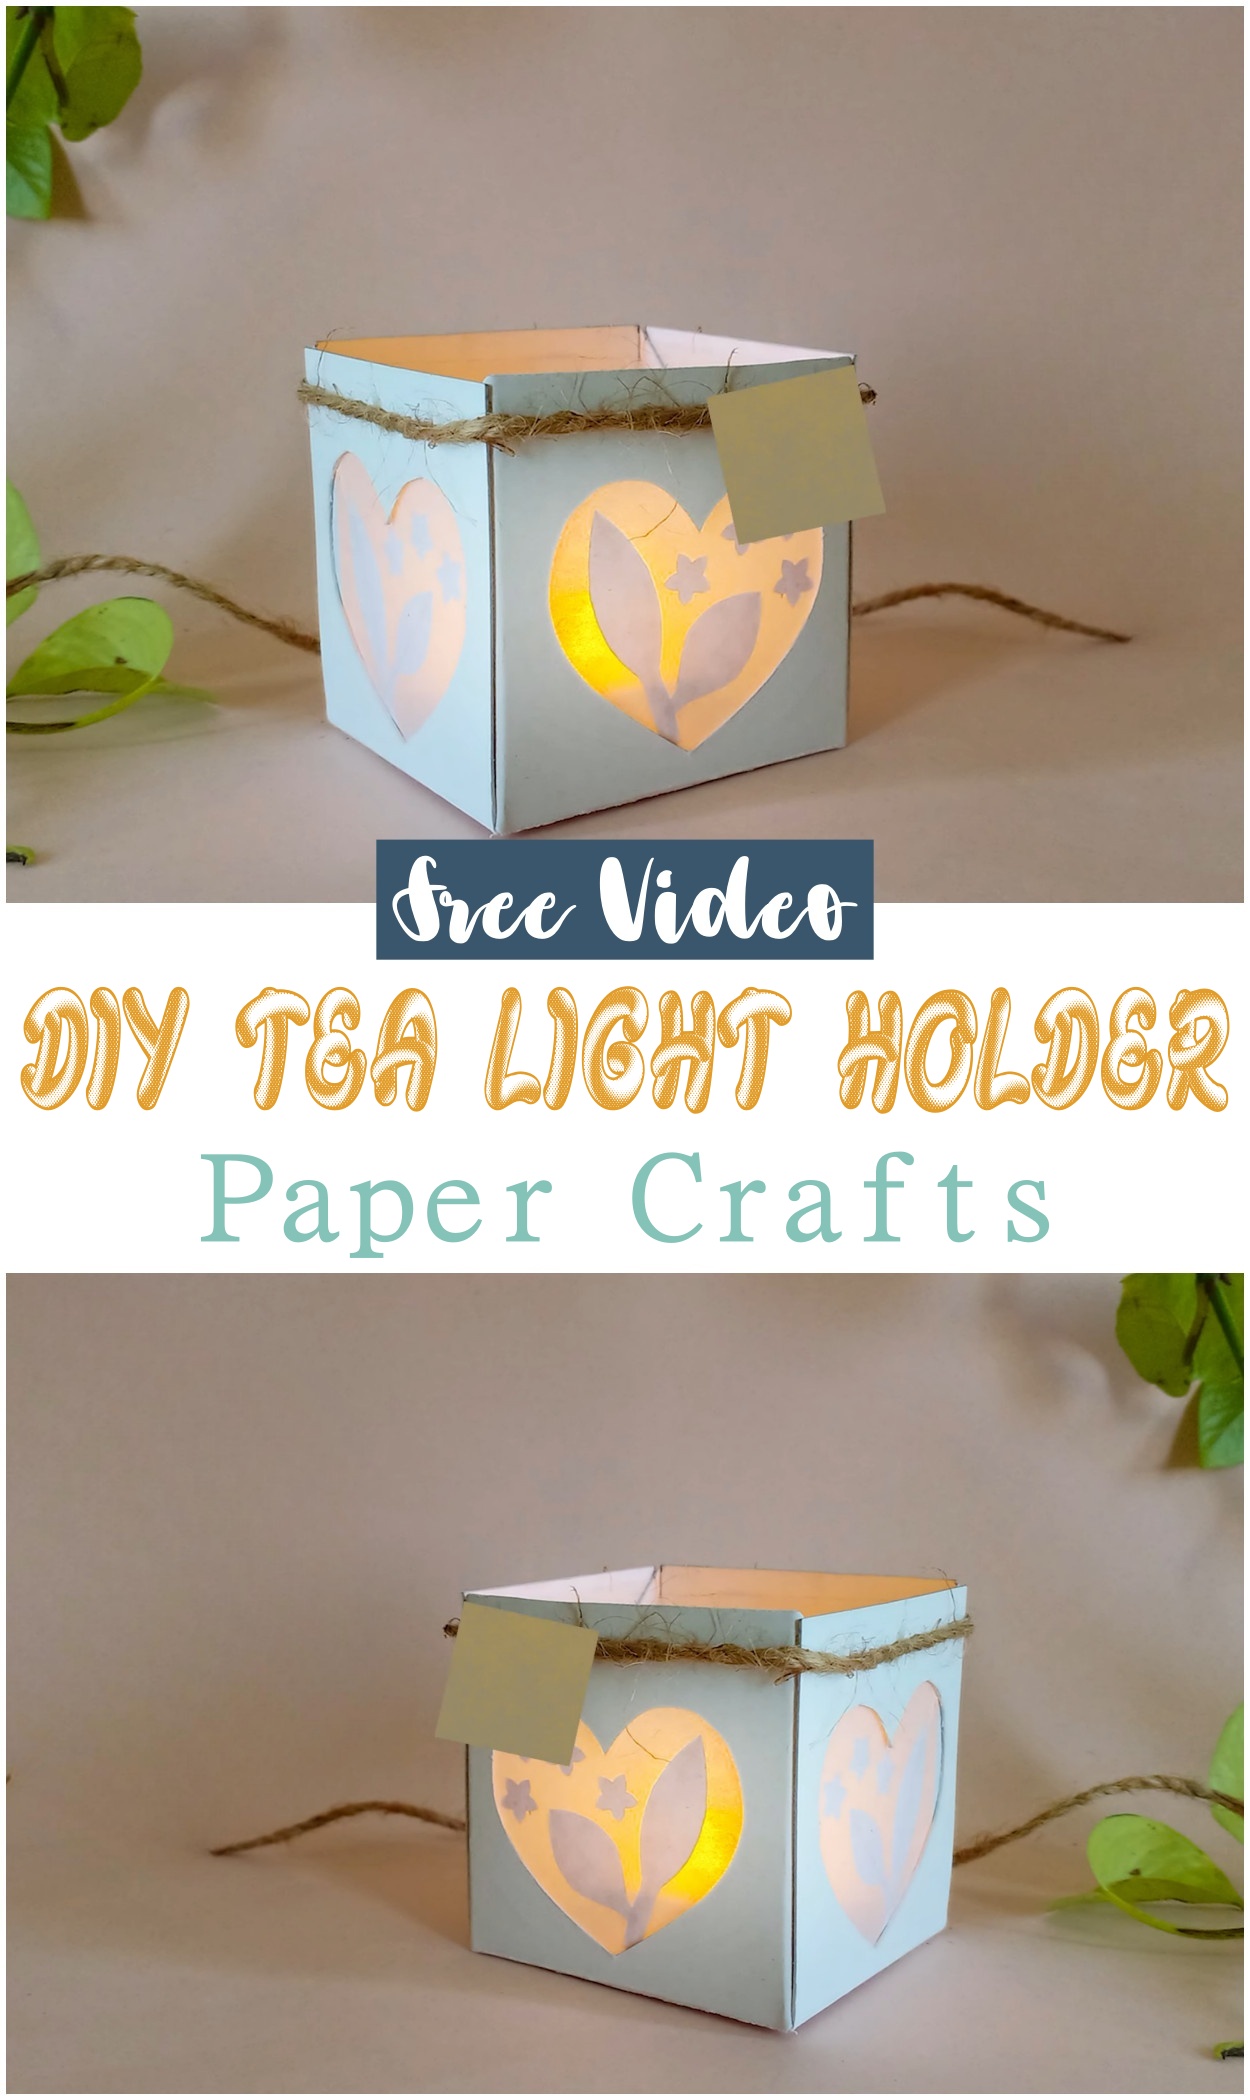
DIY Tea Light Holder Paper Crafts
Procedure of Making:
- Prepare the Paper: Select a sturdy piece of decorative paper or cardstock. Measure and cut it to fit around your LED tea light, leaving a slight overlap for securing the ends.
- Design the Pattern: Lightly sketch your desired pattern onto the paper strip. This could be simple geometric shapes, floral designs, or any motif that suits your style.
- Cut Out the Design: Carefully cut along your sketched lines using a craft knife or scissors to create openings in the paper. These cutouts will allow the light to shine through, creating beautiful patterns.
- Assemble the Holder: Wrap the decorated paper around the LED tea light and secure the ends with glue or double-sided tape. Ensure the paper is snug but not too tight, allowing for easy removal if needed.
Materials:
- Decorative paper or cardstock
- Pencil and ruler
- Scissors or craft knife
- Glue or double-sided tape
- Battery-operated LED tea light
Different Design Ideas:
- Seasonal Themes: Incorporate motifs like snowflakes for winter, leaves for autumn, or flowers for spring.
- Festive Occasions: Design covers with hearts for Valentine’s Day, stars for festive holidays, or lantern shapes for cultural celebrations.
- Personalized Touches: Add initials, names, or special dates to make the tea light holders unique for events like weddings or birthdays.
Precautions:
- Safety First: Always use battery-operated LED tea lights. Traditional candles can pose a fire hazard when used with paper holders.
- Material Choice: Opt for flame-retardant paper if available, and avoid materials that can easily catch fire.
- Supervision: If children are involved in the project, supervise them closely, especially when using sharp tools.
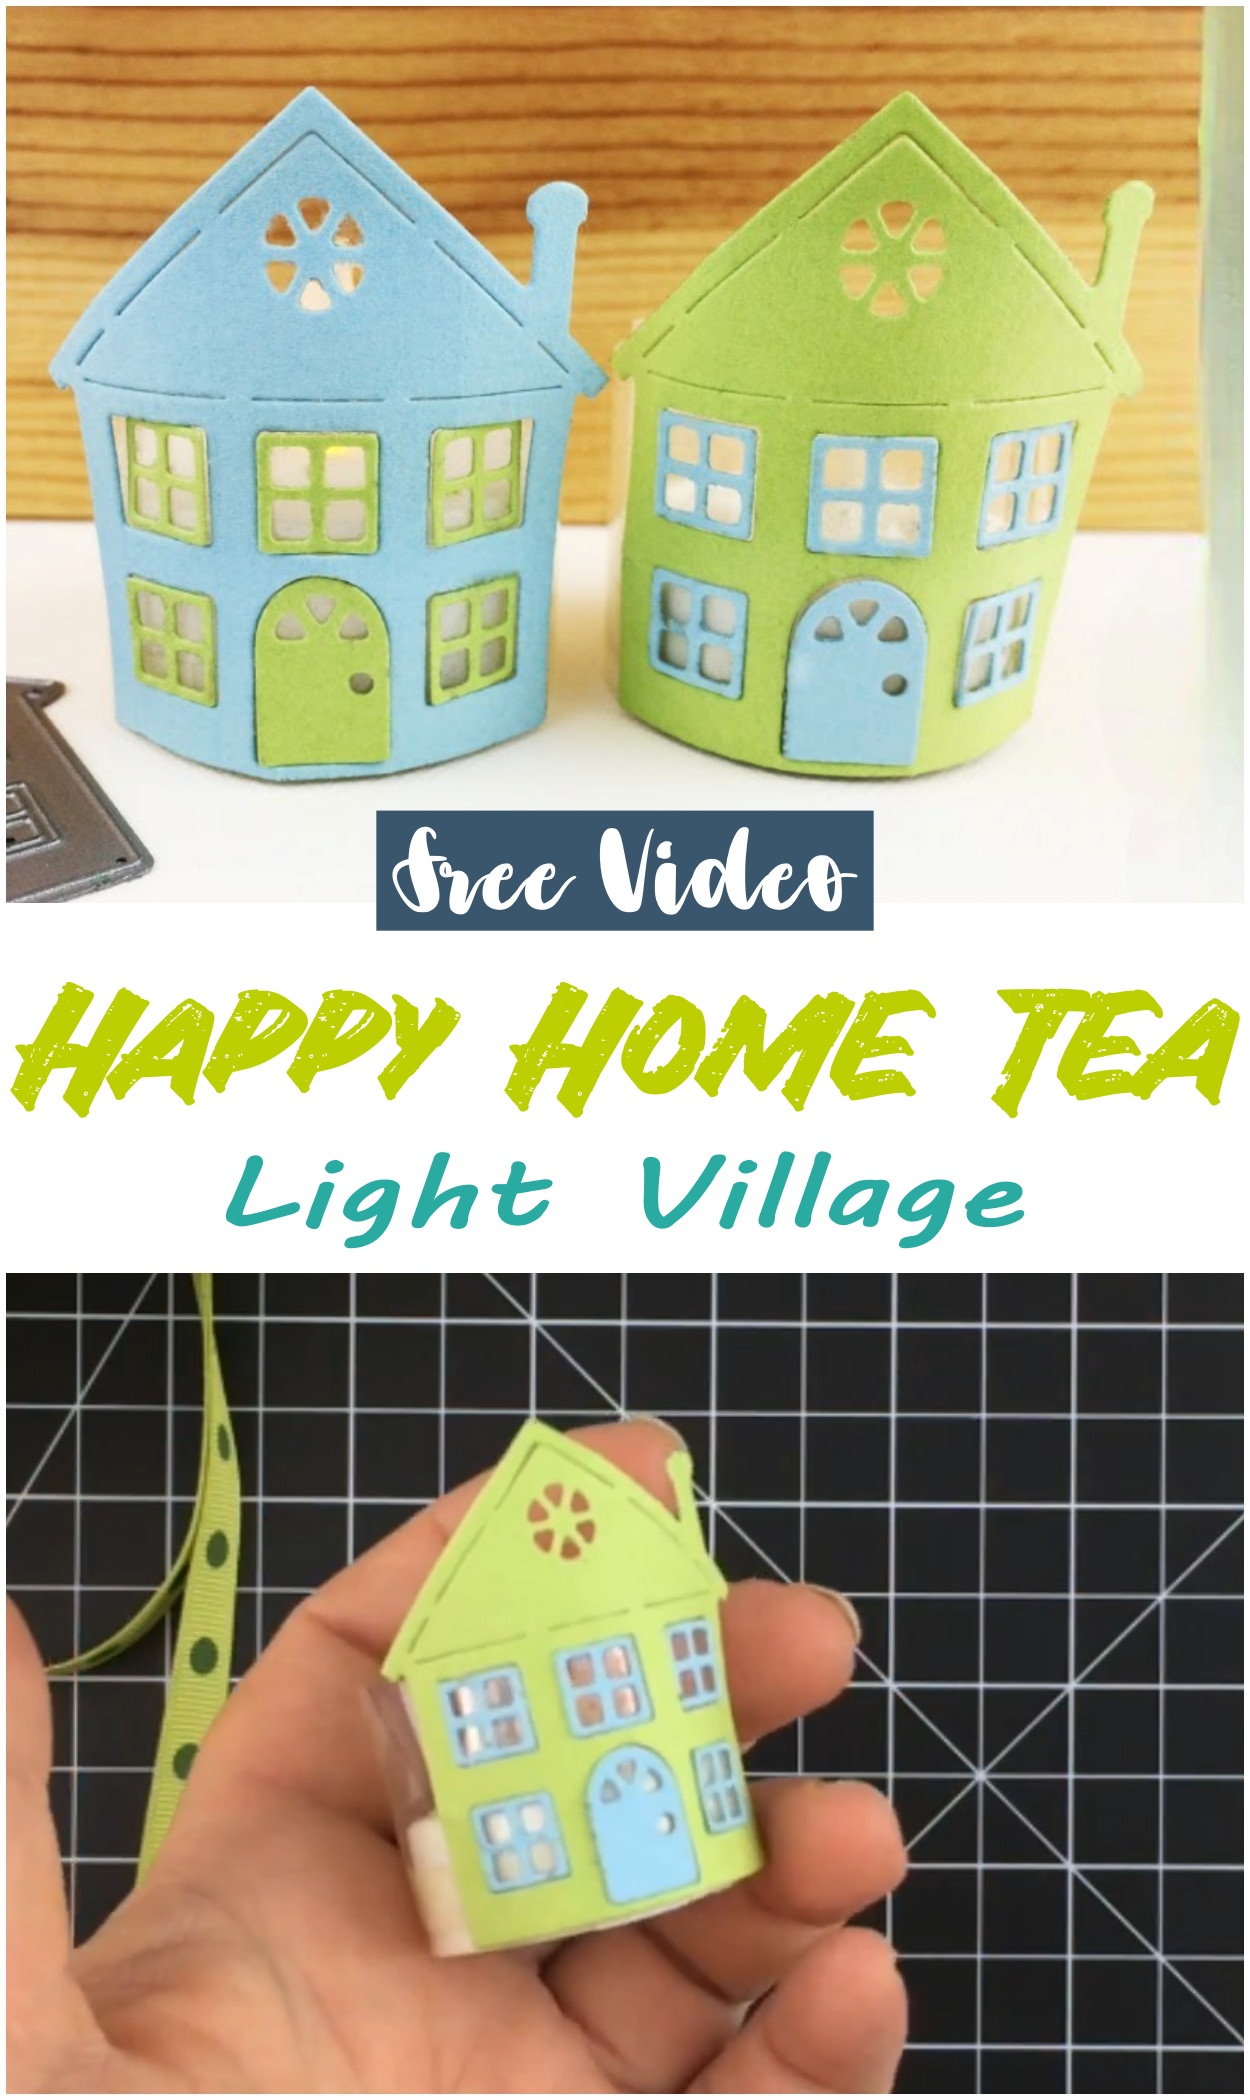
Happy Home Tea Light Village
Begin by downloading the desired building templates, available in formats compatible with cutting machines like Silhouette or Cricut. Cut the designs from sturdy cardstock, ensuring precision for intricate details. Attach wax or tracing paper behind the window cutouts to diffuse the light softly. Fold along the scored lines and use adhesive to assemble the walls and roofs, forming the 3D structures. Place an LED tea light inside each house to create a gentle, inviting glow.
Materials:
- Cardstock (preferably 110 lb for durability)
- LED tea lights (avoid real candles for safety)
- Wax or tracing paper for windows
- Glue dots or double-sided tape
- Scissors or a cutting machine
- Templates for various building designs
Different Design Ideas:
Expand your village with a variety of structures such as cottages, barns, townhouses, and stores. For added charm, consider including a church, gazebo, or lighthouse. Each building can be customized with different colors and embellishments to reflect your personal style or seasonal themes.
Precautions:
Always use LED tea lights to prevent fire hazards; never use real candles. Ensure all materials are kept away from open flames and heat sources. When using cutting machines, follow the manufacturer’s safety guidelines to avoid injury. Keep small components out of reach of children to prevent choking hazards.
By following these steps and precautions, you can create a beautiful and safe “Happy Home Tea Light Village” that brings warmth and joy to any setting.
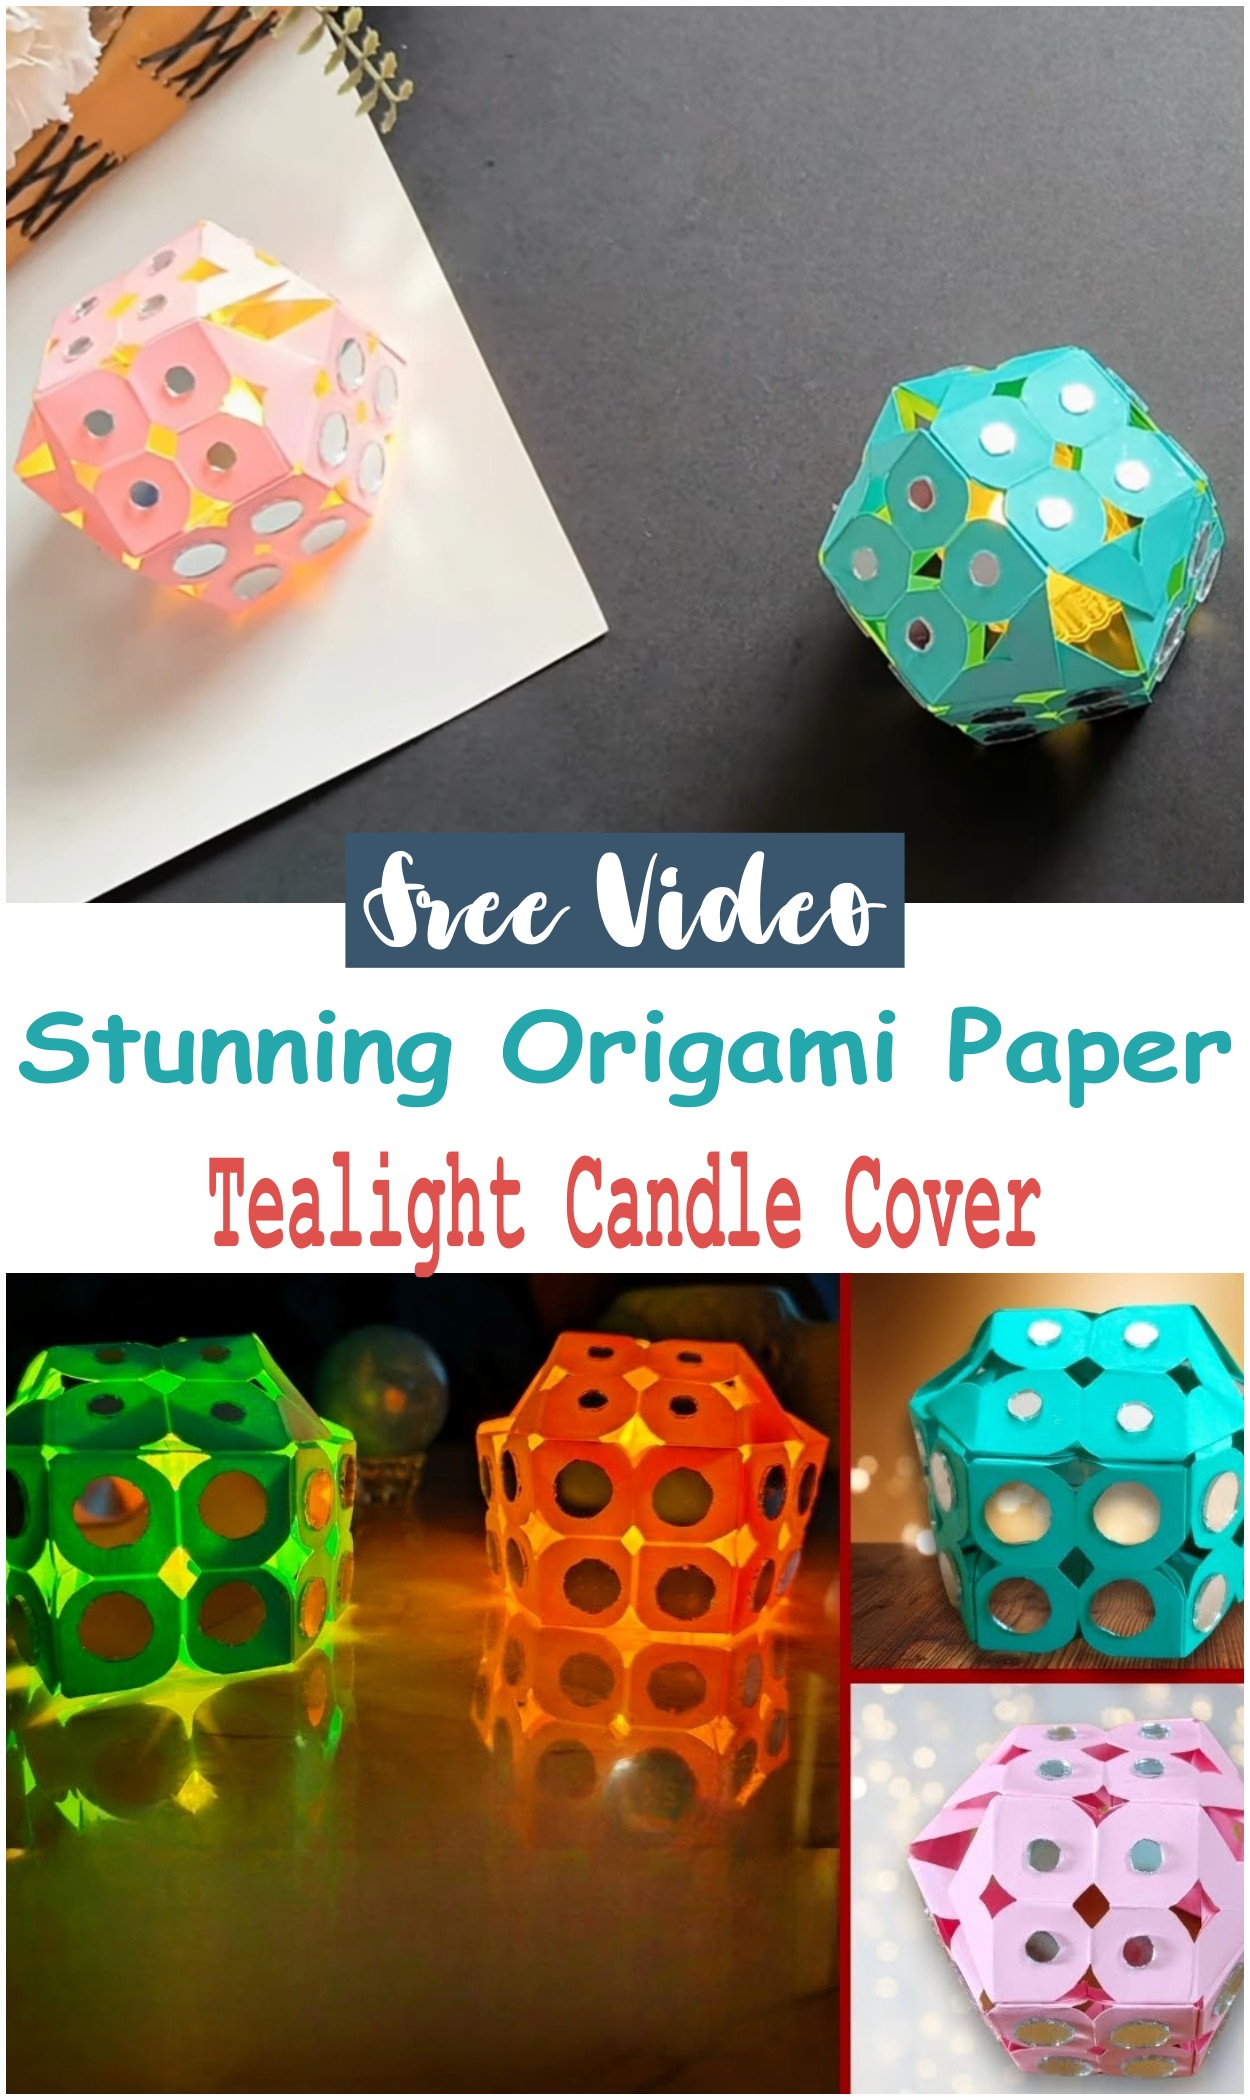
Stunning Origami Paper Tealight Candle Cover
Add a touch of elegance to your space with a stunning origami paper tealight candle cover. This simple yet beautiful decoration is perfect for festivals, dinners, or cozy evenings.
Procedure of Making:
Start with a square piece of paper. Fold it diagonally to create creases, then fold each corner to the center, forming a smaller square. Flip the paper and repeat the corner folds to achieve a layered effect. Carefully lift and shape the flaps to form petals or geometric patterns. Once the structure is complete, place an LED tealight in the center to illuminate your creation.
Materials:
- Square paper (preferably origami or lightweight cardstock)
- LED tealight candle
- Ruler (optional for precise folding)
Different Design Ideas:
Experiment with various paper colors and patterns to match different themes or occasions. Try using translucent paper for a soft glow or metallic paper for a festive look. You can also adjust the size of the paper to create larger or smaller covers, or combine multiple units for a decorative centerpiece.
Precautions:
Always use LED tealights instead of real candles to prevent fire hazards. Ensure the paper is kept away from heat sources and open flames. Place the candle cover on a stable, heat-resistant surface. Keep out of reach of children and pets.
Creating an origami paper tealight candle cover is an enjoyable and safe way to enhance your home decor. With just a few folds, you can transform a simple piece of paper into a captivating light display.
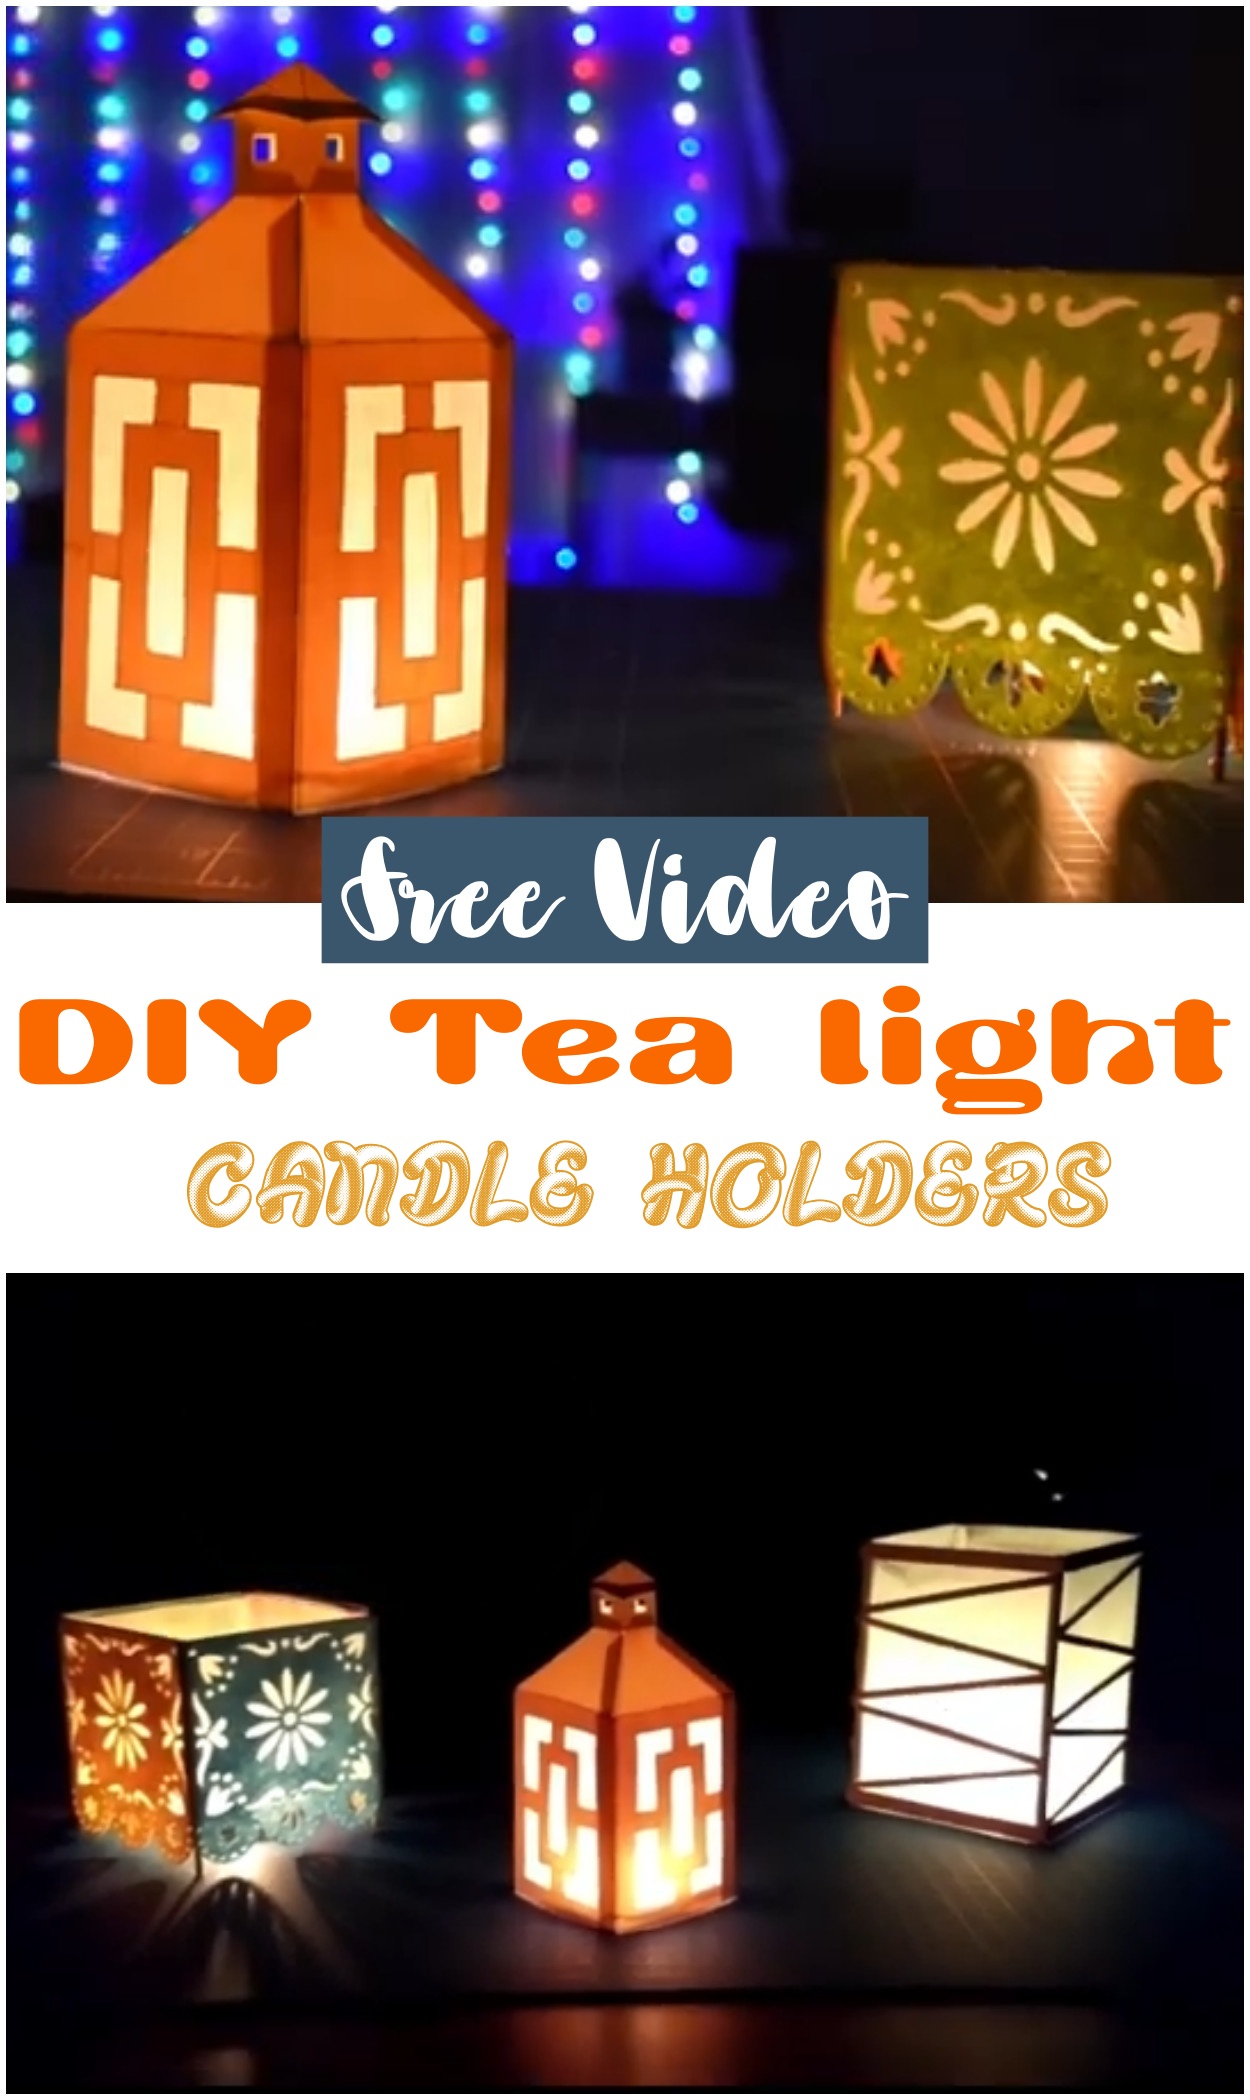
DIY Tea light Candle Holders
Experiment with various shapes and materials to match different themes or occasions. Consider using translucent paper for a soft glow, natural wood for a rustic look, or colorful clay for a vibrant touch. Add embellishments like beads, paint, or patterns to personalize your holders.
Precautions:
Always use LED tea lights to prevent fire hazards; avoid real candles. Ensure all materials are kept away from open flames and heat sources. Place the candle holders on stable, heat-resistant surfaces. Keep out of reach of children and pets.
By following these steps and precautions, you can create beautiful and safe DIY tea light candle holders that enhance your home decor.
Best Christmas Candle Holder DIY
- Glass jars (e.g., mason jars)
- Mod Podge or similar adhesive
- Paintbrush
- Epsom salt or faux snow
- Ribbon or twine
- Hot glue gun (optional)
- LED tea light candles
Different Design Ideas:
Personalize your candle holders by using colored jars or adding stenciled holiday designs with glitter paint. Incorporate natural elements like pinecones, berries, or evergreen sprigs around the base for a rustic touch. For a more elegant look, consider using metallic ribbons or adding small ornaments as accents.
Precautions:
Always use LED tea lights to prevent fire hazards; avoid real candles. Ensure all materials are kept away from open flames and heat sources. Place the candle holders on stable, heat-resistant surfaces. Keep out of reach of children and pets.

DIY Paper Tealight Candle Holder
Enhance your home ambiance with a DIY paper tealight candle holder. This beginner-friendly project combines simplicity and creativity, making it perfect for festive occasions or everyday decor.
Materials:
- Square paper (origami or lightweight cardstock)
- LED tealight candle
- Ruler (optional for precise folding)
Different Design Ideas:
Experiment with various paper colors and patterns to match different themes or occasions. Try using translucent paper for a soft glow or metallic paper for a festive look. You can also adjust the size of the paper to create larger or smaller covers, or combine multiple units for a decorative centerpiece.
Precautions:
Always use LED tealights to prevent fire hazards; avoid real candles. Ensure all materials are kept away from open flames and heat sources. Place the candle cover on a stable, heat-resistant surface. Keep out of reach of children and pets.
By following these steps and precautions, you can create a beautiful and safe paper tealight candle holder that adds warmth and charm to any setting.