Free Crochet Tank Top Pattern for Summer Style
Crochet tank tops make an excellent summer pick, since their open stitch patterns allow better airflow, keeping the body cool and comfortable even in warm weather. Cotton or linen-blend yarns further boost breathability, while the sleeveless design suits beach outings, everyday errands, or layering over a dress and swimsuit alike.
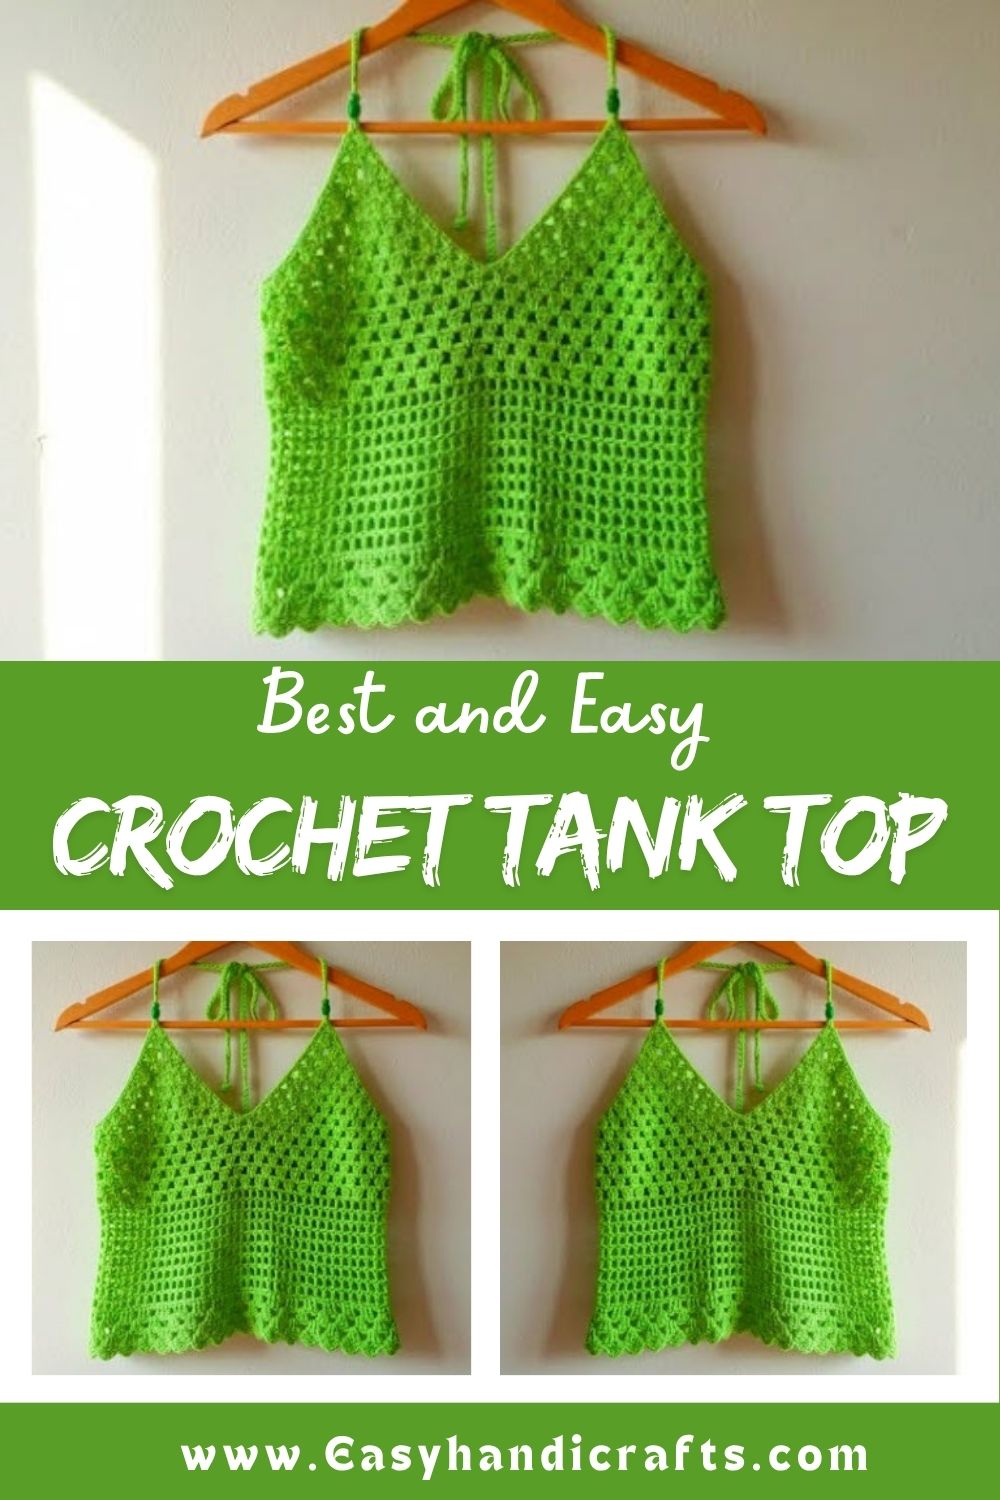
Beyond comfort, these tank tops also win people over with their creative charm. Colors, stitch styles, and neckline shapes can all be adjusted to match personal taste or current trends, letting every finished top reflect its own unique, personal touch.
Skill Level: Beginner to Intermediate
Most tank top patterns of this style fall into the beginner-to-intermediate range. Basic stitches like single crochet, double crochet, and simple shell patterns form the foundation, so anyone comfortable with a few core stitches can attempt this project. Shaping the armholes and neckline adds a touch of intermediate skill, but nothing overly complex stands in the way of a satisfying finish.
Materials and Tools Needed
Gathering supplies before starting keeps the process smooth and prevents mid-project interruptions.
- Cotton, linen-blend, or bamboo yarn (worsted or DK weight works well for breathability)
- A crochet hook matching the yarn label, typically between 4mm and 5.5mm
- Stitch markers for tracking rows and shaping points
- A yarn needle for weaving in ends and seaming
- Measuring tape for accurate sizing
- Scissors
- A row counter or notepad to track pattern repeats
Choosing a lightweight, natural fiber yarn matters most here. Synthetic yarns can trap heat, working against the entire purpose of a summer piece.
Key Techniques and Design Features
A few techniques give this tank top its shape and character.
Stitch Pattern Basics
Shell stitches, granny clusters, and simple mesh patterns create the airy texture that defines summer crochet wear. These stitch combinations produce small gaps in the fabric, which helps with airflow while still holding the garment’s structure.
Shaping for Fit
Waist shaping and bust darts, worked through increases and decreases, give the top a flattering fit rather than a boxy shape. Armhole and neckline shaping typically happens through short rows or strategic decreases near the top portion of the garment.
Finishing Touches
Scalloped edges, picot trims, or a simple single crochet border around the neckline and armholes give the piece a polished, store-bought appearance.
Step-by-Step Guide to Making the Tank Top
Step 1: Take Measurements and Choose a Size
Measure the bust, waist, and desired top length before picking a size. Comparing these numbers against a standard sizing chart prevents a top that runs too tight or too loose.
Step 2: Create a Gauge Swatch
Work a small swatch using the chosen stitch pattern and hook size. Checking gauge against the pattern’s recommendation avoids sizing issues later, since tension varies from person to person.
Step 3: Start the Foundation Chain
Chain a length that matches the widest part of the torso, usually the bust measurement, plus a small amount of ease for comfort.
Step 4: Build the Body
Work in the chosen stitch pattern, following row-by-row instructions until reaching the point where waist shaping begins. Decrease stitches gradually to shape the waistline, then increase again toward the bust area.
Step 5: Divide for Front and Back
Split the work into two panels once the body reaches underarm height. Each panel gets worked separately from this point forward.
Step 6: Shape the Armholes and Neckline
Decrease stitches at the start and end of rows to curve the armholes naturally. Repeat a similar shaping approach for the neckline, working gradually rather than all at once for a smooth curve.
Step 7: Add Straps or Shoulder Panels
Crochet straps separately, or continue the shoulder panels directly from the front and back pieces, depending on the chosen design. Try the piece on periodically to check strap length and placement.
Step 8: Join Front and Back Panels
Seam the shoulders and sides together using a yarn needle, matching stitch by stitch for a clean finish. A whip stitch or slip stitch seam both work well for this type of garment.
Step 9: Add Border Details
Work a finishing round around the neckline, armholes, and hem. This step hides raw edges and adds a decorative touch that elevates the entire look.
Step 10: Weave in Ends and Block
Weave in all loose yarn tails using a yarn needle, then block the finished top by lightly wetting it and laying it flat to dry in the correct shape. Blocking evens out stitches and gives the fabric a smoother drape.
Helpful Tips for Beginners
- Practice the stitch pattern on a swatch before starting the actual garment.
- Try on the piece often during construction to catch fit issues early.
- Use stitch markers at shaping points to avoid losing track of increases and decreases.
- Choose a light-colored yarn if working in a warm room, since dark yarn can feel warmer to handle for long stretches.
- Keep a written or photo record of row counts in case the project gets paused for a few days.
Common Mistakes to Avoid
- Skipping the gauge swatch, which often leads to a top that fits too tight or too loose.
- Using bulky or synthetic yarn that traps heat instead of releasing it.
- Rushing through waist and bust shaping, which can create uneven curves along the sides.
- Forgetting to block the finished piece, leaving stitches looking uneven.
- Choosing a hook size that does not match the yarn weight, resulting in a stiff or overly loose fabric.
Customization Ideas and Variations
- Swap the shell stitch pattern for a granny square design for a bohemian look.
- Add a crop-length version for pairing with high-waisted skirts or shorts.
- Try color-blocking with two or three shades for a striped effect.
- Add a lace-up back detail instead of a plain seam for extra style.
- Extend the length into a dress silhouette using the same shaping principles.
Frequently Asked Questions
Is this pattern suitable for a first-time crocheter?
Yes, as long as basic stitches like single and double crochet feel comfortable. The shaping sections require a bit more patience but stay manageable with practice.
What yarn weight works best for a summer Free Crochet Tank Top ?
DK or worsted weight cotton yarn tends to work well, offering enough structure without added bulk or heat retention.
How long does it typically take to finish a top like this?
Timeframes vary by skill level and available crafting time, but most finished pieces take between one and two weeks of casual, part-time work.
Can this pattern be adjusted for plus sizes?
Yes, adjusting the foundation chain length and repeating the stitch pattern additional times allows the garment to scale up to larger sizes.
What is the best way to store a finished Free Crochet Tank Top?
Folding rather than hanging helps cotton and linen-blend pieces keep their shape, since hanging can stretch the fabric over time.
Does the top need lining or an inner layer?
Most designs work fine without lining, though a thin, breathable slip underneath can help with coverage depending on the stitch pattern’s openness.
Conclusion
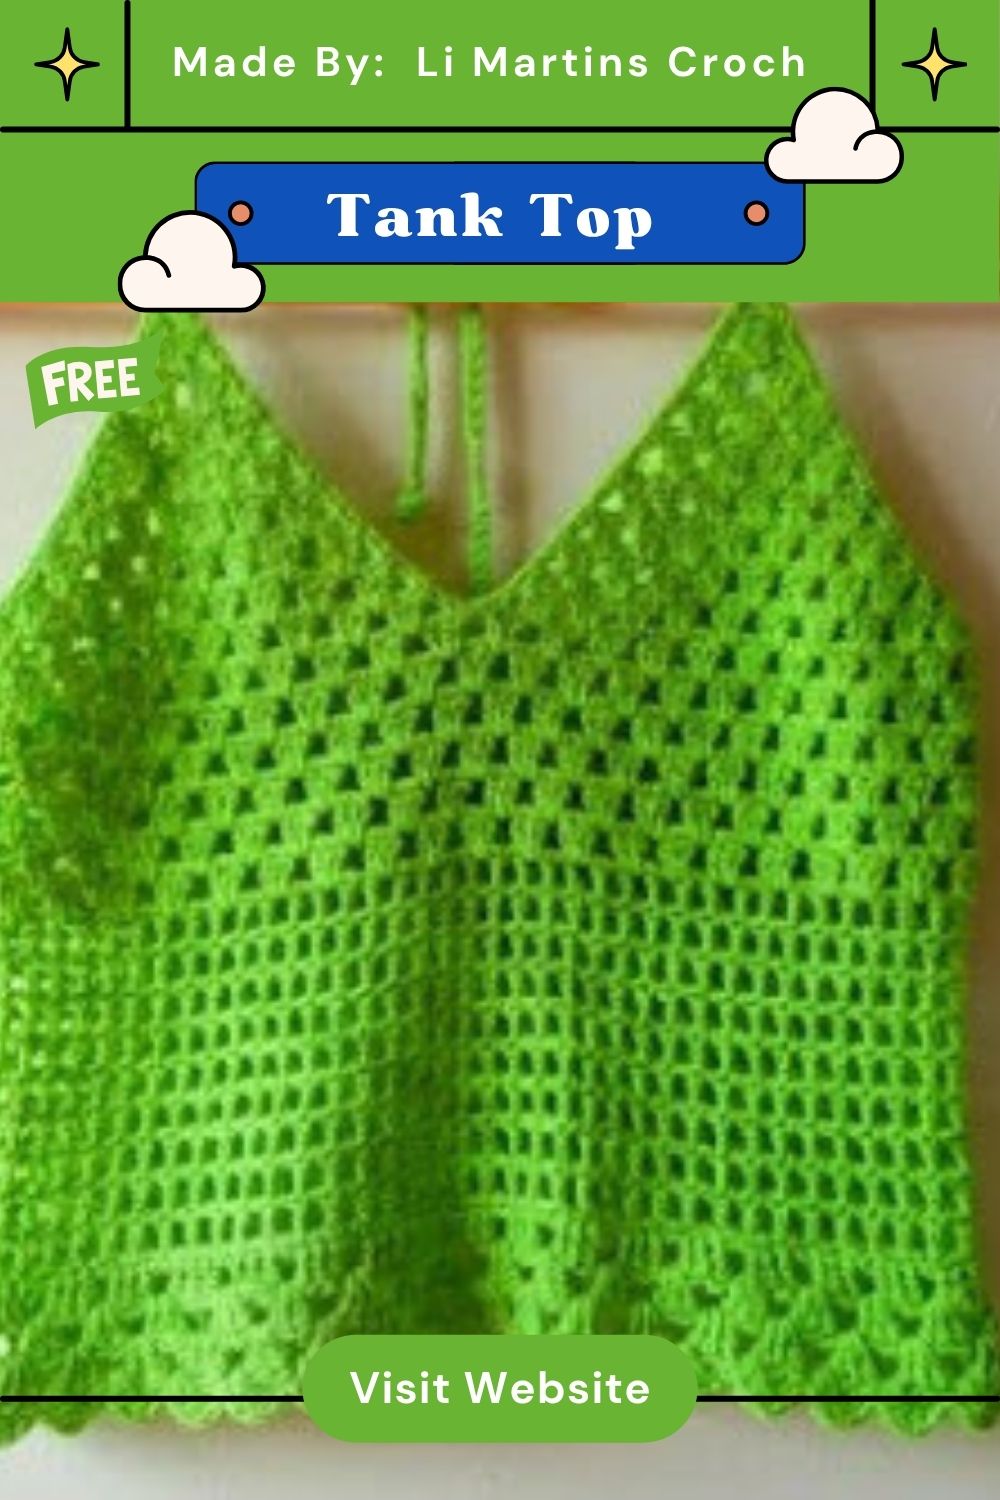
A Free Crochet Tank Top brings comfort, style, and a personal touch to any summer wardrobe. From choosing breathable yarn to shaping the waist and neckline, each step builds toward a piece that feels custom-made. Beginners can start with simple stitches, while more experienced crafters can experiment with color-blocking, trims, and alternate stitch patterns. Once the last stitch is woven in, the reward is a lightweight, wearable top ready for beach trips, backyard gatherings, or everyday summer outings. Grab a hook, pick a favorite shade of cotton yarn, and turn this guide into a finished piece worth wearing all season long.