Crochet Fox Amigurumi Pattern with Pointed Ears
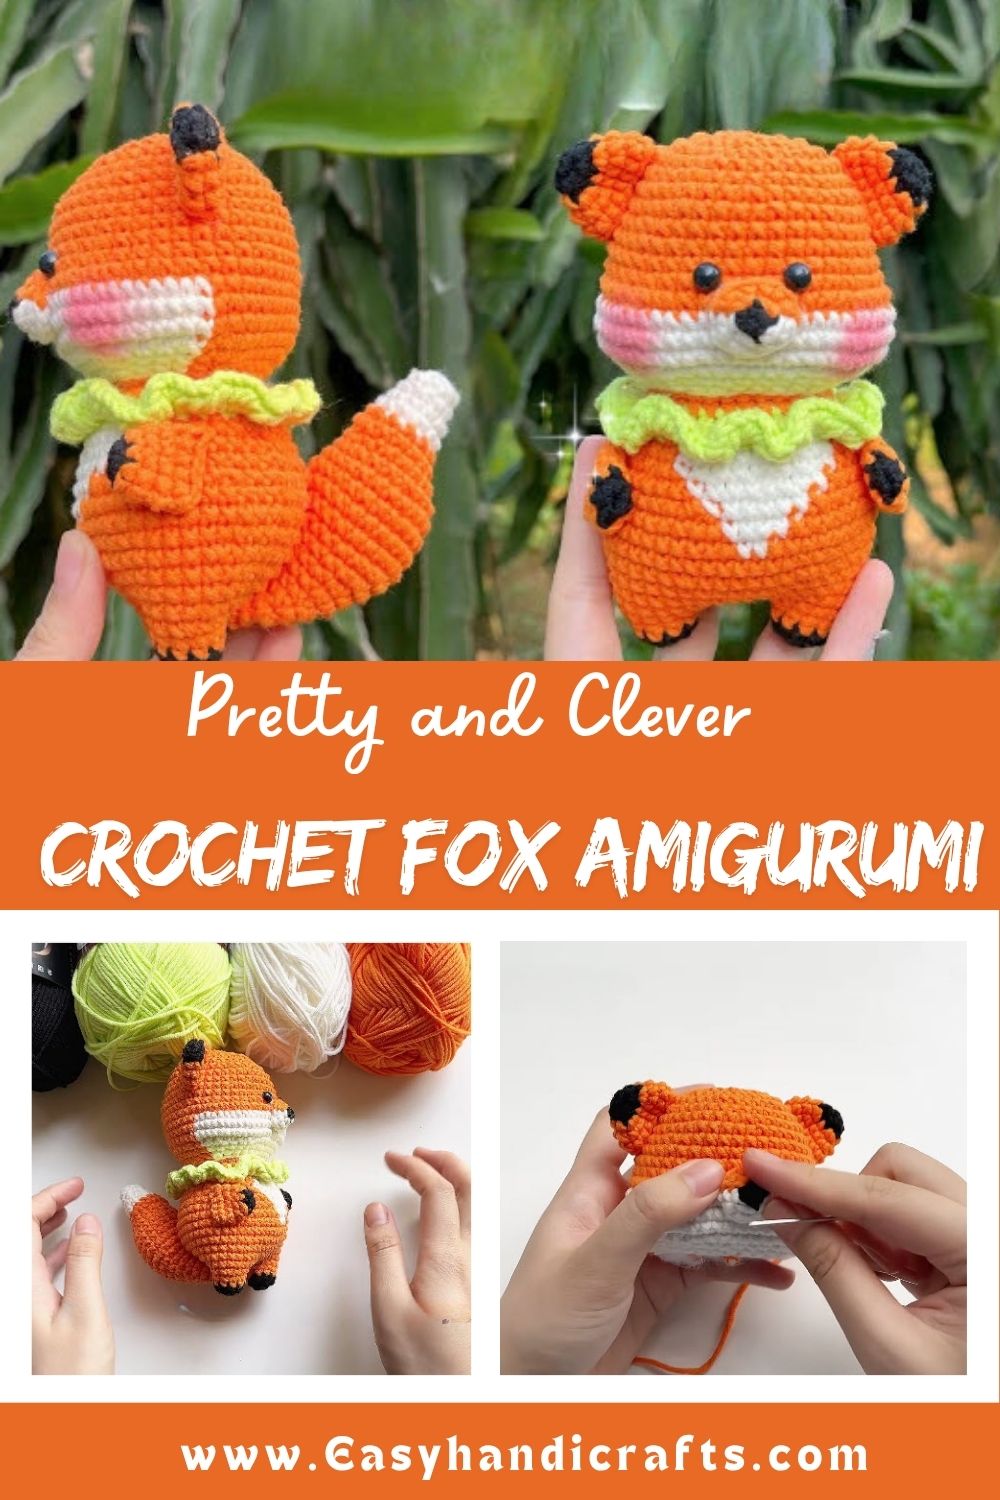
Working through the pattern stays approachable for most skill levels, since the main body relies on standard single crochet rounds with straightforward increases and decreases. Shaping the pointed ears introduces a small new technique, but it comes together quickly once the first one is complete, making the second ear noticeably faster to finish.
Project Details
- Skill Level: Beginner
- Finished Size: Approximately 4–5 inches tall
- Estimated Time Required: 2.5–3 hours
- Recommended Yarn Weight: Worsted weight (Medium, #4)
- Crochet Hook Size: 3.0mm–3.5mm
Materials Needed
- Orange worsted weight yarn for the main body
- White yarn for the muzzle and belly detailing
- Small amount of black yarn for ear tips and facial features
- Crochet hook matching your yarn weight
- Fiberfill stuffing
- Tapestry needle
- Stitch marker
- Scissors
Crochet Stitches and Techniques
These stitches and techniques carry the pattern from start to finish:
- Magic Ring – forms the tight starting loop for the body
- Single Crochet (sc) – builds the main rounded body shape
- Increase (inc) – widens the body during the early rounds
- Invisible Decrease (inv dec) – narrows the body smoothly near the top
- Color Changes – blends orange, white, and black across the design
- Slip Stitch (sl st) – joins rounds and shapes the pointed ear tips
- Fastening Off – secures each completed section
- Sewing Pieces Together – attaches ears and facial details to the body
Pattern Instructions
Step 1: Starting the Magic Ring
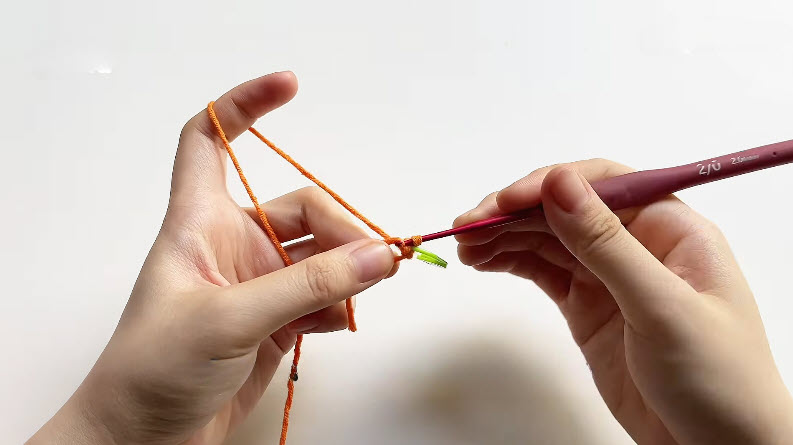
Orange yarn wrapped snugly around the fingers marks the very beginning of the body, forming a tight loop that keeps the base free of any visible gap once tightened.
Wrap the yarn around your fingers, insert the hook beneath the loops, and pull through to secure your first stitch before starting the opening round.
Step 2: Growing the Body
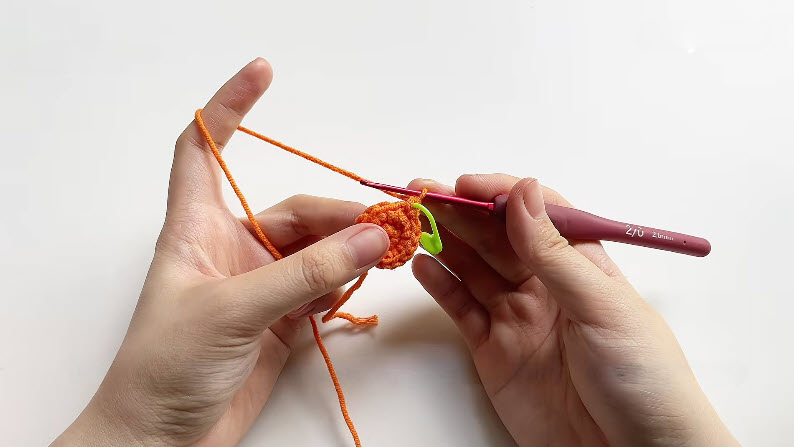
Rounds expand outward from the starting loop, curving steadily into the smooth, rounded shape that forms the fox’s body. The photo below shows the piece still on the hook, with the stitch marker in place to track round progress.
Increase evenly through the first several rounds, then continue working even rounds without further increases once the desired body width is reached.
Step 3: Shaping and Stuffing
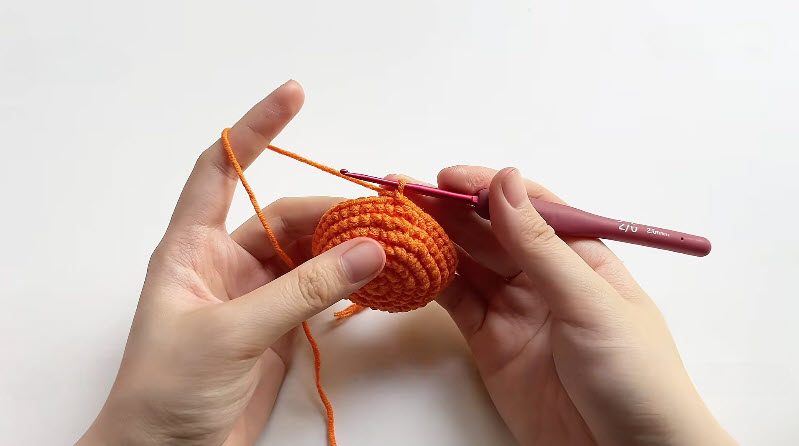
Fiberfill fills the body gradually as the rounds progress, keeping the shape firm and rounded without any lumps or soft spots. The photo captures the finished orange sphere, fully textured and ready for facial detailing.
Stuff in small amounts as you work, checking firmness from multiple angles before beginning the decrease rounds that close the top.
Step 4: Adding the Muzzle and Facial Details
A patch of white yarn gets worked into the lower half of the face here, forming the classic fox muzzle before small black safety eyes are added above it. The photo shows this contrast detail taking shape against the orange body.
Crochet or embroider the white muzzle patch onto the lower face, then attach small black eyes just above it for a balanced, expressive look.
Step 5: Attaching the Pointed Ears
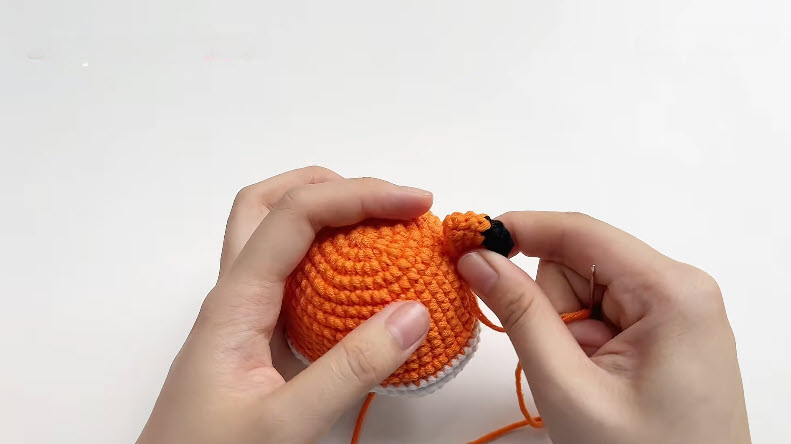
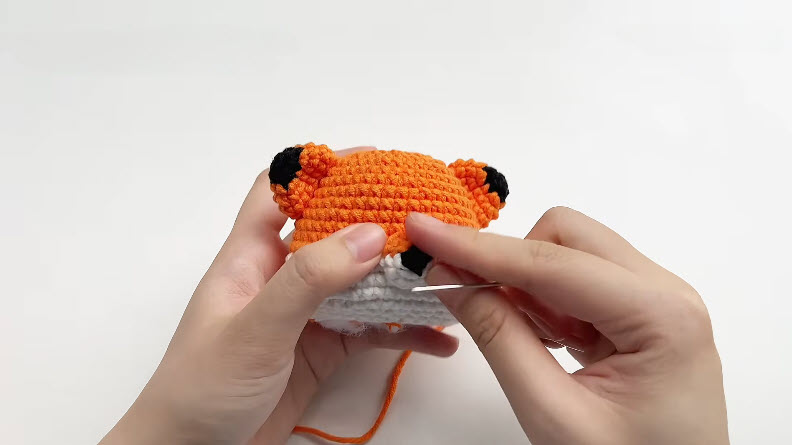
Two sharply shaped ears, tipped in black, complete the fox’s signature look once sewn securely onto the top of the head. The final photo shows both ears already in place, giving the piece its full, alert fox expression.
Crochet two triangular ear pieces with black yarn at the tips, then sew each one firmly onto the top of the head, spacing them evenly apart.
Joining All Pieces
Weave in every loose yarn tail from the body, muzzle, and ears using a tapestry needle, tucking each one through several nearby stitches for a clean finish.
Final Assembly
Check that both ears stand upright and evenly spaced, adjust the muzzle placement if needed, and give the finished fox a final shape check before setting it aside to enjoy.
Tips for Success
- Keep tension consistent throughout the body rounds for a smooth, even shape
- Stuff gradually in small amounts rather than all at once
- Use a stitch marker throughout to avoid losing track of rounds
- Pin ears in place before sewing to check for even spacing
- Weave in yarn ends through multiple directions for a secure finish
- Block pointed ears lightly if they need help holding their shape
Personalization Ideas
- Swap orange for grey or red tones to create different fox variations
- Add a fluffy white tail tip for extra realism
- Make a sleepy version with closed-eye embroidery instead of open eyes
- Crochet a mini version for a keychain or bag charm
- Try a jumbo size using bulky yarn for a huggable throw pillow
- Add a small bandana or scarf accessory for extra character
Common Mistakes to Avoid
Rushing through the increase rounds often leads to a lopsided body rather than a smooth, even sphere, so counting stitches after each round helps prevent this. Ears attached without careful spacing can throw off the fox’s expression, making pinning both pieces symmetrically before sewing well worth the extra time. Overstuffing tends to stretch stitches and distort the rounded shape, so adding fiberfill gradually keeps the body looking naturally full rather than overfilled.
Frequently Asked Questions
How long does this Crochet Fox Amigurumi typically take to complete?
Most crocheters finish the entire project, including both ears, within about three hours.
Can I use a different color combination for the body?
Yes, grey, red, or even pastel shades all work well while keeping the same construction.
Is the pointed ear technique difficult for beginners?
Not particularly; the second ear usually goes much faster once the first is complete.
Do I need safety eyes, or can I embroider them instead?
Either option works well, with embroidered eyes being the safer choice for young children.
Can this pattern be turned into a keychain?
Absolutely, simply attach a keyring loop to the top of the head during assembly.
Why does my muzzle patch look uneven?
Inconsistent tension while crocheting or embroidering the patch usually causes this, so slowing down helps.
What is the best way to keep both ears symmetrical?
Measuring and pinning both ears before sewing ensures even placement on the head.
Conclusion
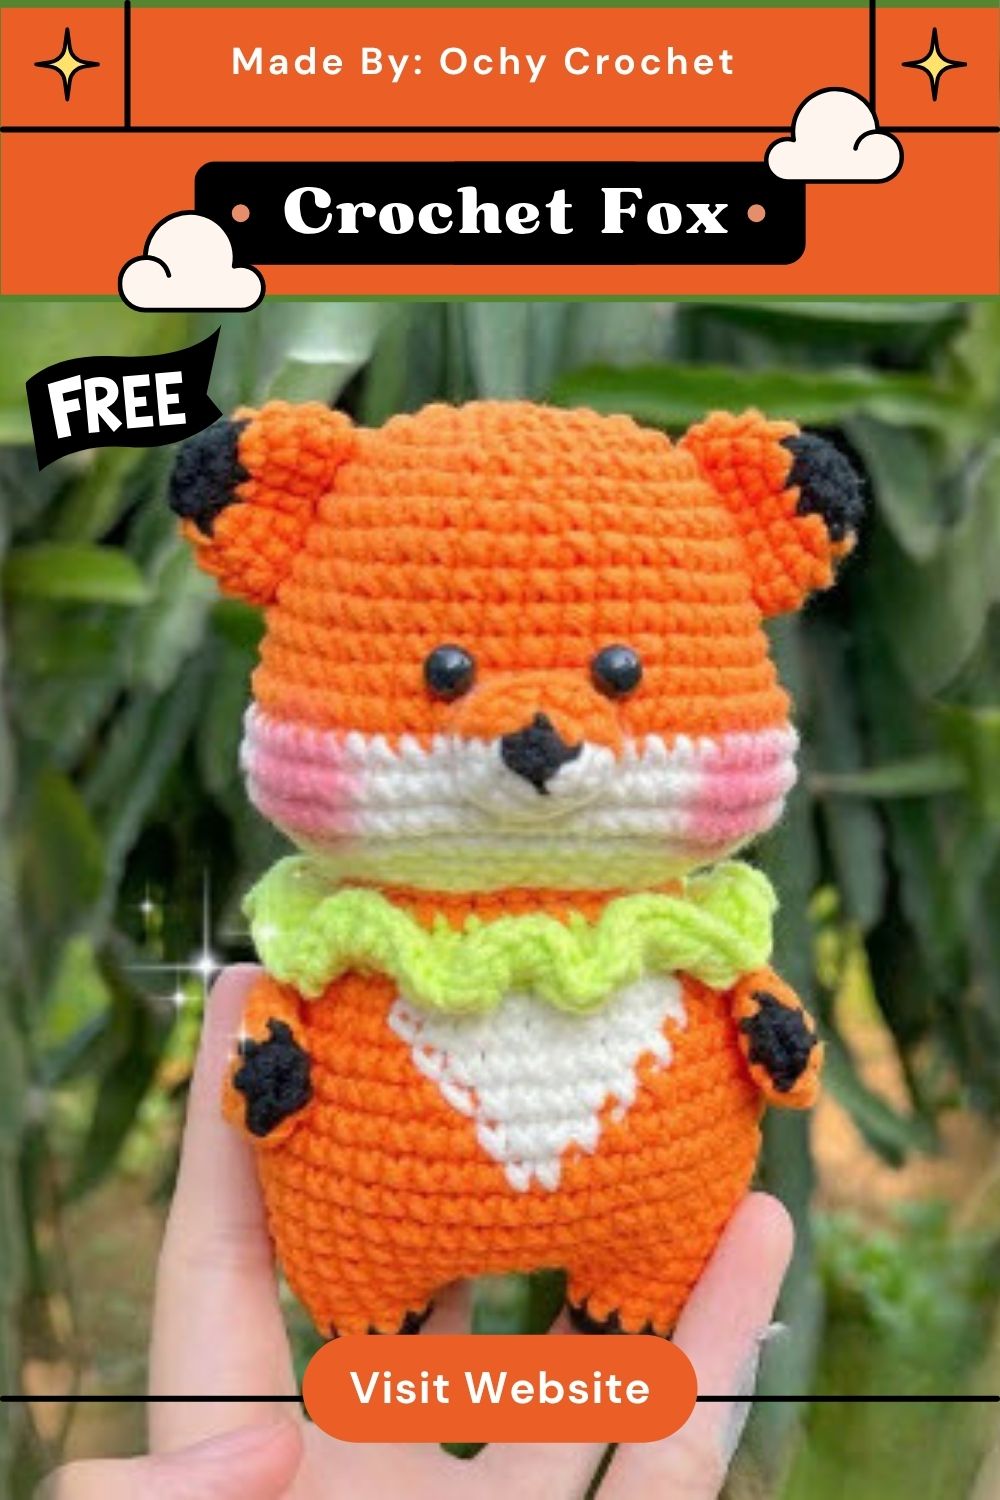
Warm colors and a charming pointed-ear silhouette make this Crochet Fox Amigurumi a delightful project for crocheters of nearly any skill level. From the very first magic ring to the final ear attachment, each stage adds a little more personality to this woodland-inspired character. Choose your favorite shade of orange, work through the rounds at a comfortable pace, and enjoy adding a handmade fox to your growing amigurumi collection.